Week 30: Nearing the Finish Line
I can hardly put in to words the excitement we're feeling over our new home. HOME! There are so many thoughts and feelings that revolve around such a simple word, and there is no place like it. Some people love to travel, myself included, but at the end of the day, my favorite place in the whole world is home. To think that Tyler and I are going to place our roots right here and call this place ours, my goodness, what an amazing feeling. All of our hard work is paying off!
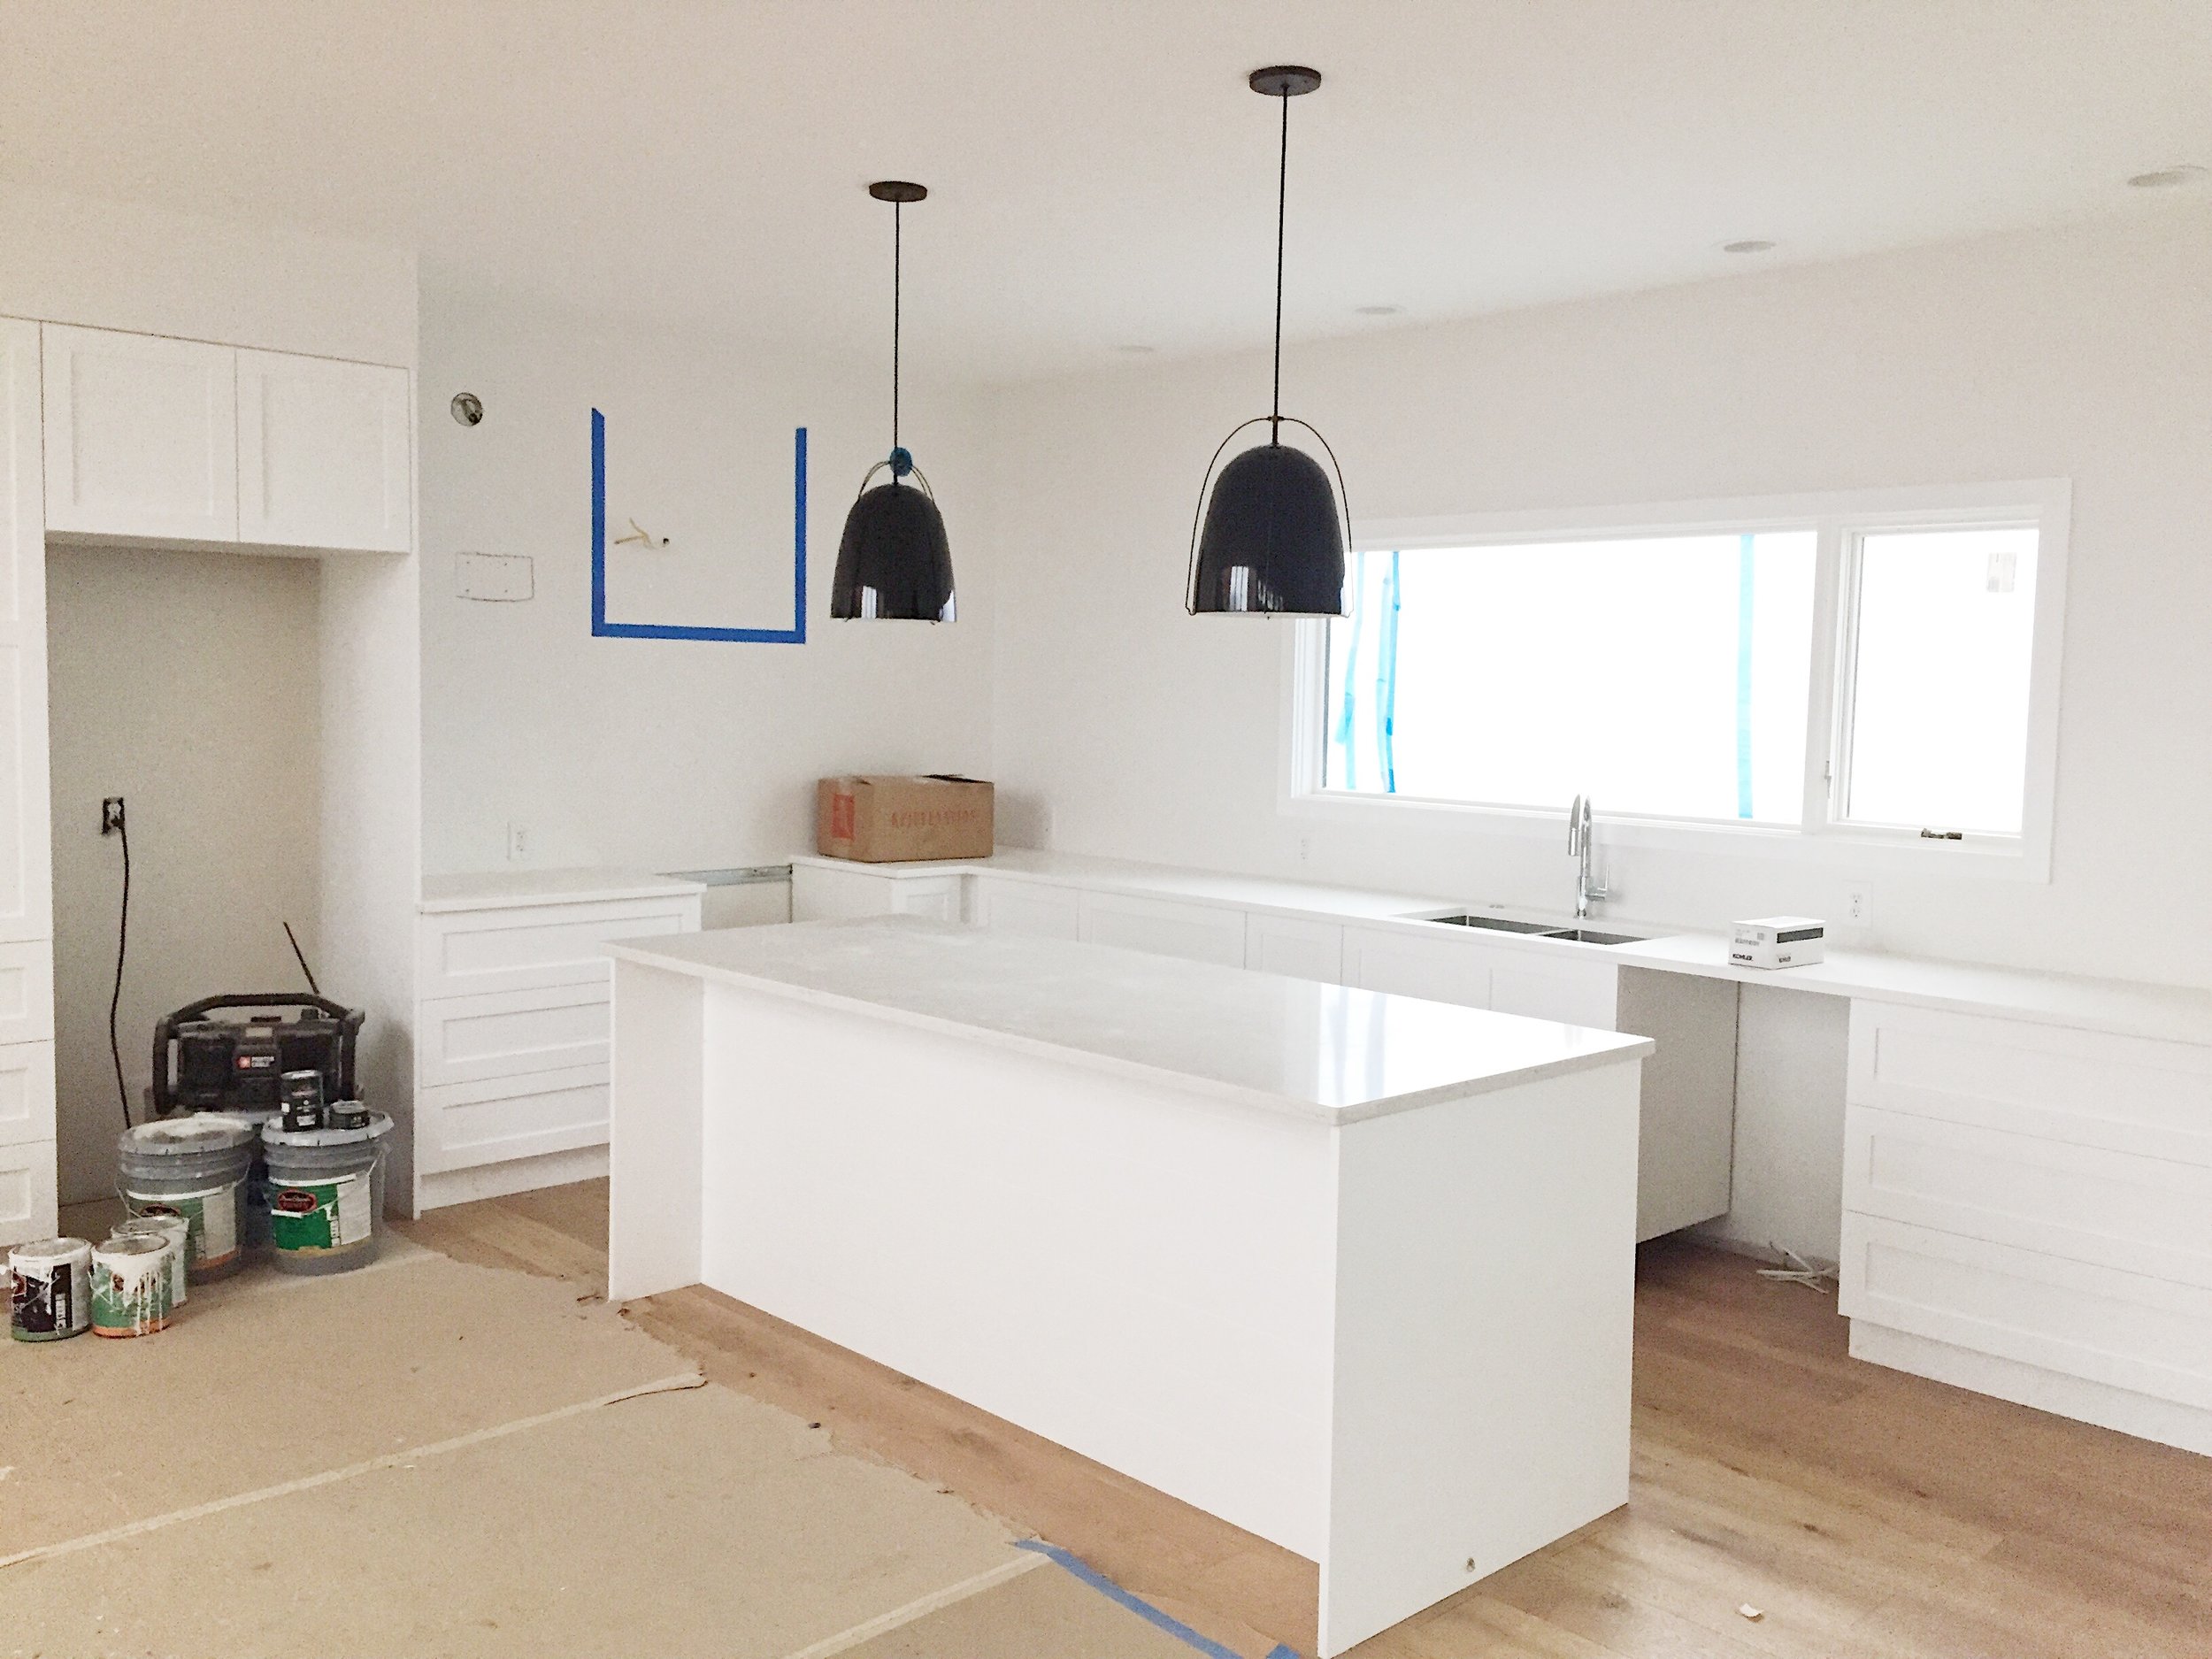
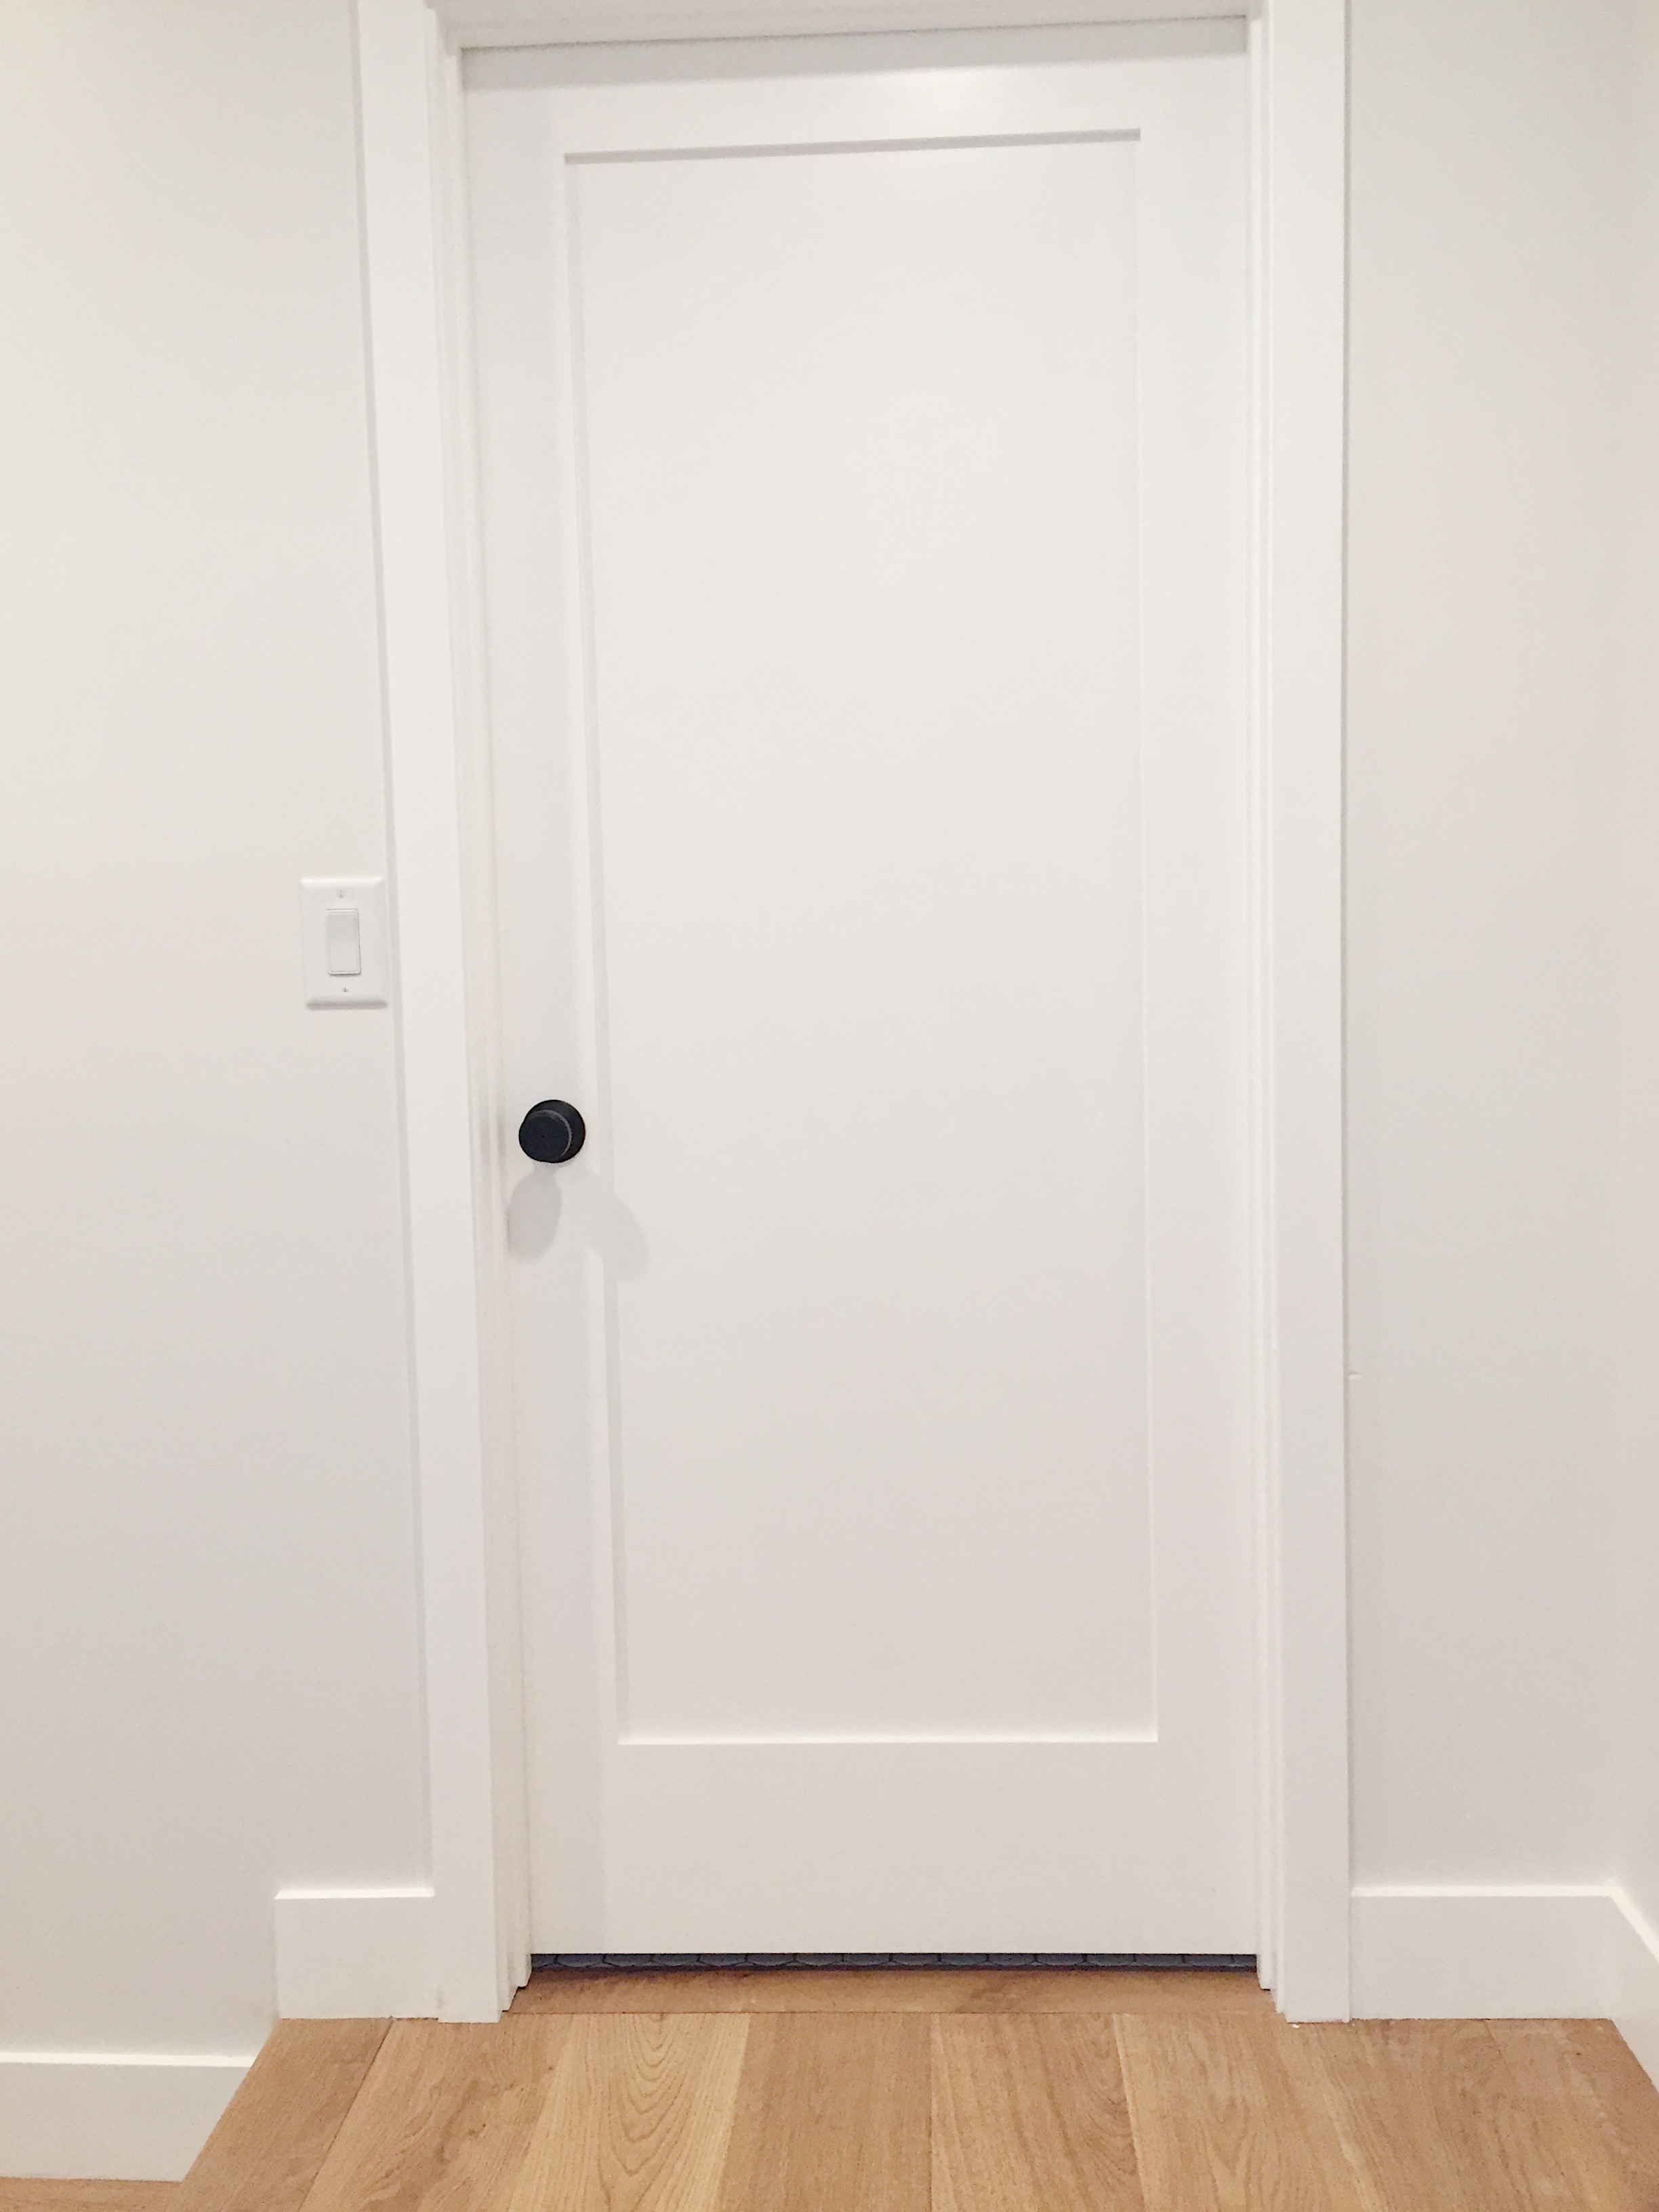
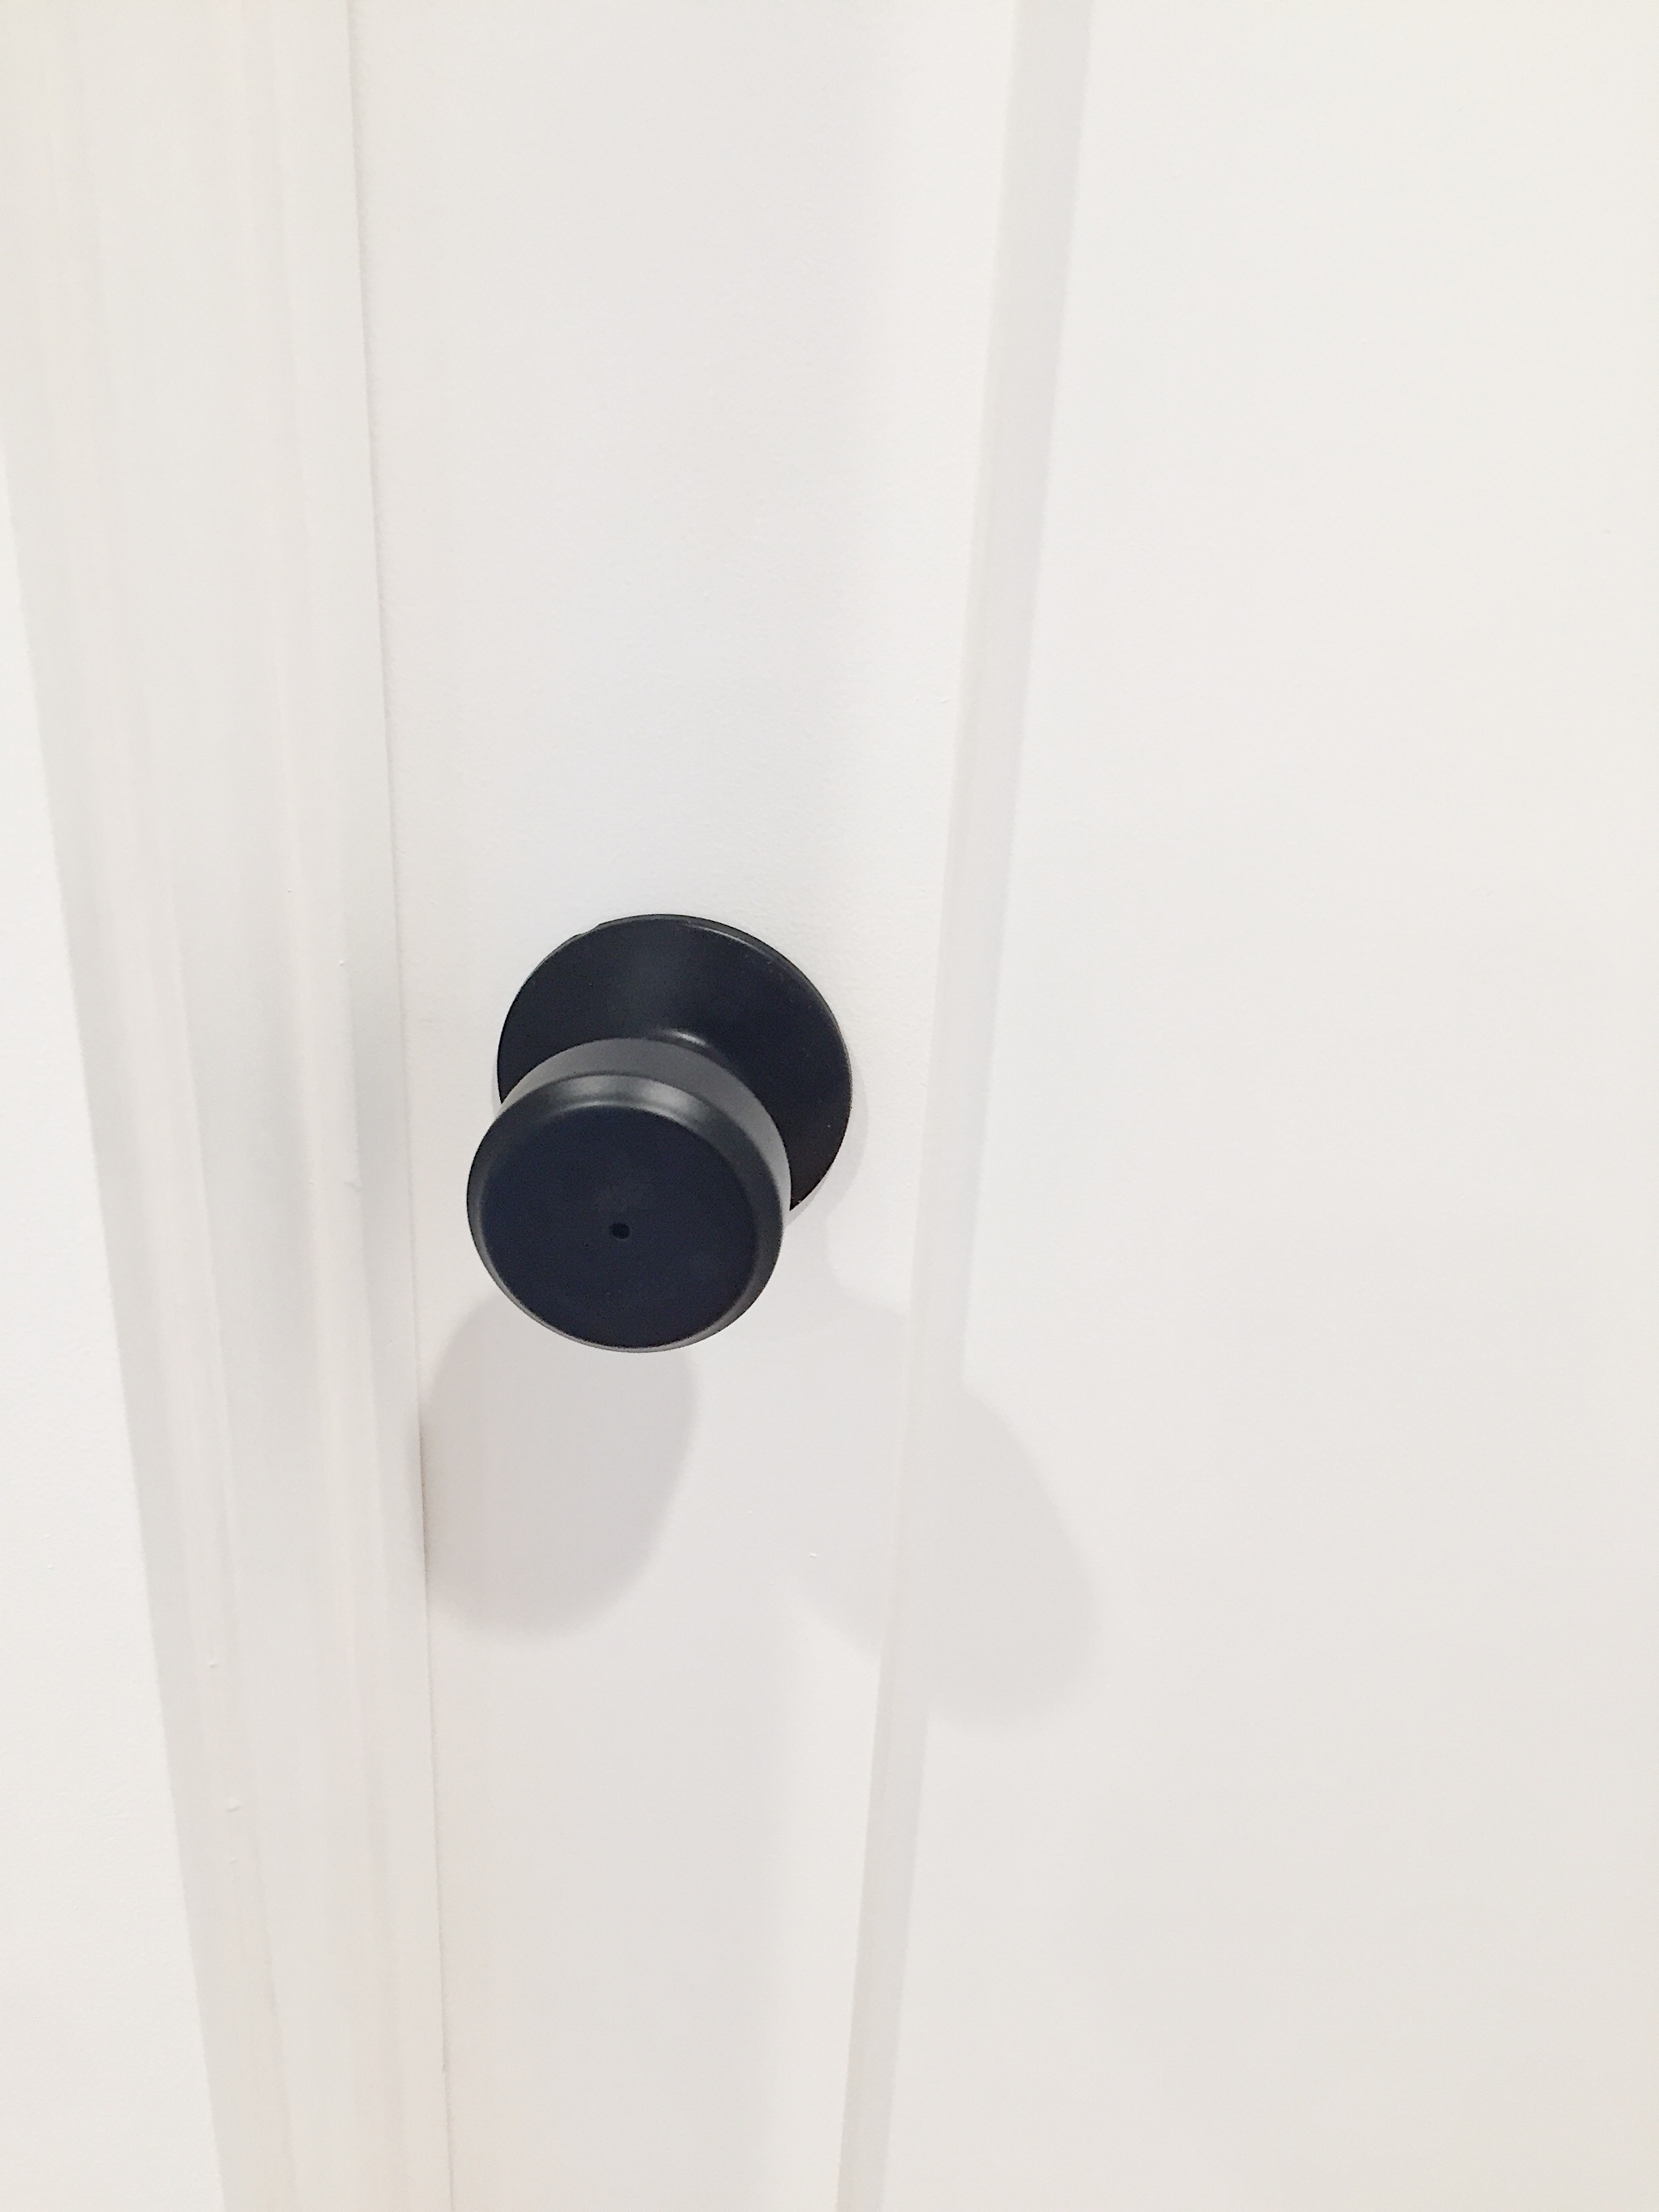
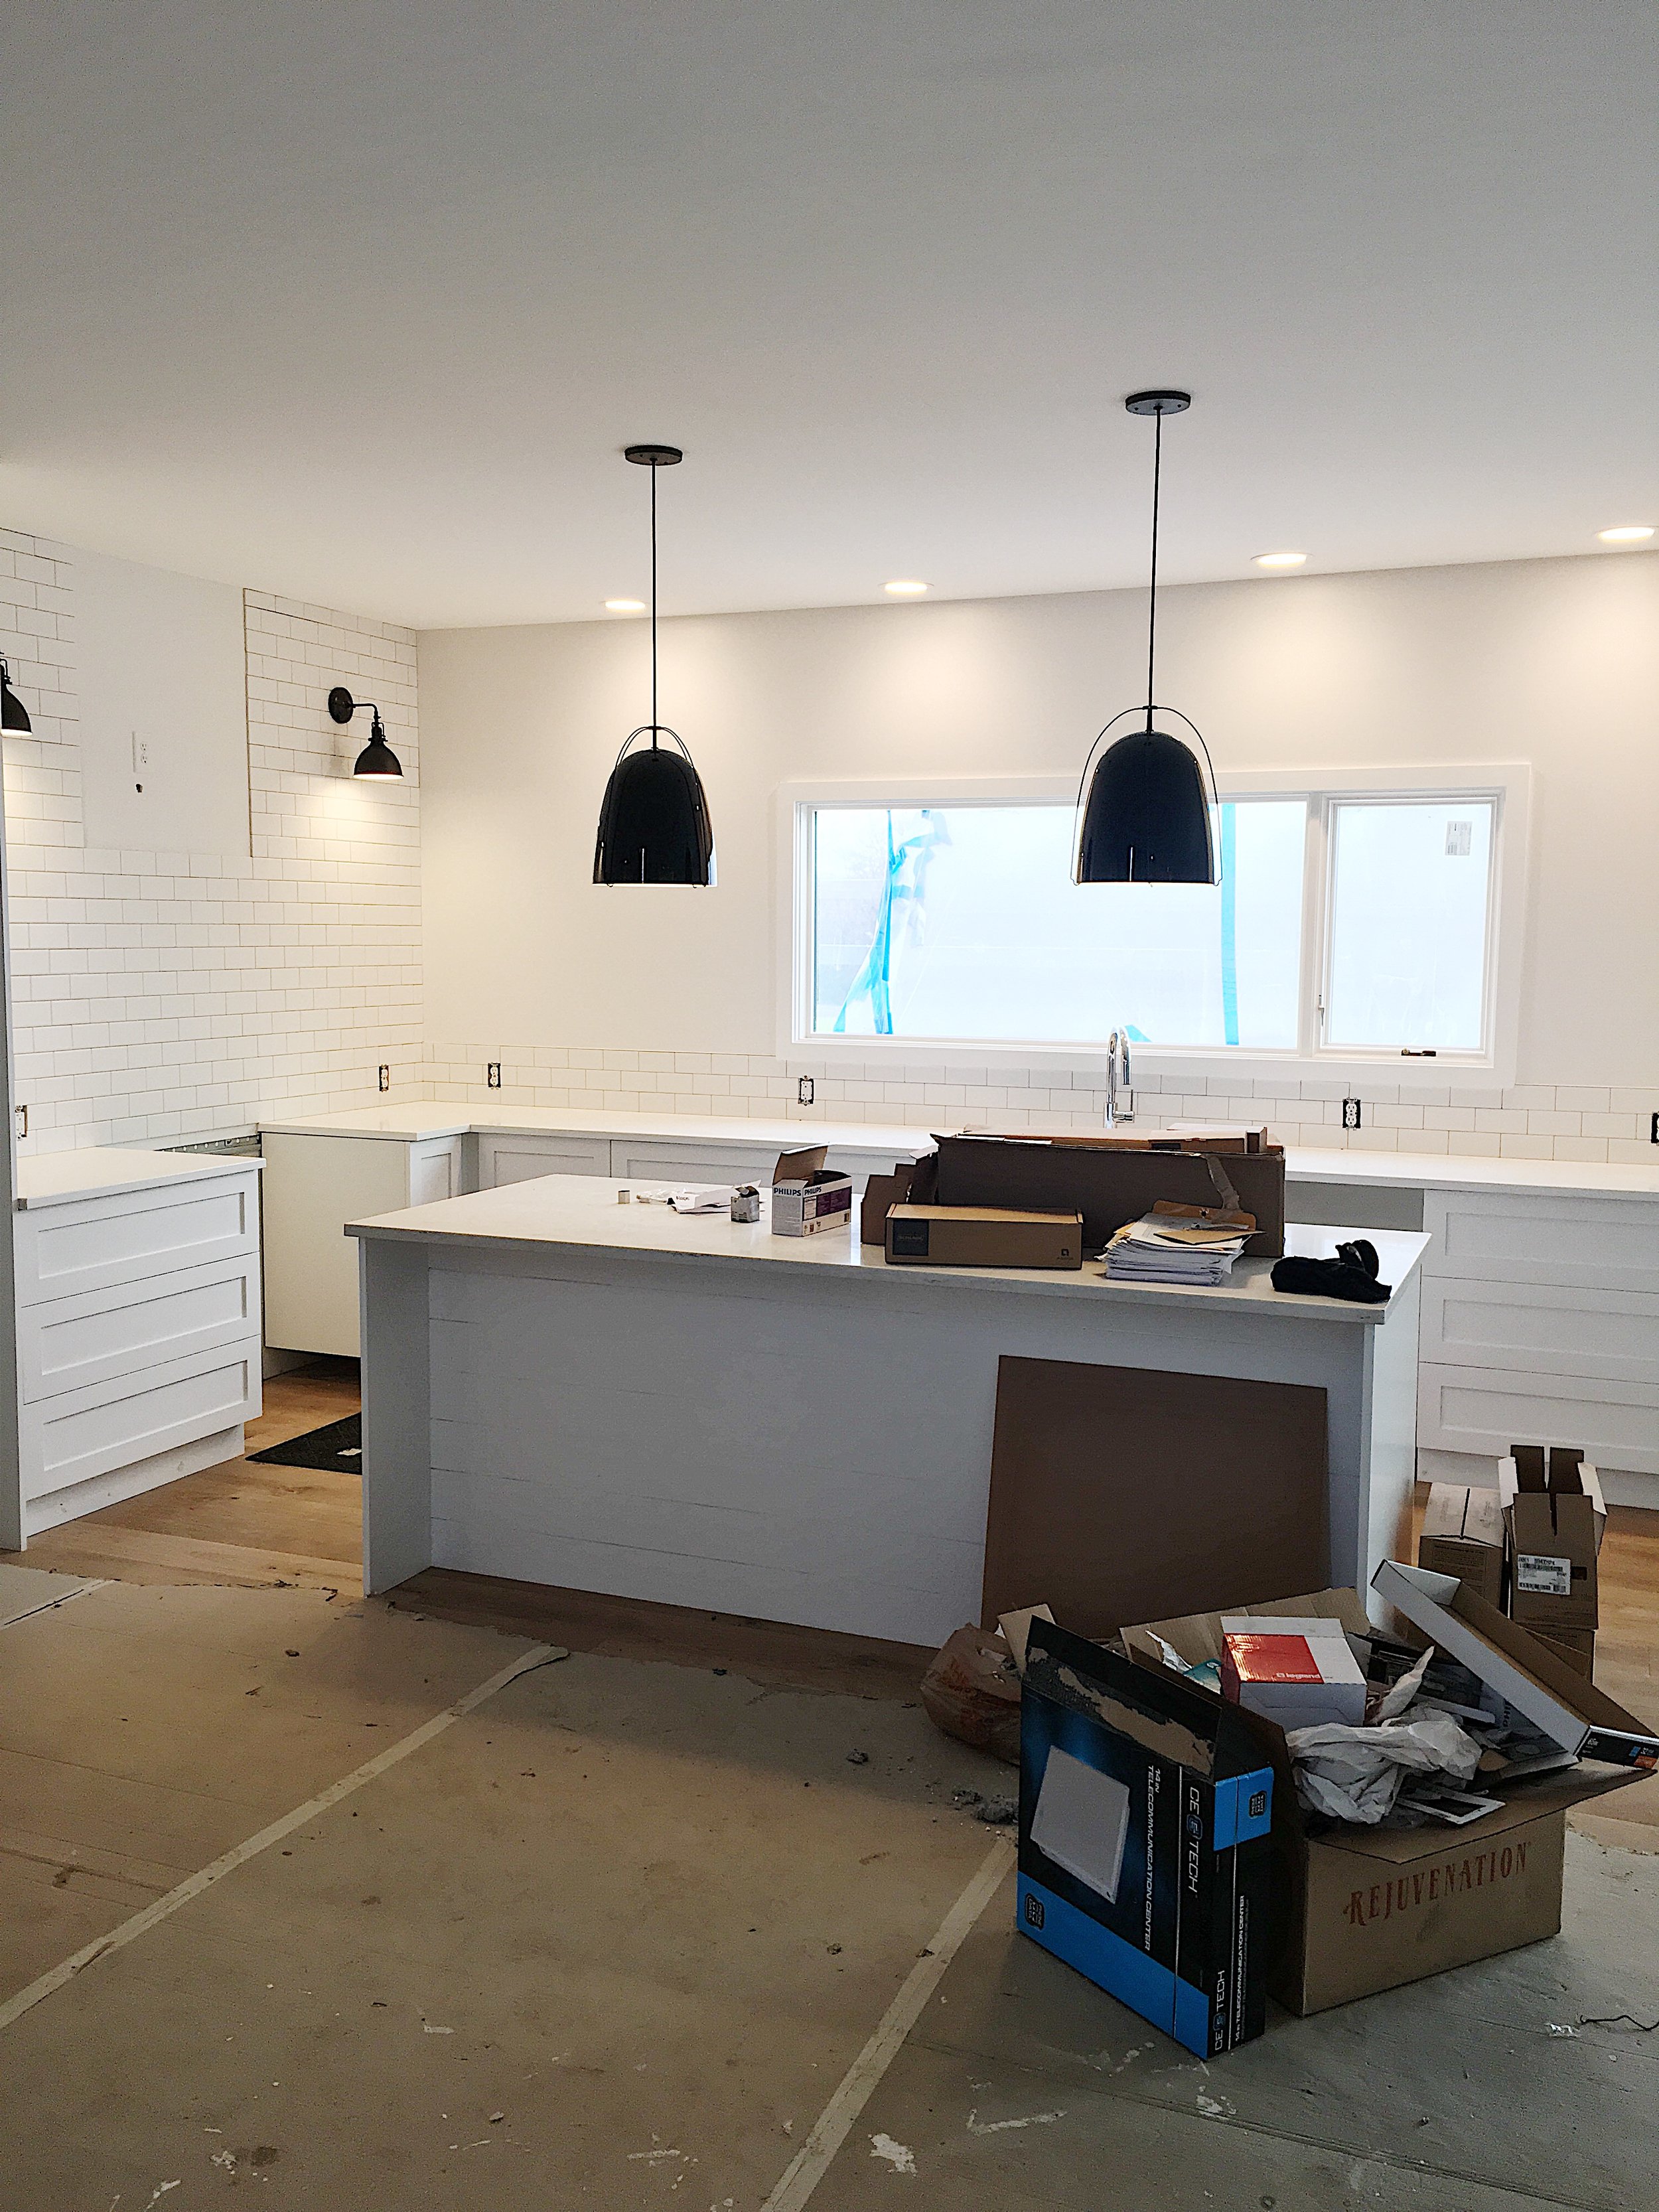
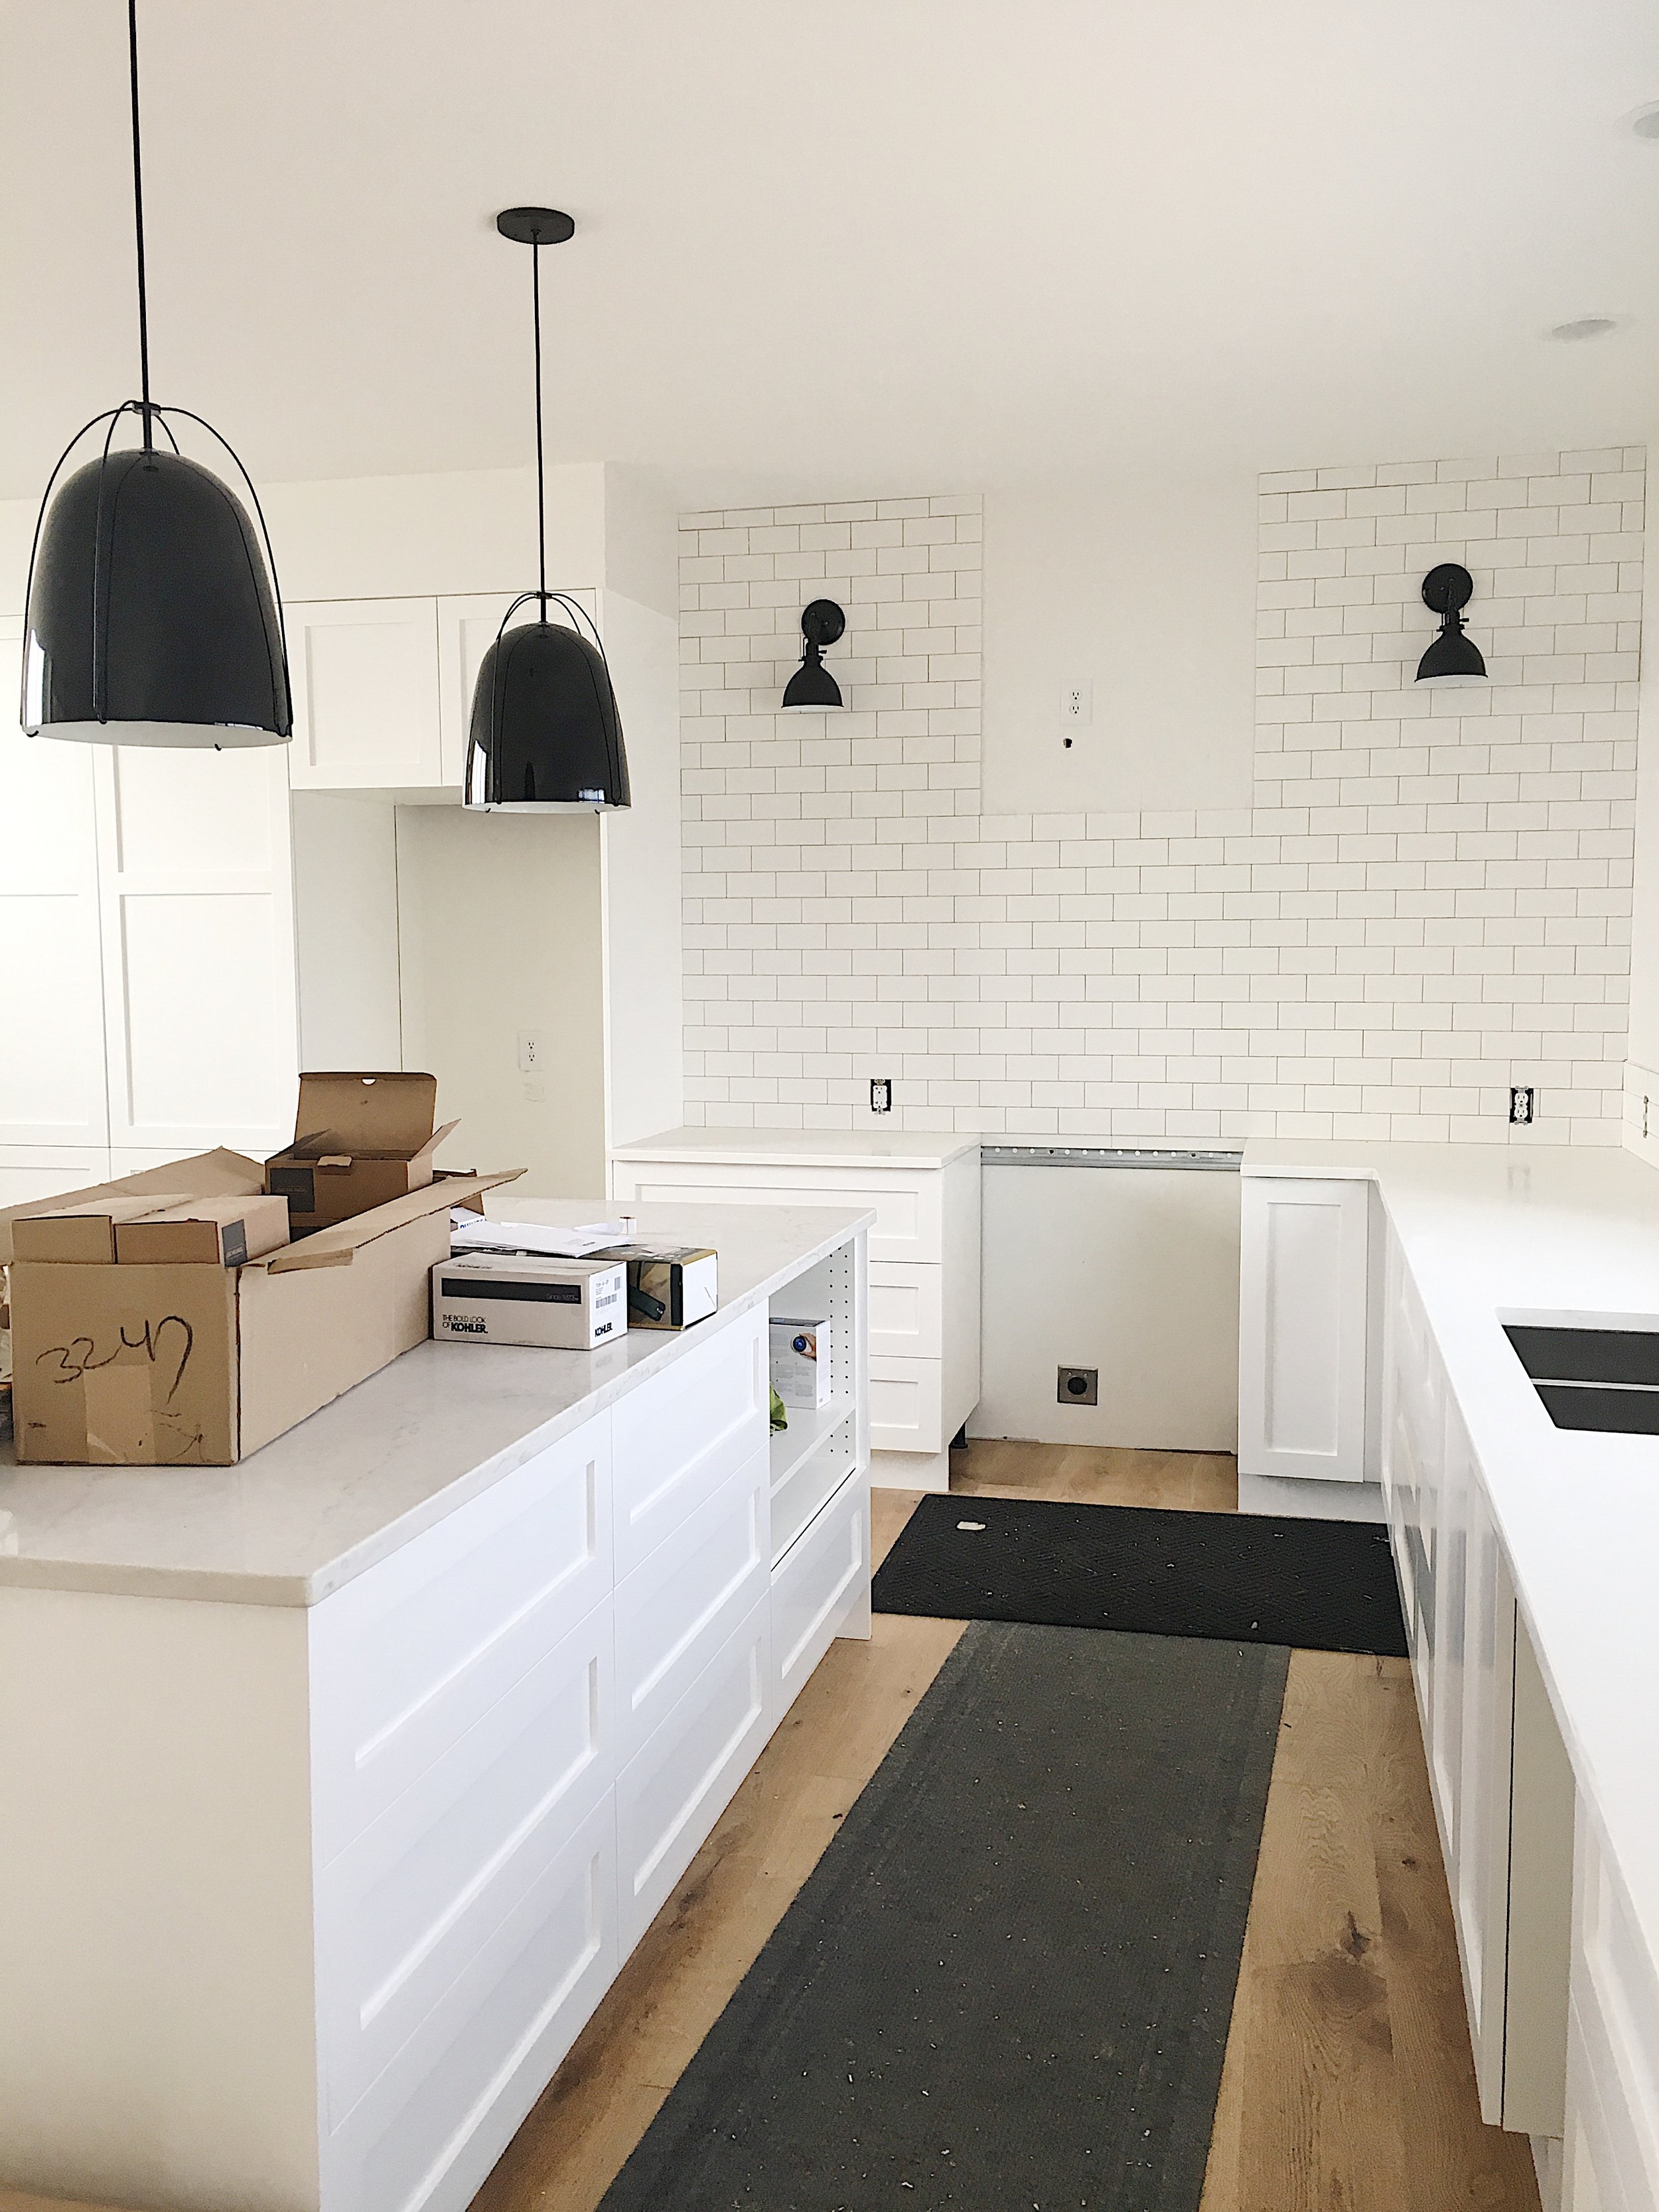
So let's see... progress was in abundance again this week. Tyler stopped by on Tuesday evening and found pendant lights installed over the kitchen island and interior door hardware in place. Clearly we're going with a black and white theme here. :) I like to keep the basics simple and timeless so that I can change things up with my decor over the years.
"Haleigh" Pendants by Rejuvenation | Knobs by Schlage
By the way... if you ever build a house or do some remodeling, door hardware is the WORST. We fret and stewed over those dang knobs for weeks. We knew we wanted matte black which instantly limited our options dramatically. The debate over knobs or levers, however, was endless. I was Team Knobs. Tyler was Team Levers. I guess you can see who won that debate. :) Regardless, the hardware is clean, simple, and looks great - probably because we went with knobs. Just saying.
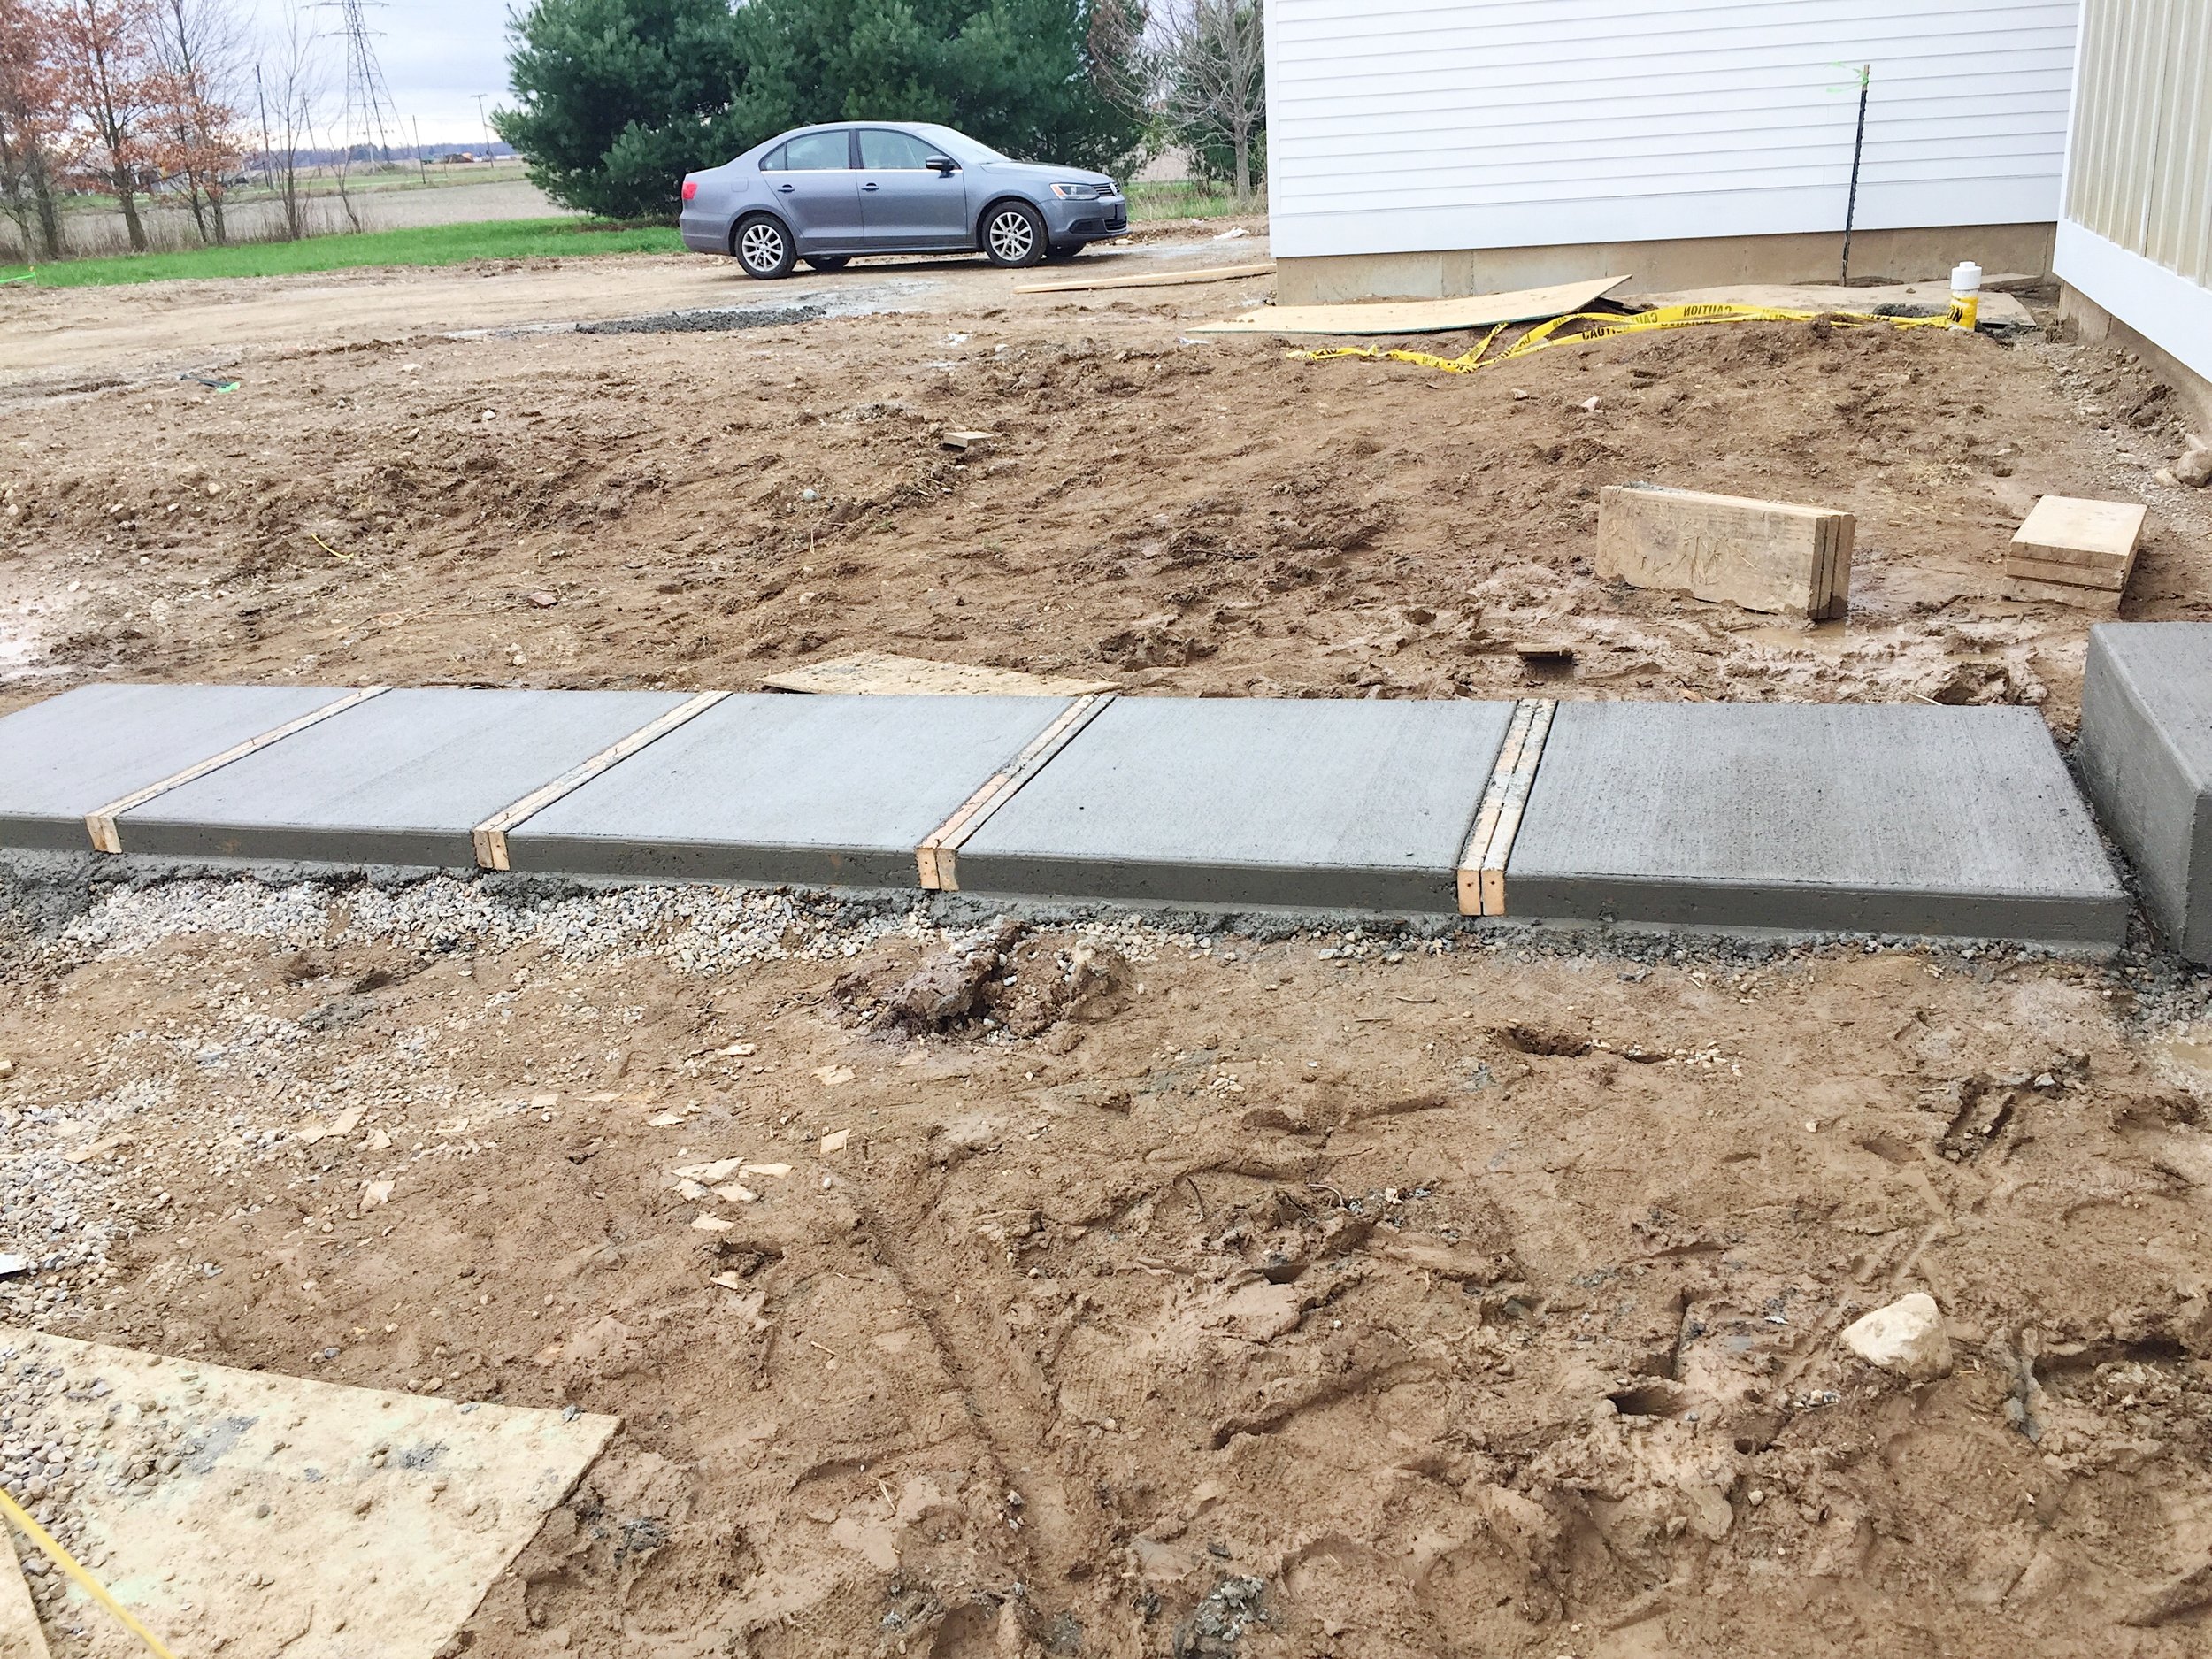
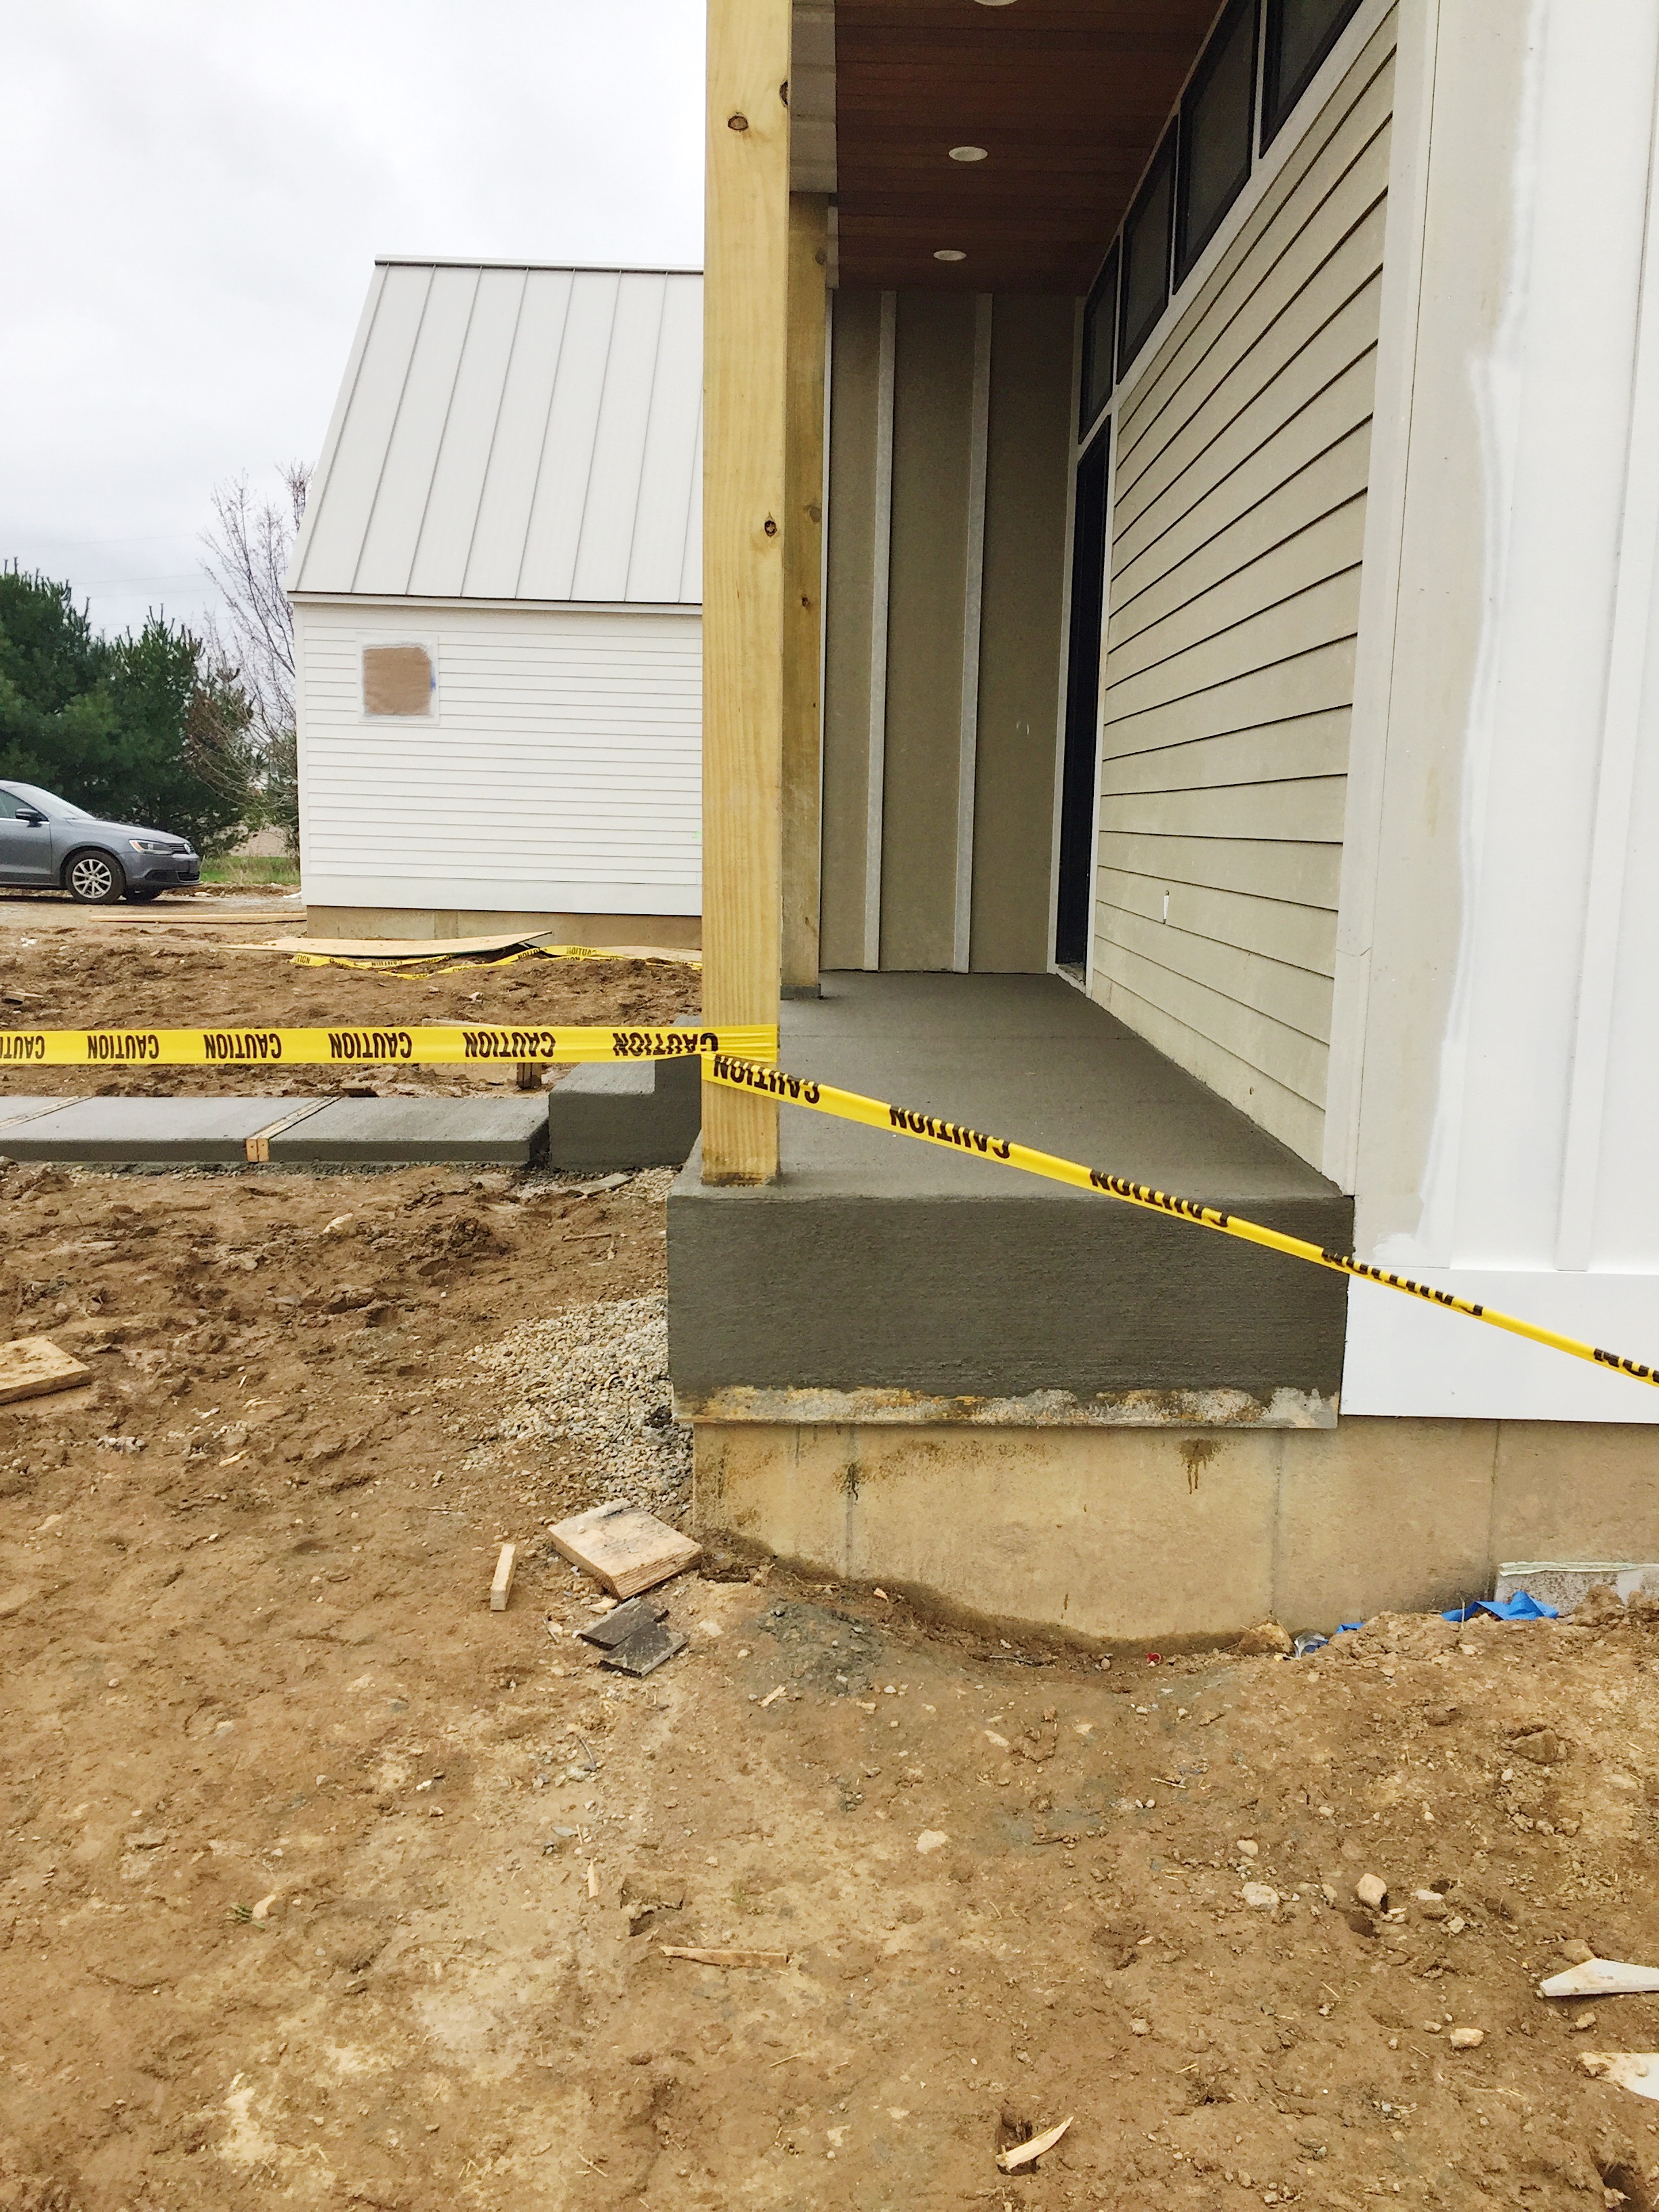
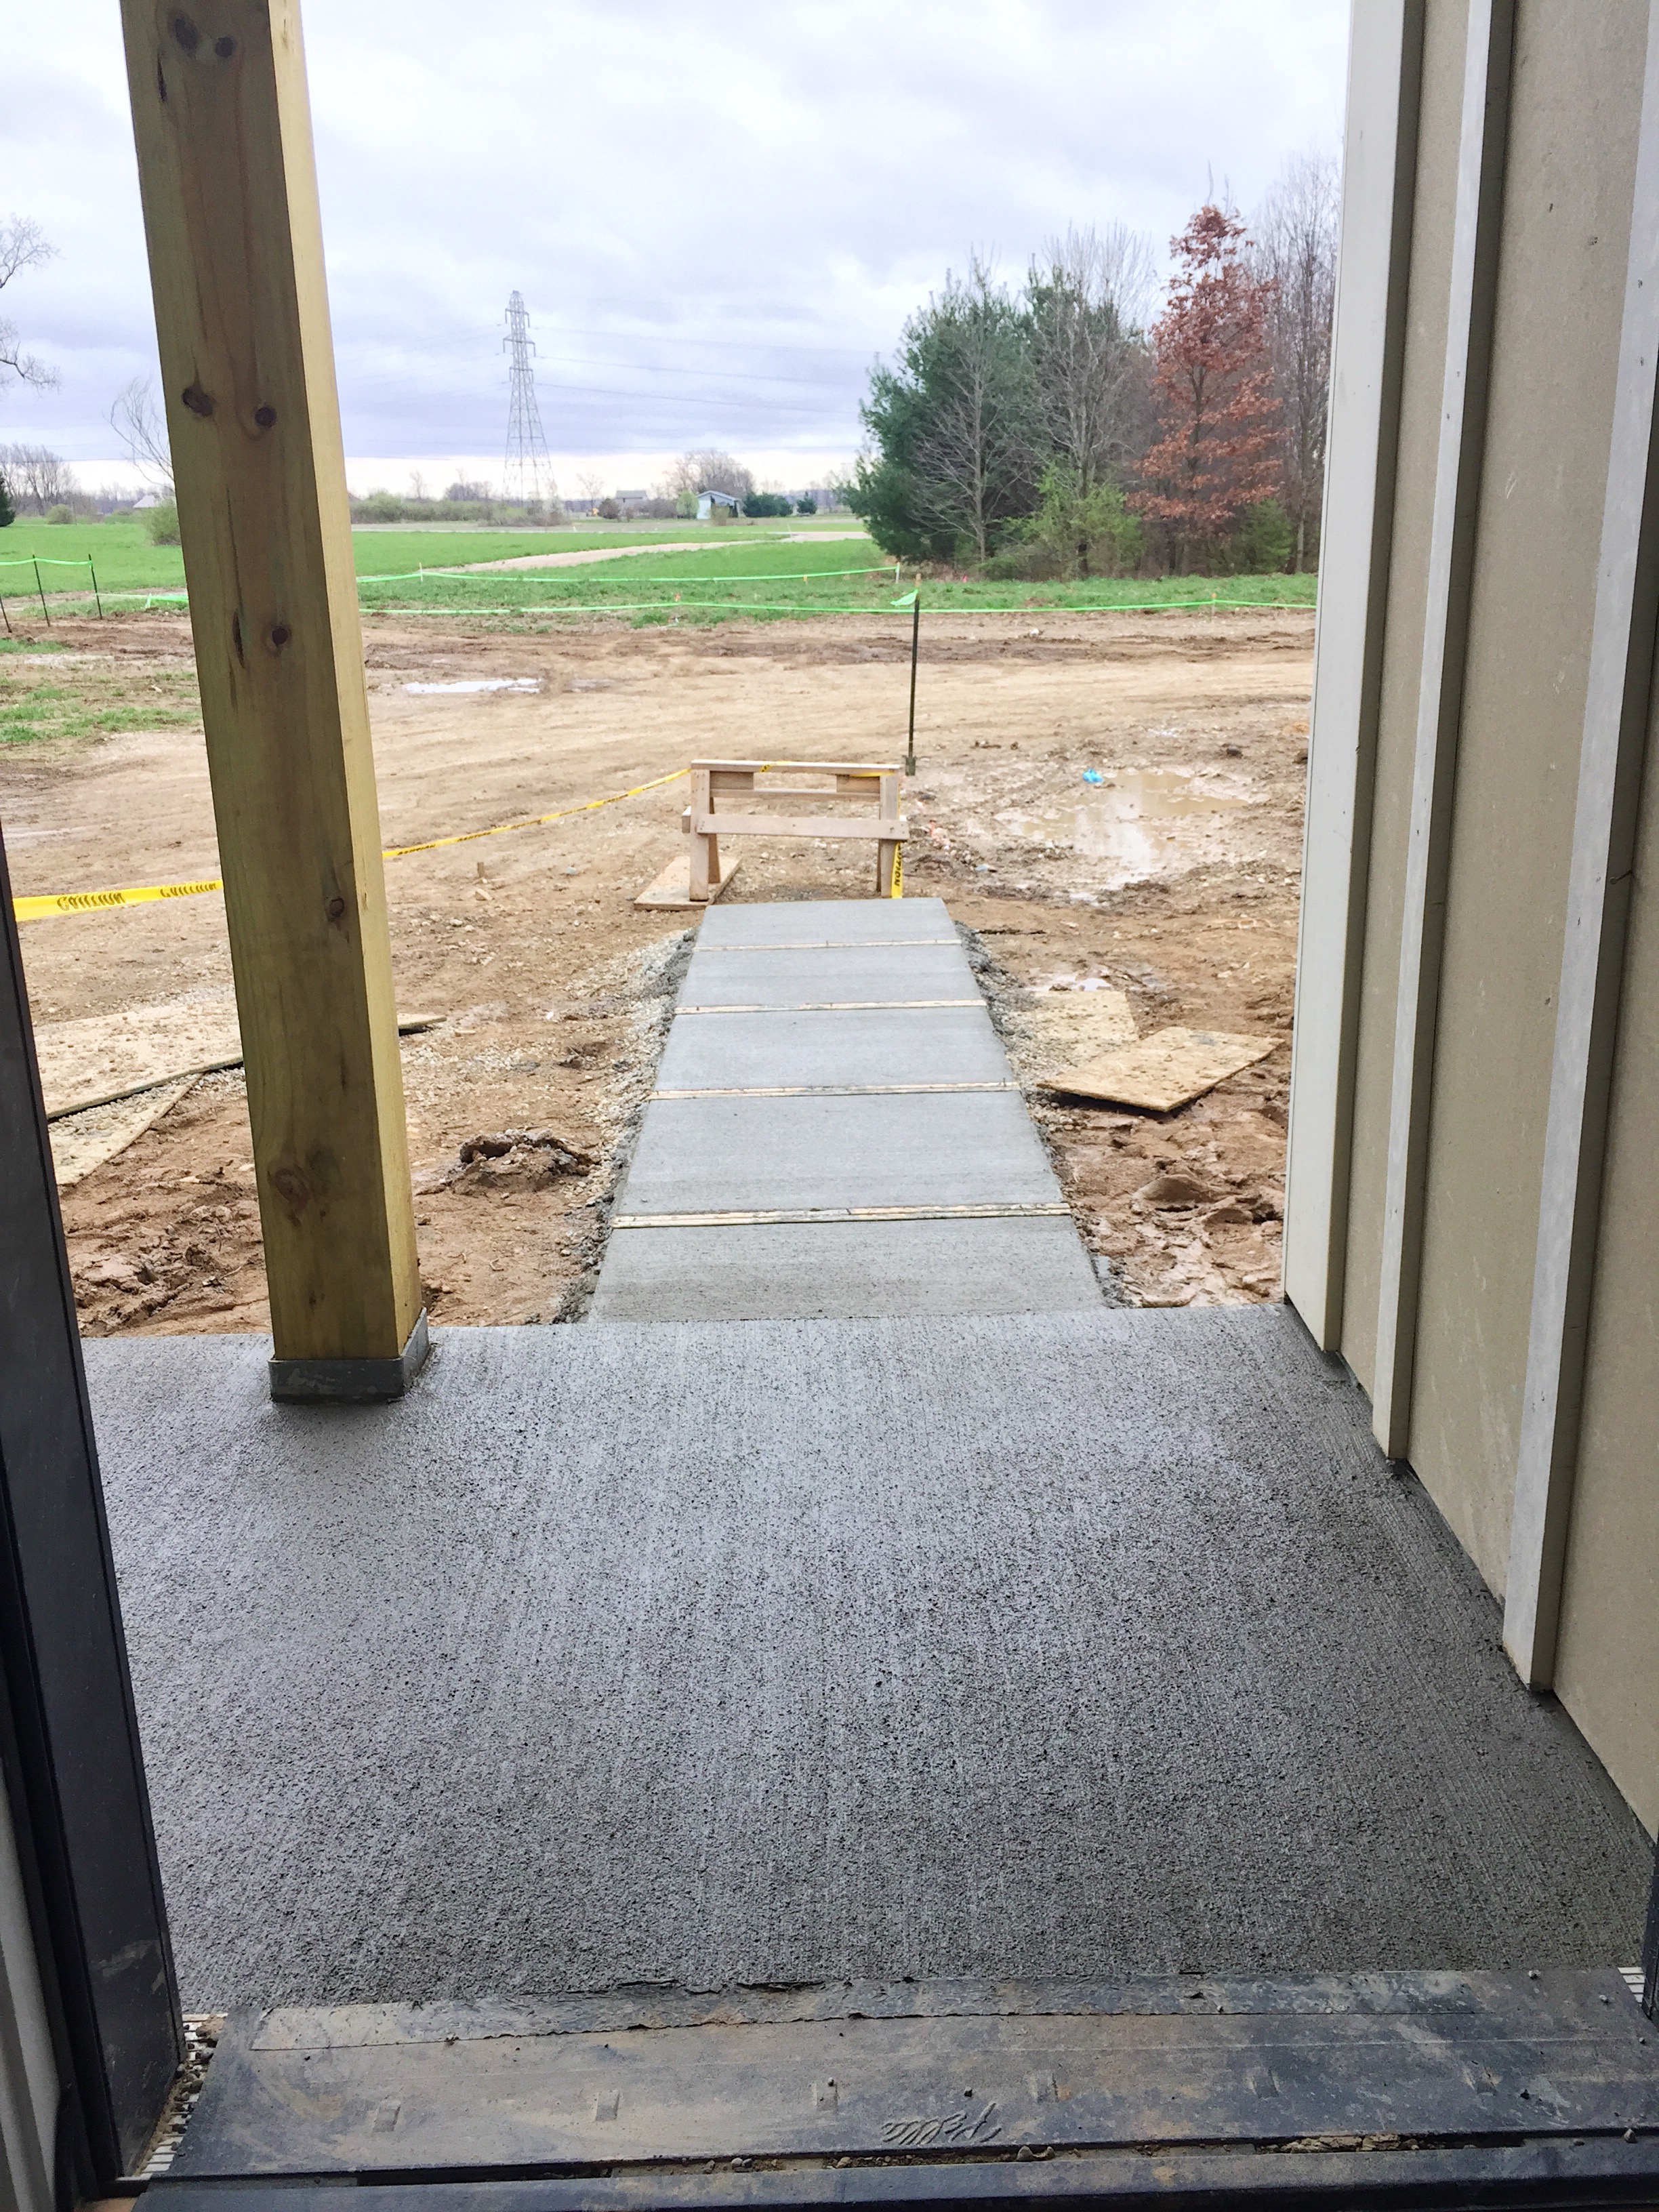
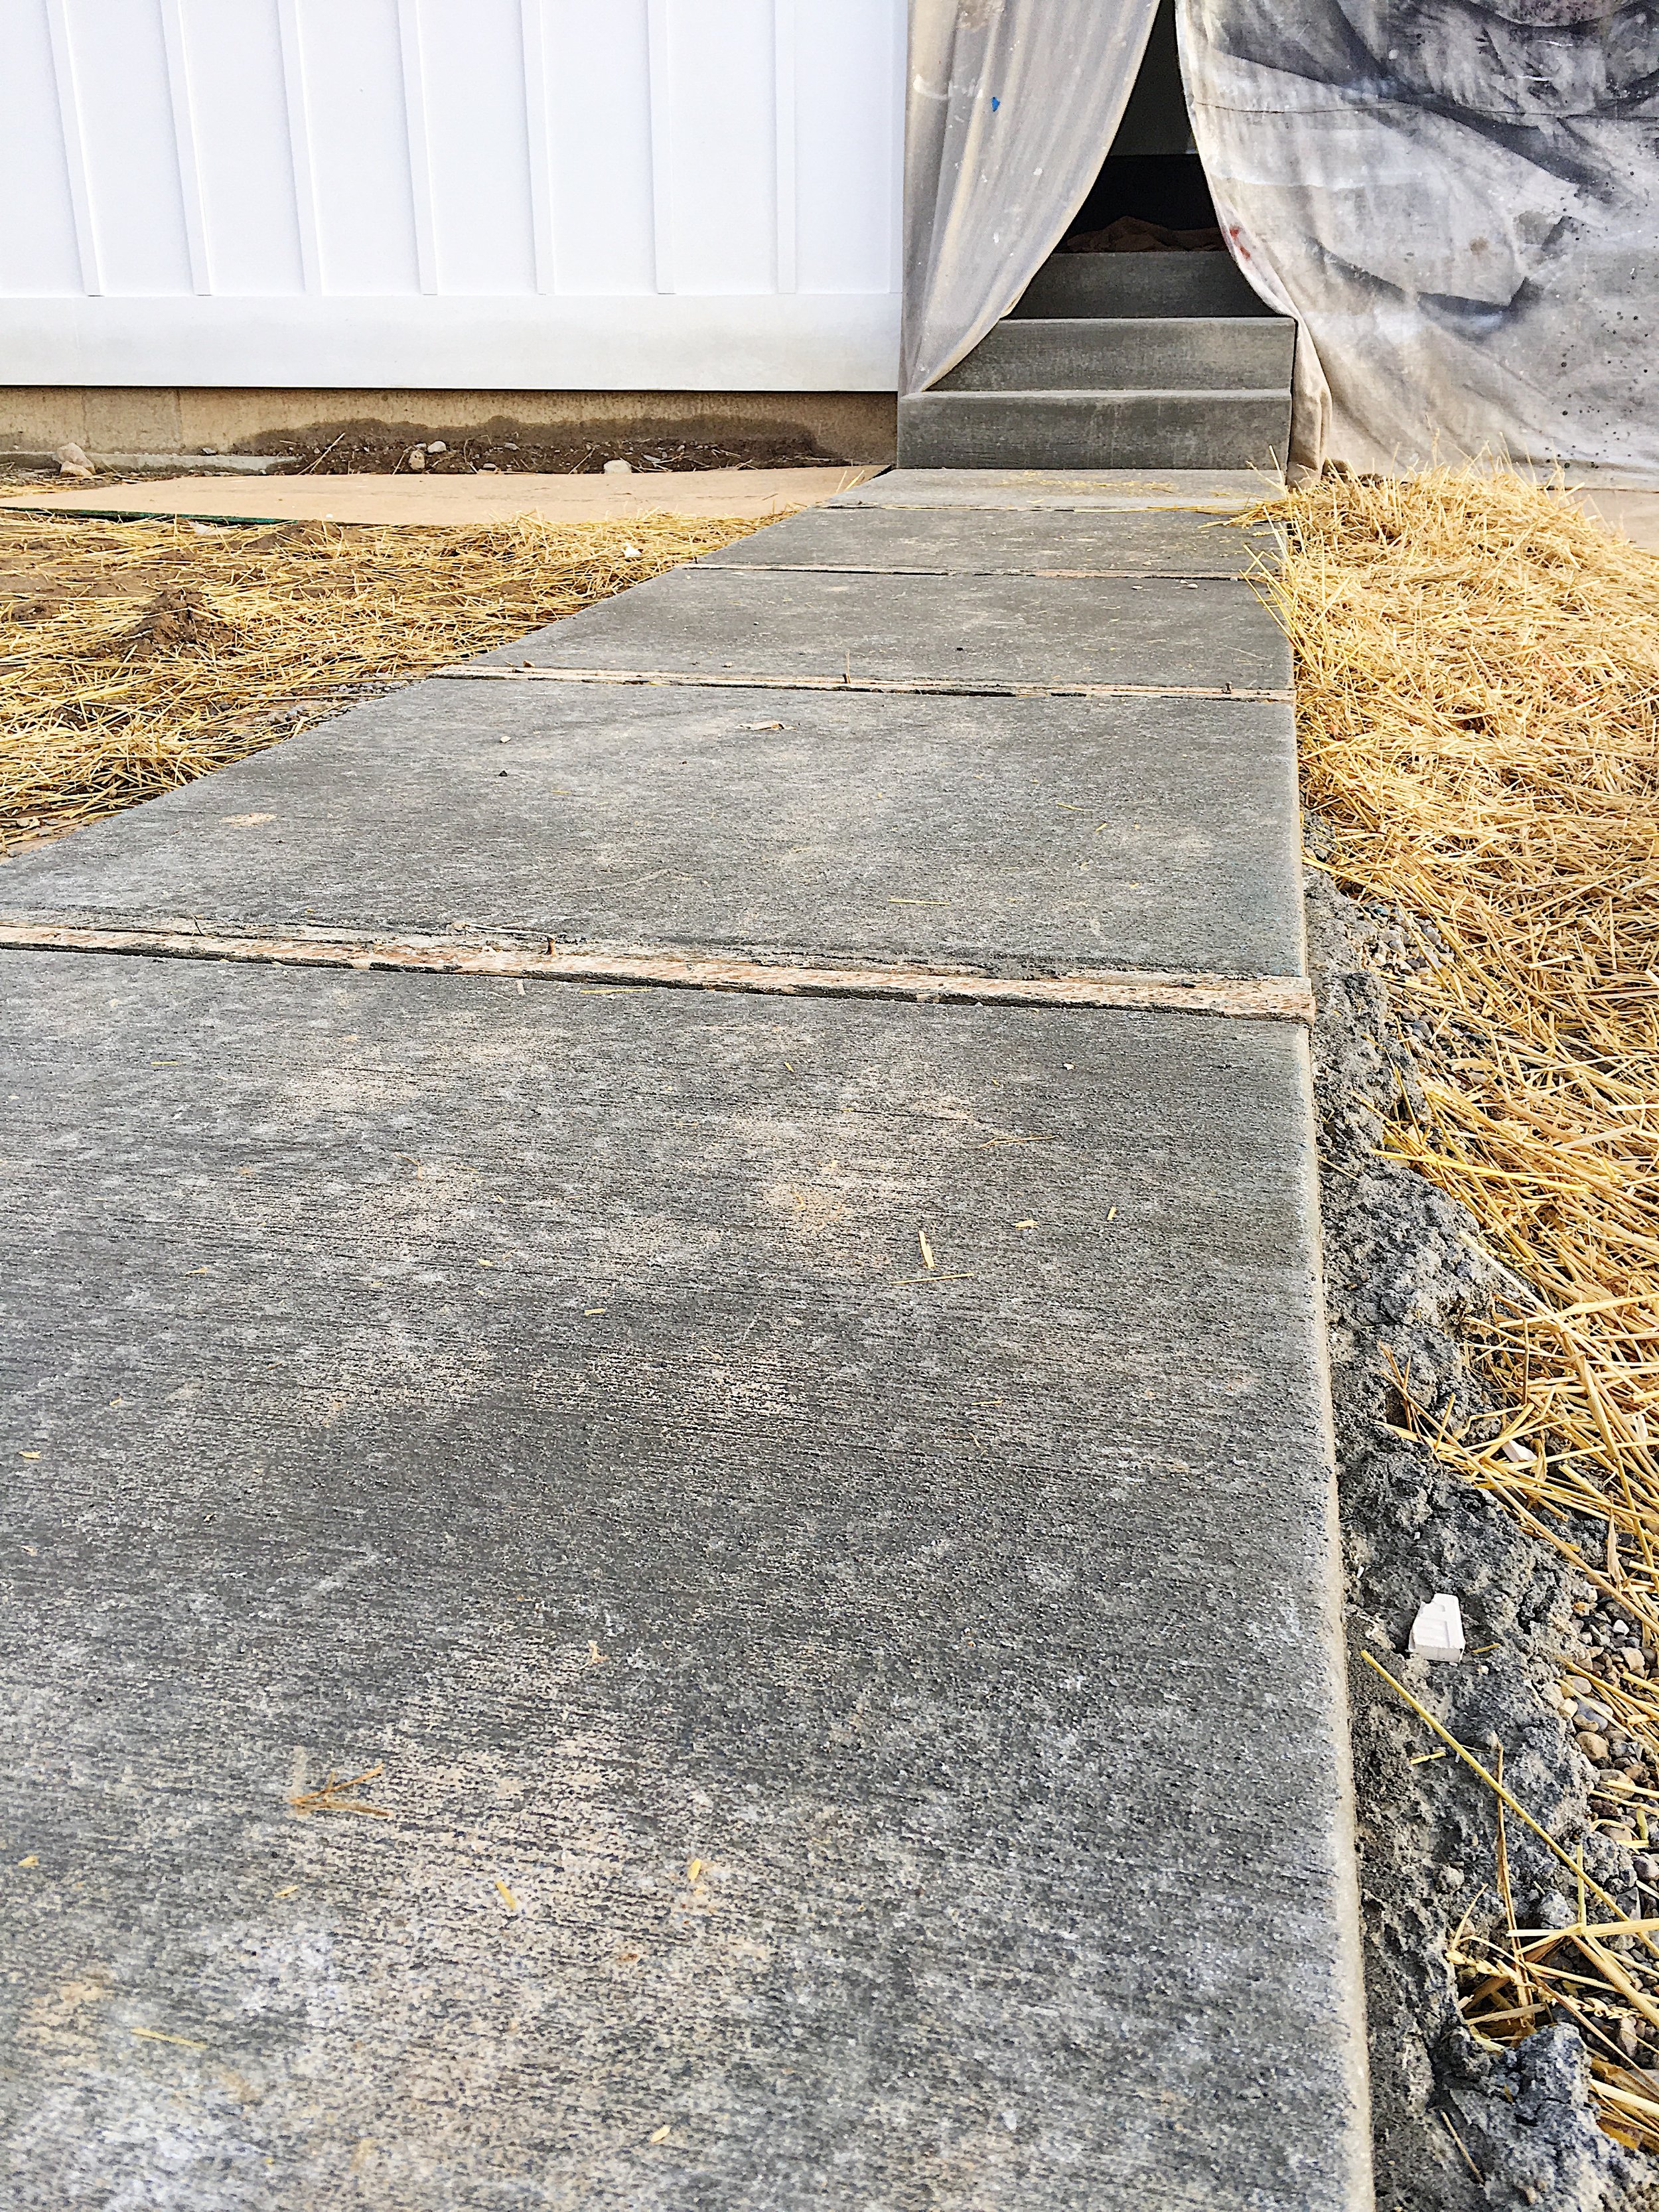
Tyler stopped by the house again on Wednesday, and we were thrilled to see that the weather cooperated for long enough to finally pour concrete! We officially have a front porch, sidewalk, and a breezeway to walk on. If you're wondering why there is wood in between the sidewalk "pads", that's because I wanted a more modern design. The wood will be removed and we will fill in these gaps with stone. It's a small detail, but every little detail counts!
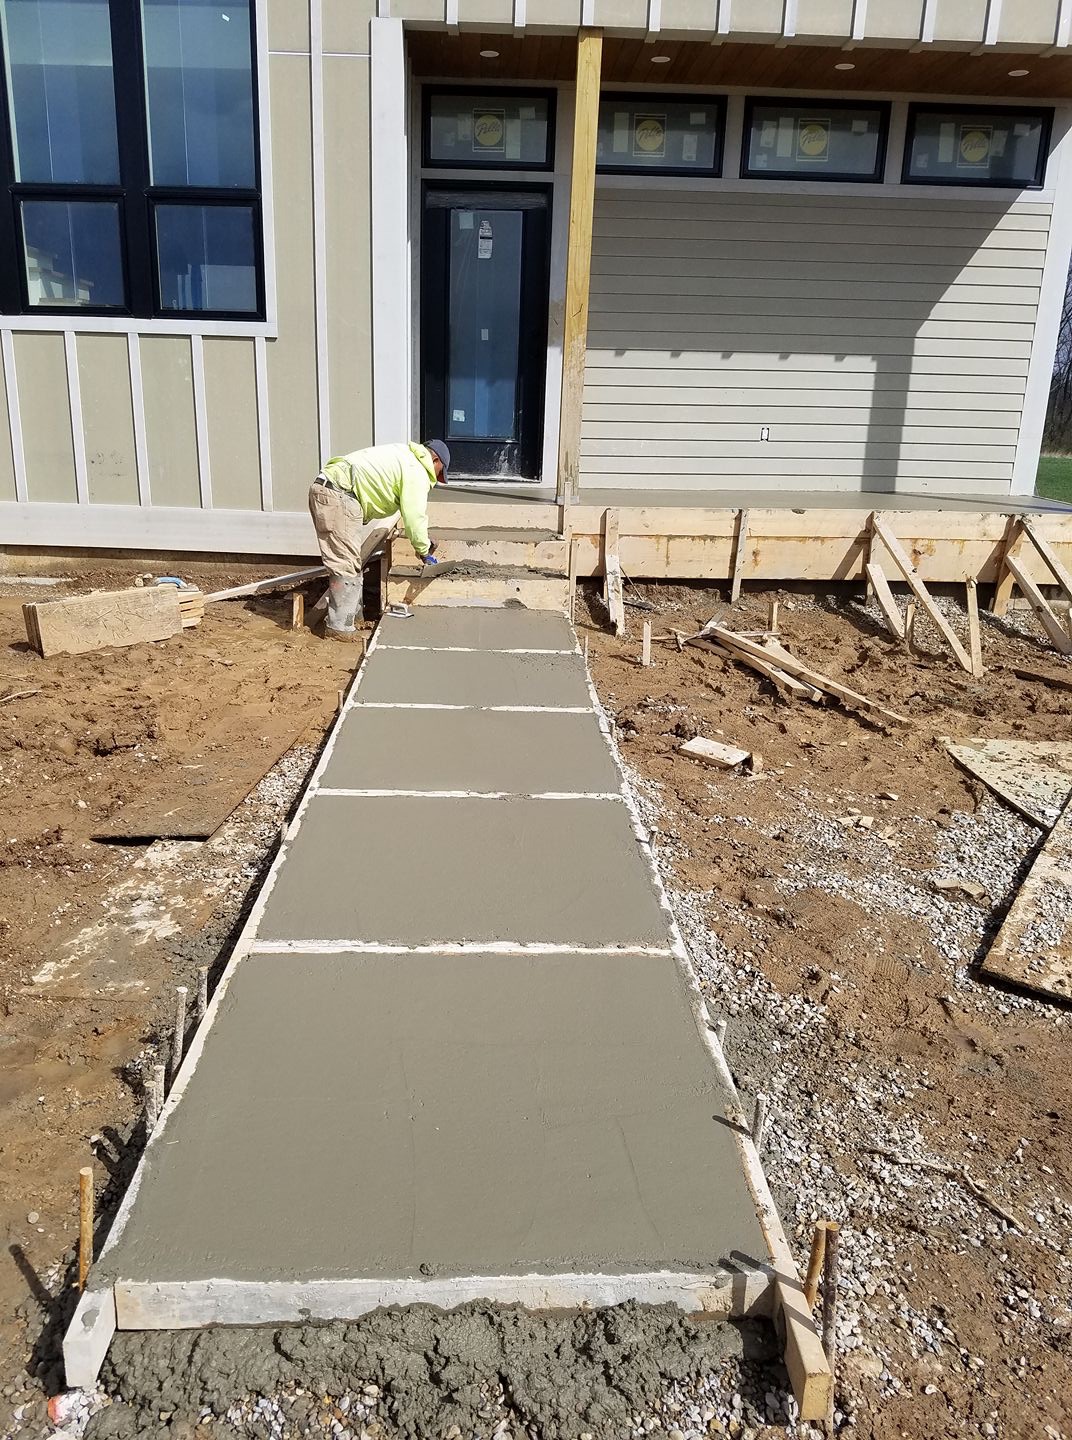
Photo above via Cedar Street Builders


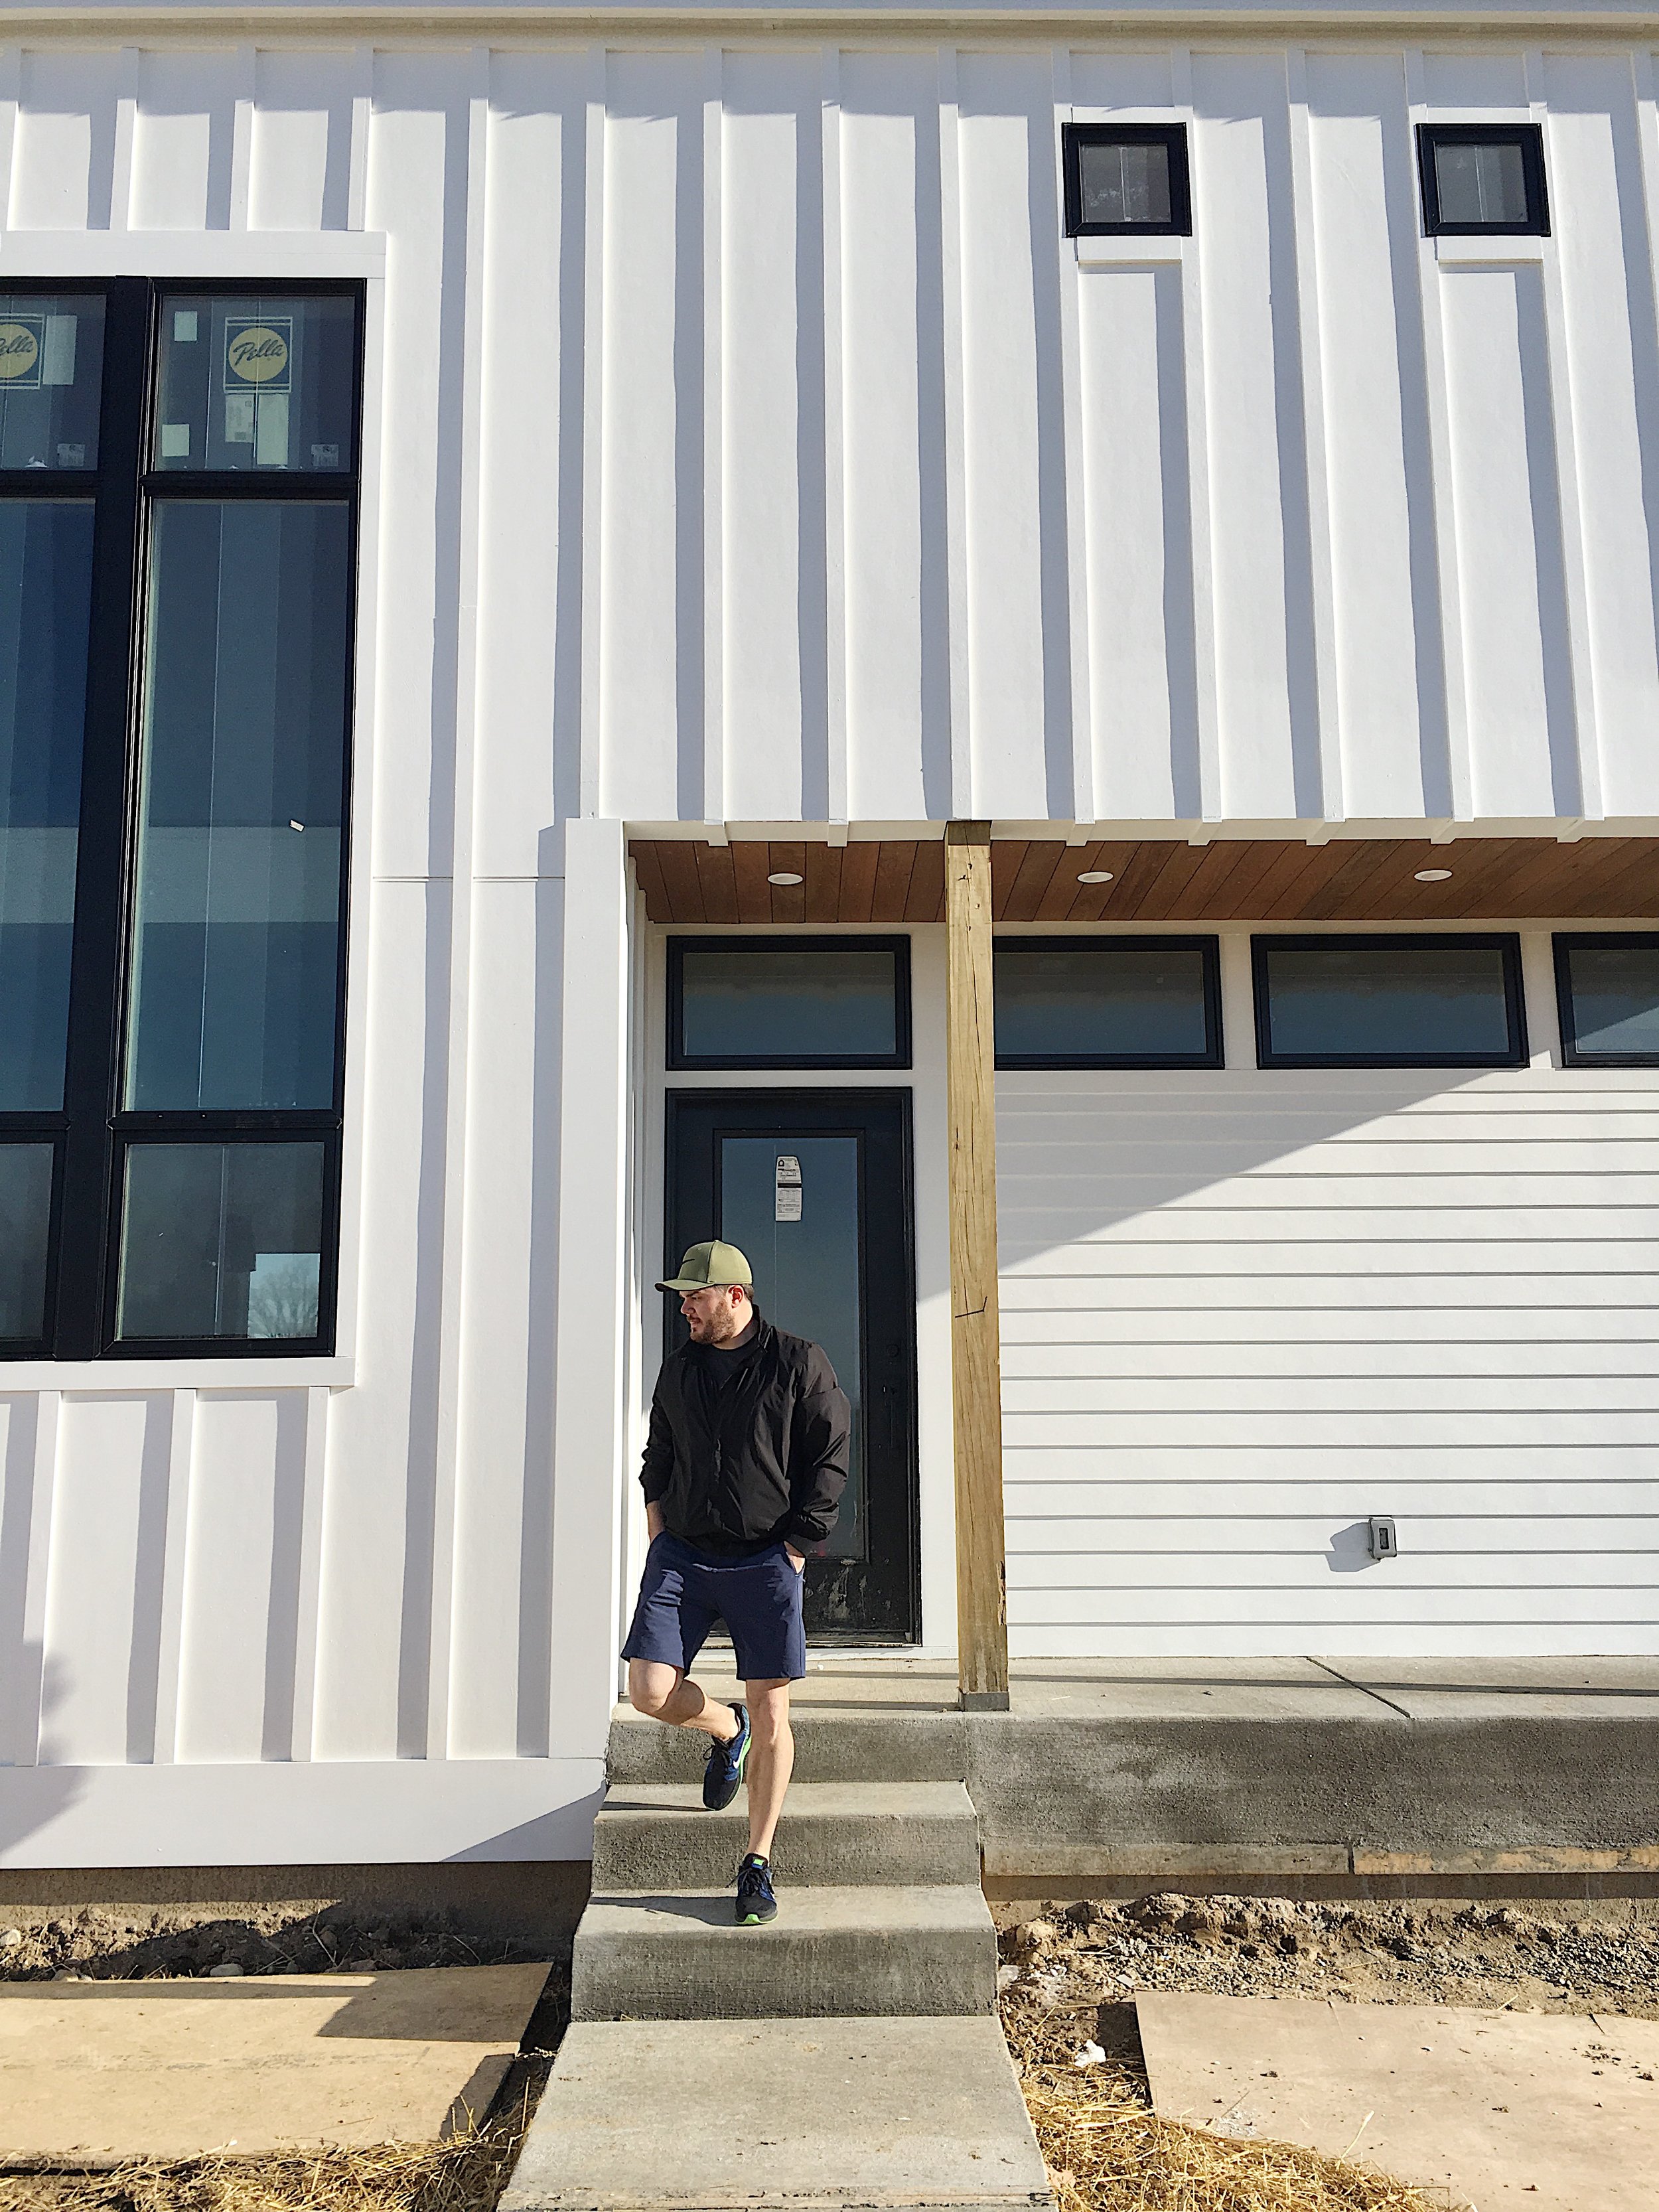
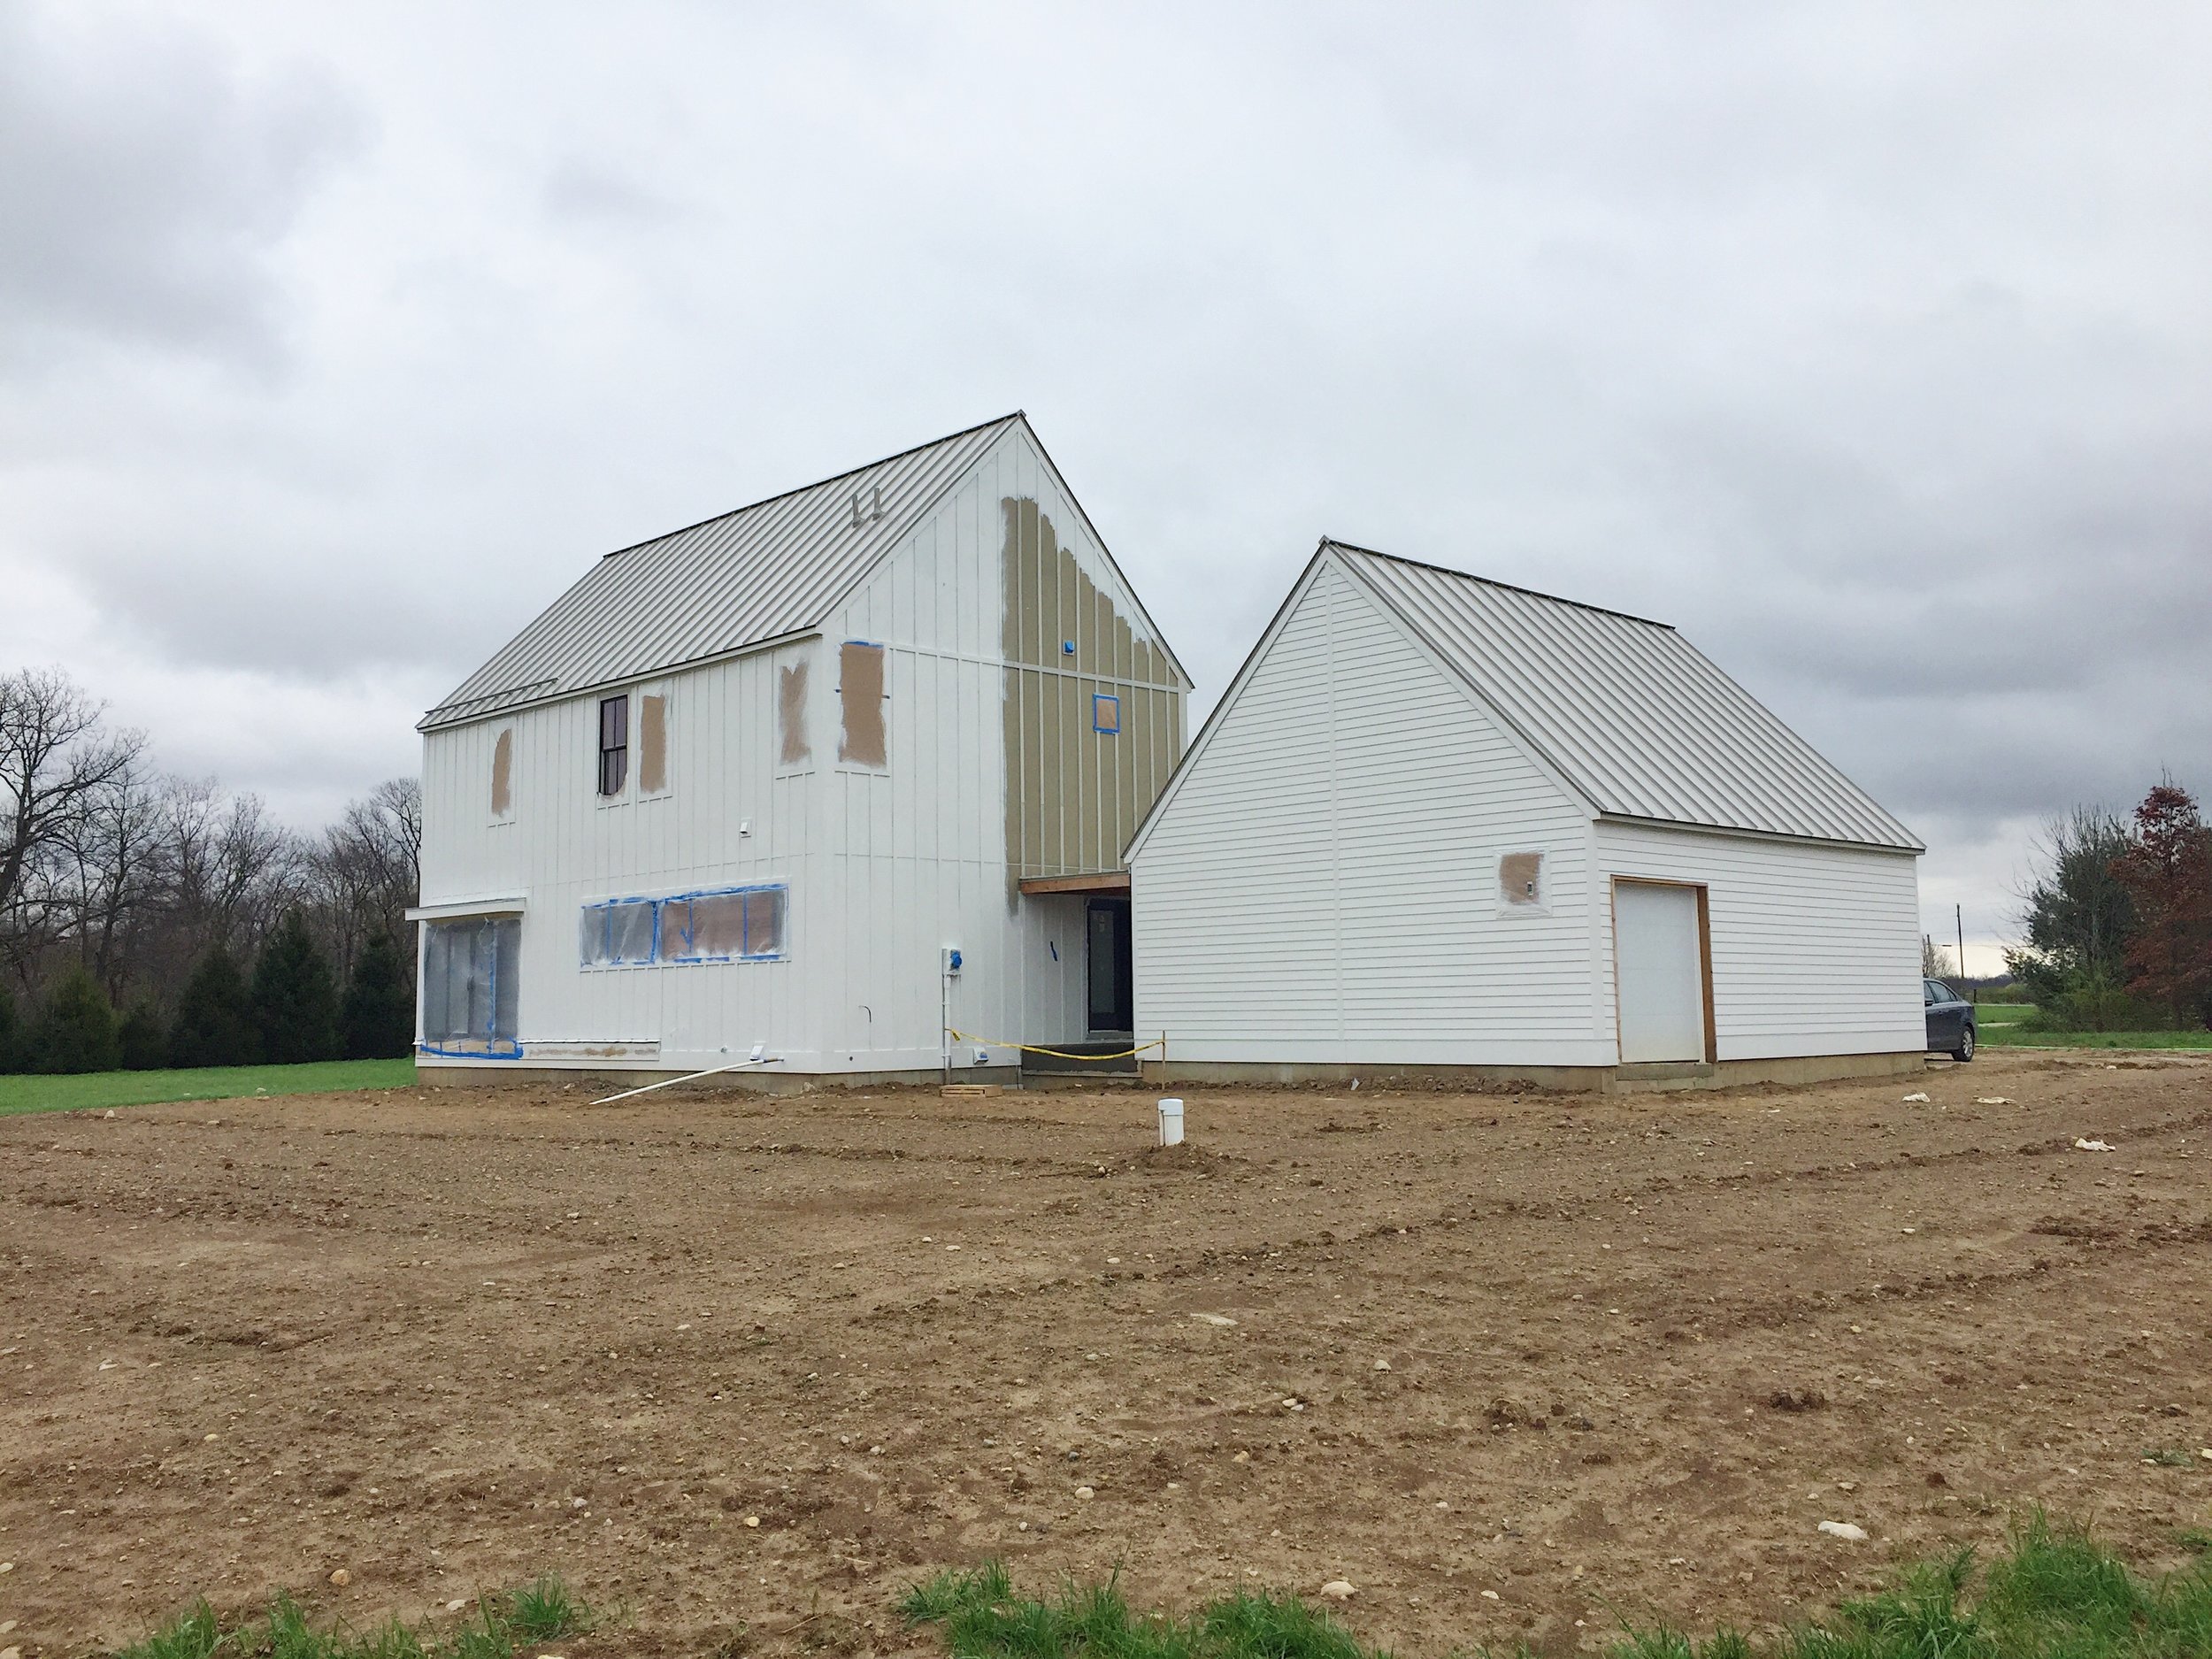
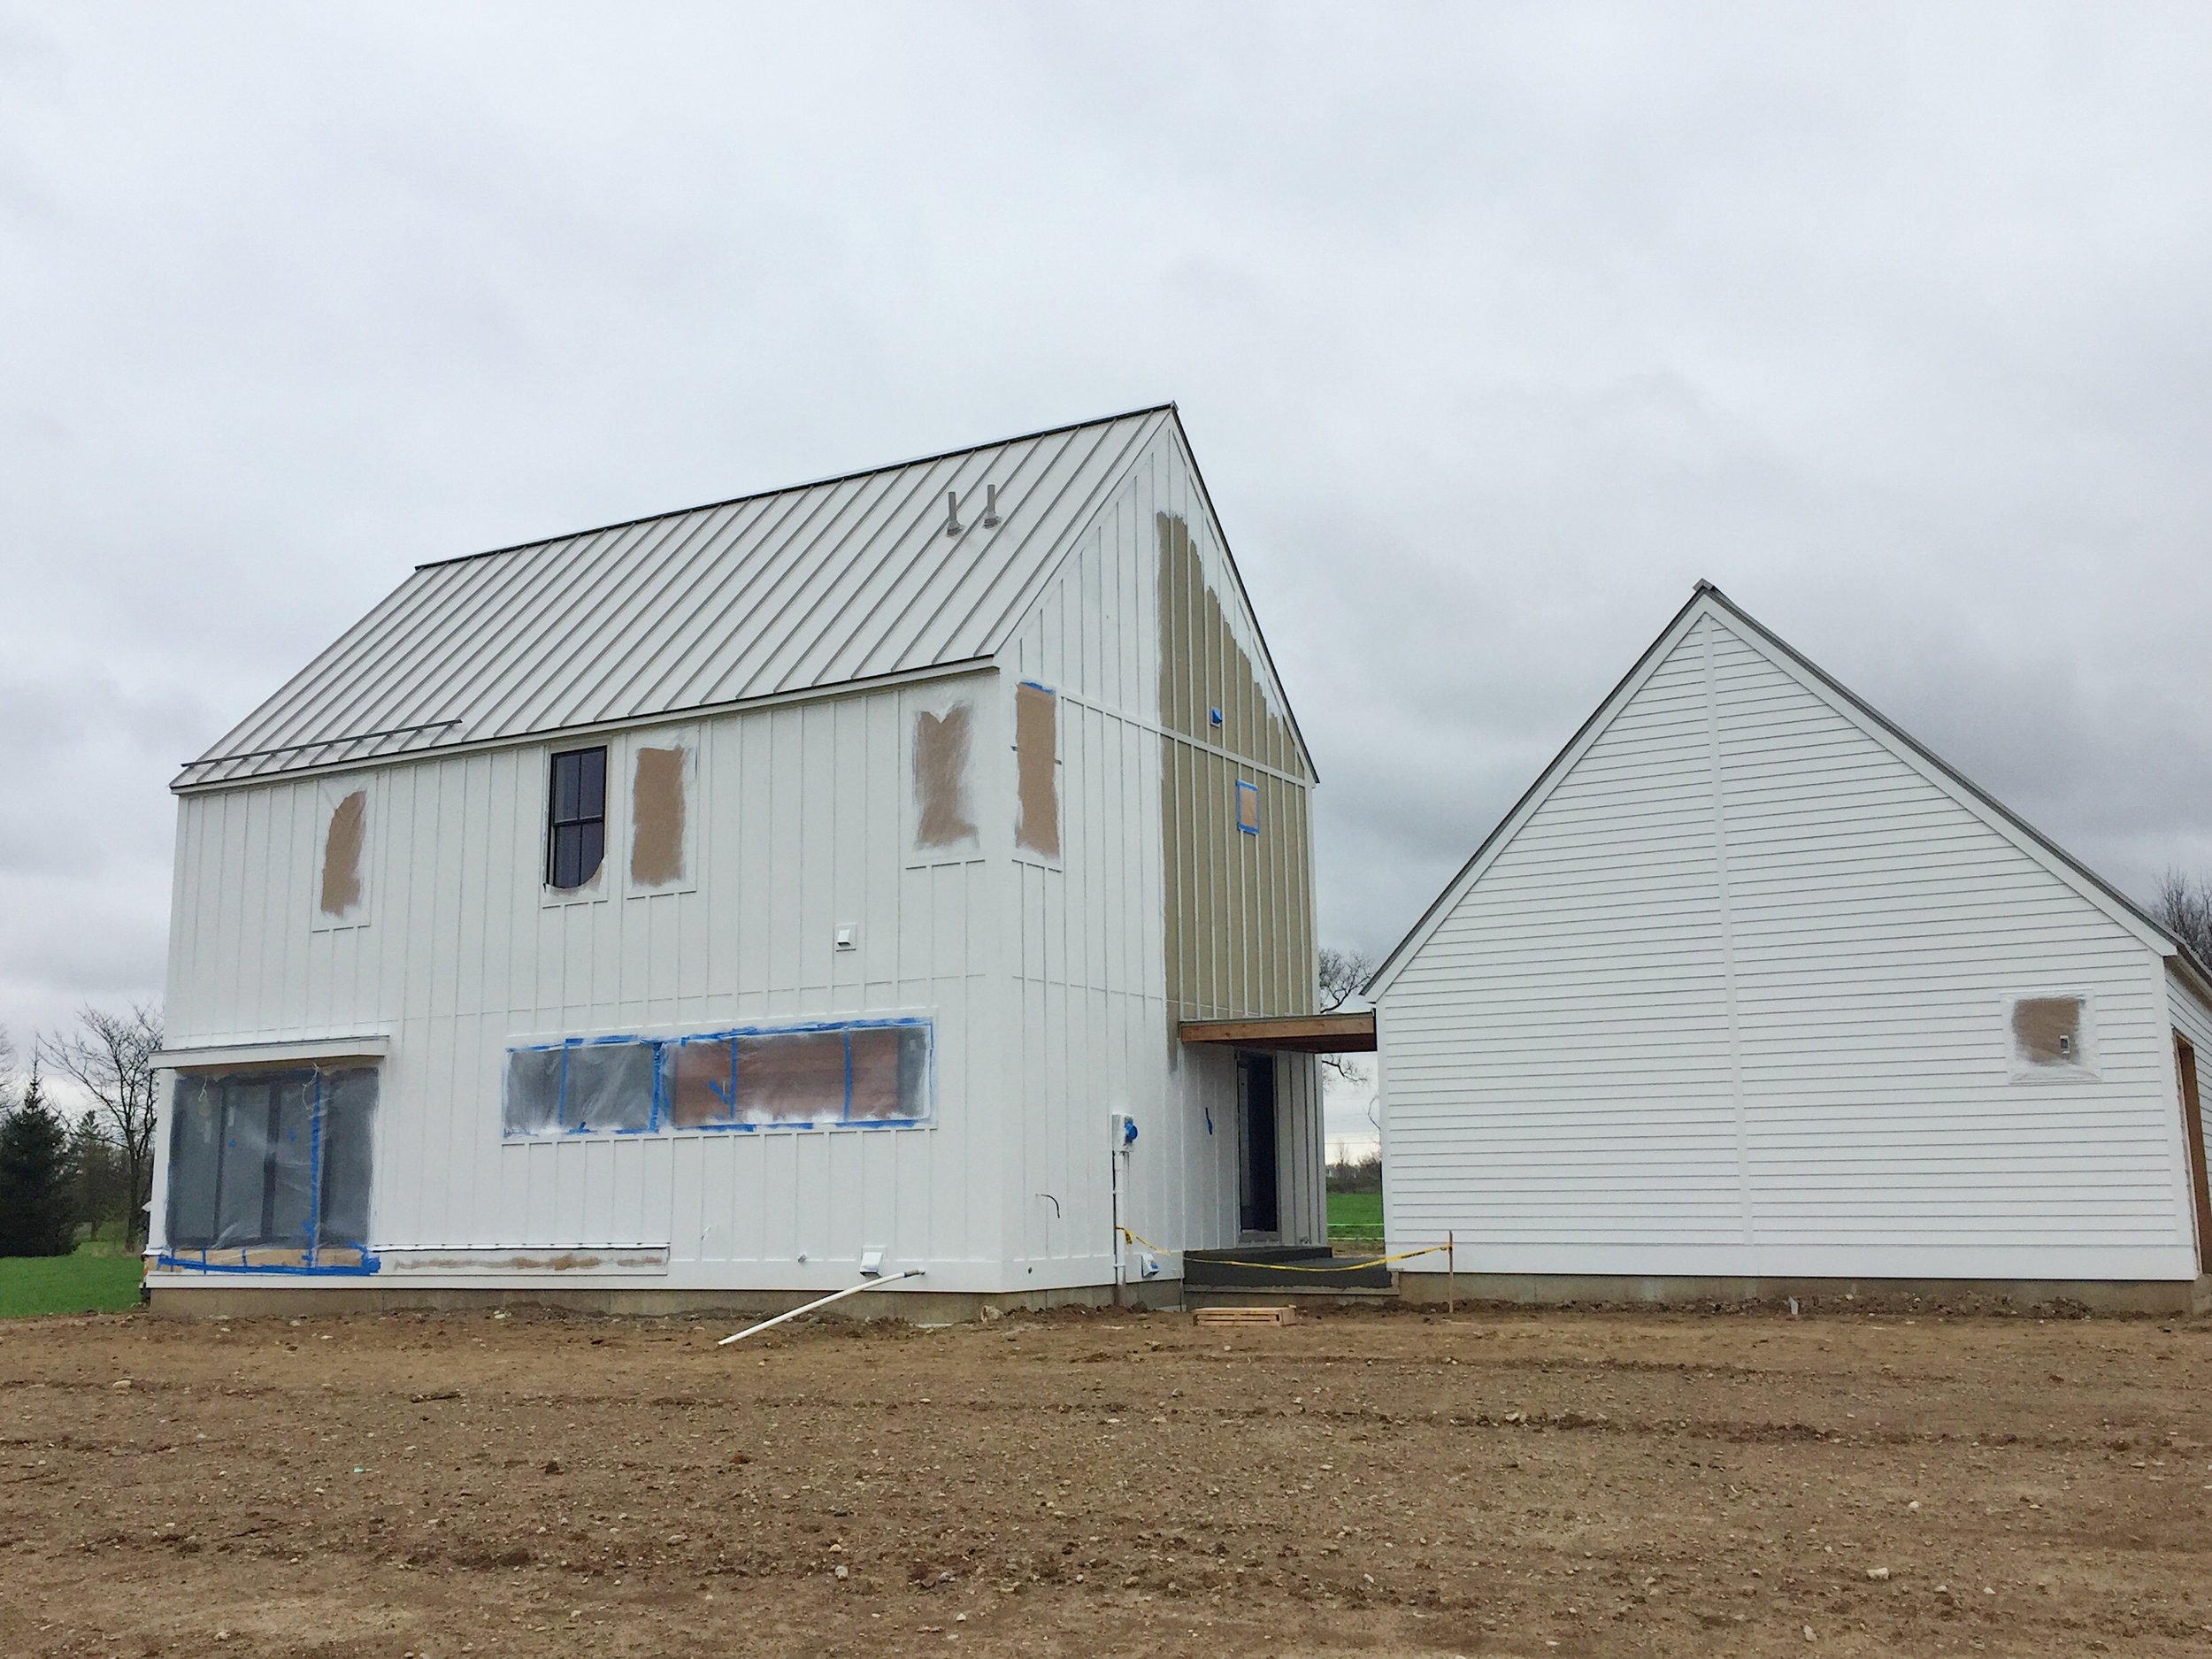
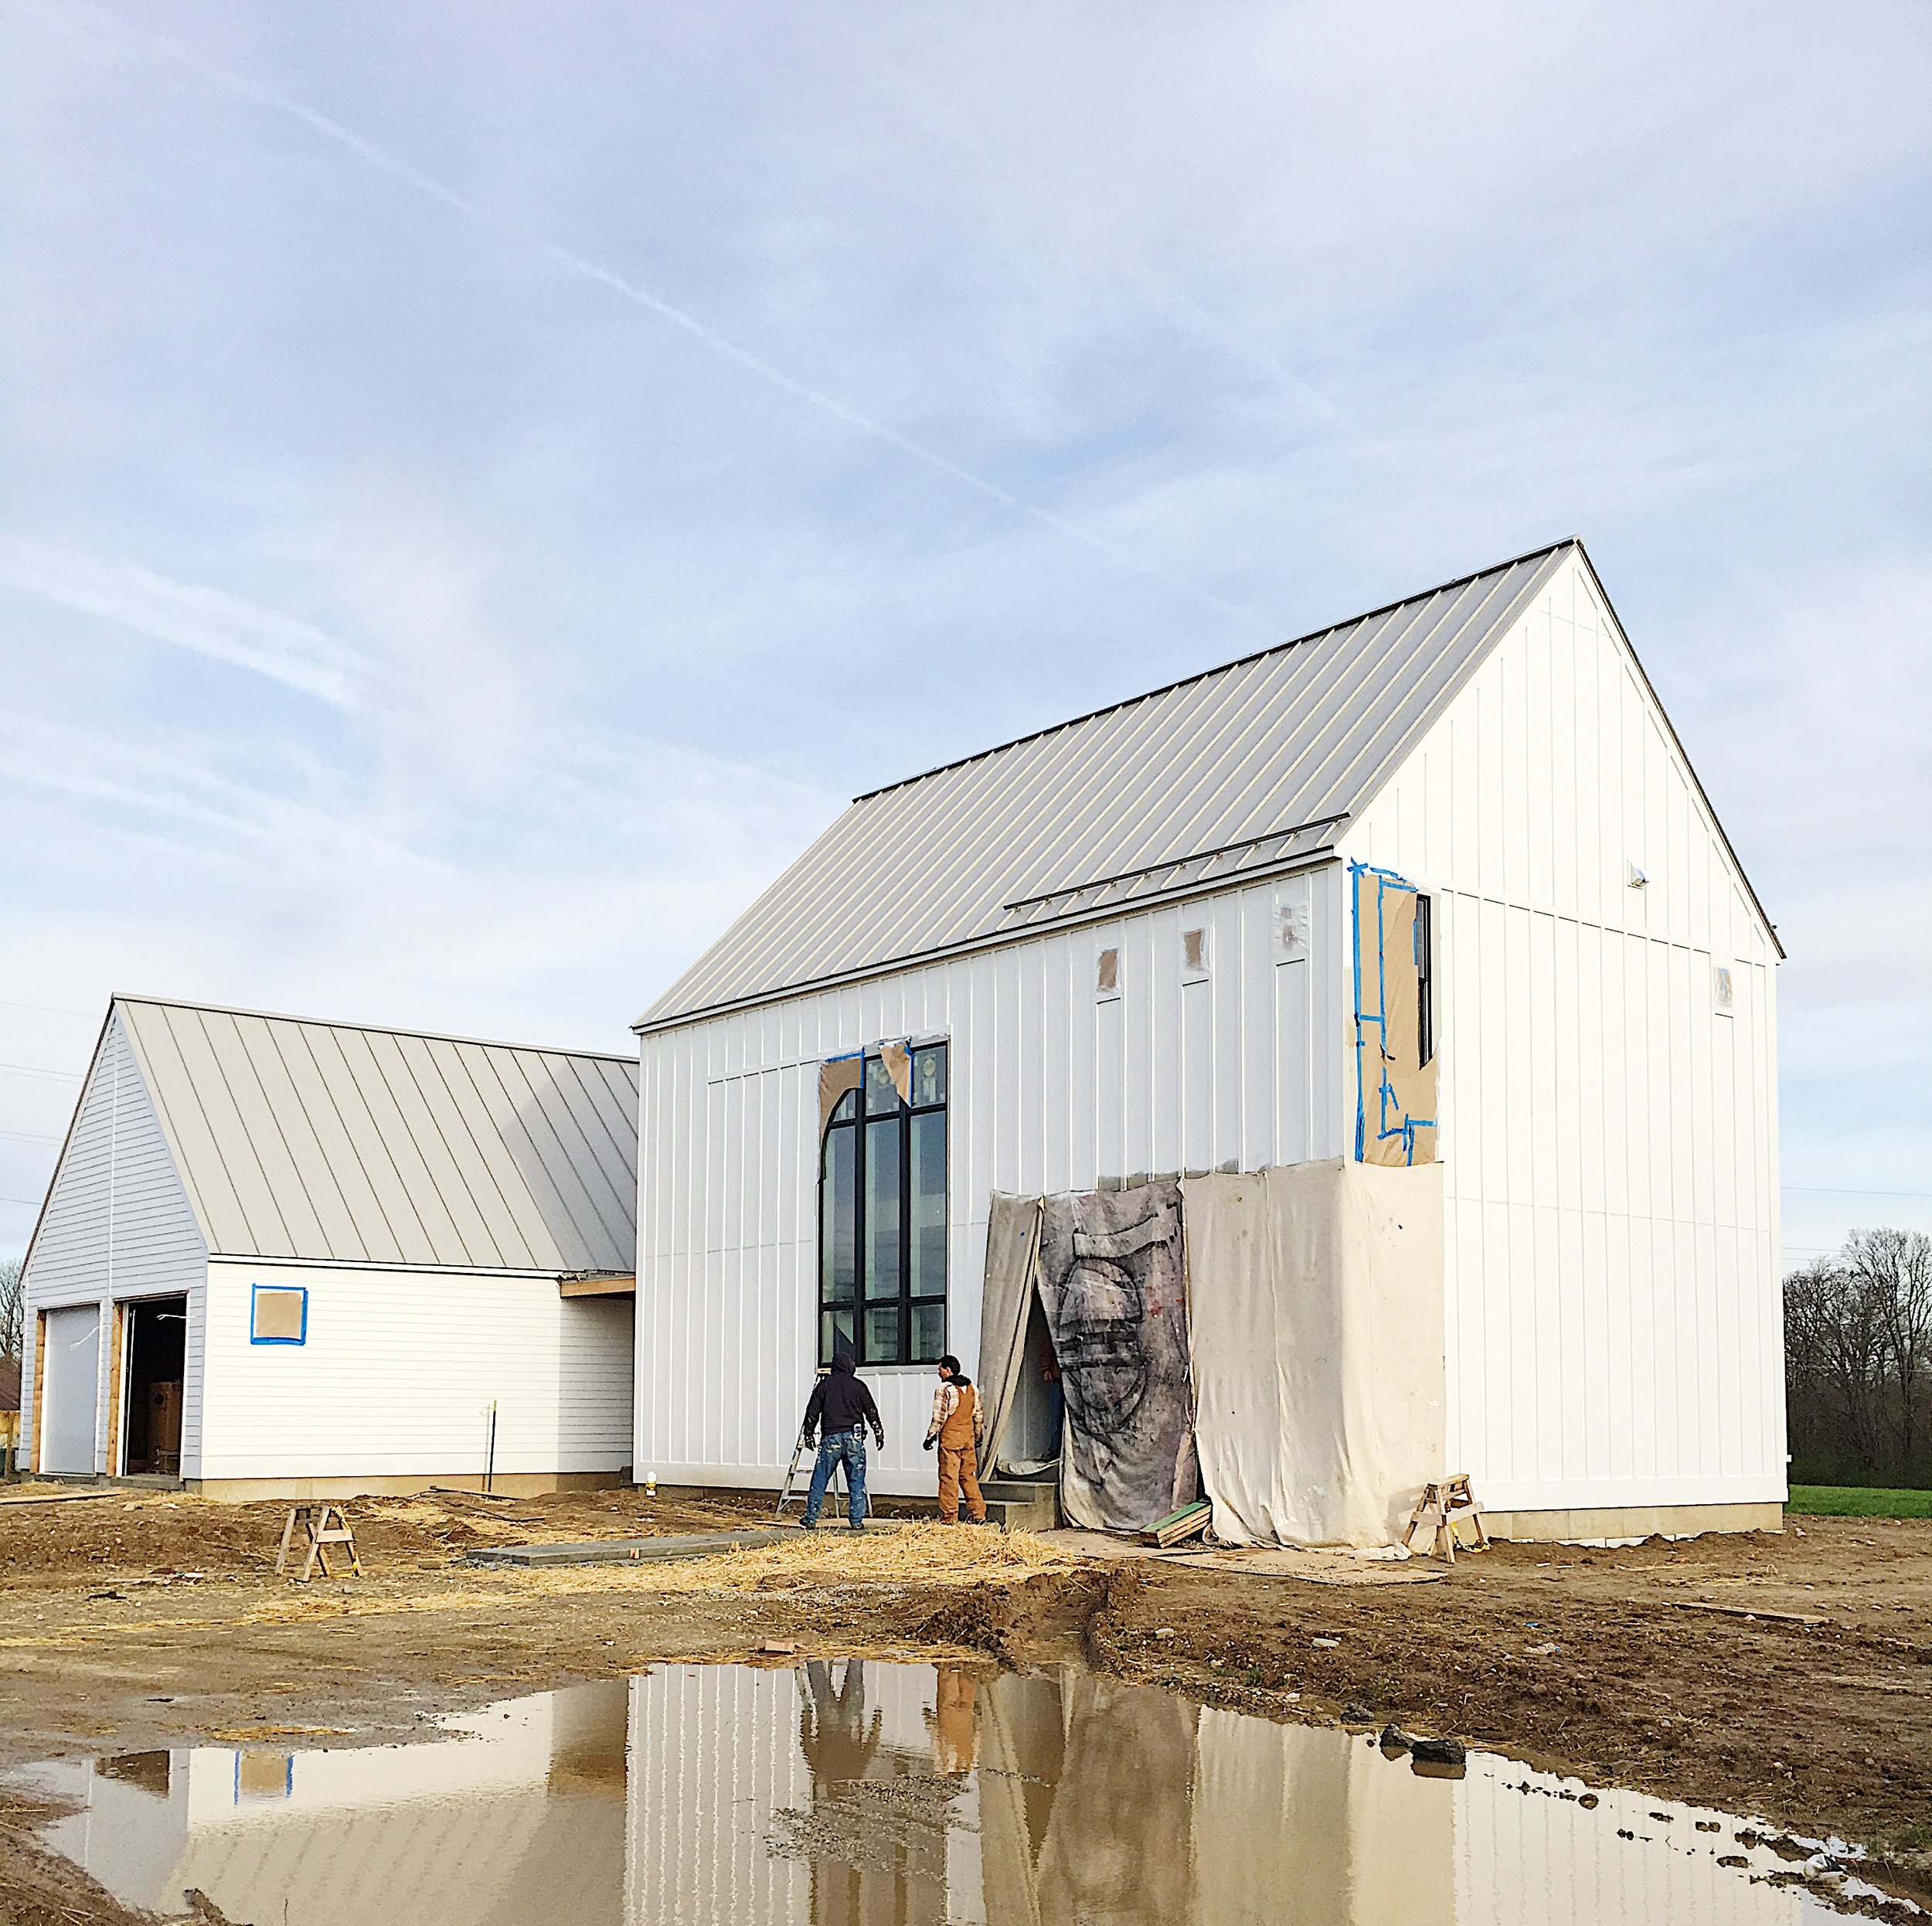
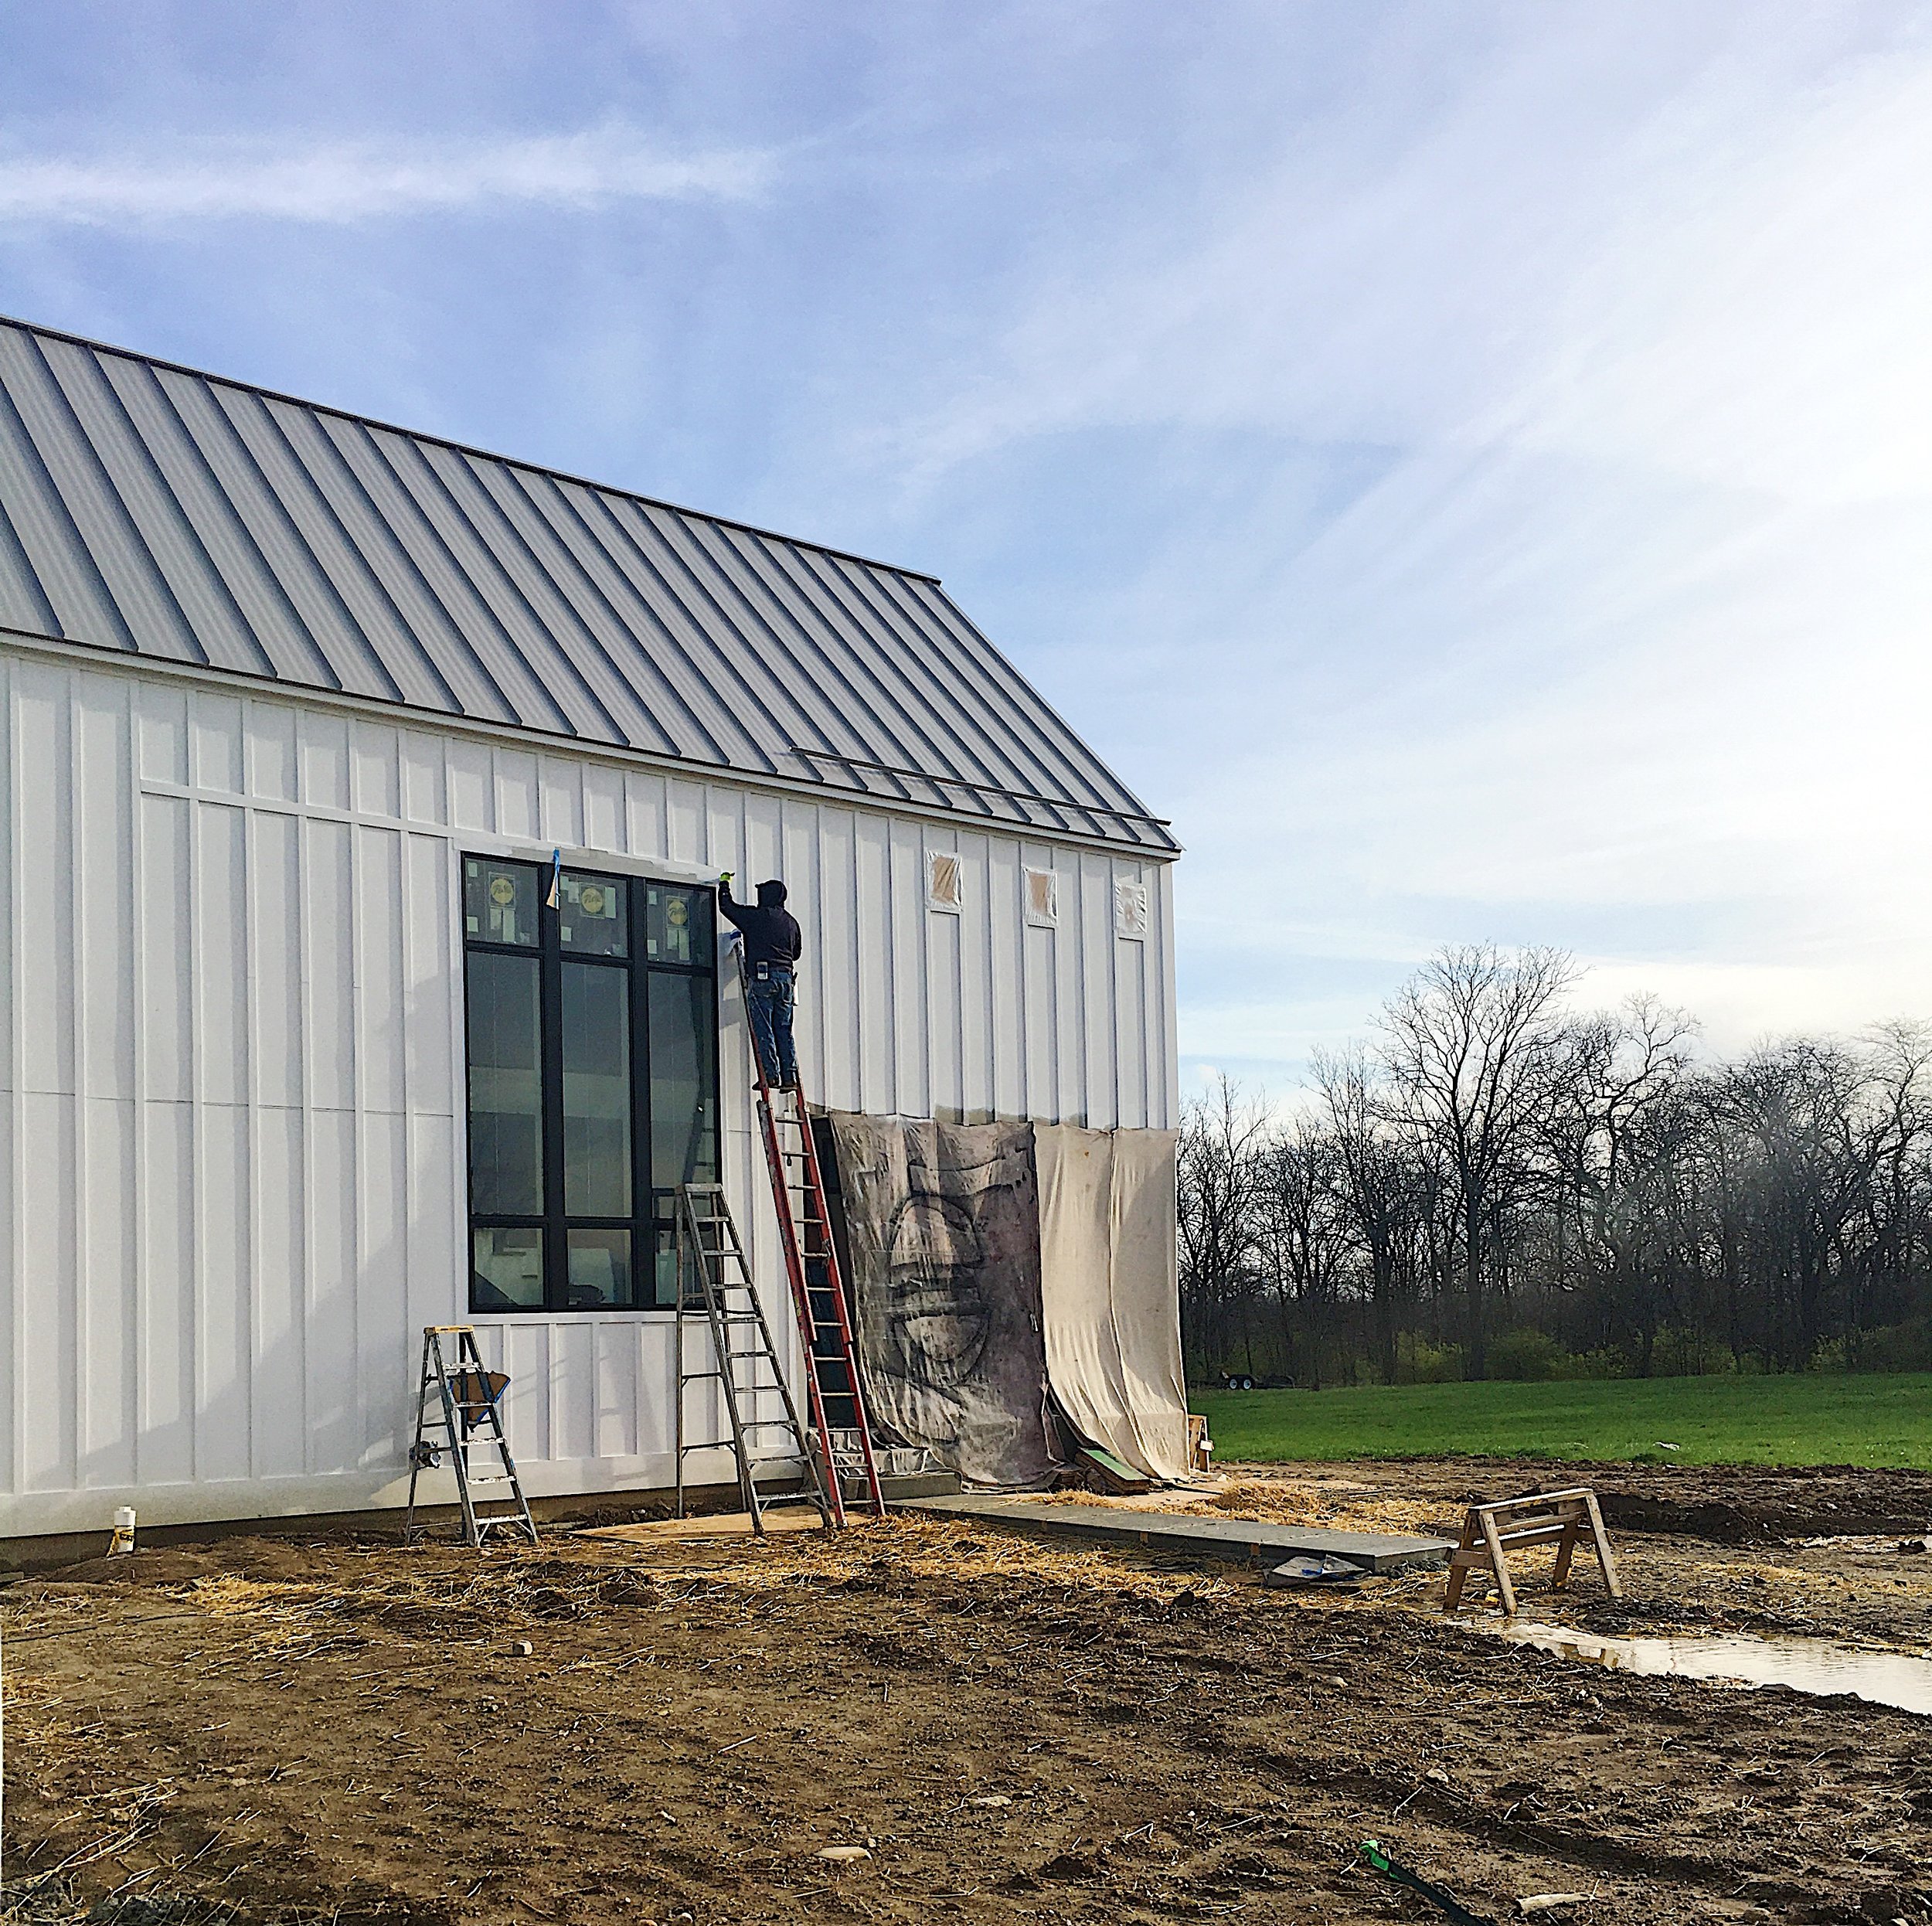
Tyler was also greeted with the the first stages of exterior paint on the house and finalization of paint on the garage. I sure love a white house. It's a lot better than beige, #AmIRight?
We didn't end up heading to the house on Thursday because we knew we had to go early on Friday morning to meet with the well water tester. Plus, we ran into a little snafu with the appliance delivery... It's a long story, but basically it's been pushed off until Monday. Hopefully.
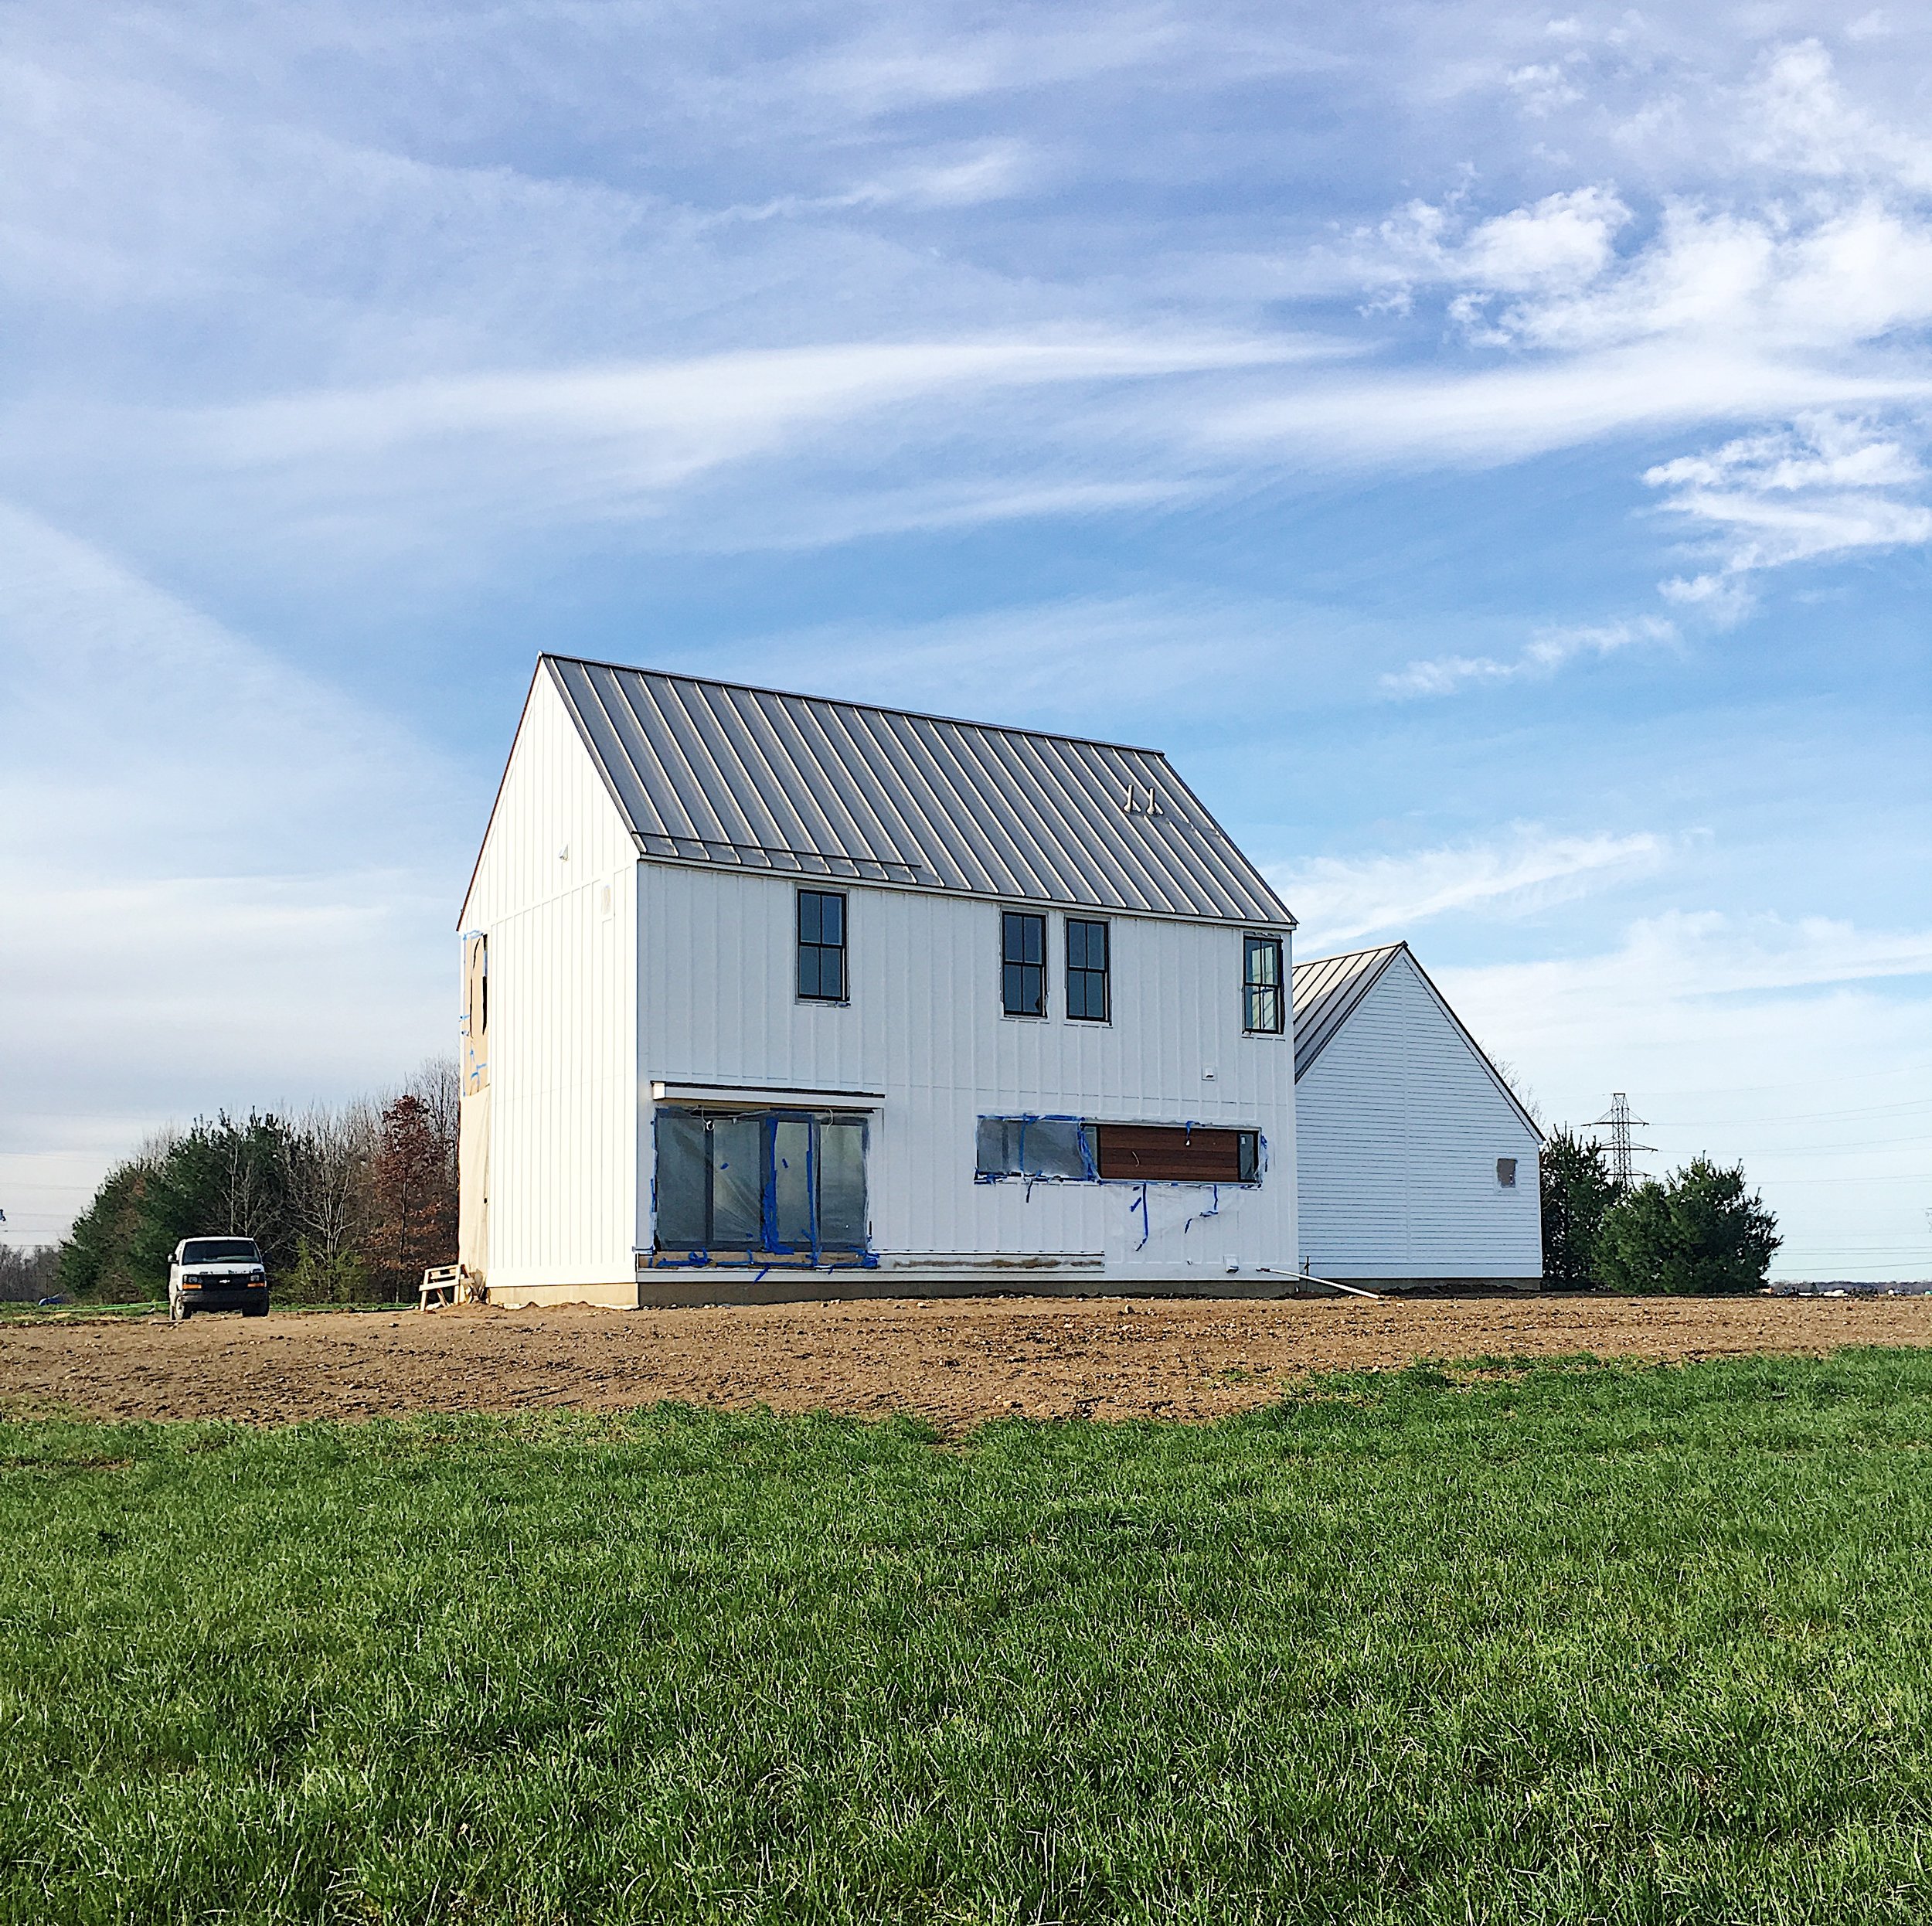
On the bright side, we pulled into the drive on Friday morning and were greeted with a beautiful white modern farmhouse! They are spraying the exterior, so that's why all of the windows are covered. Doesn't it look awesome?! The ipe slider (yet to be built) will be hung to the left of the big windows.
"Snowbound (SW7004)" by Sherwin Williams

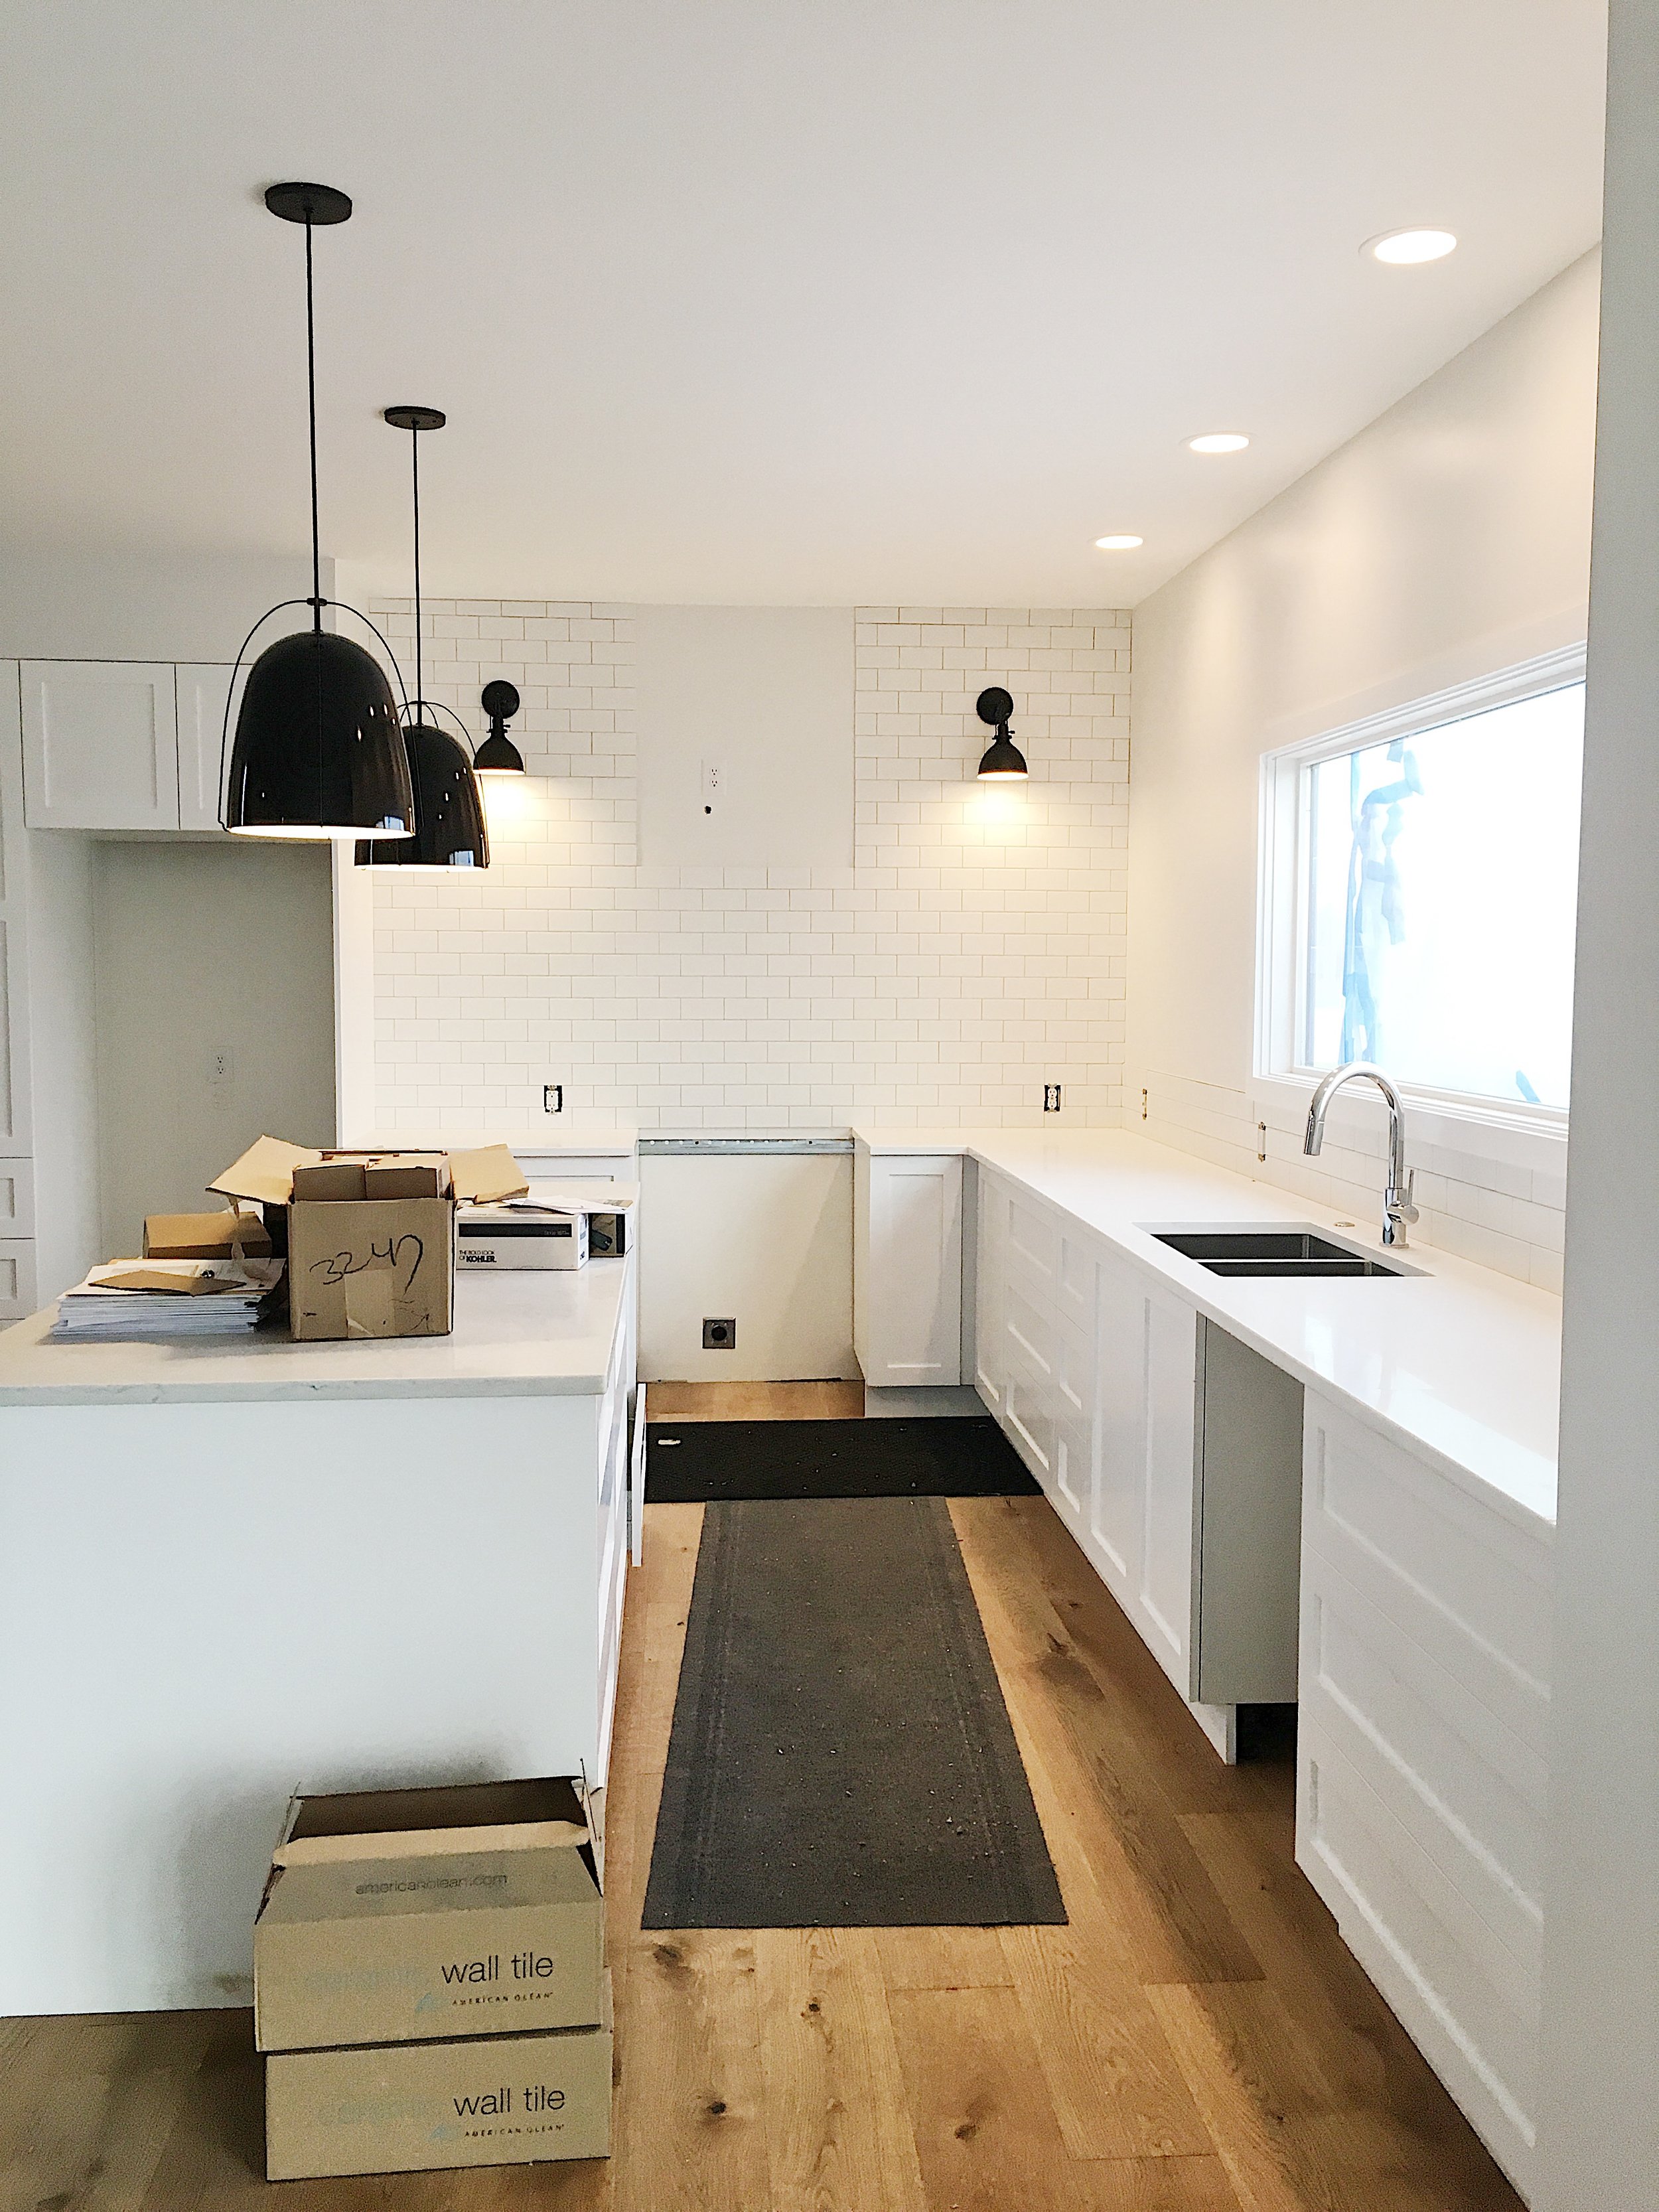
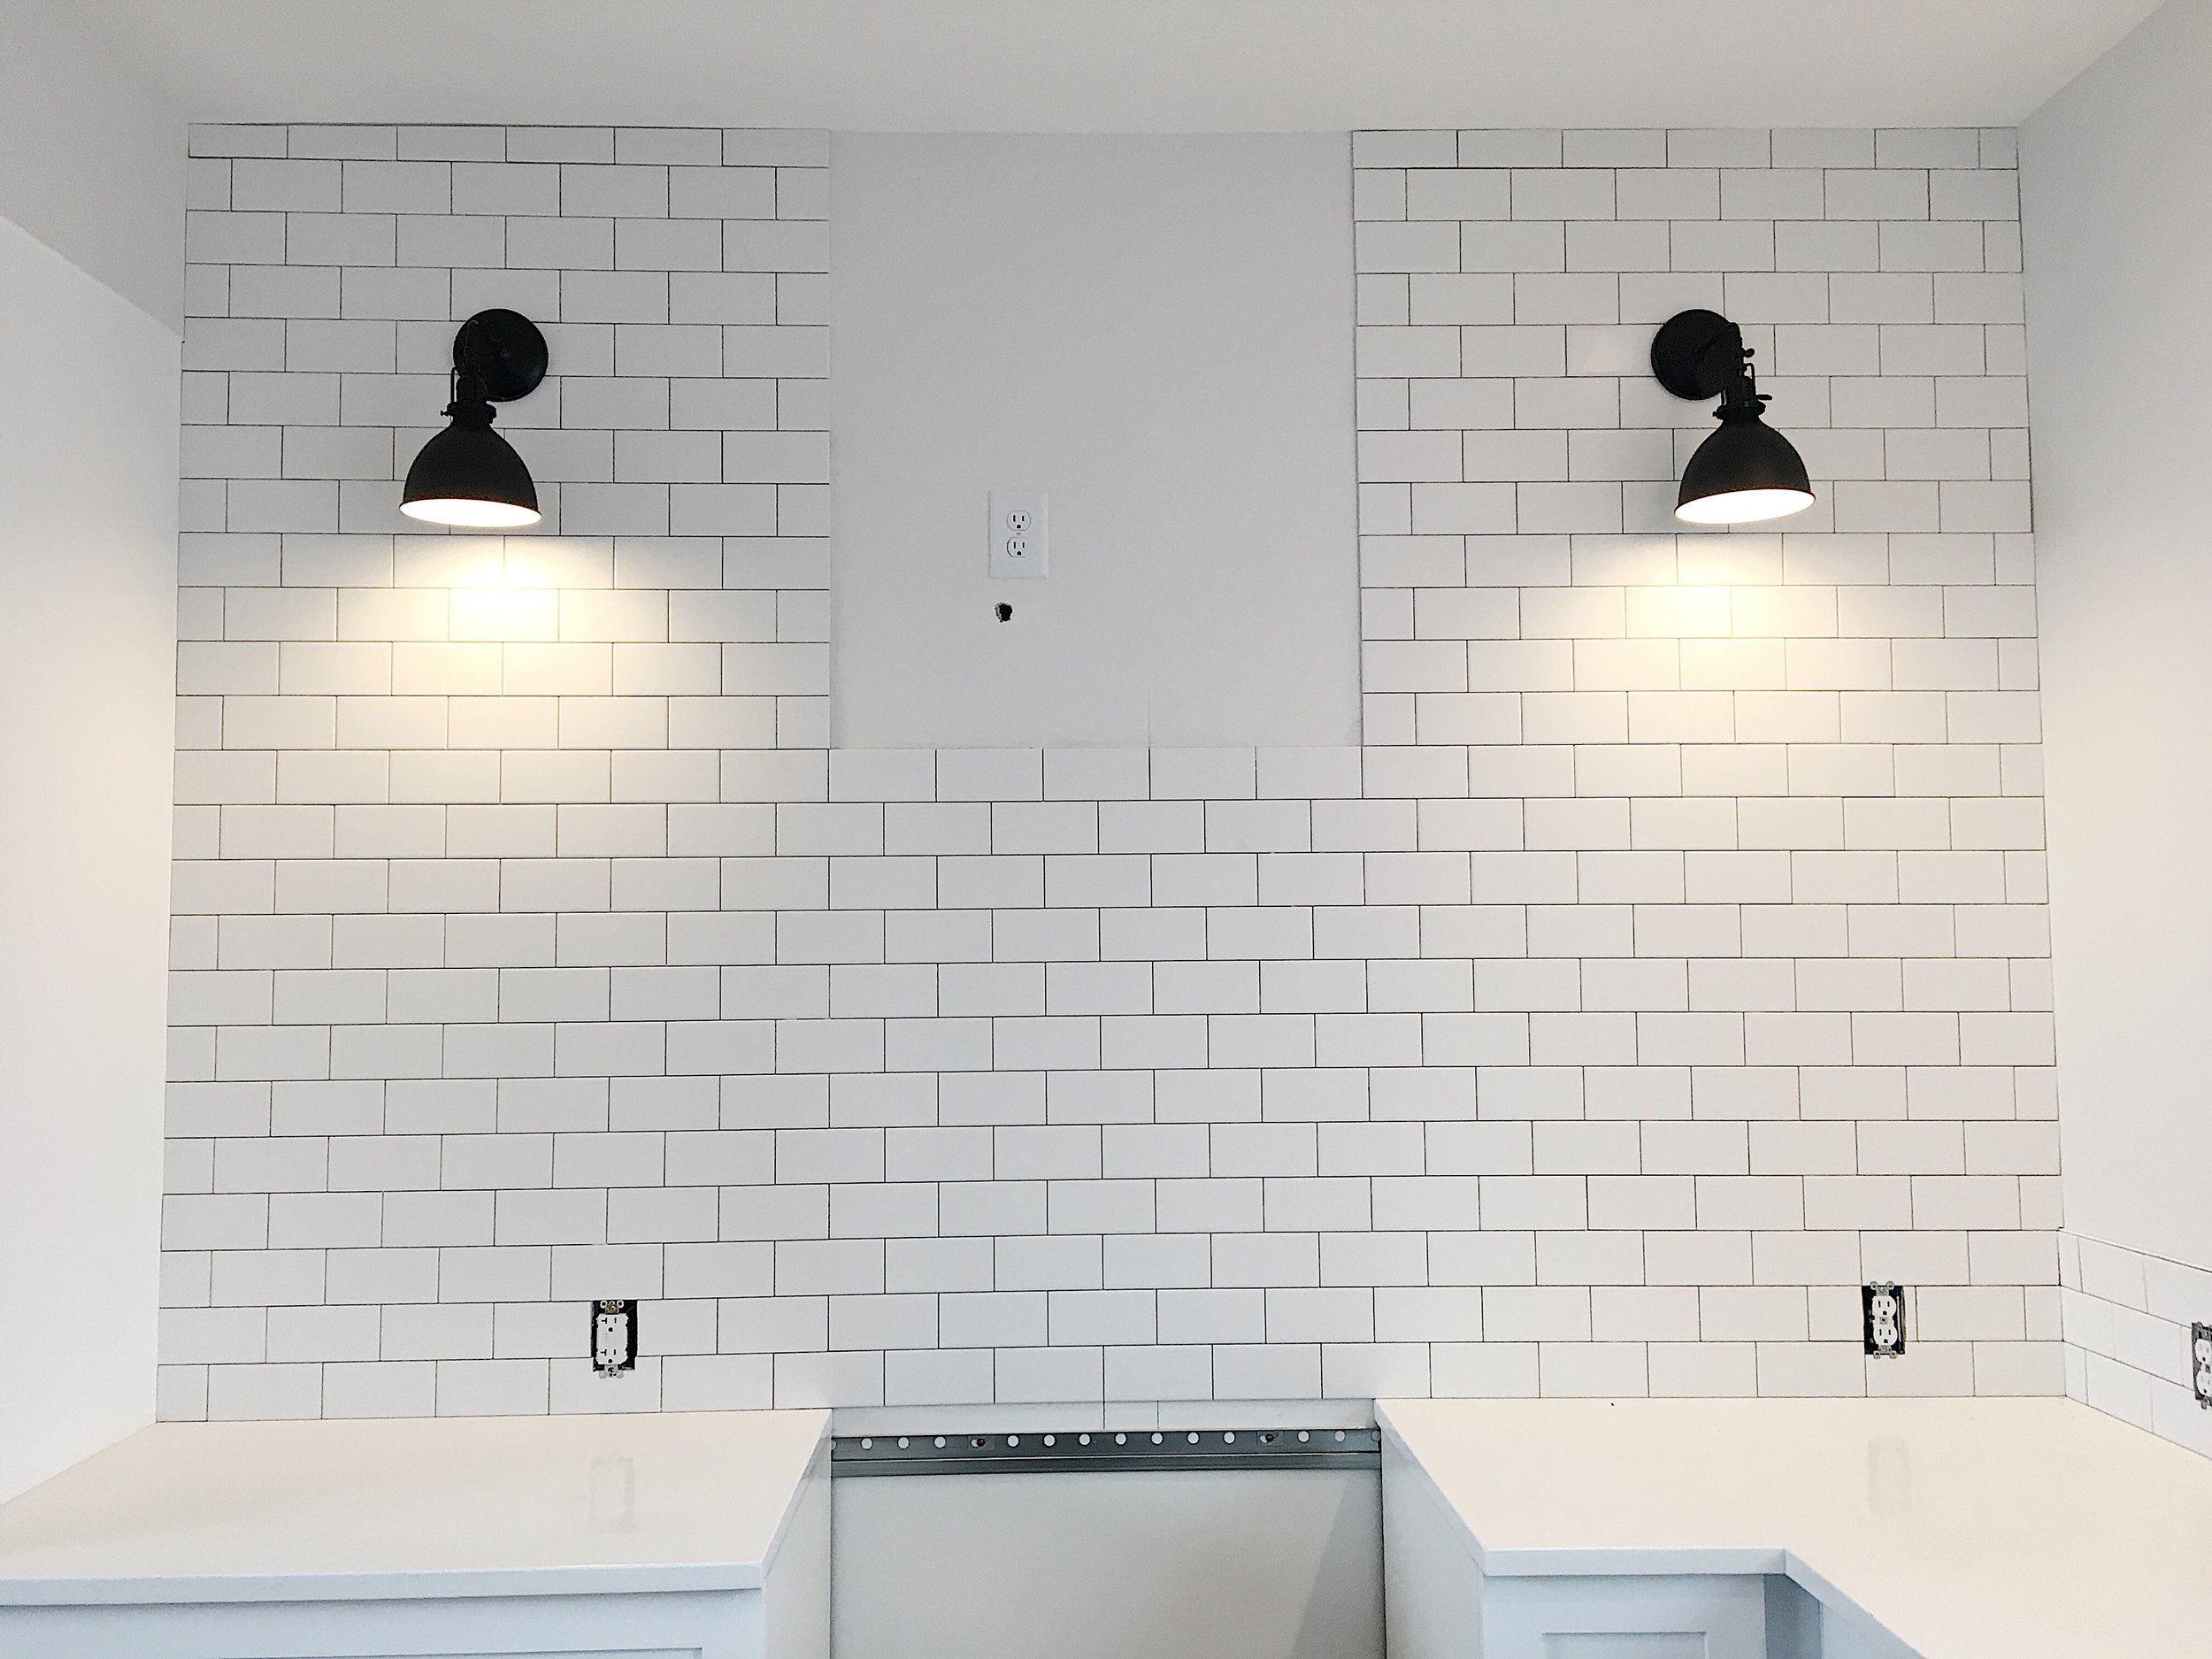
As if that wasn't enough, we walked inside to find subway tile in the kitchen and the wall sconces installed. The tile wasn't grouted or anything, but it already looked fantastic. We're using the same matte white subway tile that went in the guest bathroom. The area without any tile is where the hood vent will be installed - hopefully next Monday or Tuesday.
"Grandview" Sconces by Rejuvenation

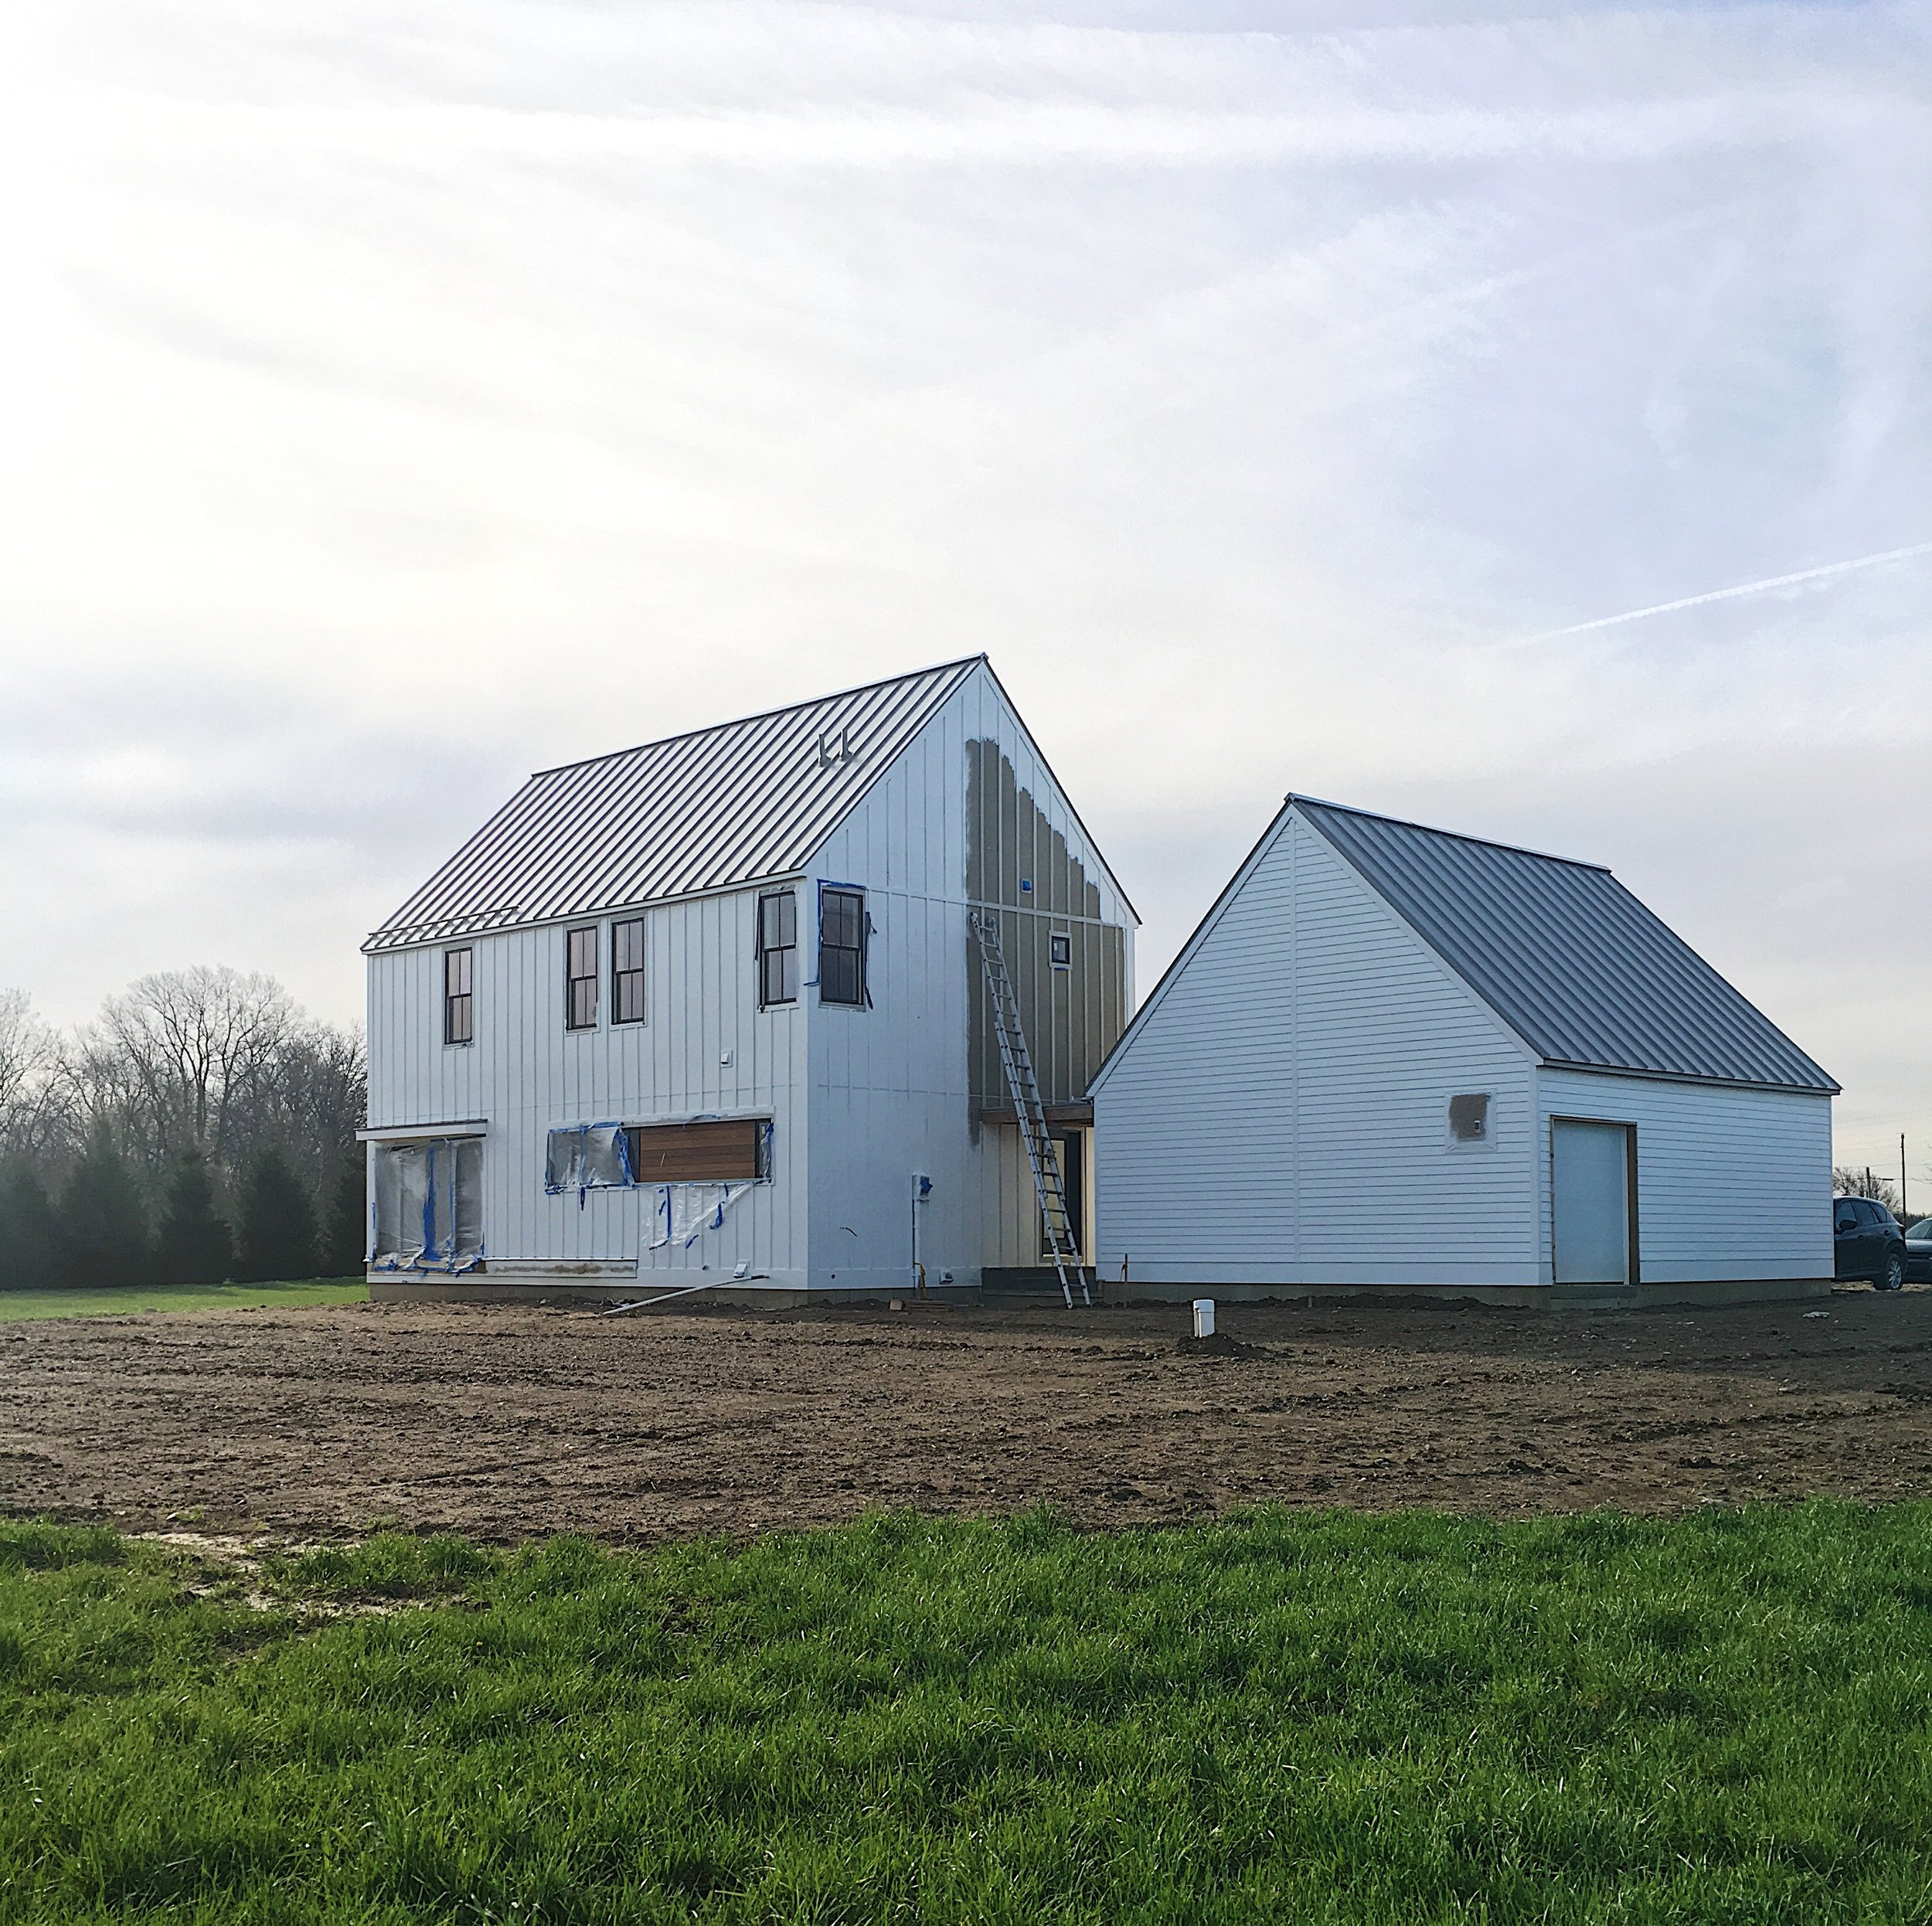
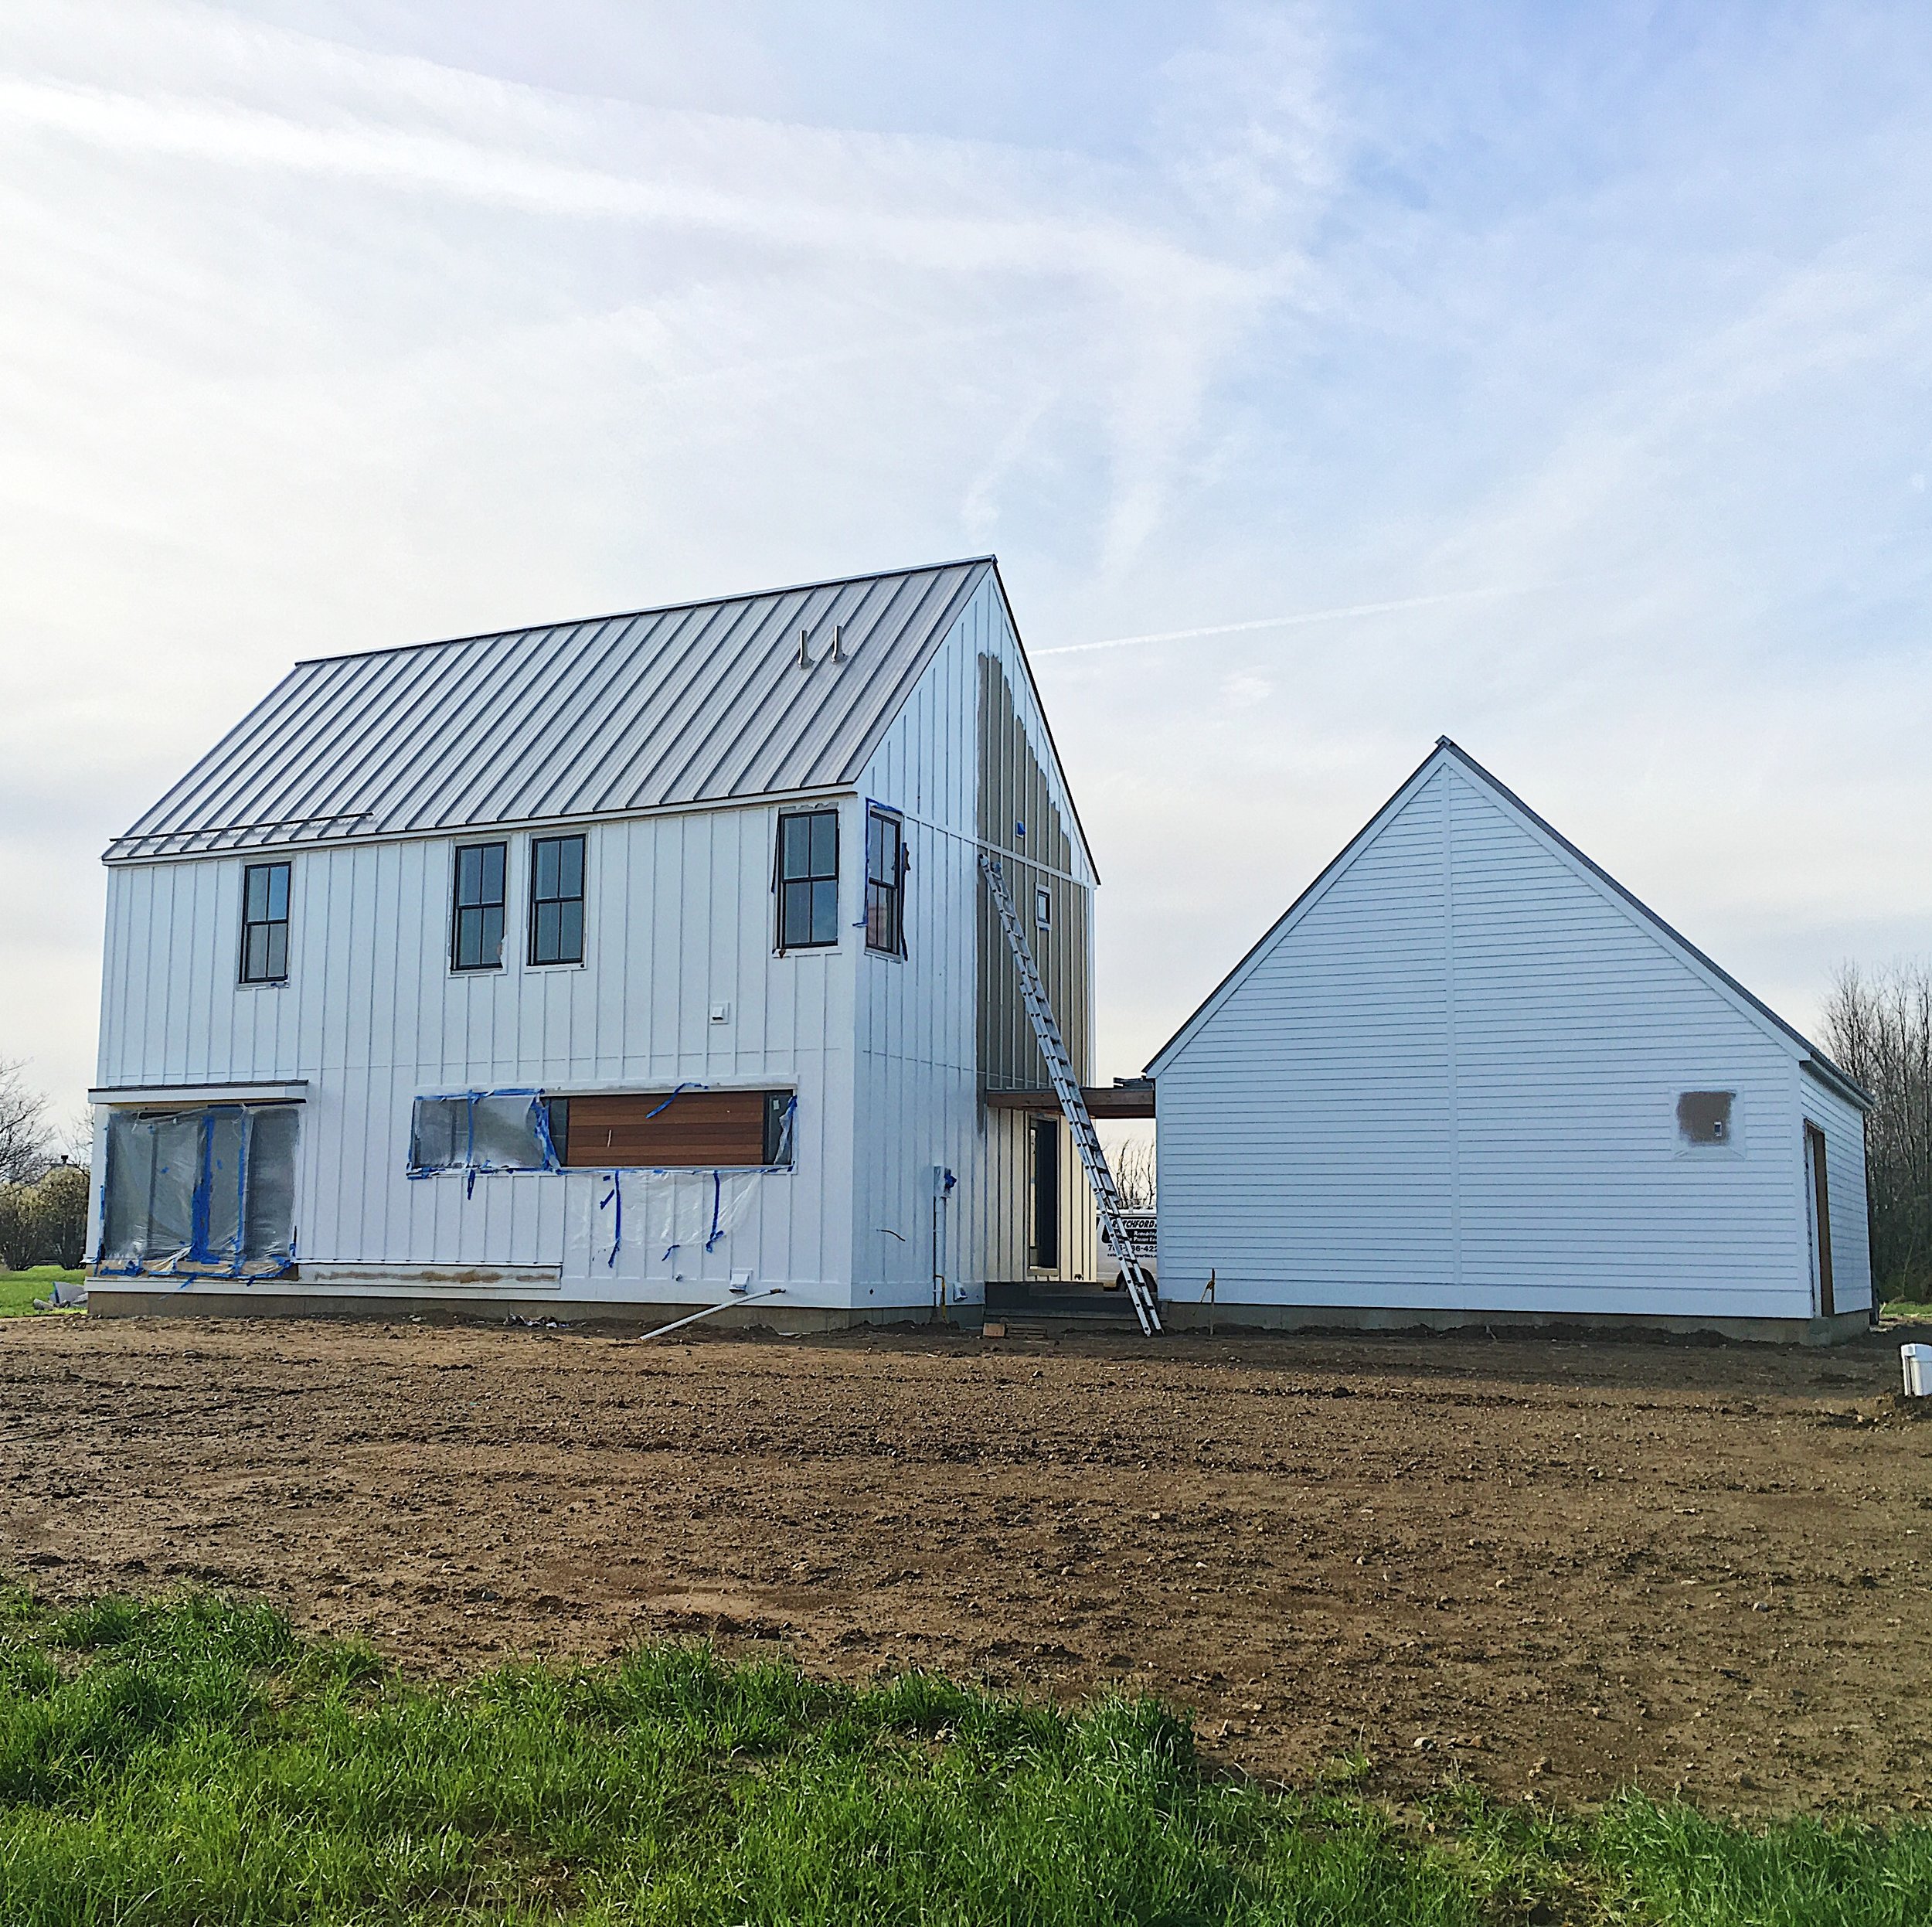
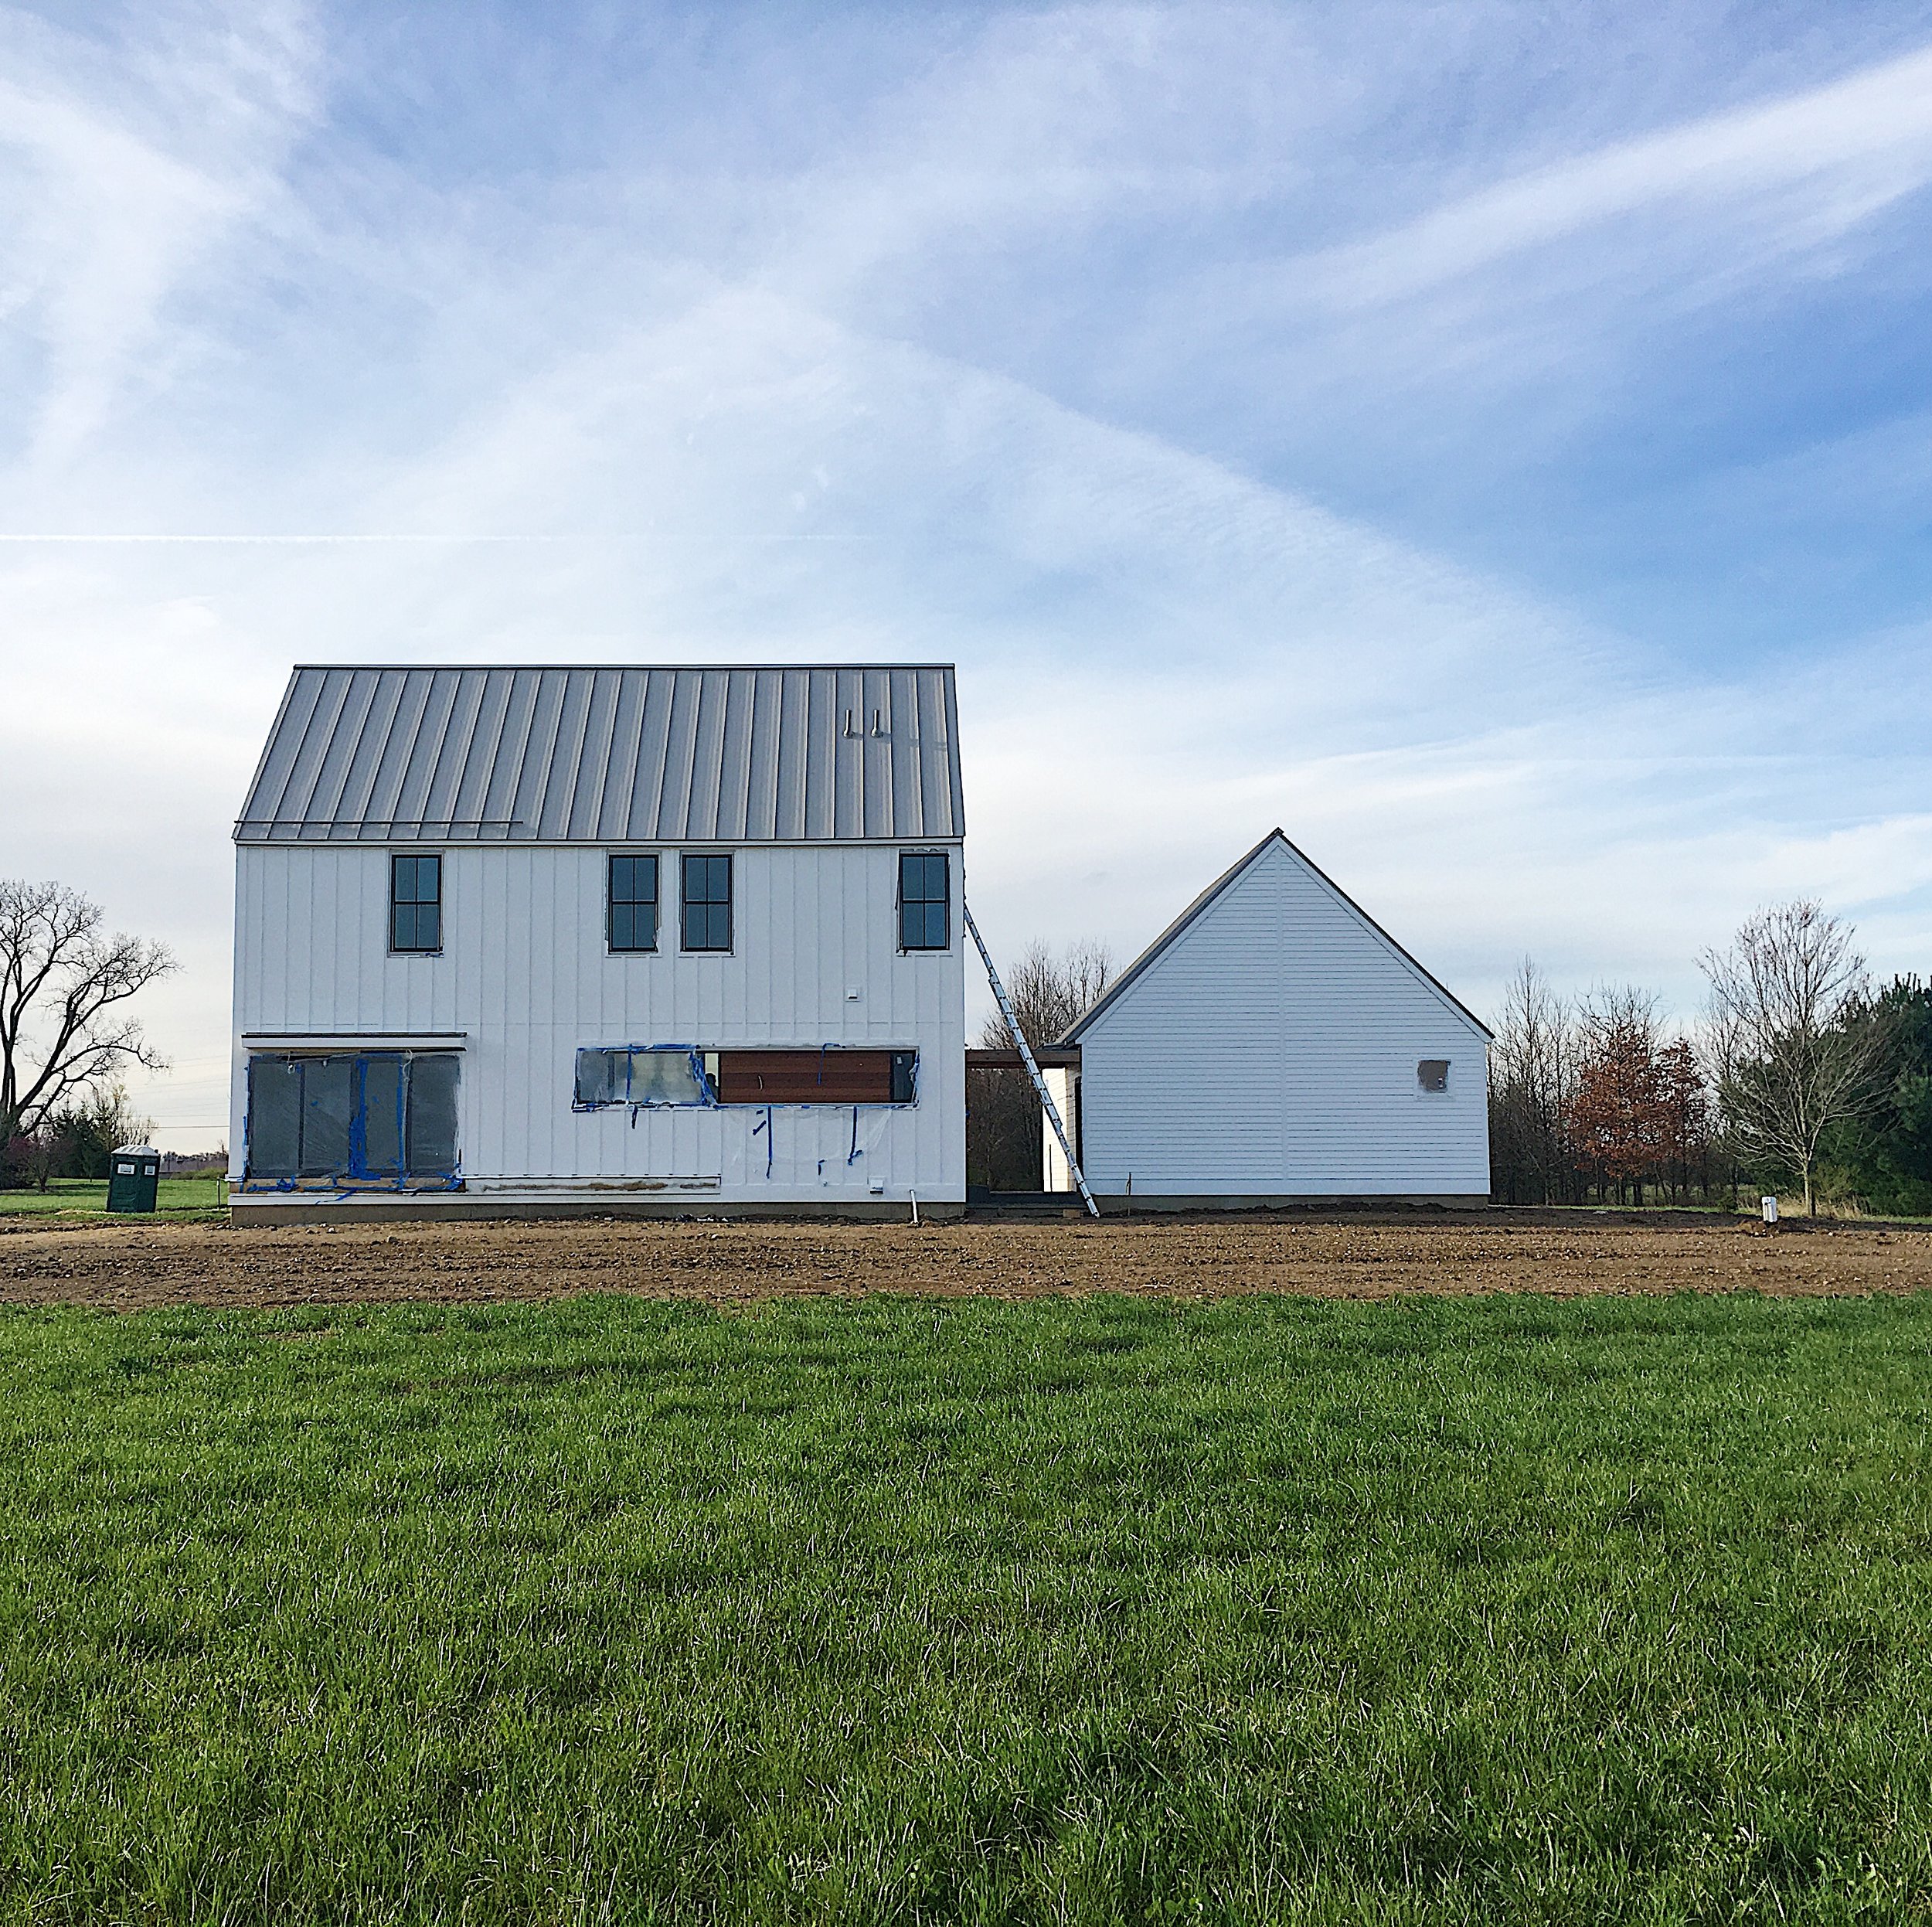
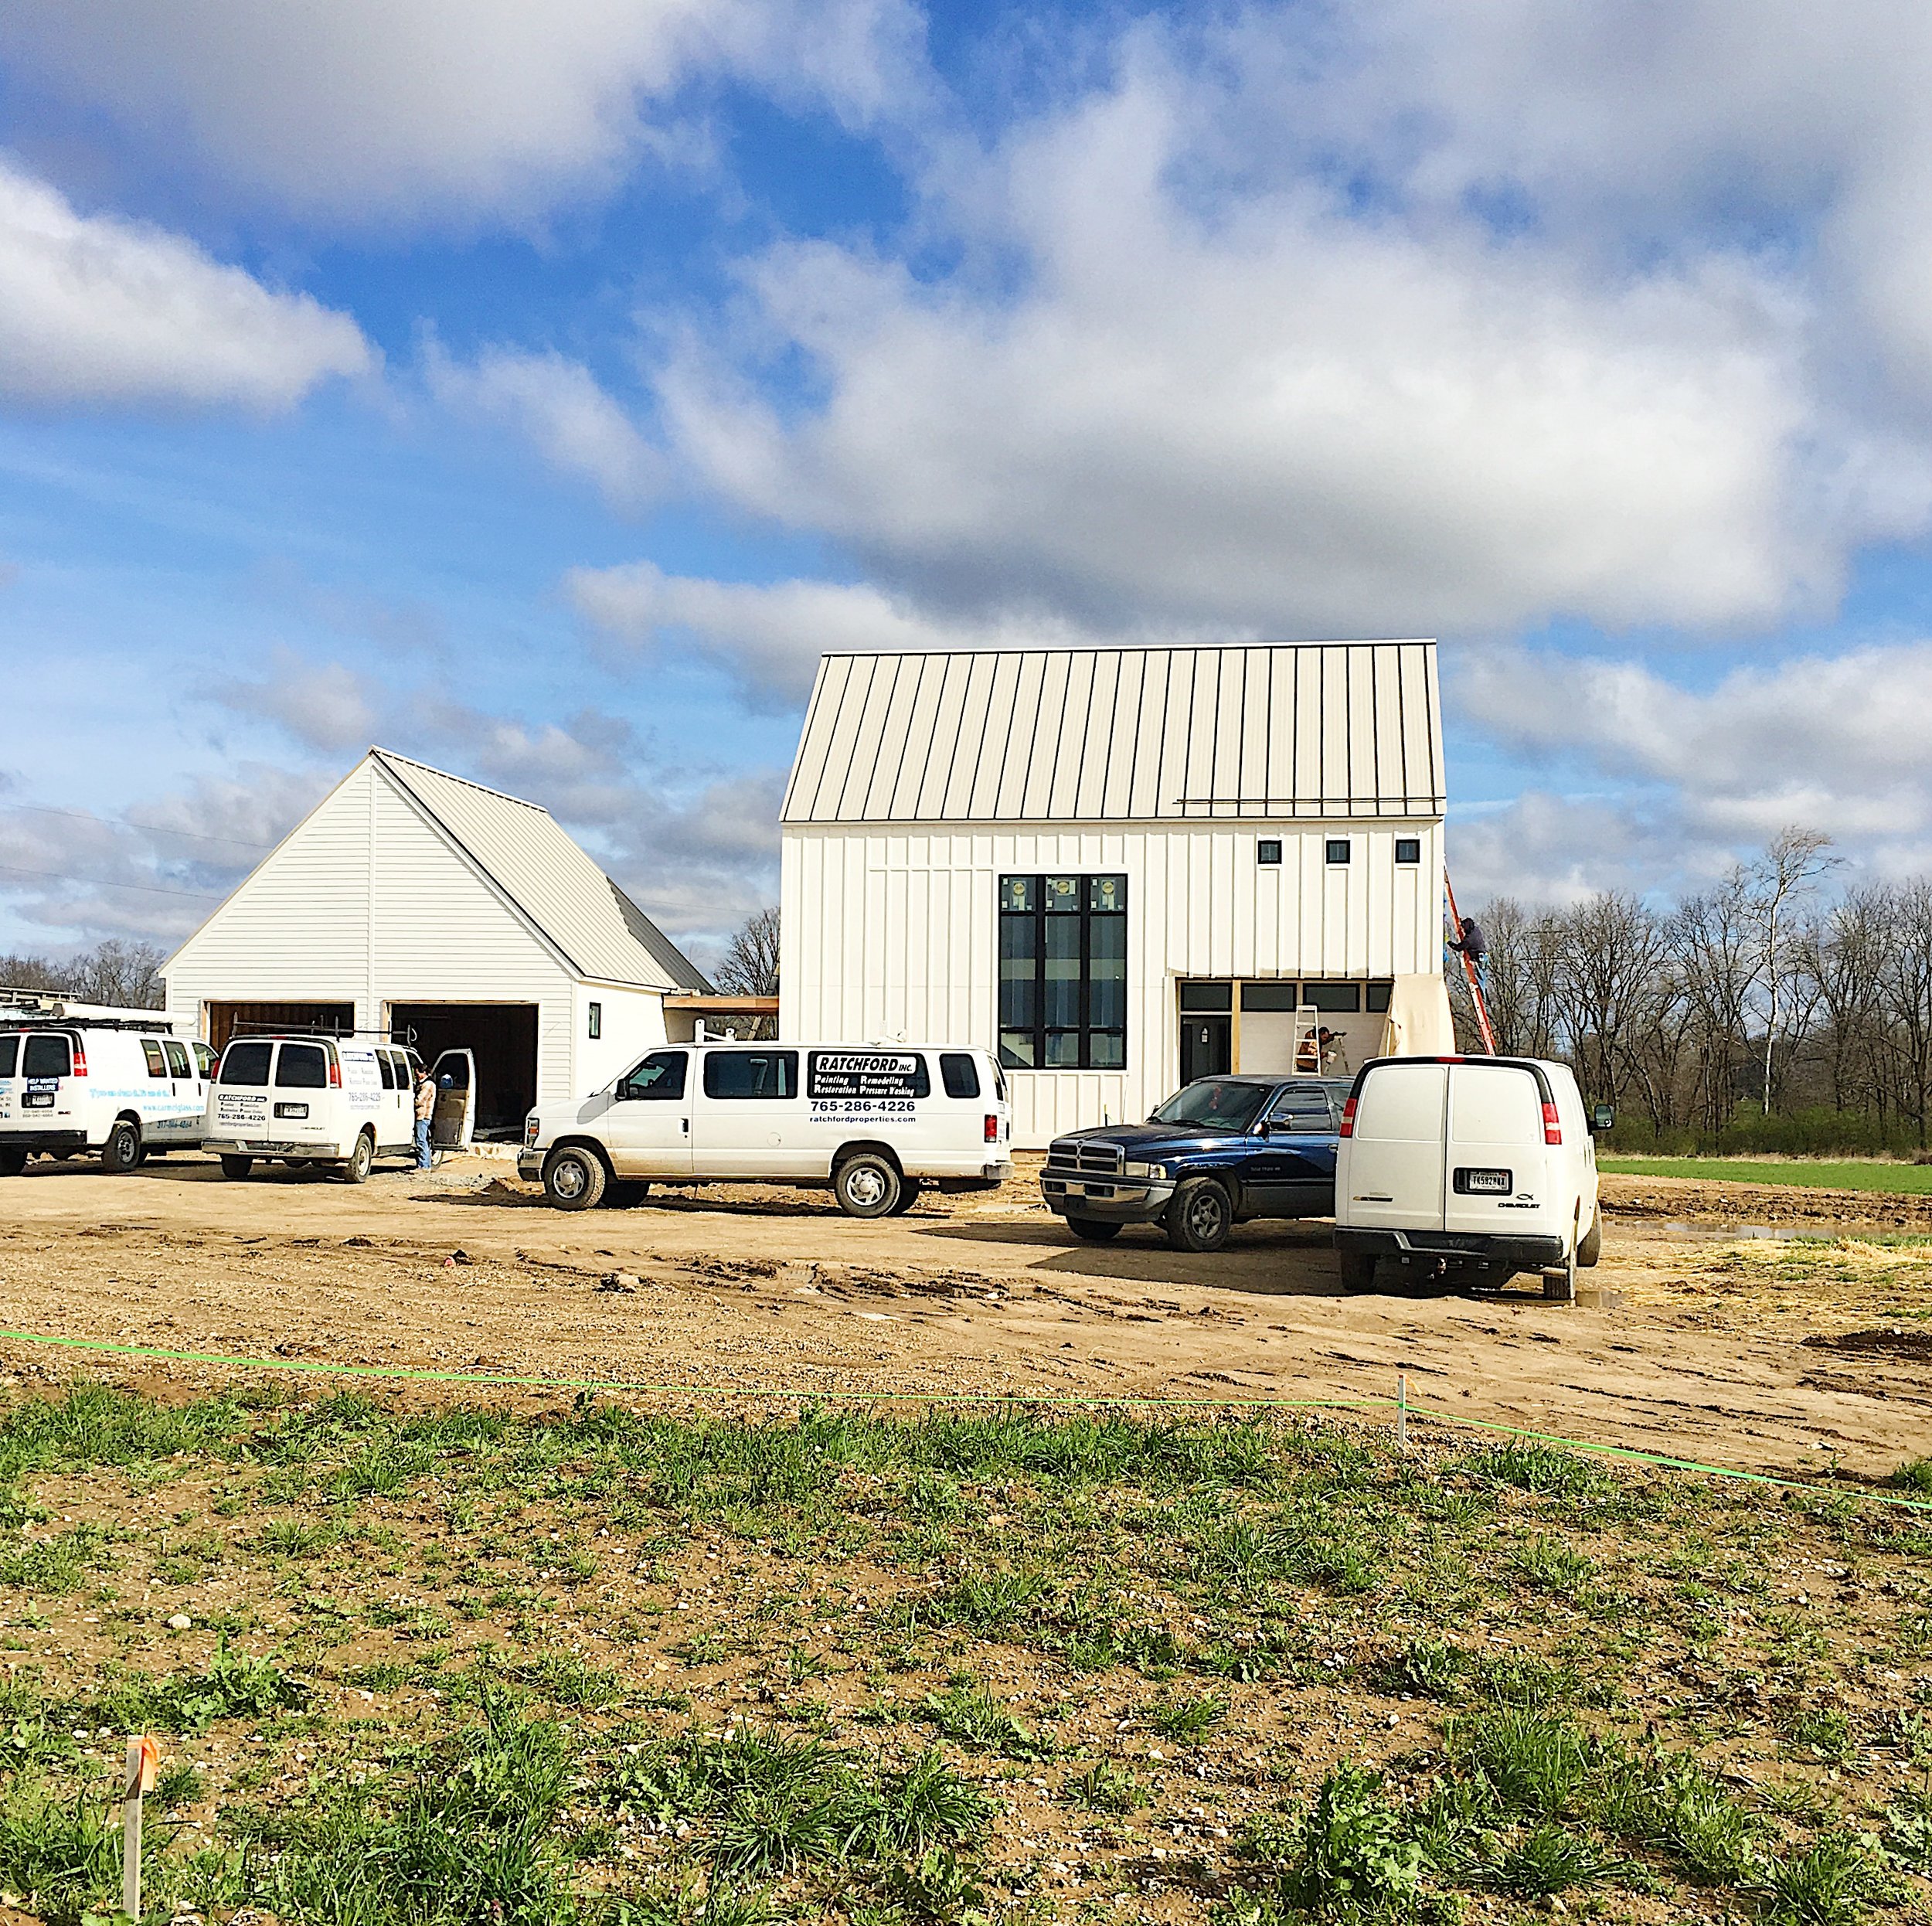
While we were at the house, a bunch of the crew started showing up for the day and hopped right to work. We even got a sneak peak at the white paint against the black trim windows! This thing is coming together in record time.
By the time we left, the entire driveway was full of work vehicles, so it was bound to be another productive day.
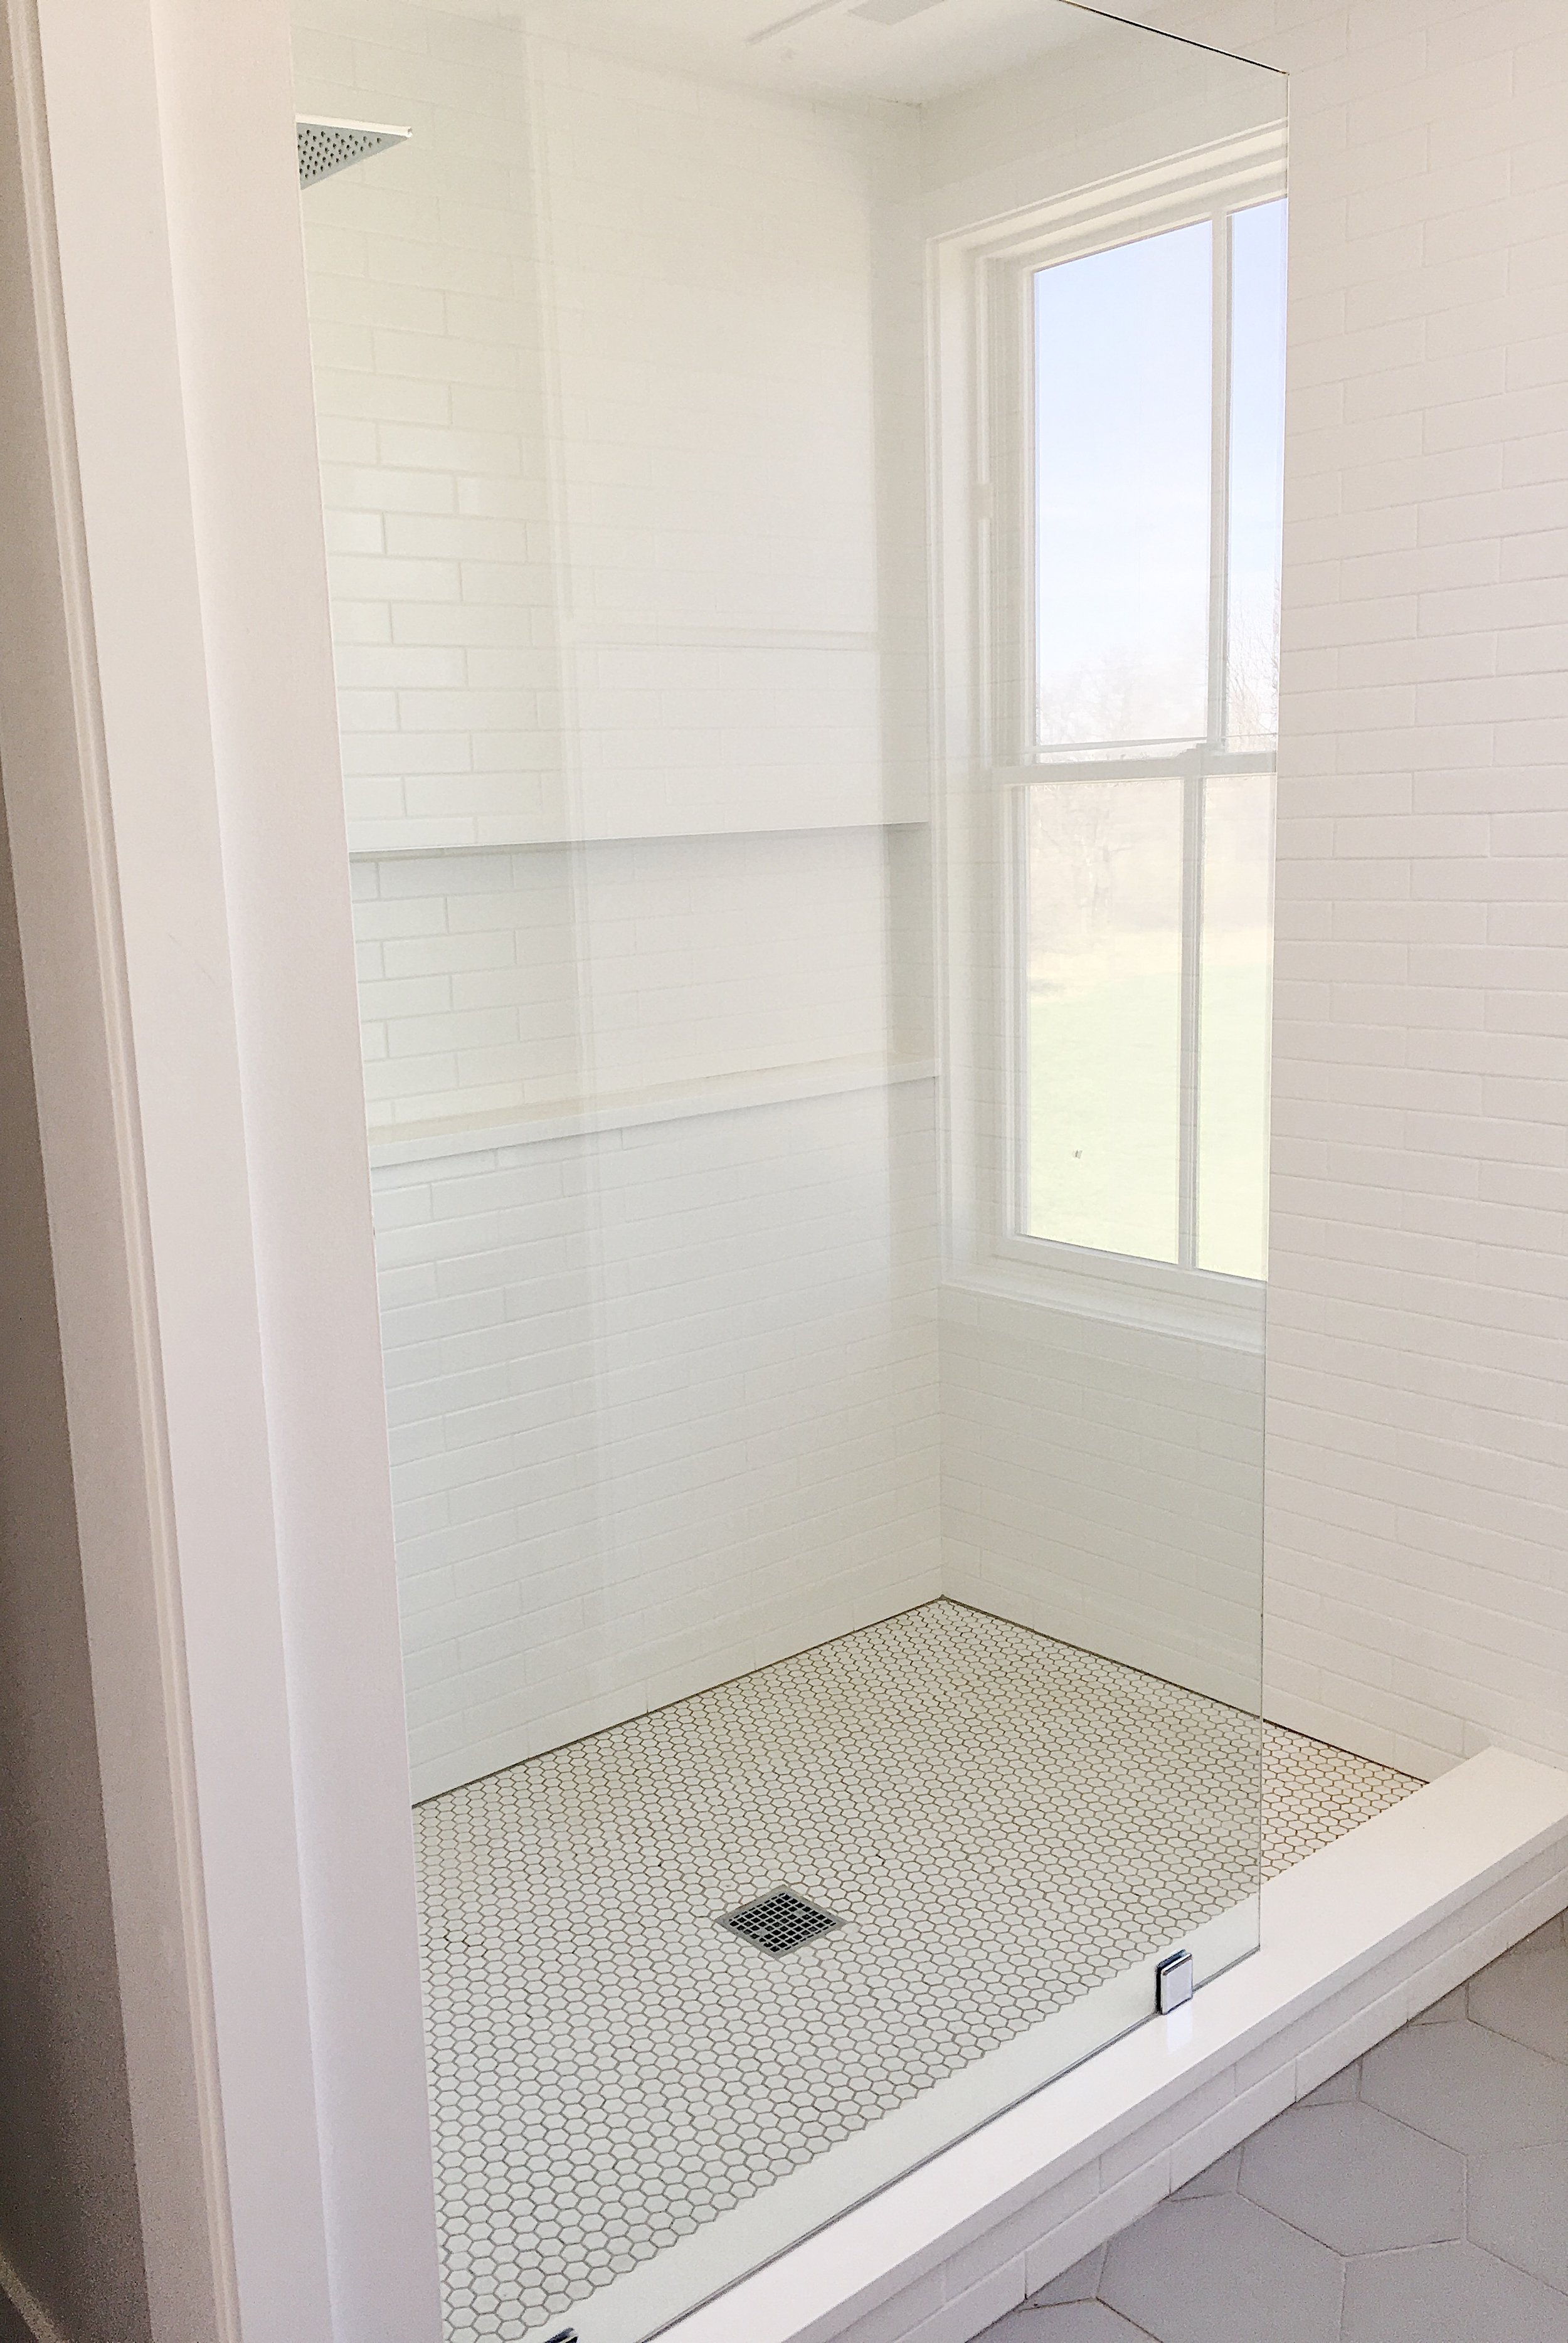
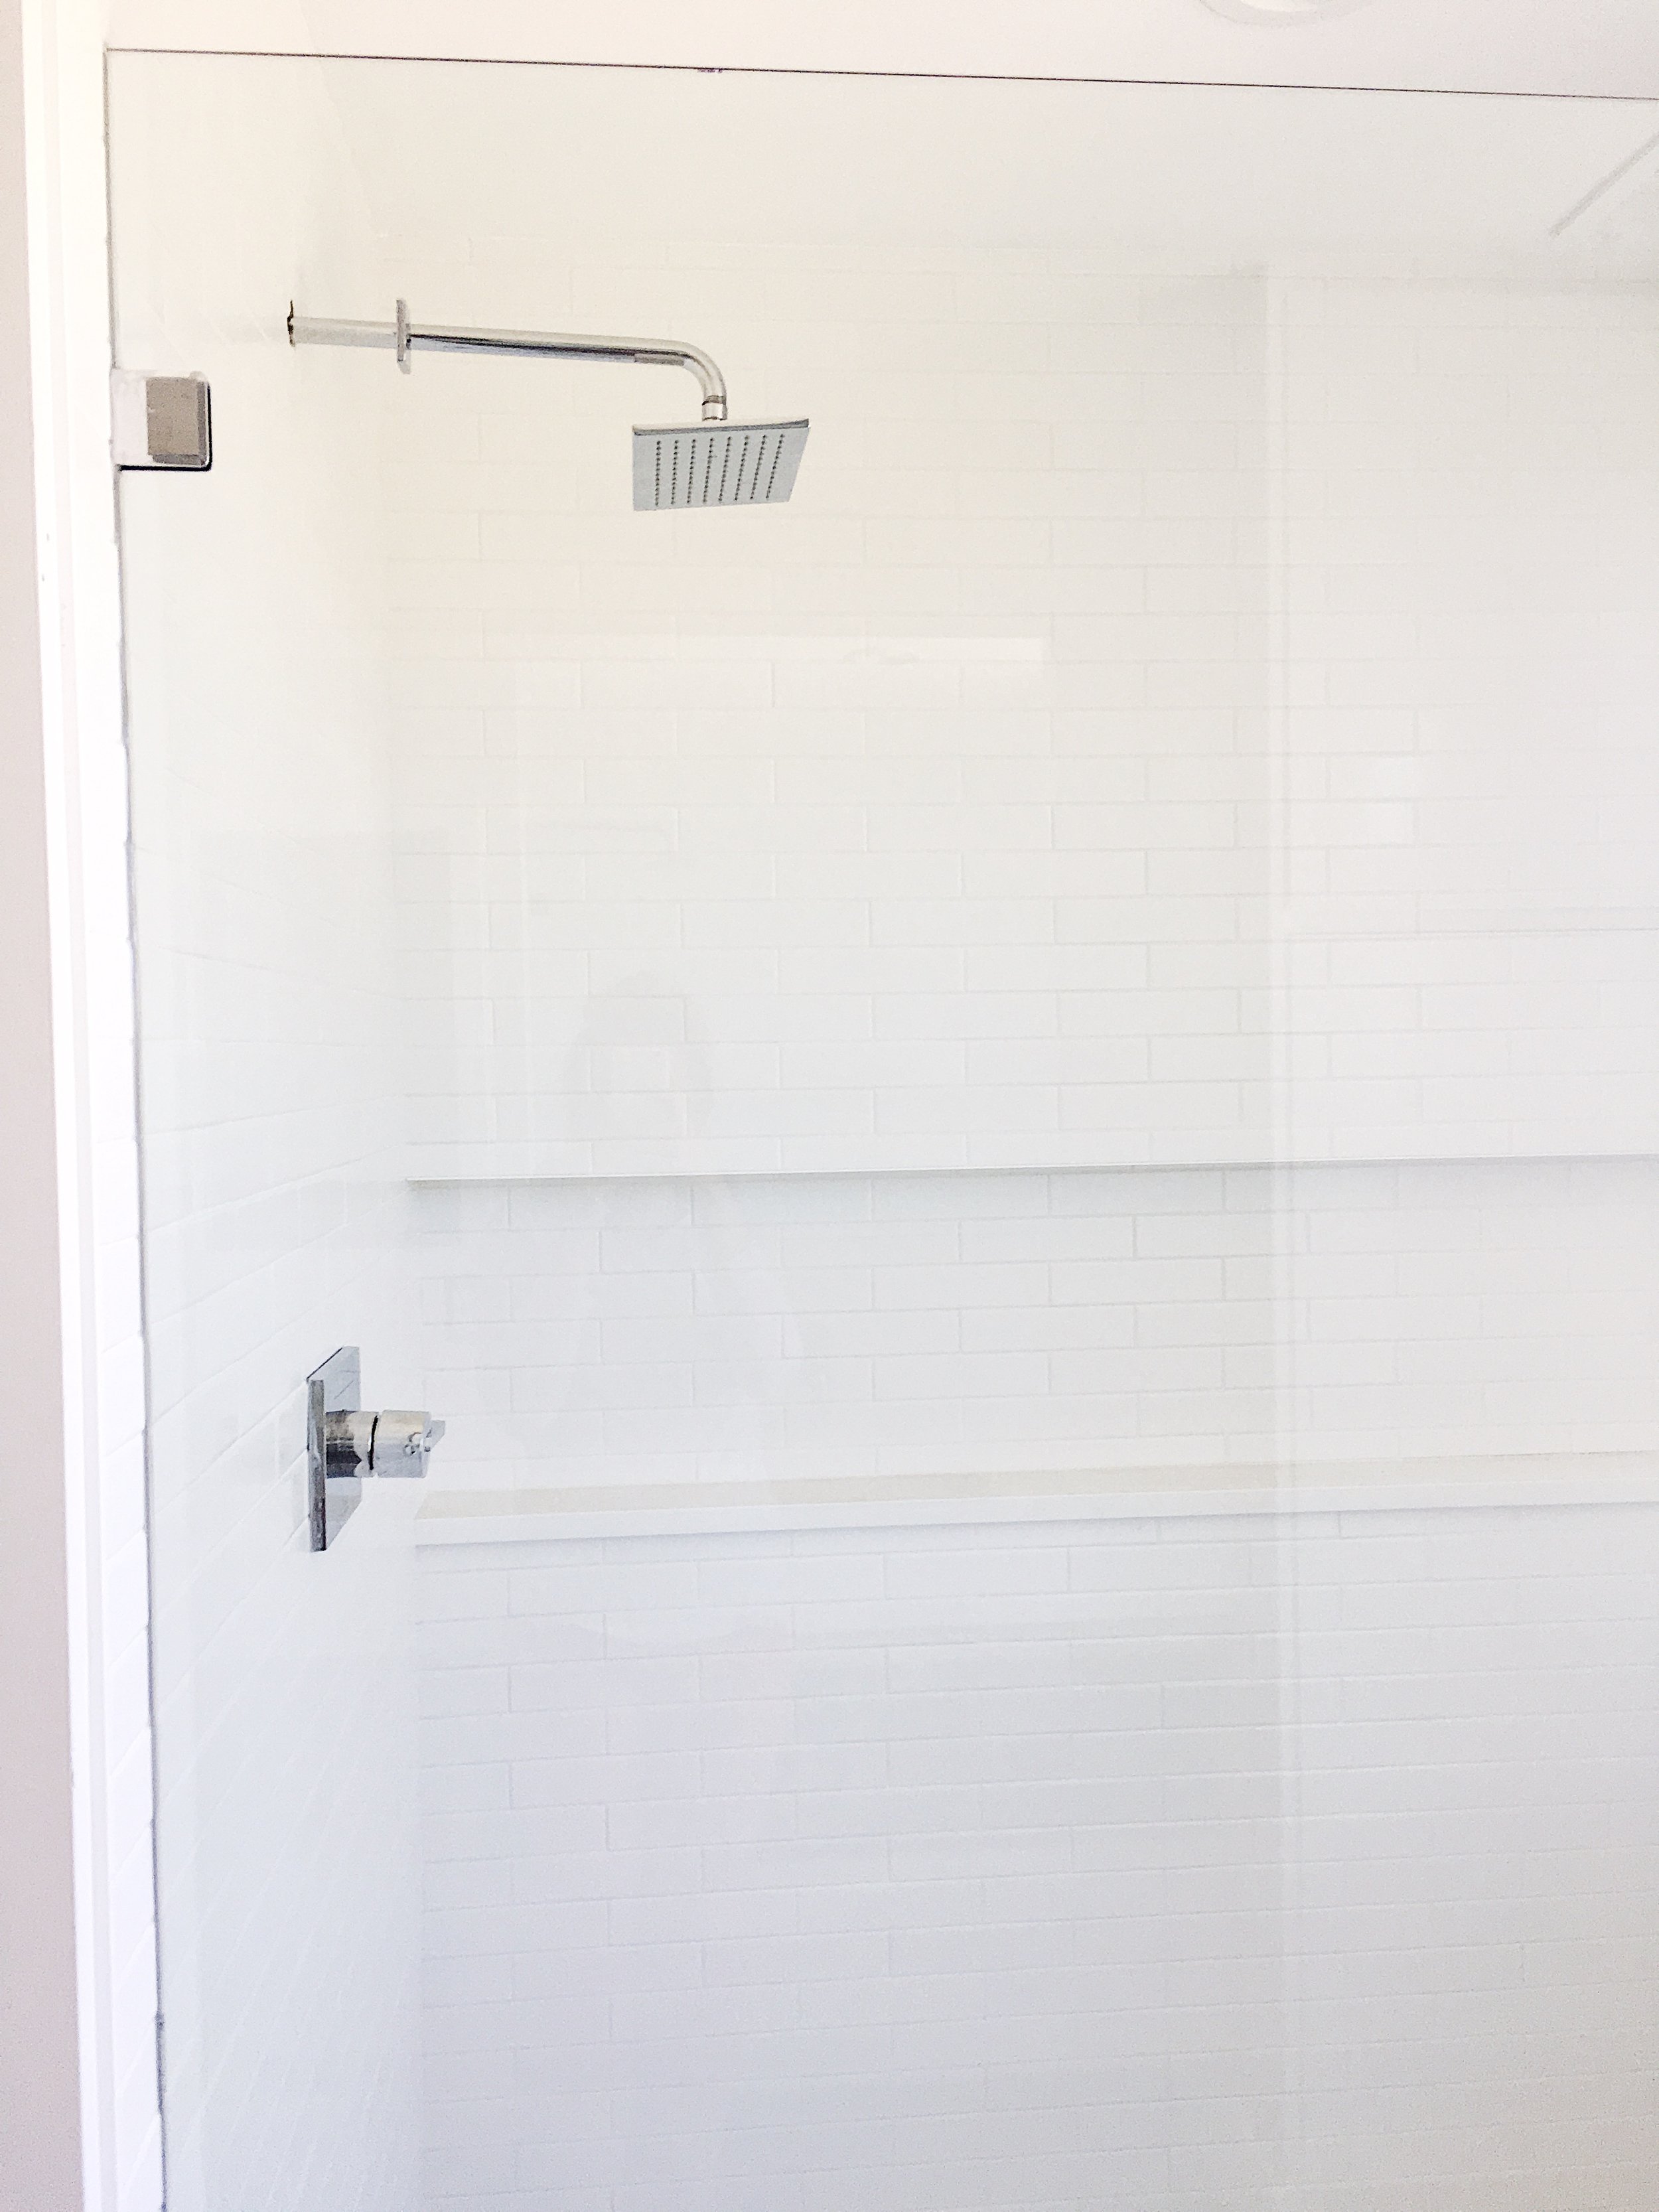
We returned on Saturday to find tile work completed, running water, additional lights installed, and a glass shower door in the master bath! Below is a look at the subway backsplash in the guest bath. This was a last minute decision but one that we thought was really important. Water + drywall typically doesn't mix well, so we're hopeful this tile will be a simple addition that makes cleaning and maintenance much more manageable down the road.

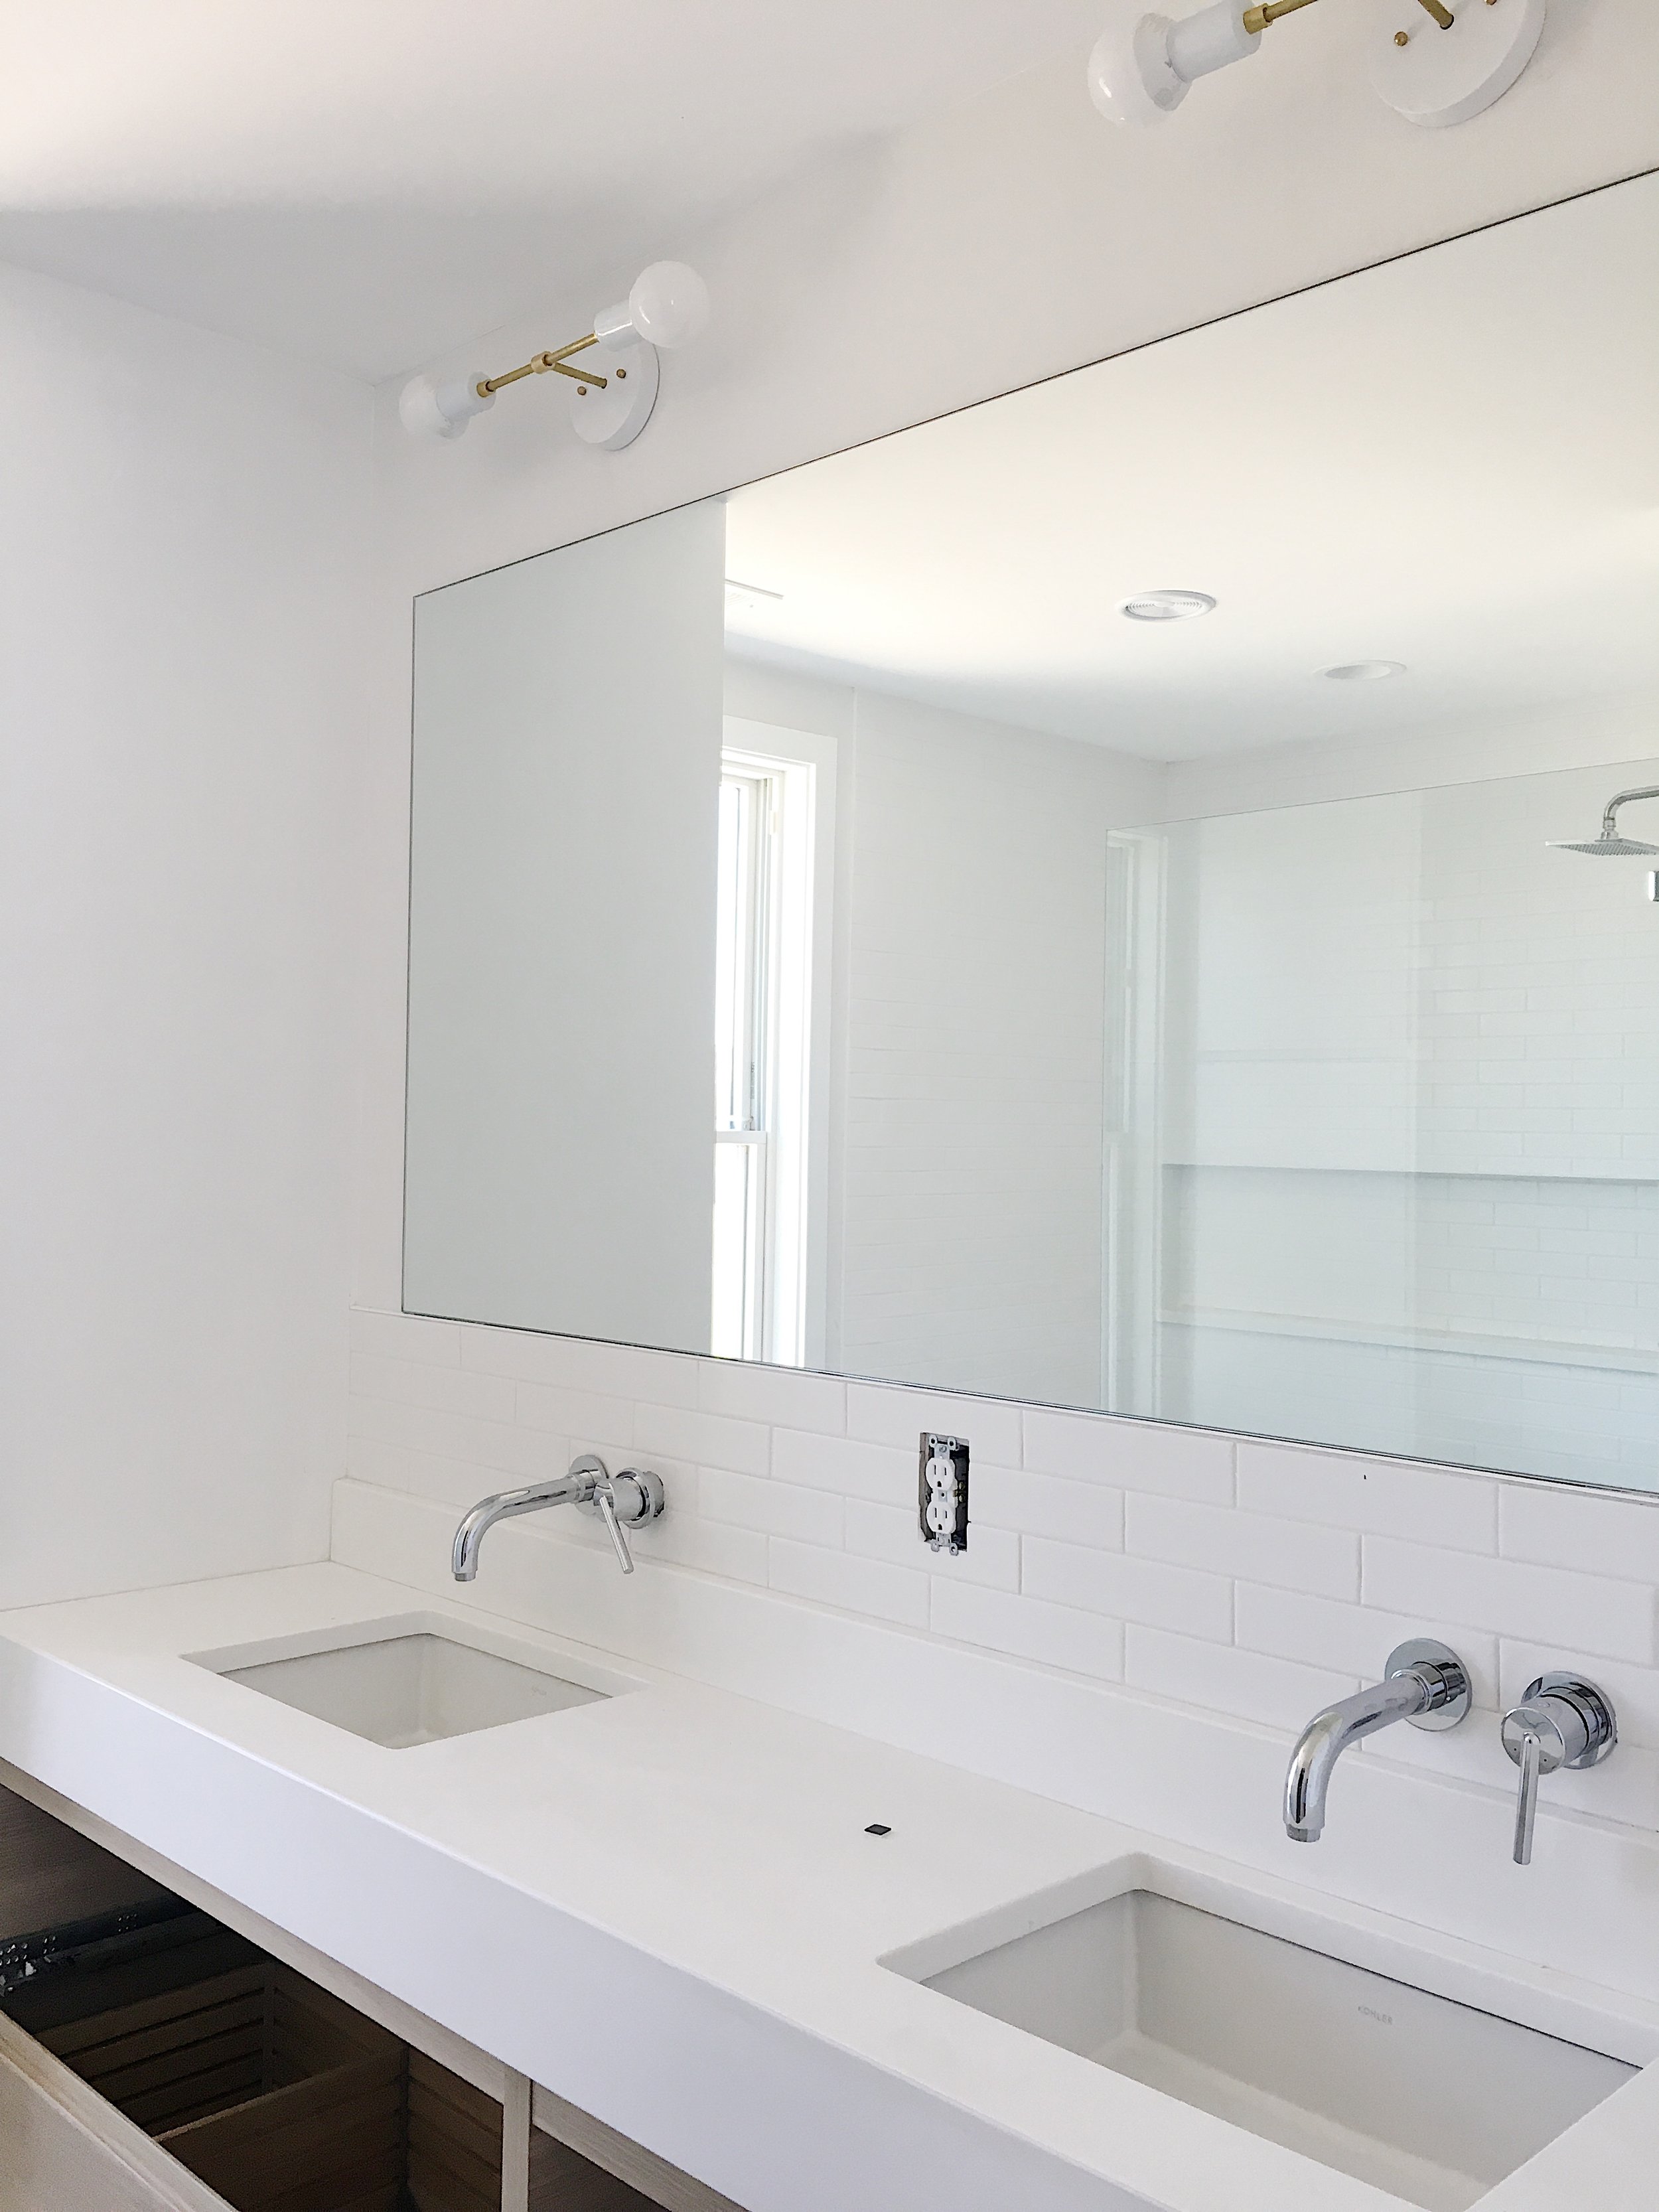
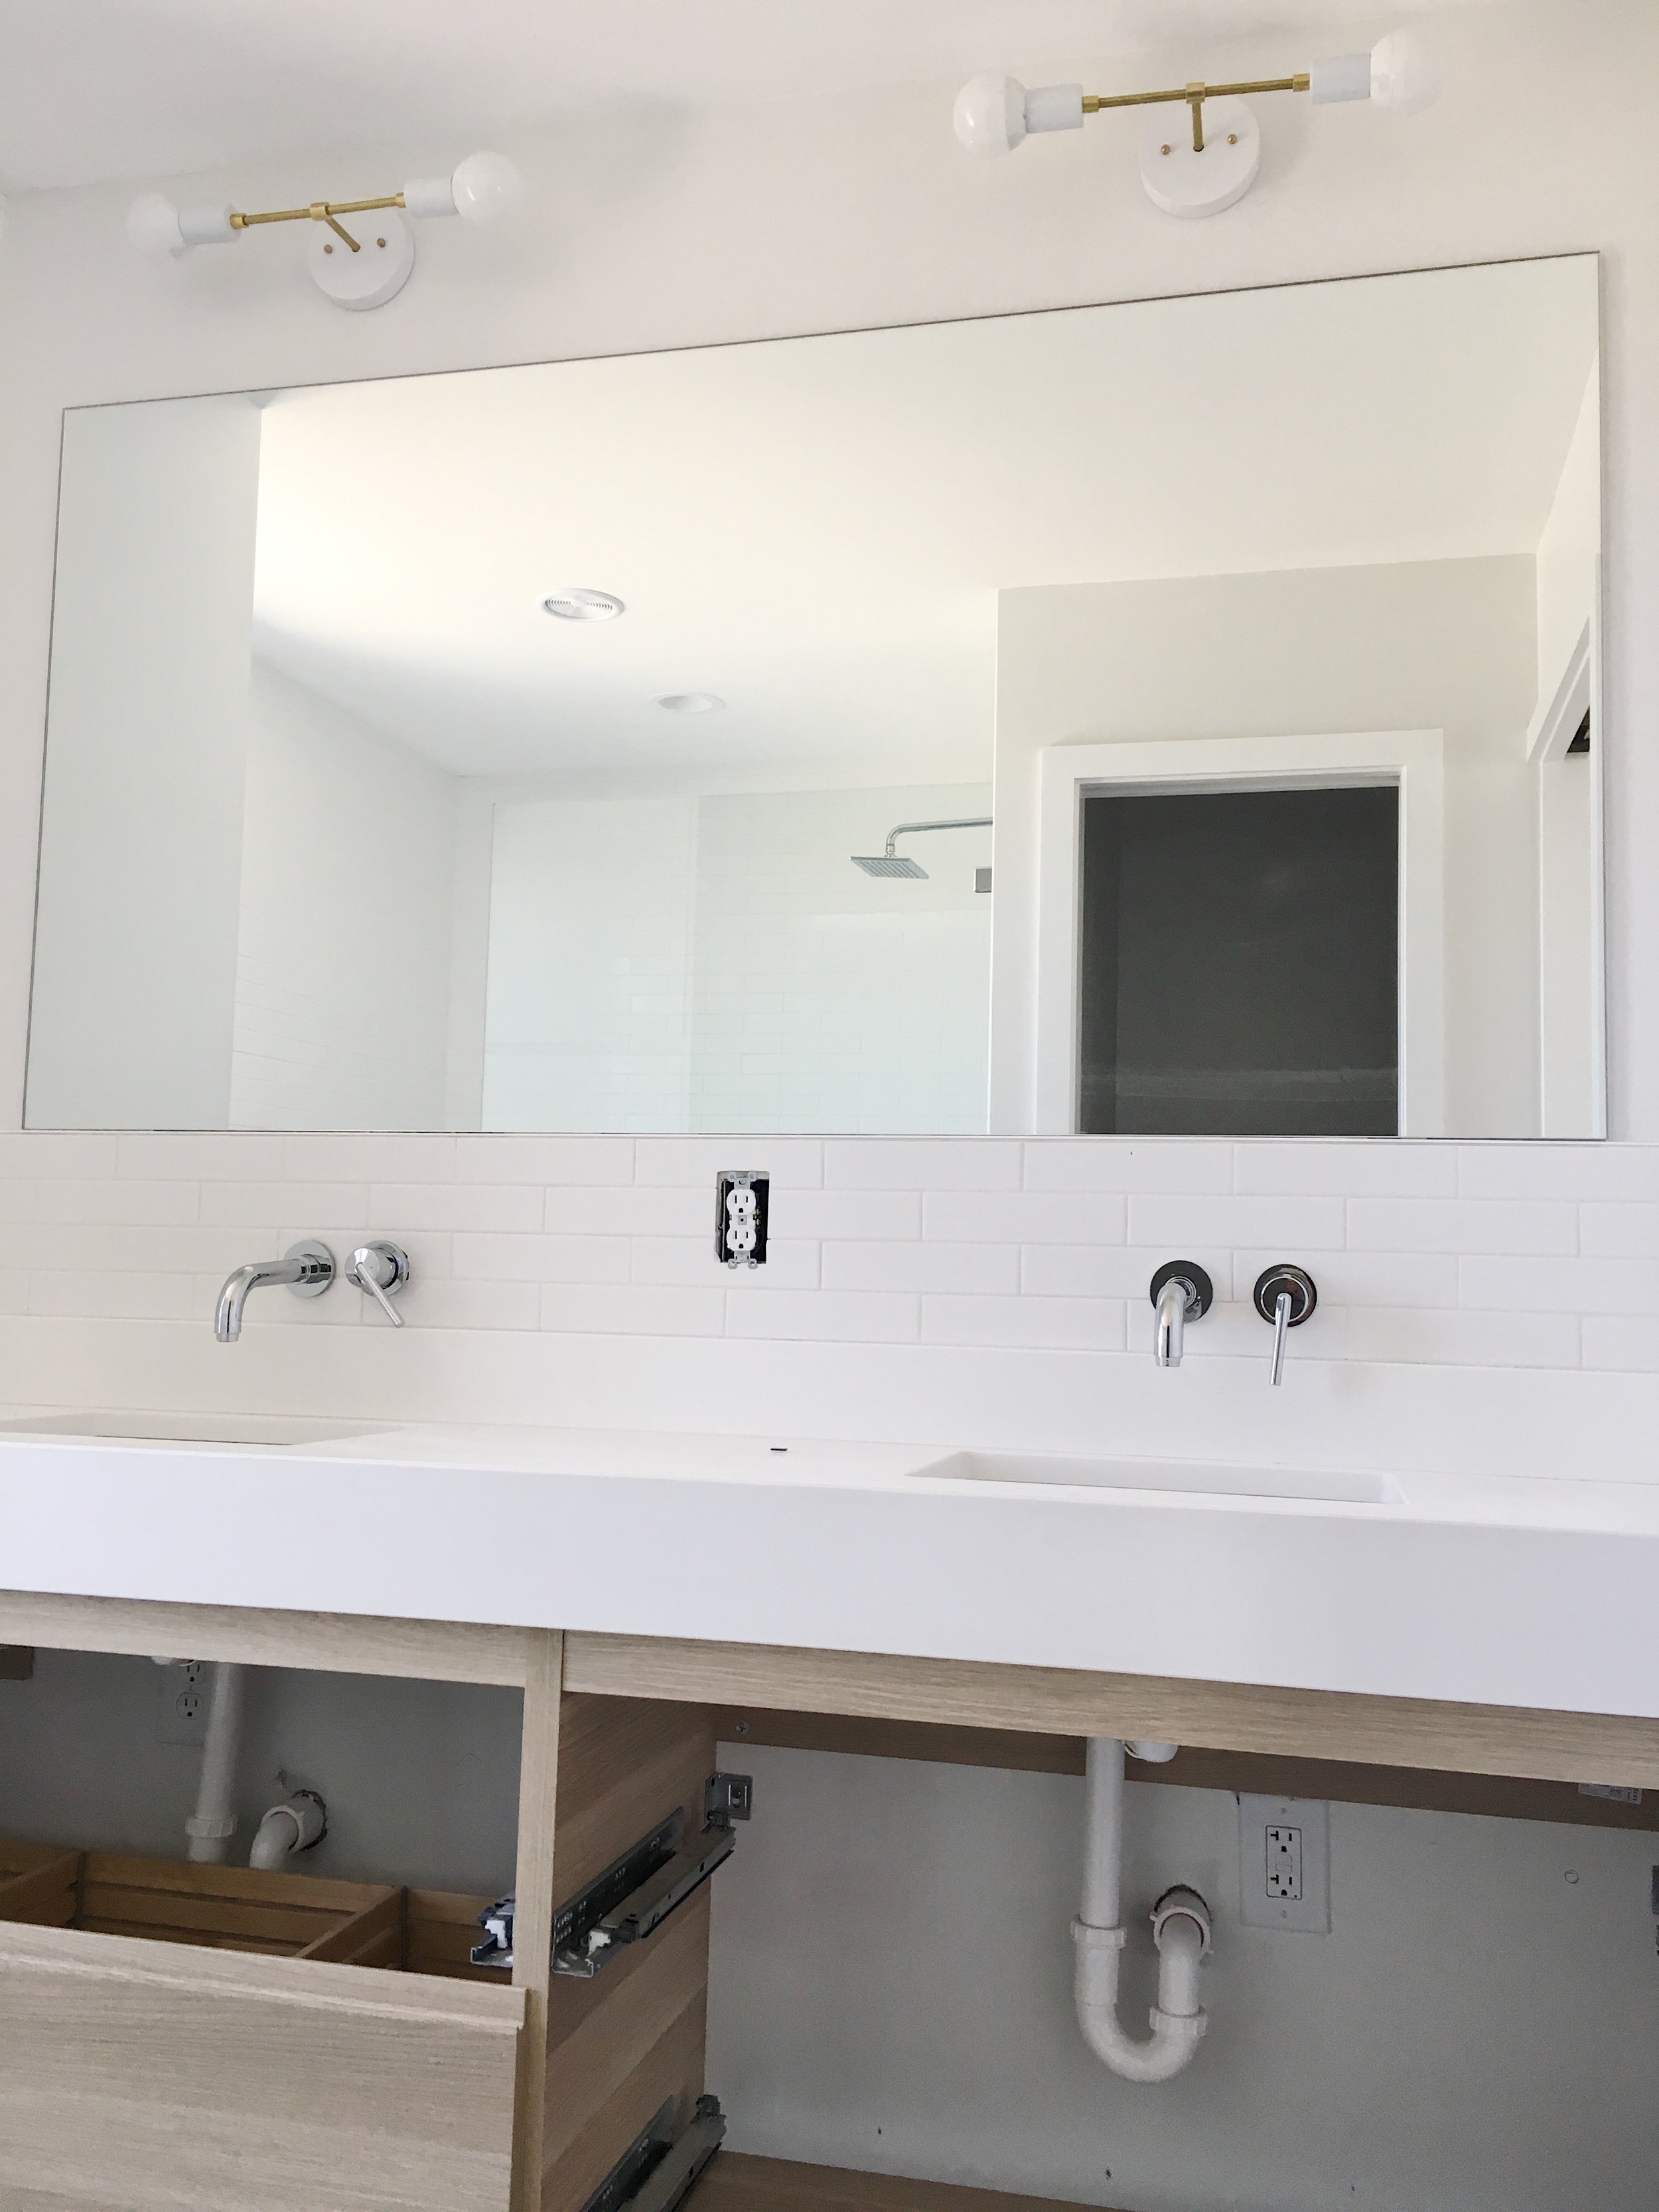
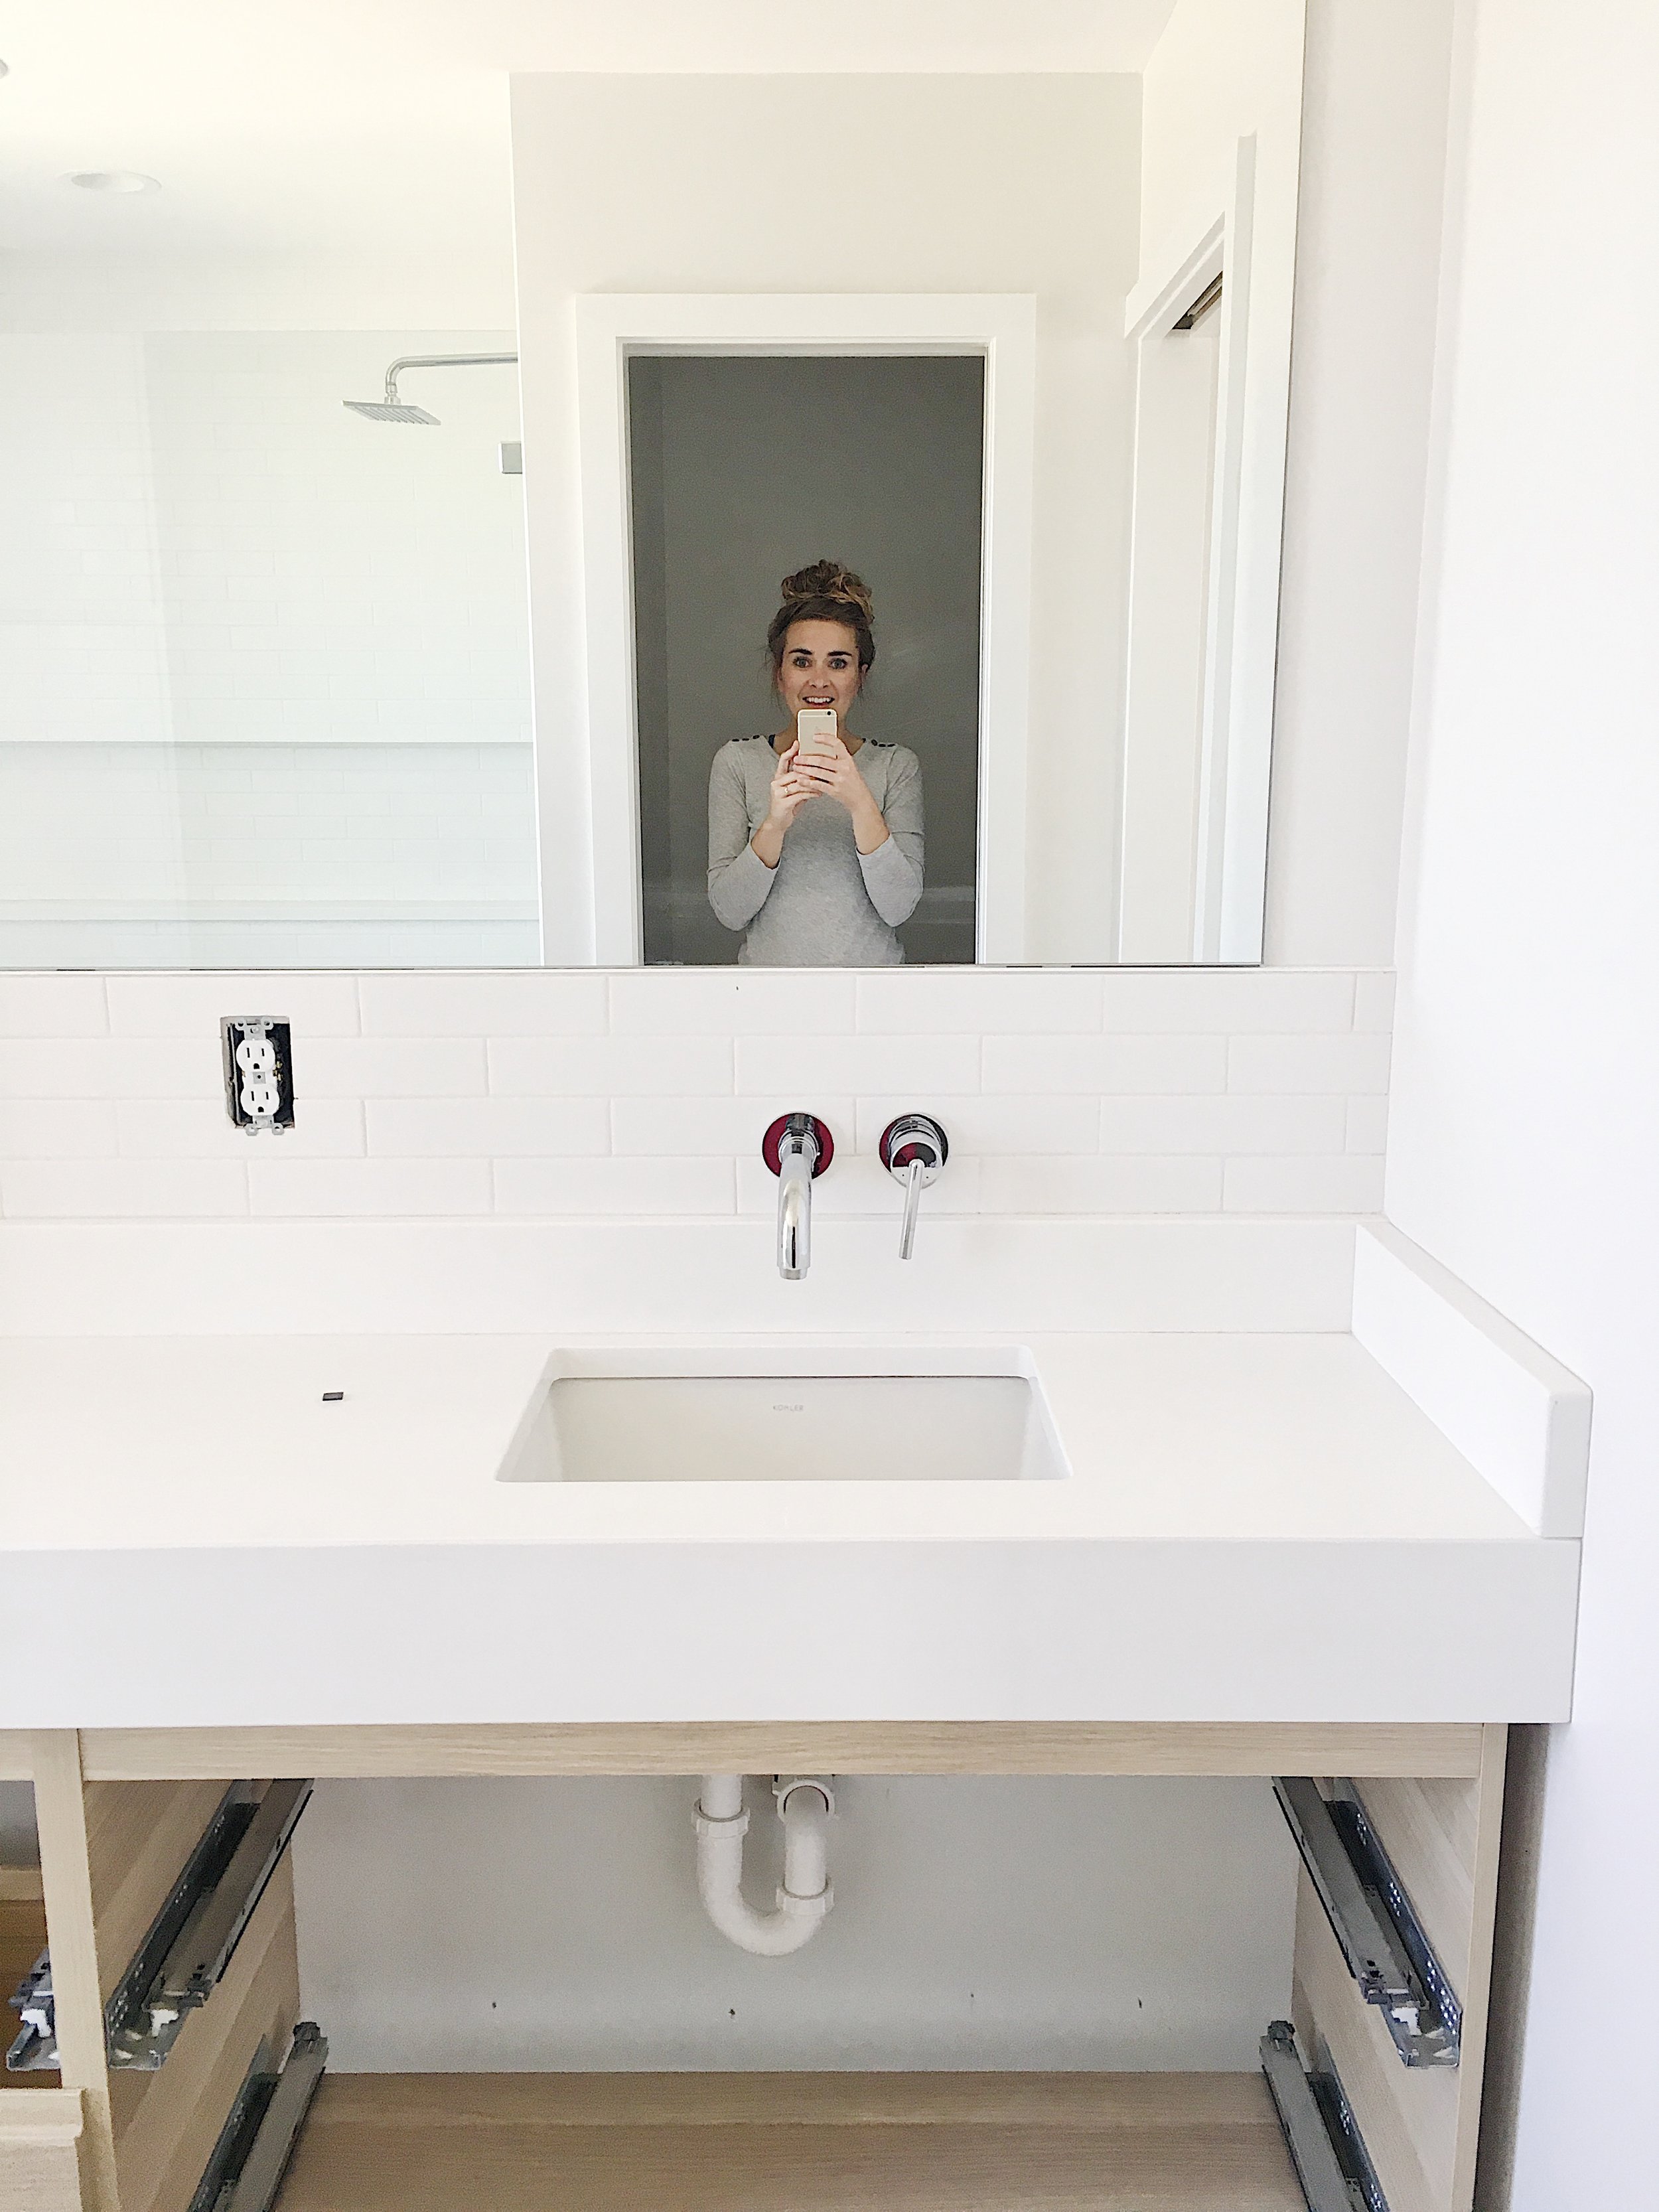
Below you can see the new lights and mirror installed in the master bathroom. Tyler made the lights (I think I'll keep him around :) ) and the large mirror really makes the space feel open and airy. Oh, and you can also see that we added some tile to the backsplash above the countertop in here. This was also a last minute decision, but I really like the way it turned out.
Below is a look at the glass shower door - I guess I should say glass shower wall. We decided to go without a door as we wanted to keep it as clean and simple as possible. The shower is large enough that we don't anticipate needing a door (fingers crossed!). It's tough to photograph, but it looks great in person.
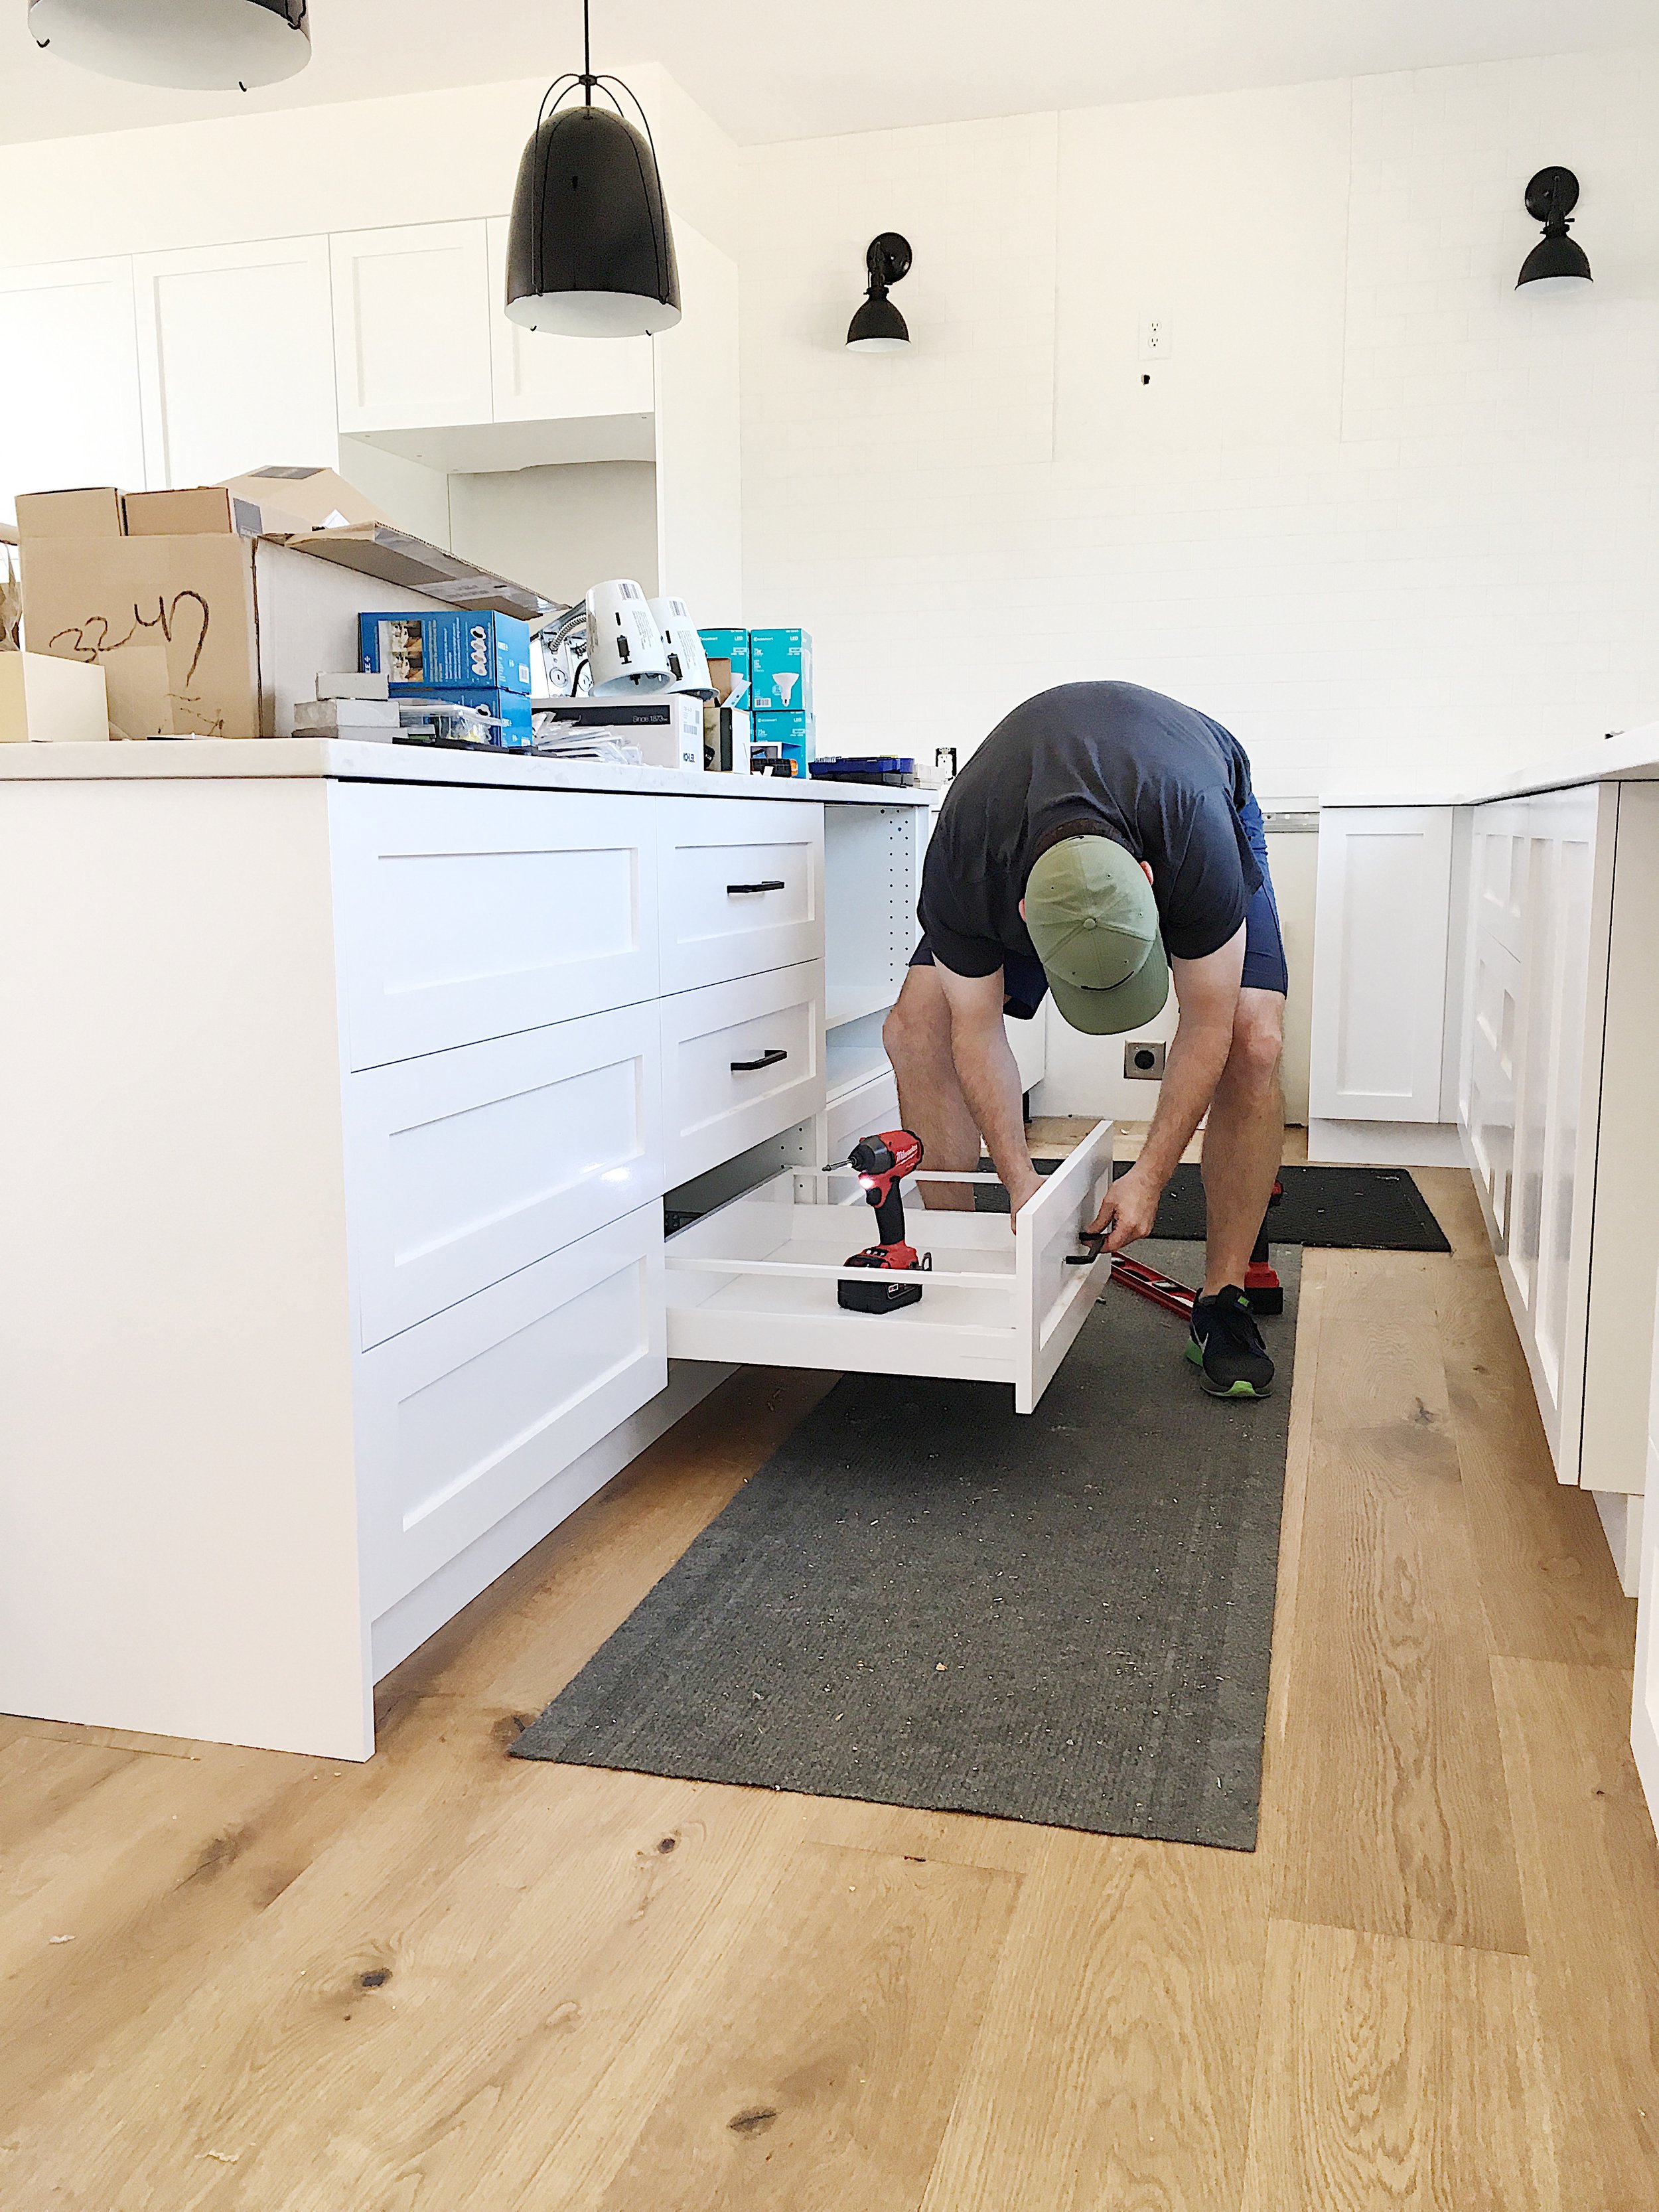
We always seem to have projects on the docket, and this weekend the top priority items included installing the kitchen hardware as well as sealing the basement concrete floor. Let's start with the hardware... I searched high and low for hardware. I looked at everything from $5/handle to $75/handle - yes, really. It's amazing how many choices are out there. I pretty quickly figured out that I wanted something black, but that didn't really help the situation. It's incredibly difficult to find "true black" hardware as most companies sell "bronze" as the black alternative. Well I didn't want bronze, of course.
Long story short, IKEA's new products launched right about the same time we were buying our cabinet frames and I happened to stumble upon their new hardware. Low and behold, they came out with a black pull that was simple, the perfect color, and had a slim profile. Plus, at $12.99/2-pack, it was a GREAT deal.
The only bad part? IKEA's handles are not a "standard" length. They are 6-11/16" long. This isn't really a problem, but it does make installation a little tricky because you can't just use a hardware installation template that they sell at the hardware store. Instead, Tyler decided to build his own template and it worked like a charm. He even added felt pads so that he didn't scratch the cabinets - like I said, I think I'll keep him around. :)
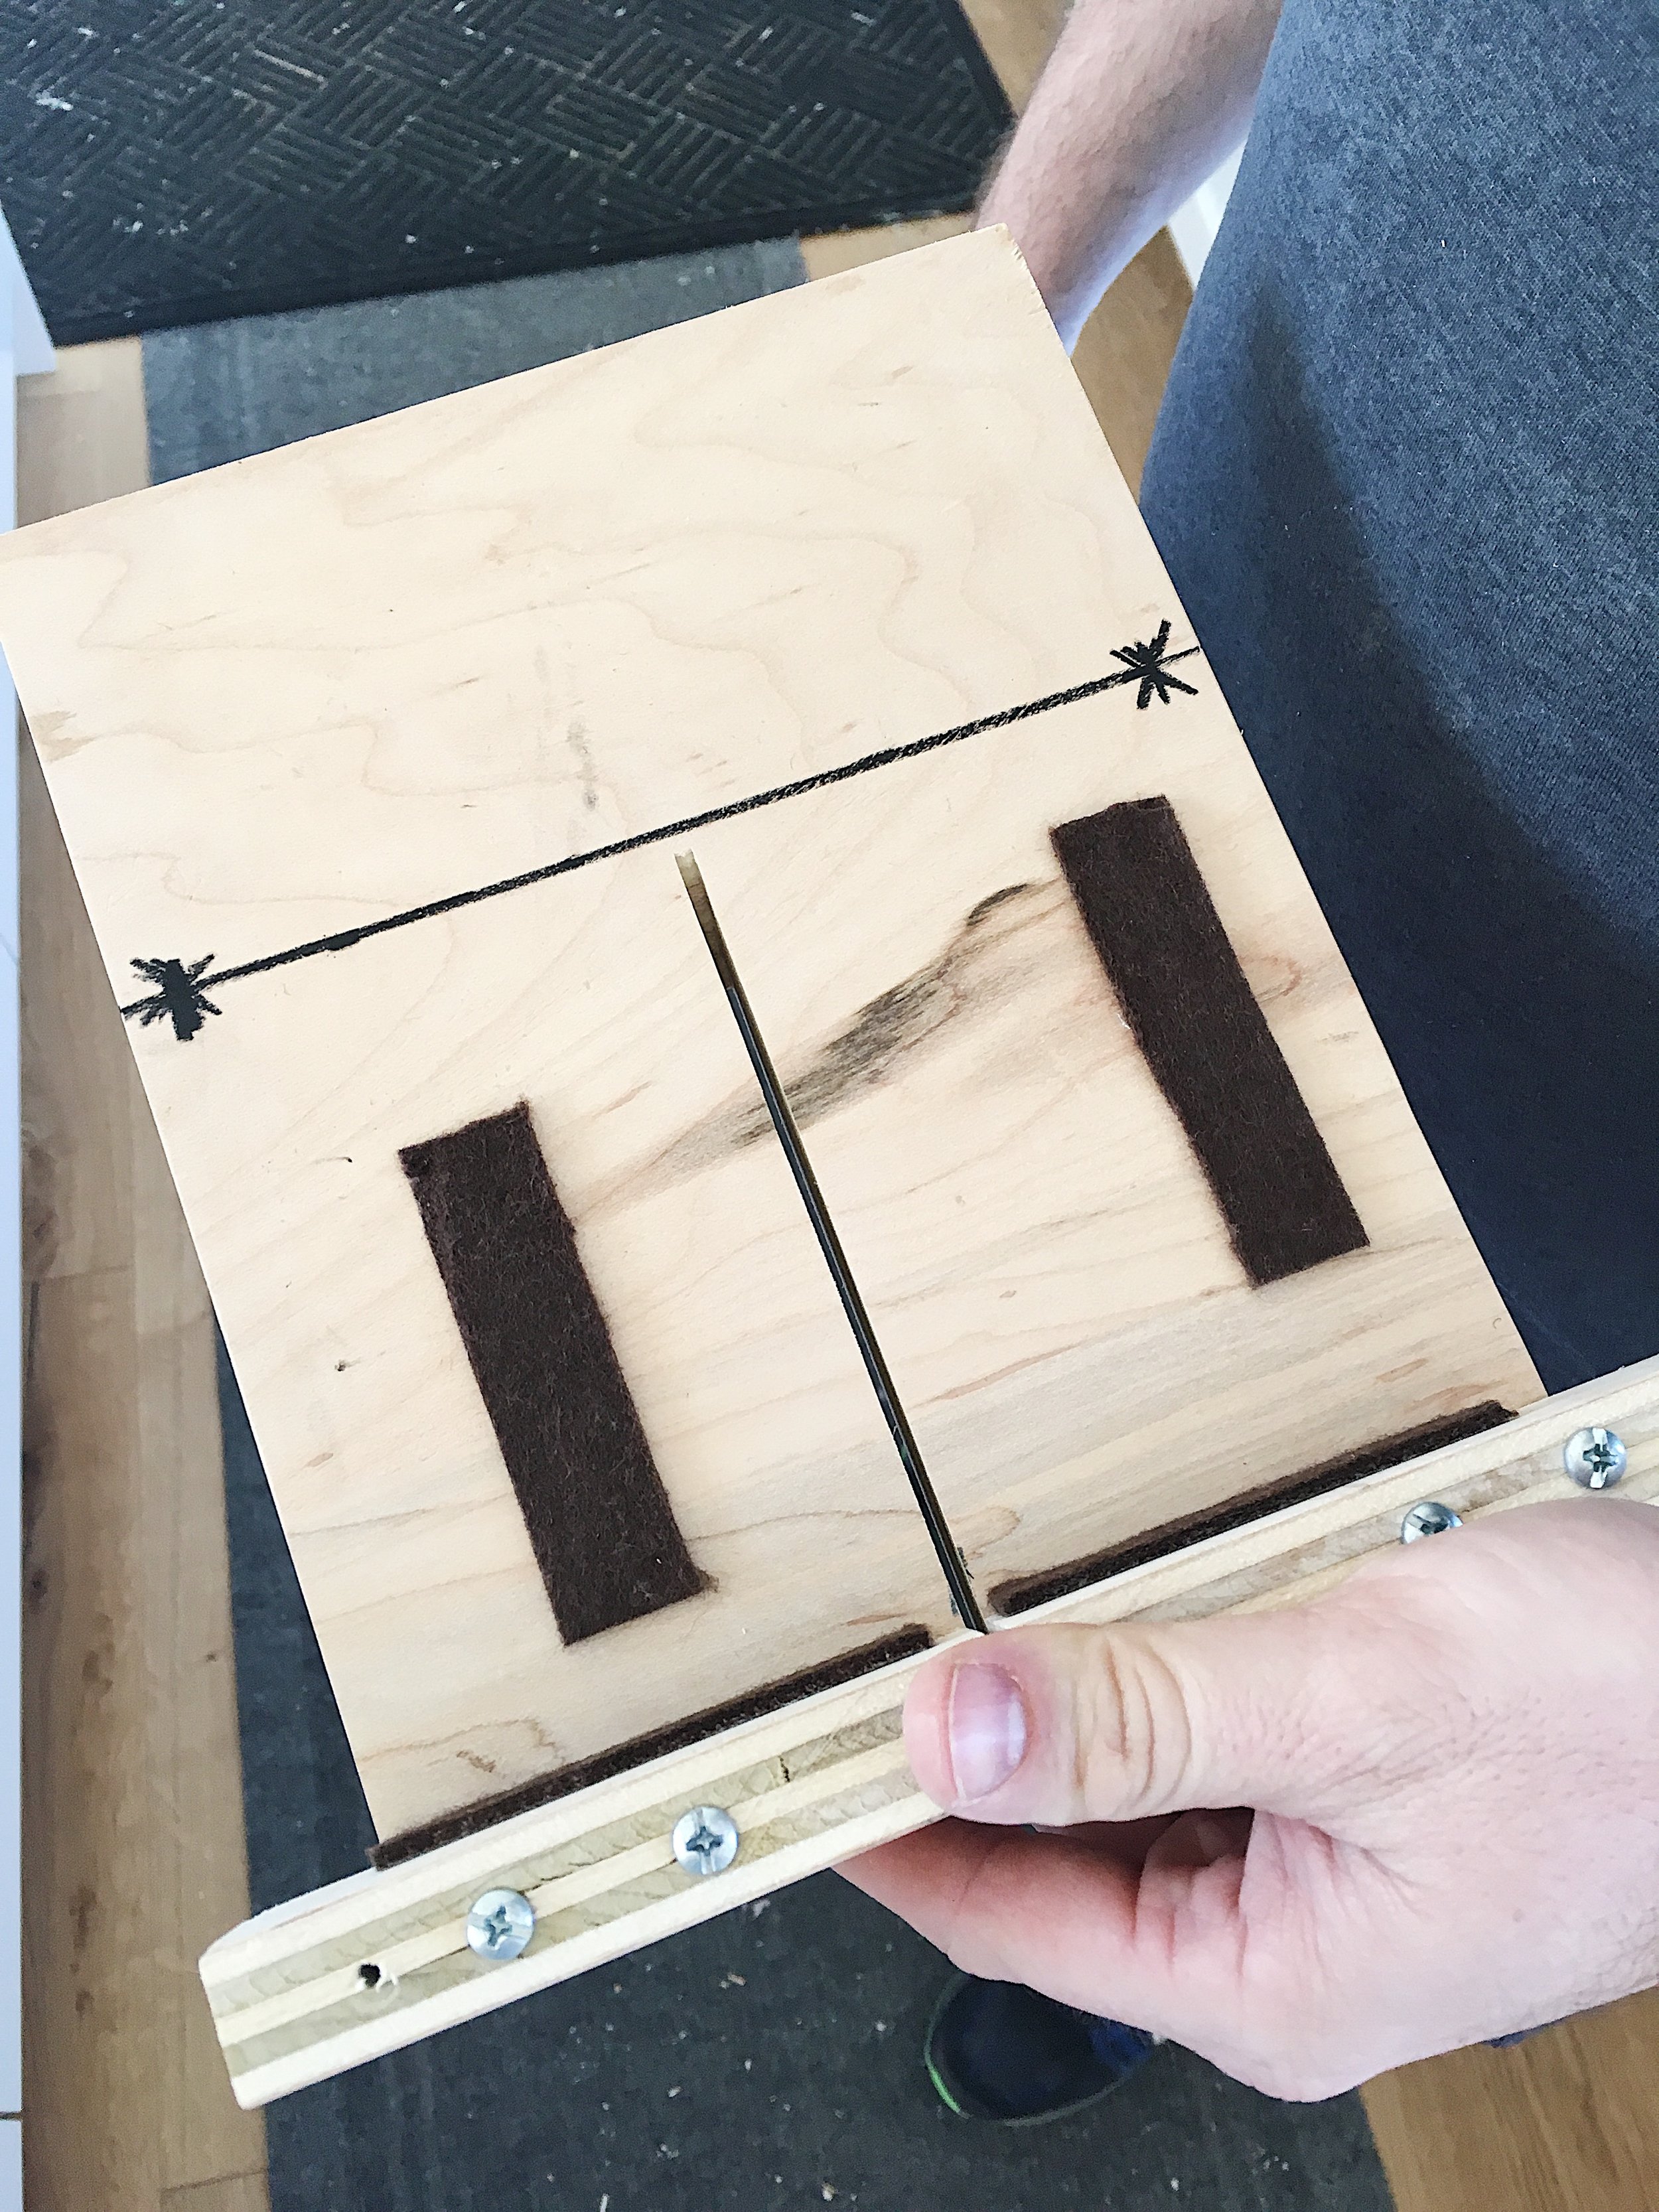

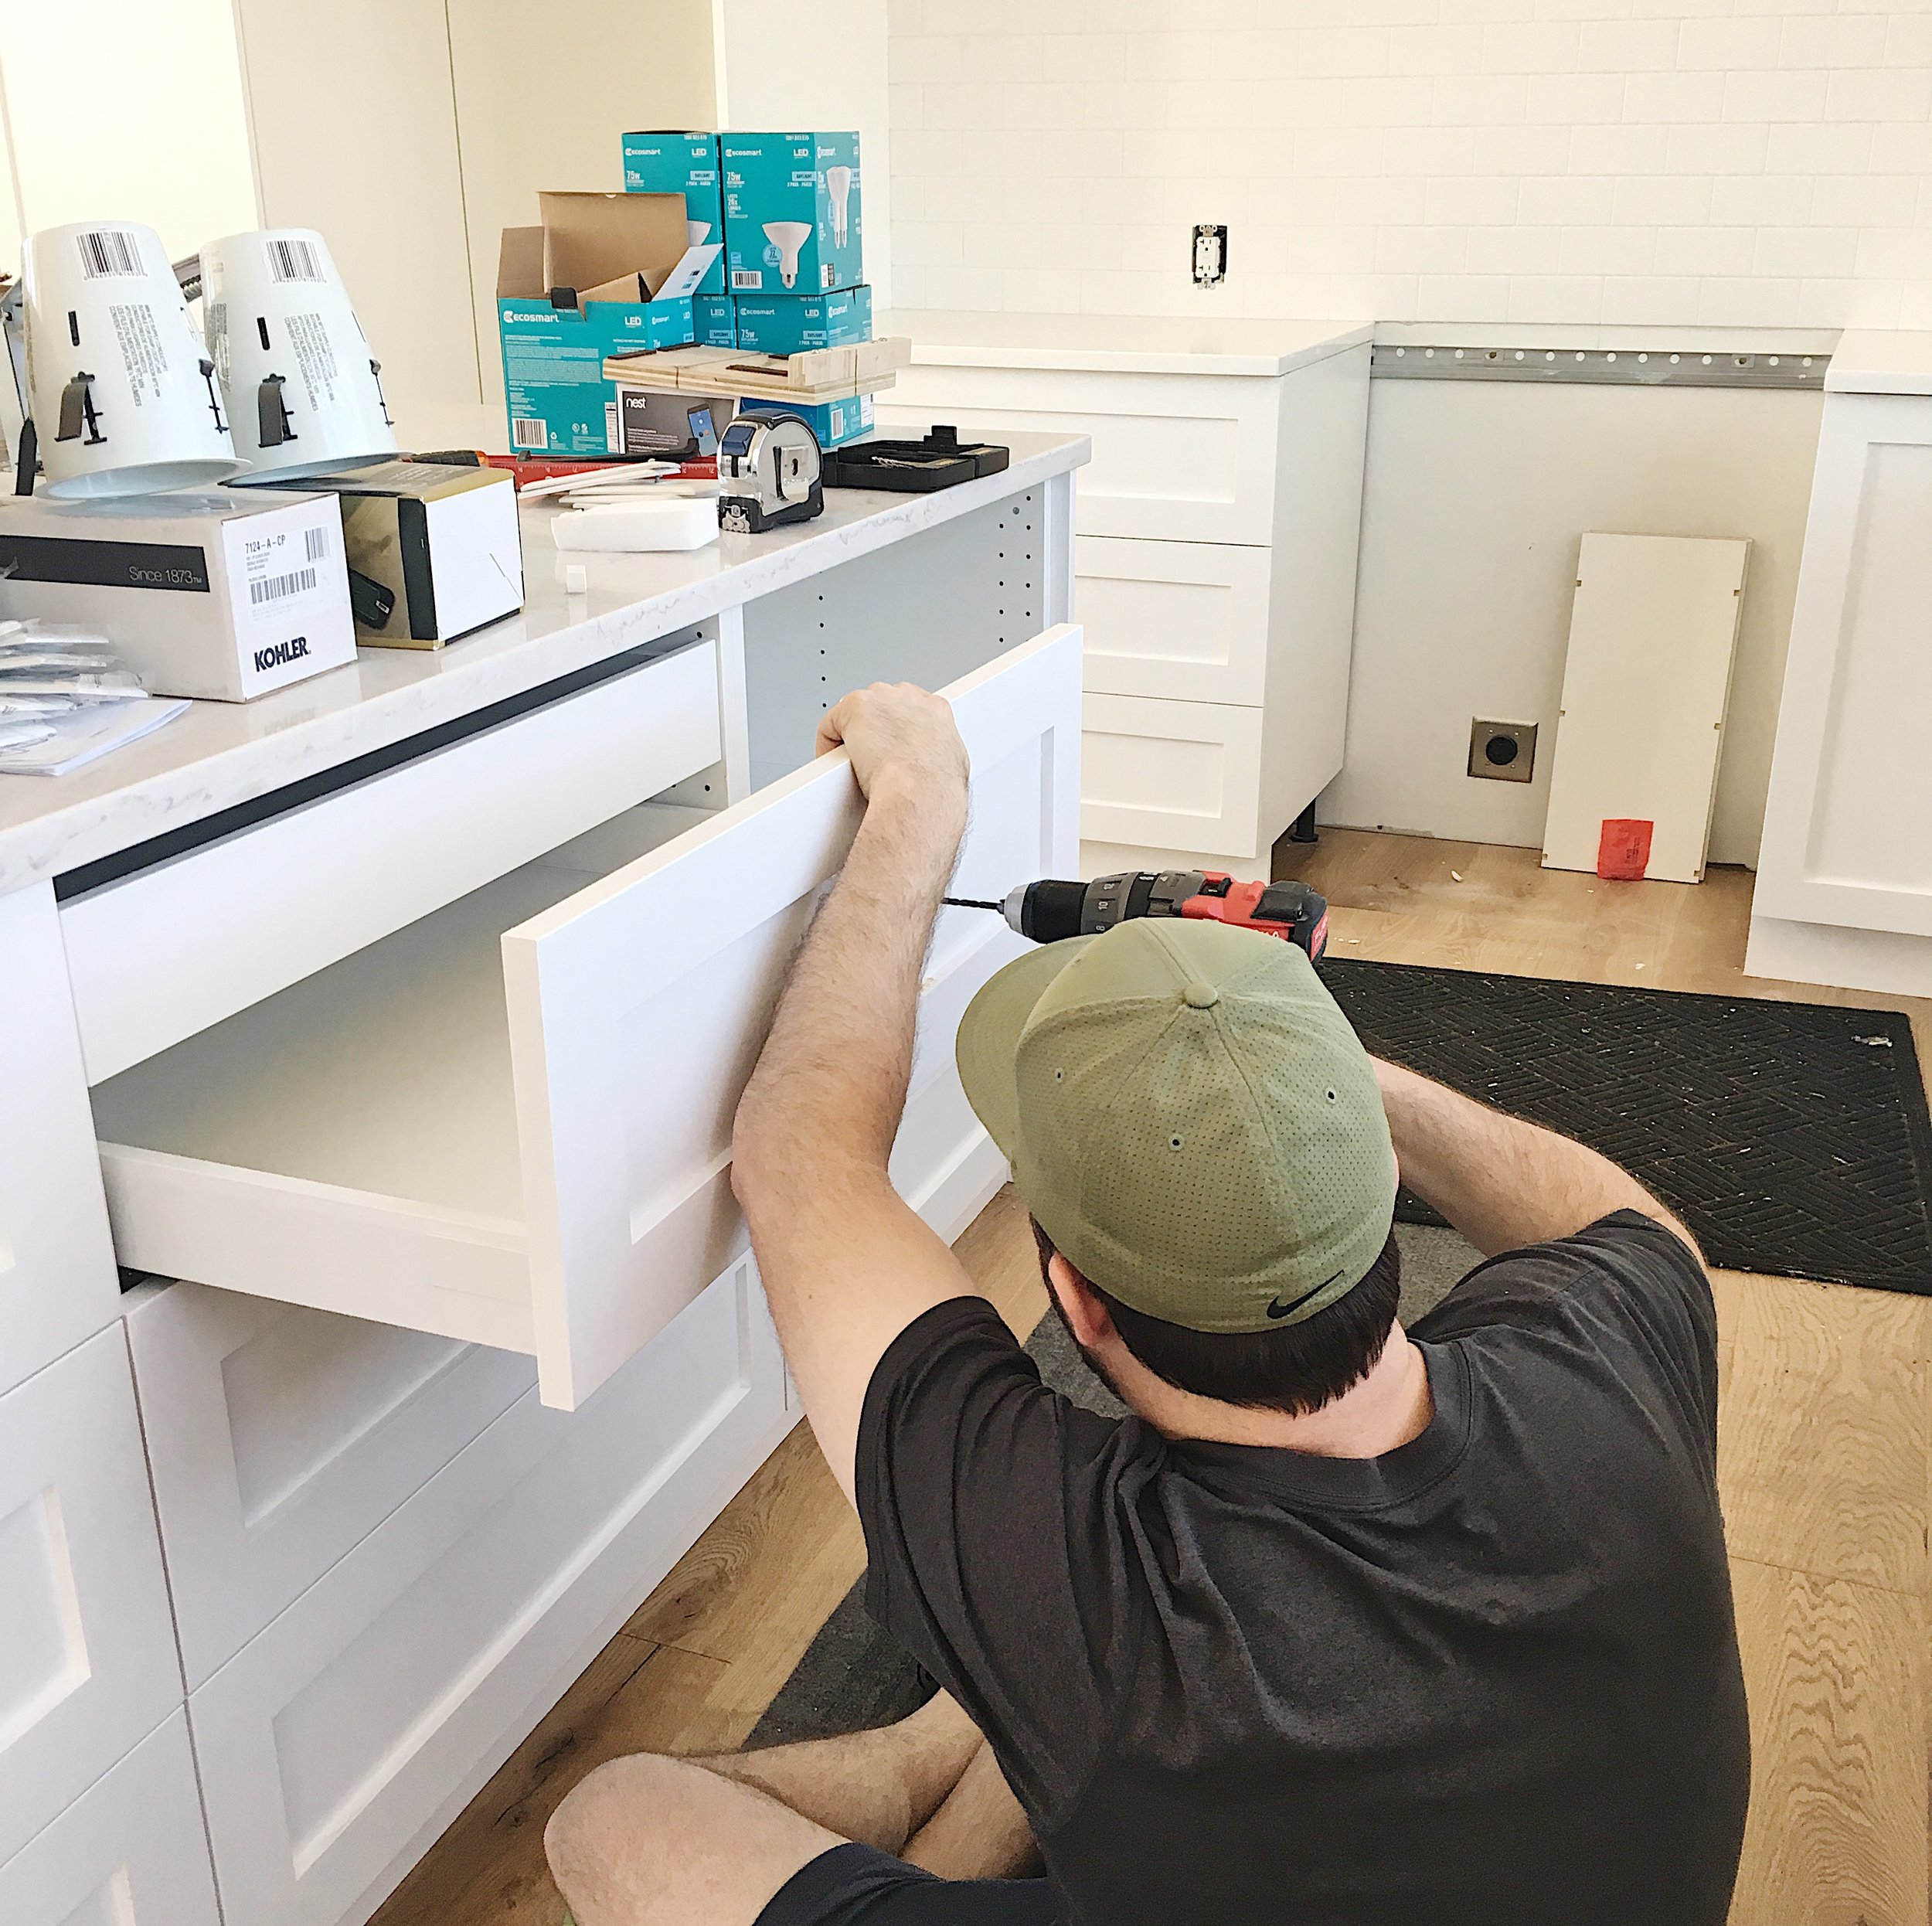
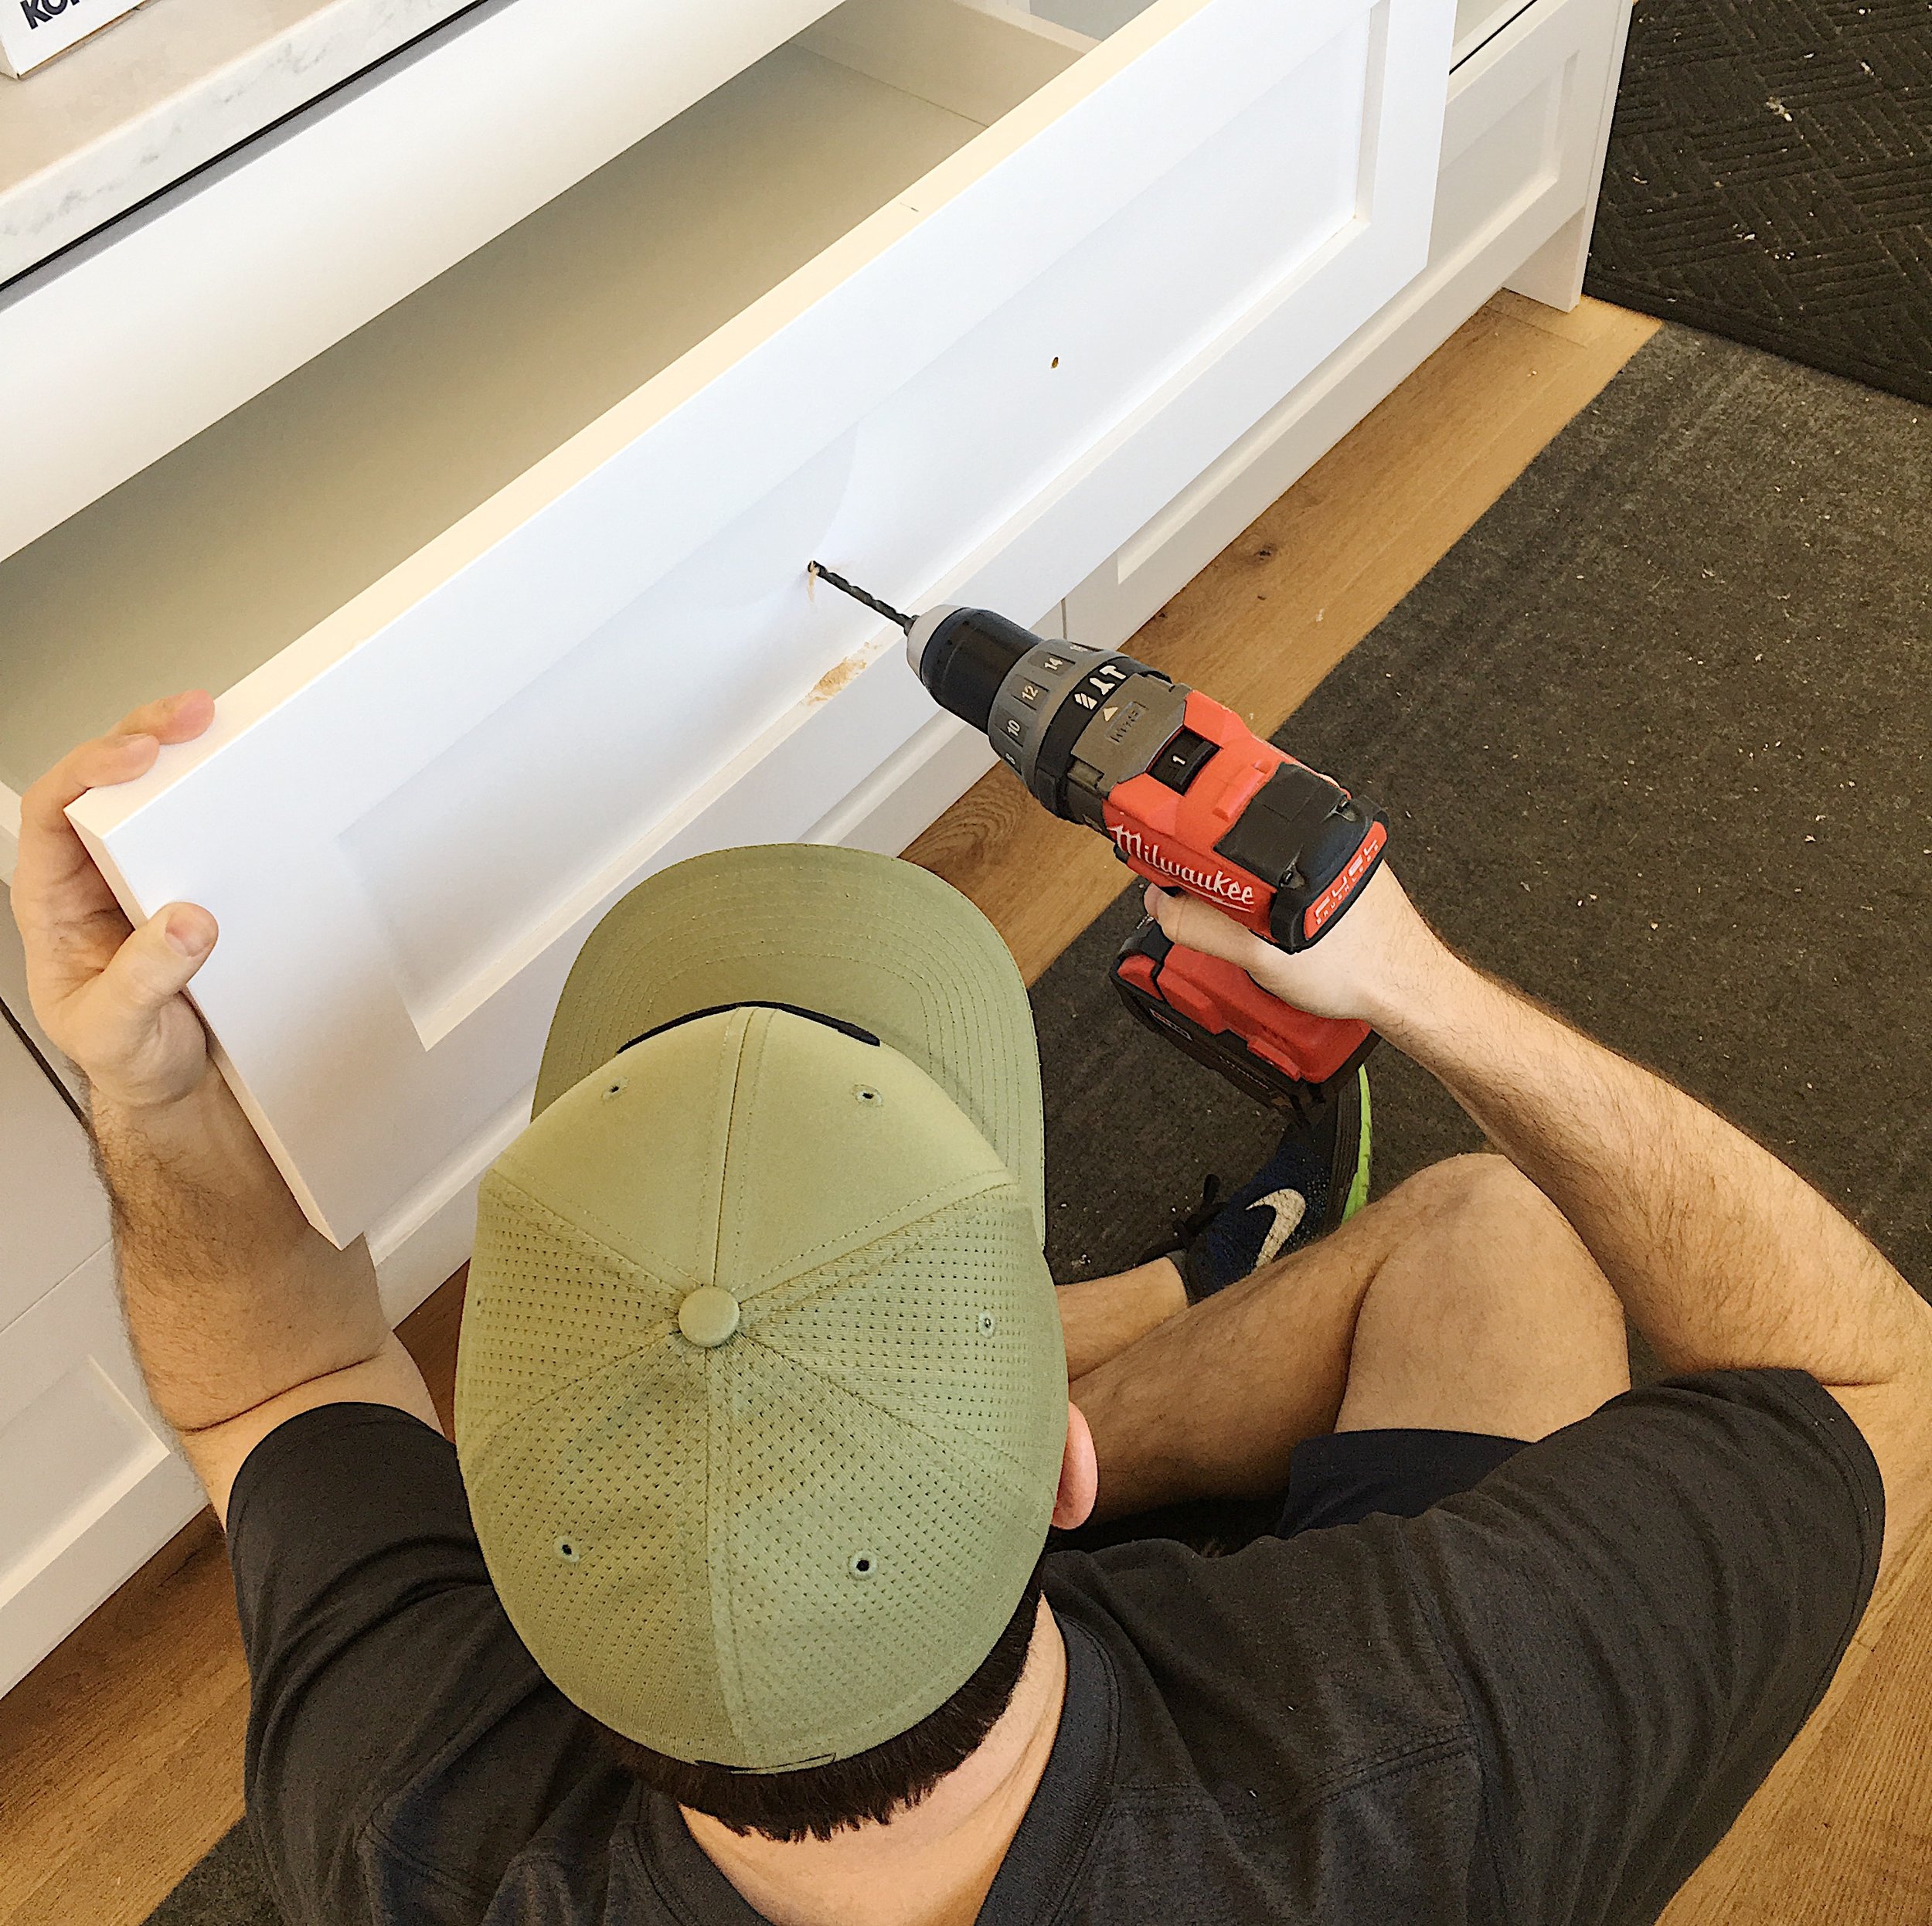
It took some time, but the installation went off without a hitch. Unfortunately, I completely forgot to take a photo once we were done, but you can kind of see how they look below. We couldn't be happier.
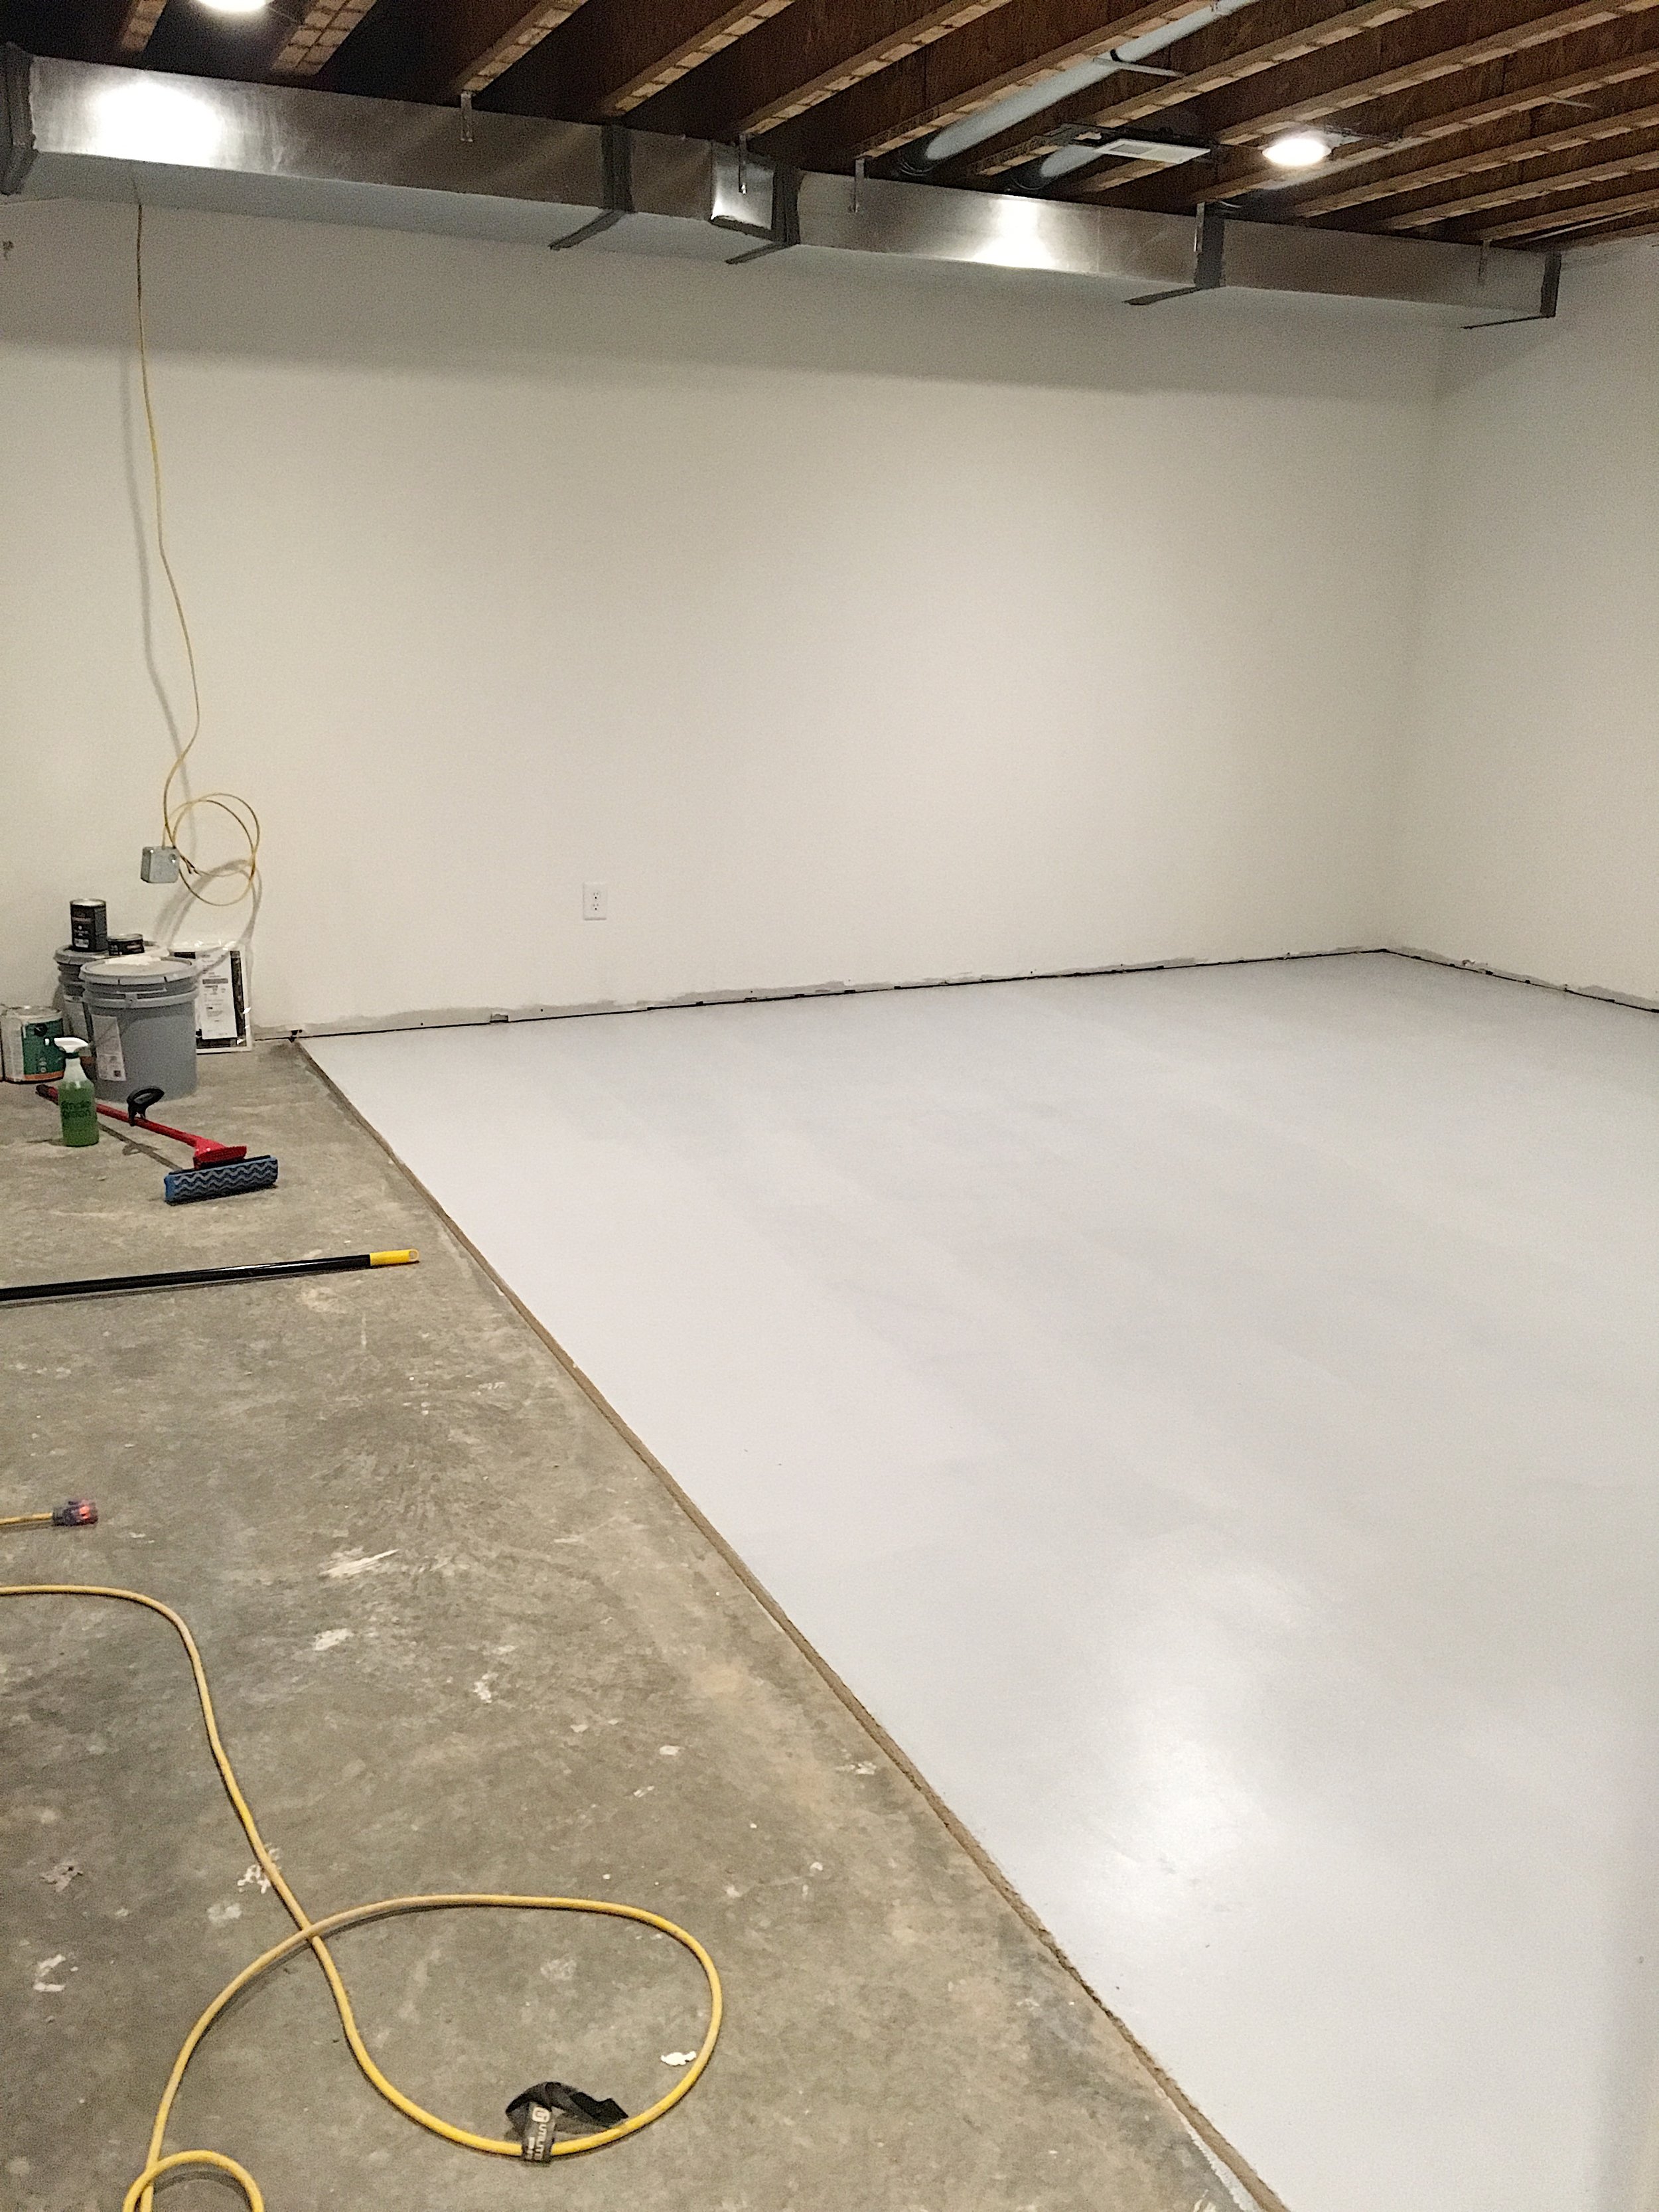
Our other project for the weekend was the sealing of the concrete floors in the basement. Our builder recommended we do this because concrete tends to emit a lot of dust. With a simple sealer, we could curb this dust and create a clean finish. Plus, it was going to be a lot easier to do this now while there isn't too much down there.
This project wasn't difficult, but it was a little time consuming. The basement was fairly dirty after all of the construction over the past several months, so the first step was to clean everything from top to bottom. This included sweeping, scrubbing, scrapping off debris, and then mopping the floors. Once that was complete, I rolled on two coats of the sealer - waiting at least 2 hours between each coat. We started on one side and then repeated the same process on the other side on Sunday.
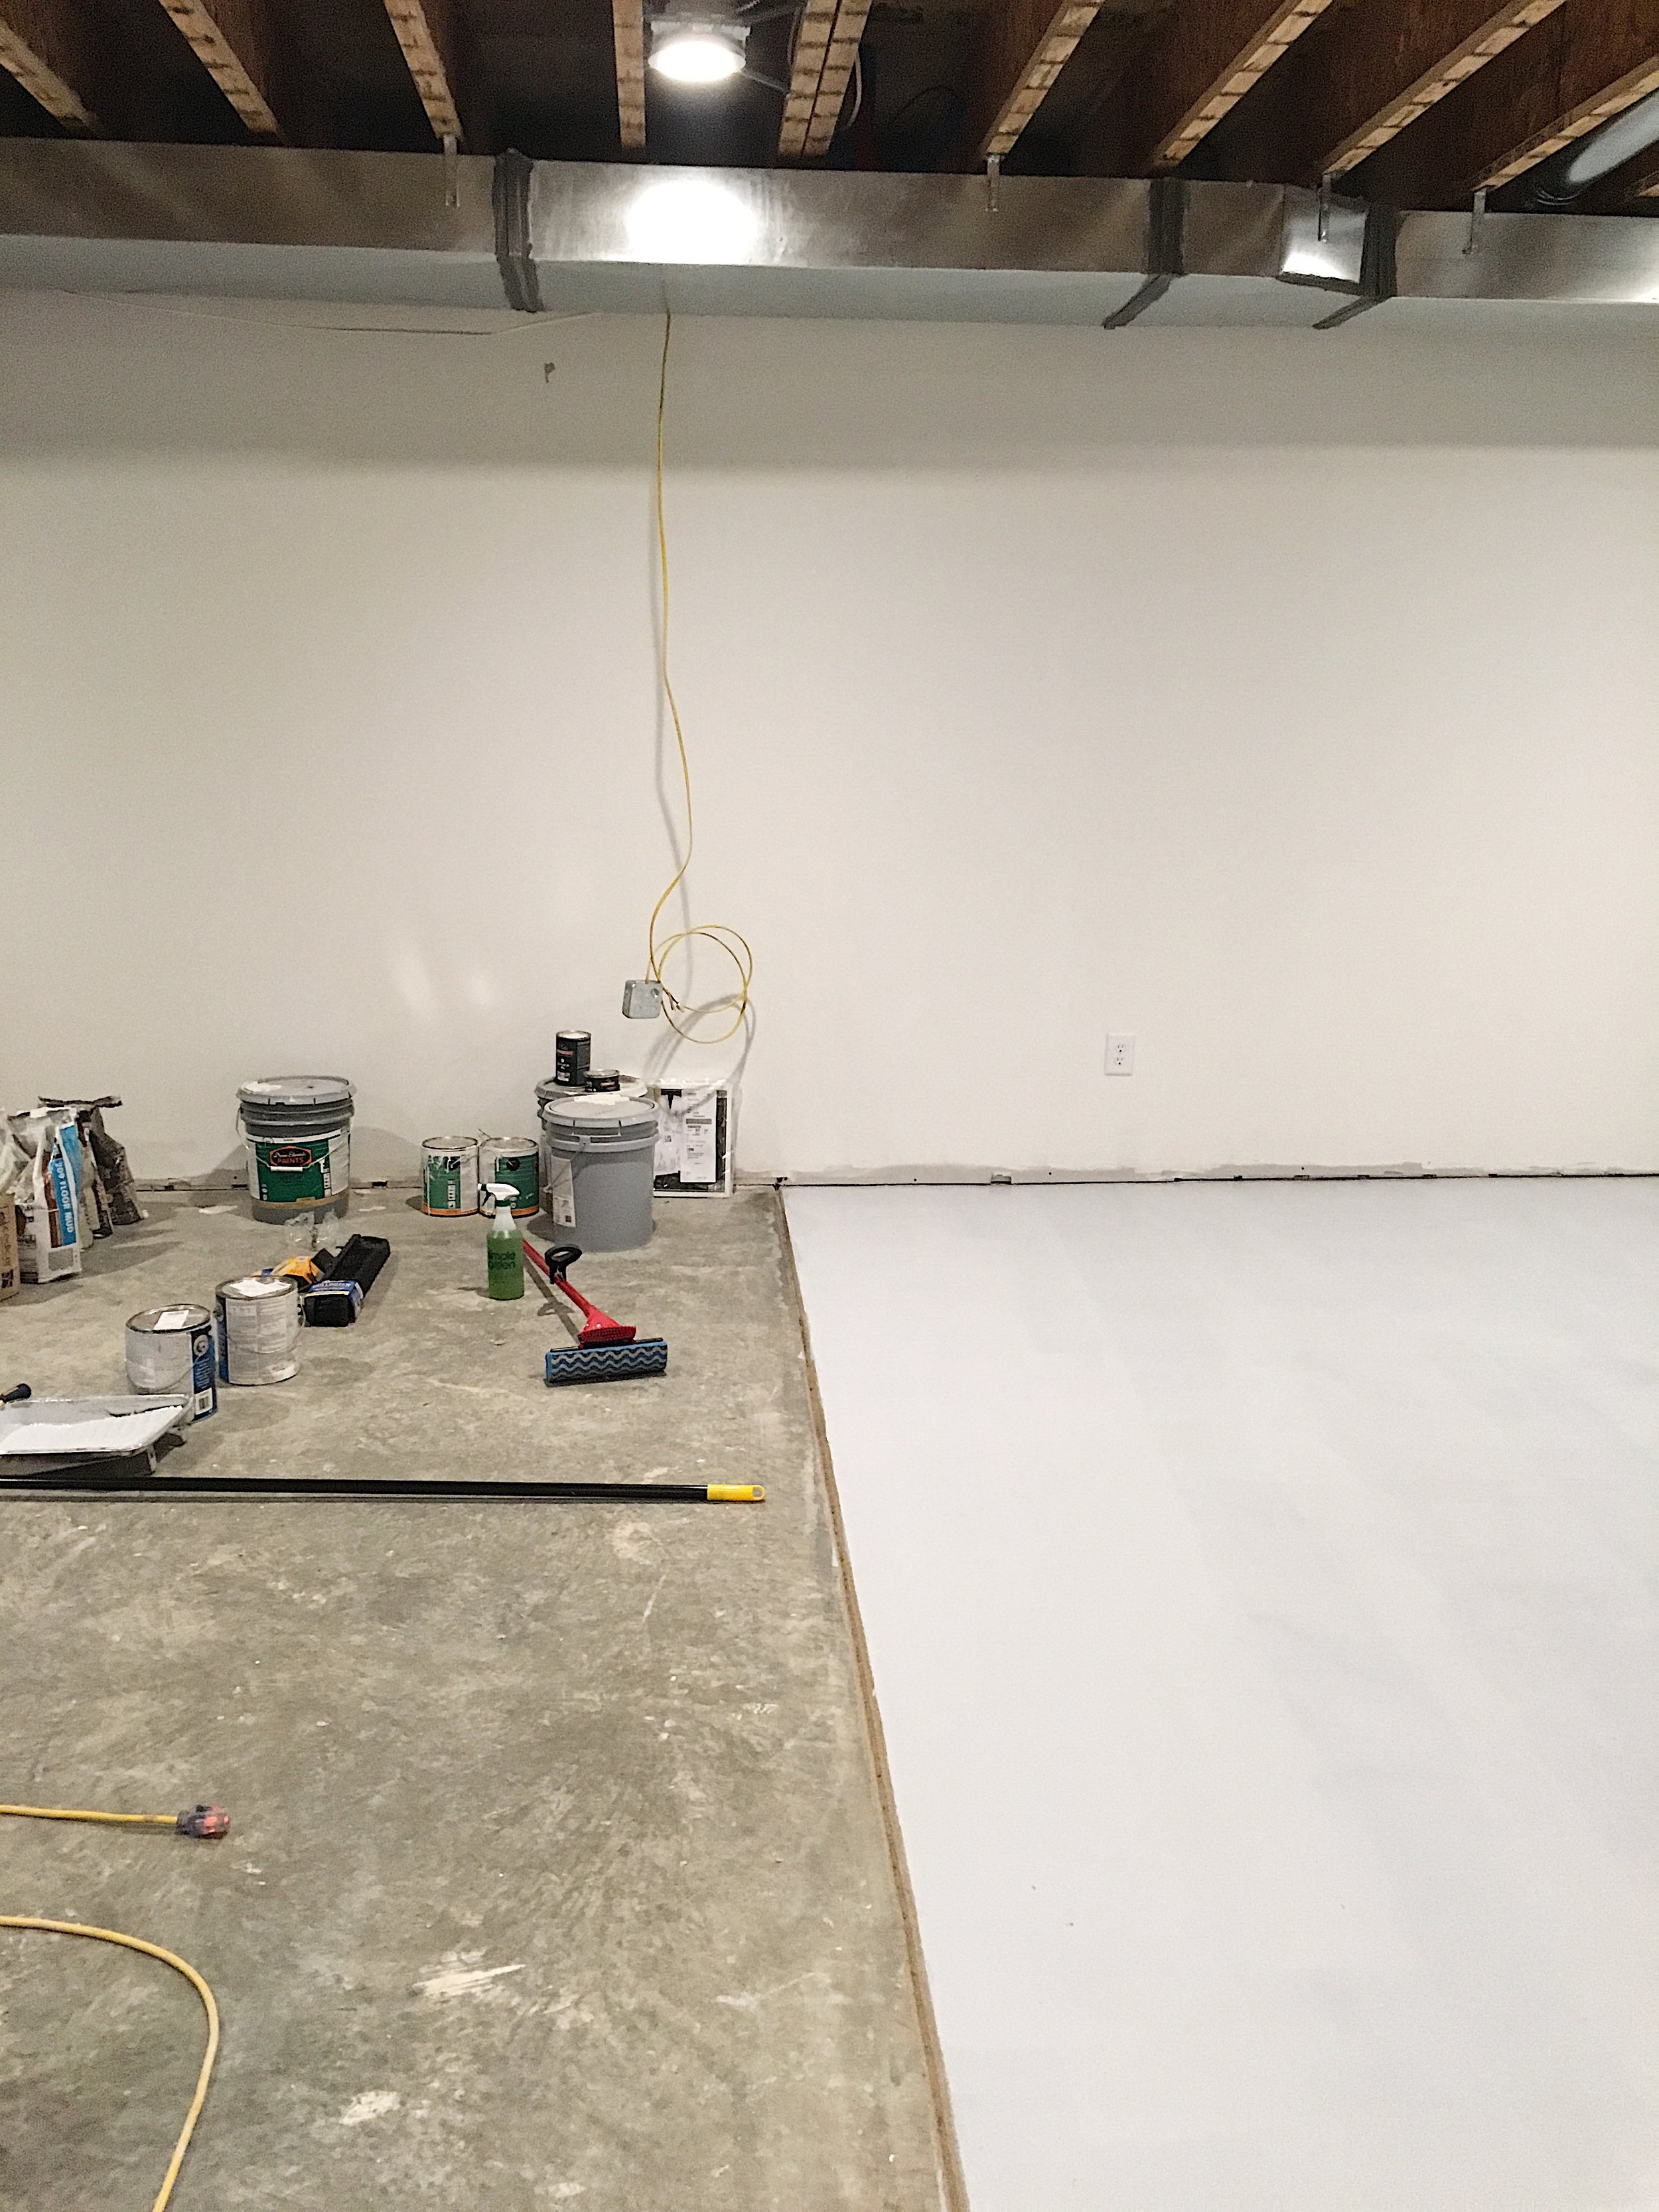
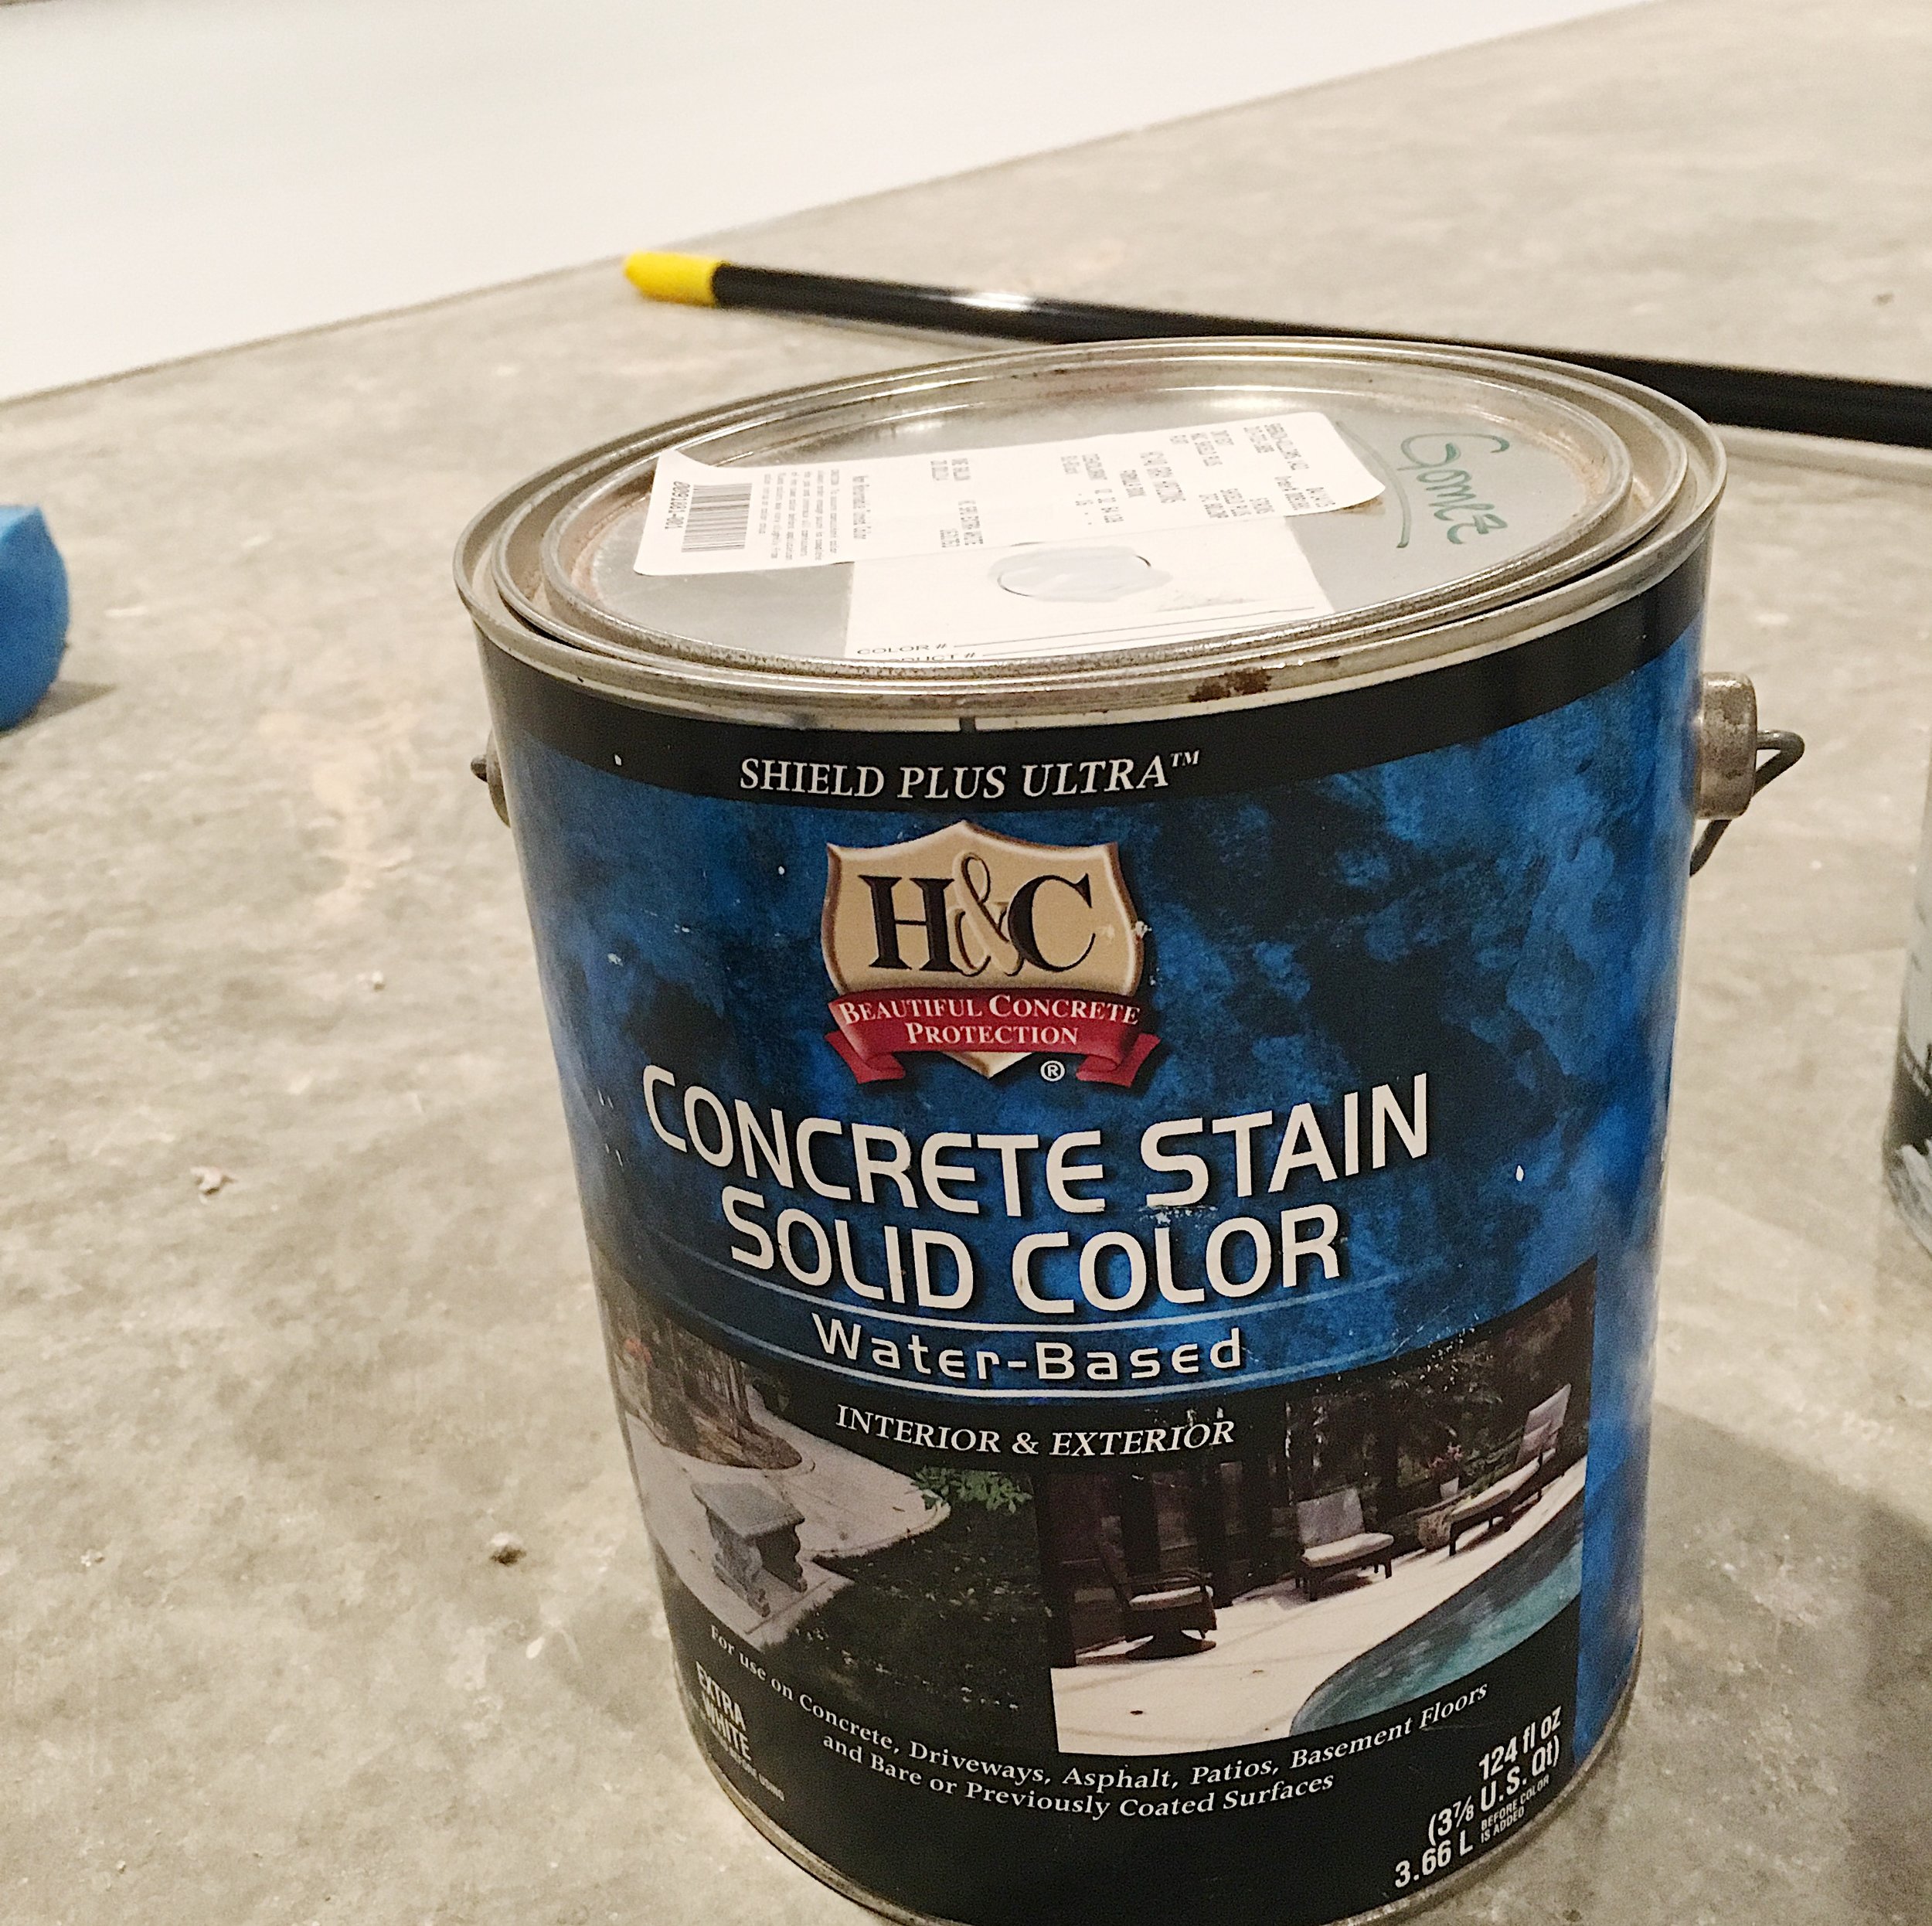
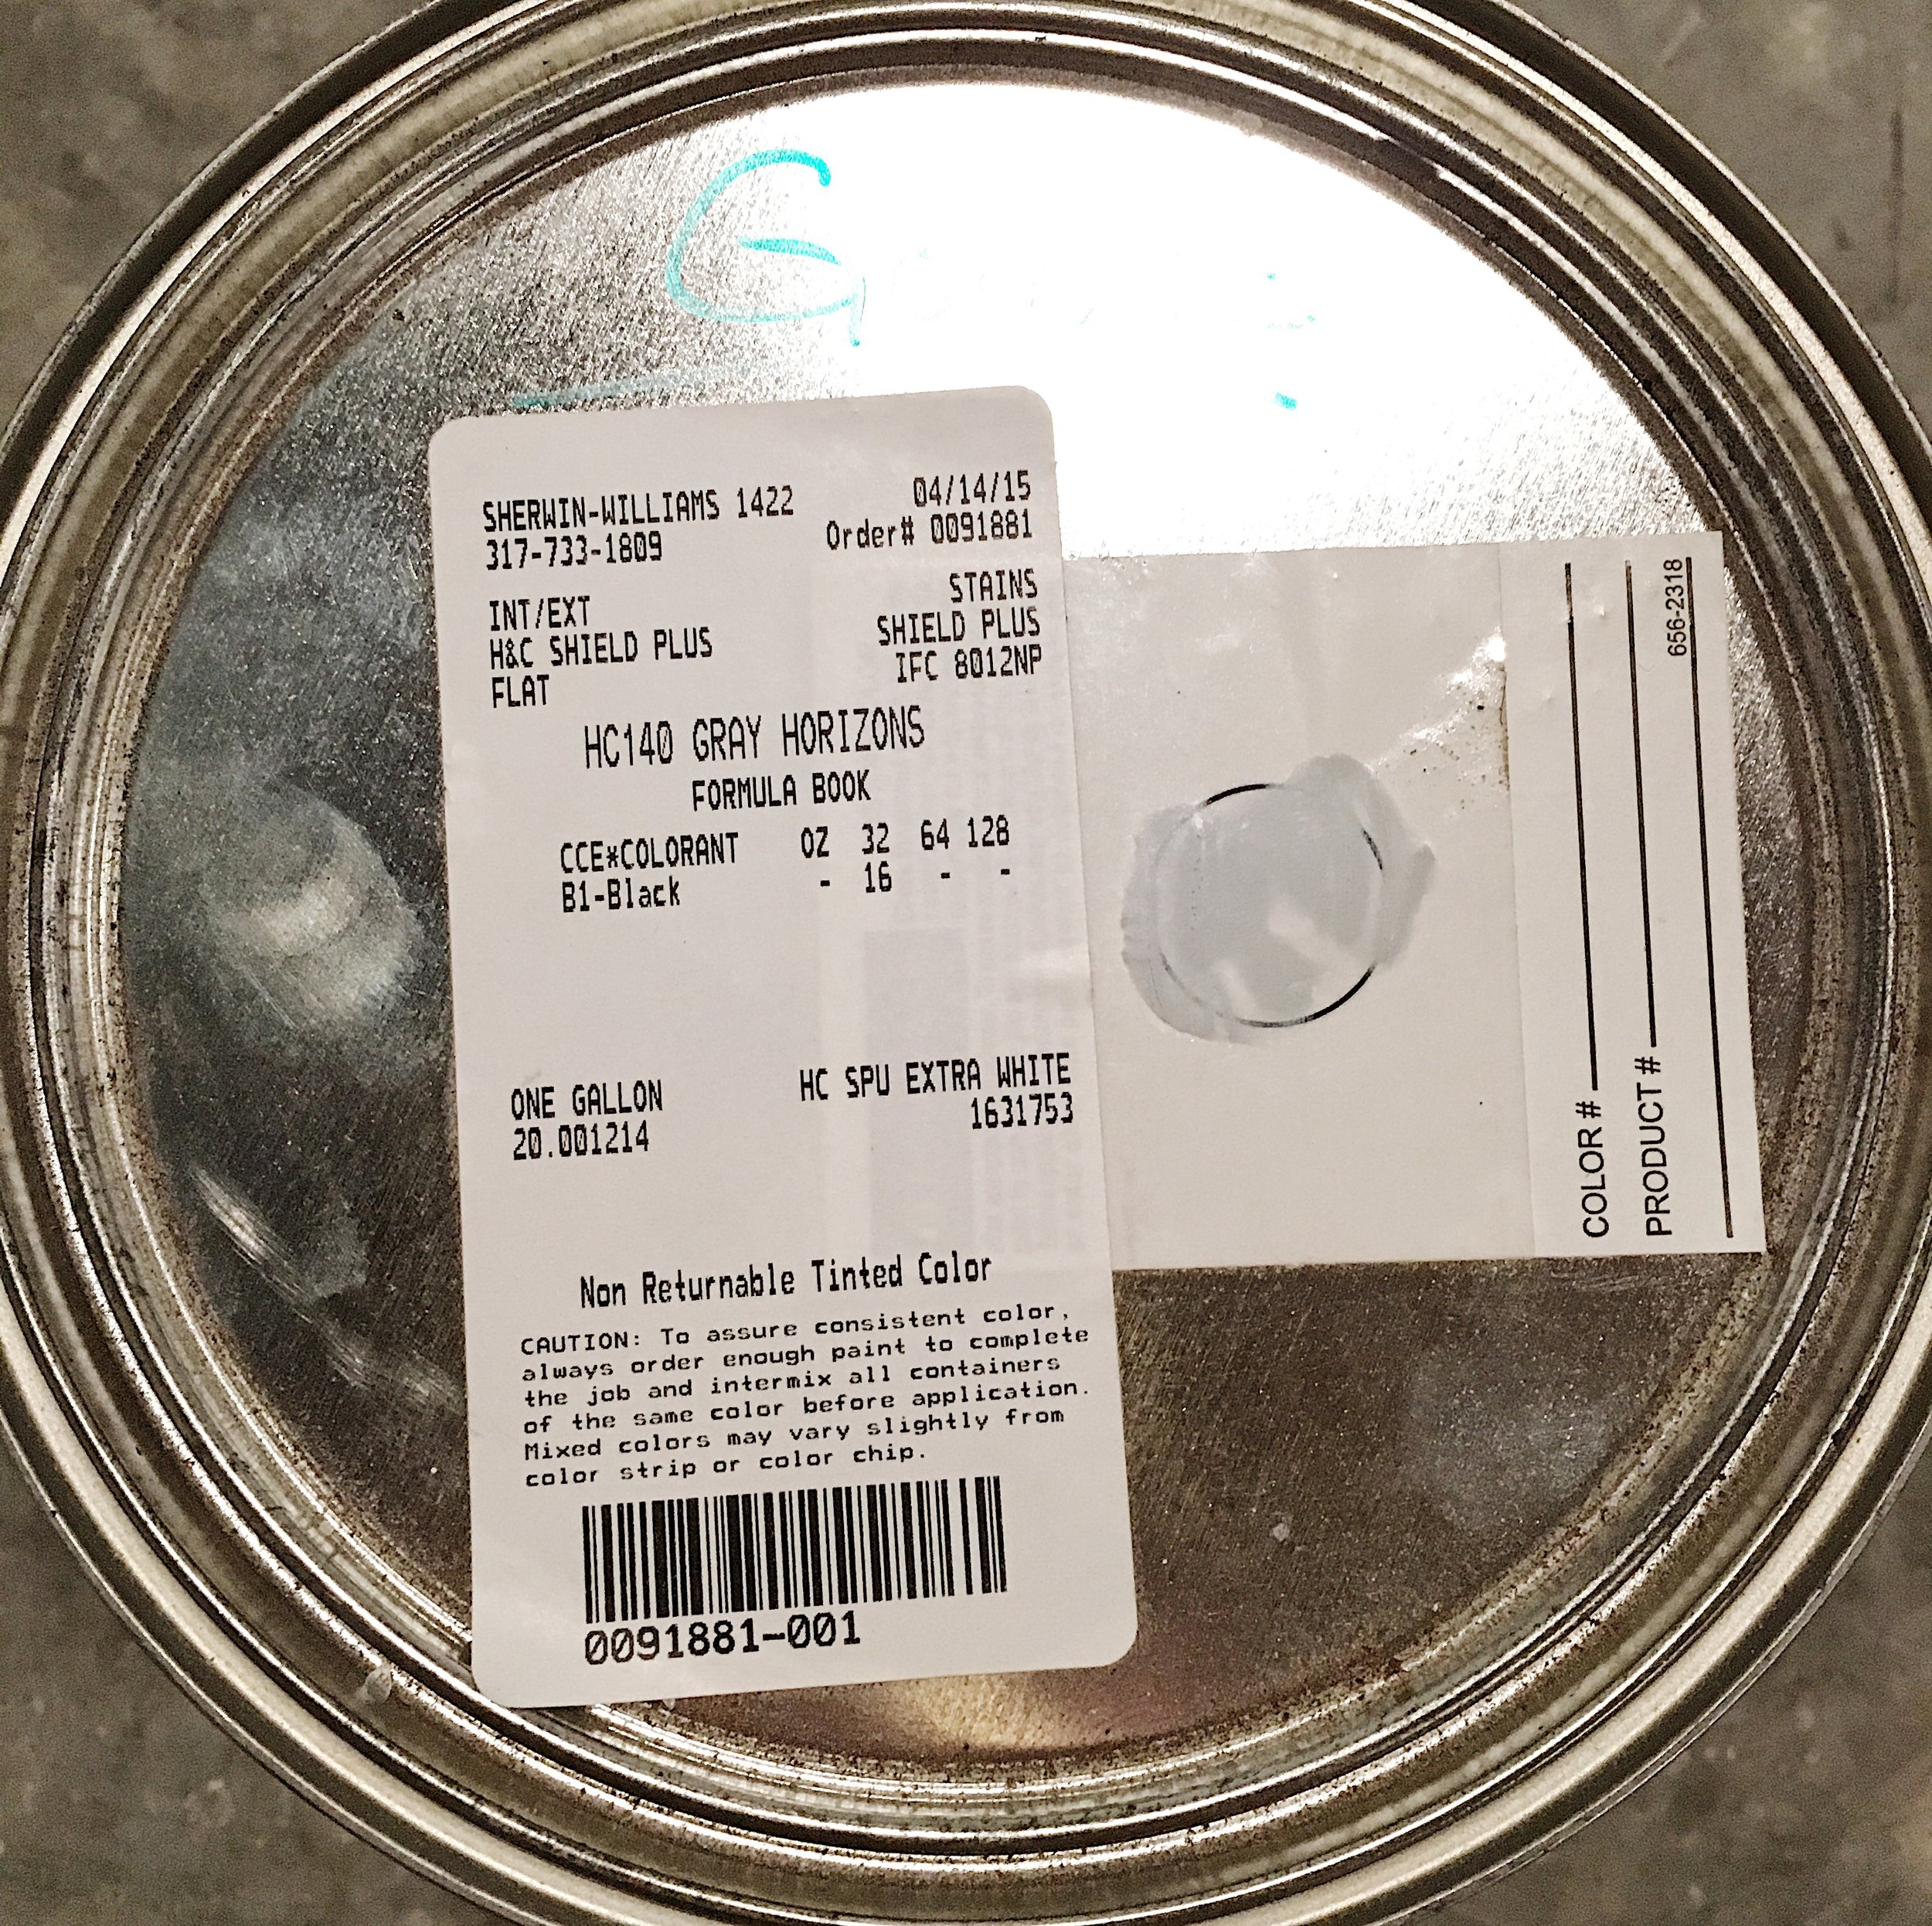
Concrete Stain tinted to HC140 Gray Horizons
I also forgot to take a photo of this before leaving this evening, but take my word for it, it looks great! haha
The house looks fantastic. I truly can't believe we're moving on Friday (fingers crossed!), but this place is really taking shape. The to-do list for the week includes appliance installation (hopefully!), plumbing touch-ups, vent hood installation, paint touch-ups, landscaping, slider assembly and installation, driveway finalization, mirror installation, final cleaning.... I'm sure I'm missing something. Regardless, it's a hefty list but we're hopeful mother nature is on our side and everything goes off without a hitch. Looking forward to sharing the final (ish) product next week.
As always, thanks for all of your support and encouragement through-out this project. We're so glad so many of you have enjoyed following along!