Kitchen Cabinet Update
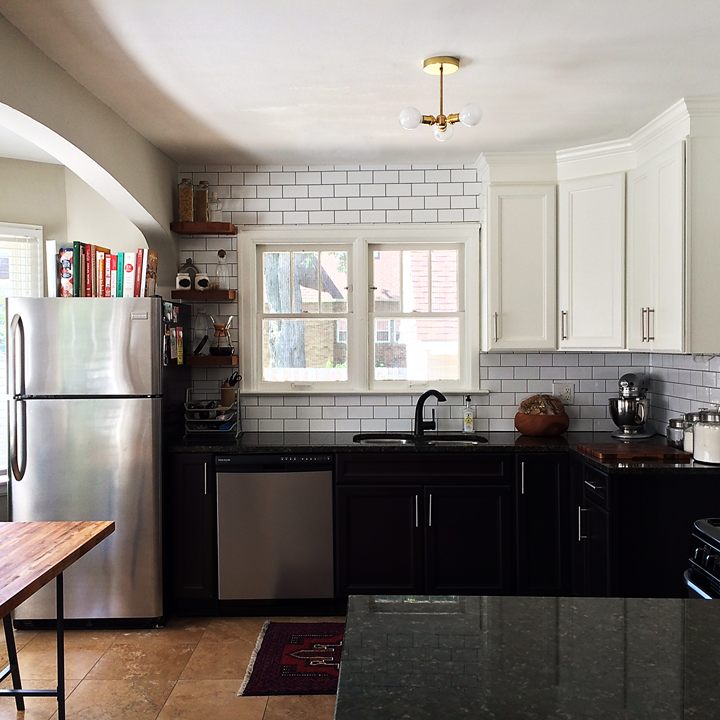
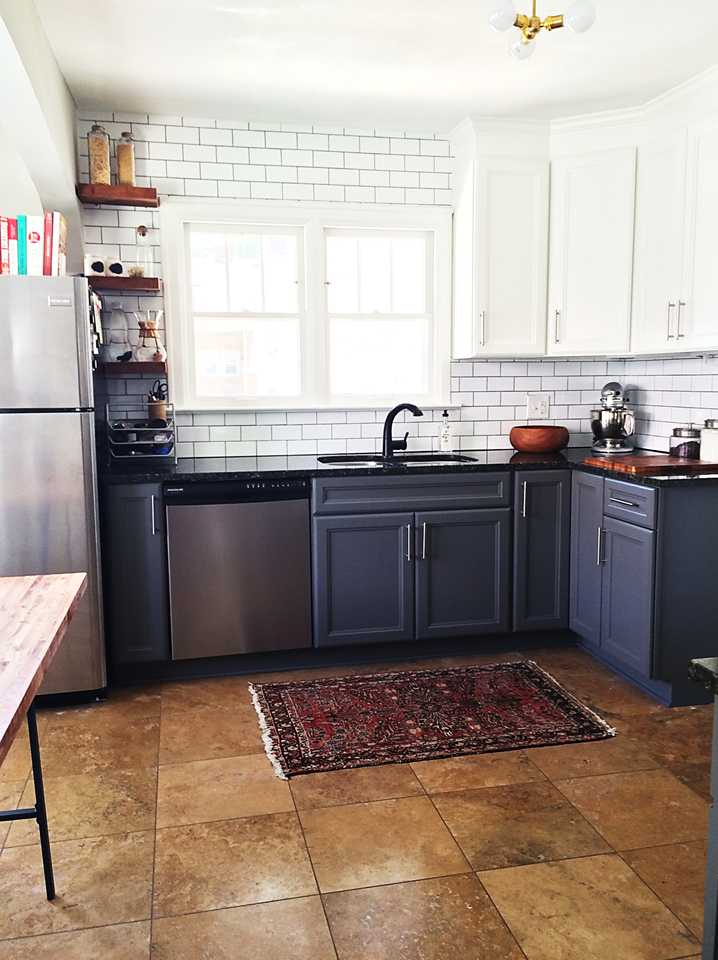
Tyler and I revamped our kitchen last summer - complete with subway tile, painted upper cabinets, banquet seating, under-cabinet lighting and floating shelves. It was an inexpensive update that completely changed the look of the space. I've loved every update we made, but there have been a few lingering projects that never quite reached completion...
We purchased paint for the cabinets last July - BM White Dove for the uppers and BM Kendall Charcoal for the lowers. After removing all of the doors and prepping them for paint, I started to have second thoughts. I knew I wanted two-toned cabinets, but what if we didn't NEED to paint the lowers? Tyler voted yes and I voted no, so clearly we didn't paint them. :)
After all was said and done, the dark lowers ended up looking much better than I even expected. Plus, I was happy to cut my cabinet painting effort in half! 12 months later, I haven't regretted my choice, but I finally felt it was time to paint the lowers, too. Dark cabinets are sort of like dark floors - EVERYTHING shows.
Painting our uppers white last summer was my first attempt at painting cabinetry, but it has held up SO WELL. Not a single chip or scratch to-date. I attribute most of that success to all of the prep work we put in. Prepping can be an extremely tedious part of the project, but it's the most important when it comes to paint. You will be glad you put in the time and effort later!
The steps I follow when painting cabinets/furniture are as follows:
- Remove all door fronts and hardware
- Lightly sand doors and cabinet frames
- Wash surfaces thoroughly with TSP All Purpose Heavy Duty Cleaner - extremely important for kitchen cabinets where there tends to be a lot of grease and grime. Be sure to wear gloves!
- When completely dry, apply 2-3 coats of Kilz Primer with a multi-purpose 6" roller (and brush if you need to get into any nooks and cranny's). Let each coat dry before reapplying.
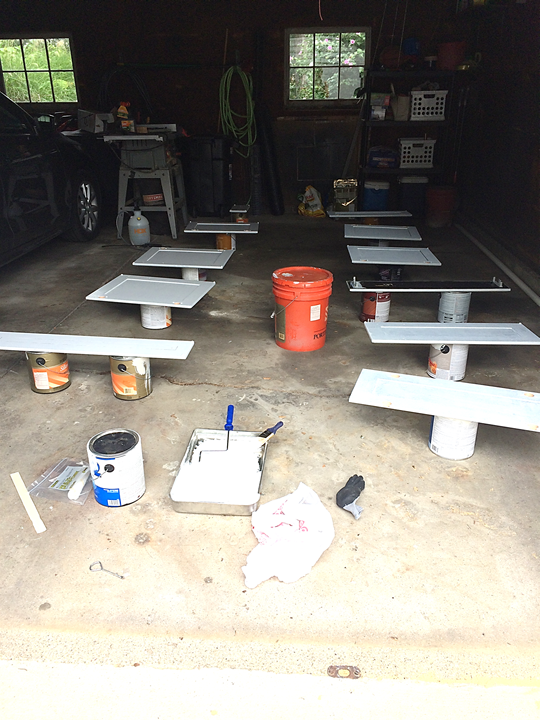
As a side note, I always like to paint outside if possible because it tends to help things dry more quickly and the odor is much more bearable. We started out in the garage on Saturday morning but by Sunday, the humidity was ridiculous, so we moved operations into the office. It was a little tight but we made it work! Just be sure to cover anything you don't want paint on later. :)
- When primer is completely dry, apply 2-3 coats of high-quality paint with a cabinetry & doors 6" roller (TIP: wrap your roller/brush in a plastic bag between coats so that you can re-use without drying up and getting crusty.) Let each coat dry before reapplying.
If possible, I would recommend waiting a few days before re-installing doors or hardware. The more time the paint has to cure, the fewer smudges or chips you will receive upon install.
- Attach hardware and re-install cabinet doors.
- Stand back and admire your hard work!
Waiting for each coat of paint to dry is the worst part of this whole process. It's basically the definition of "hurry up and wait". If your patience can handle it, the actually prep work and painting is about as easy as it gets.
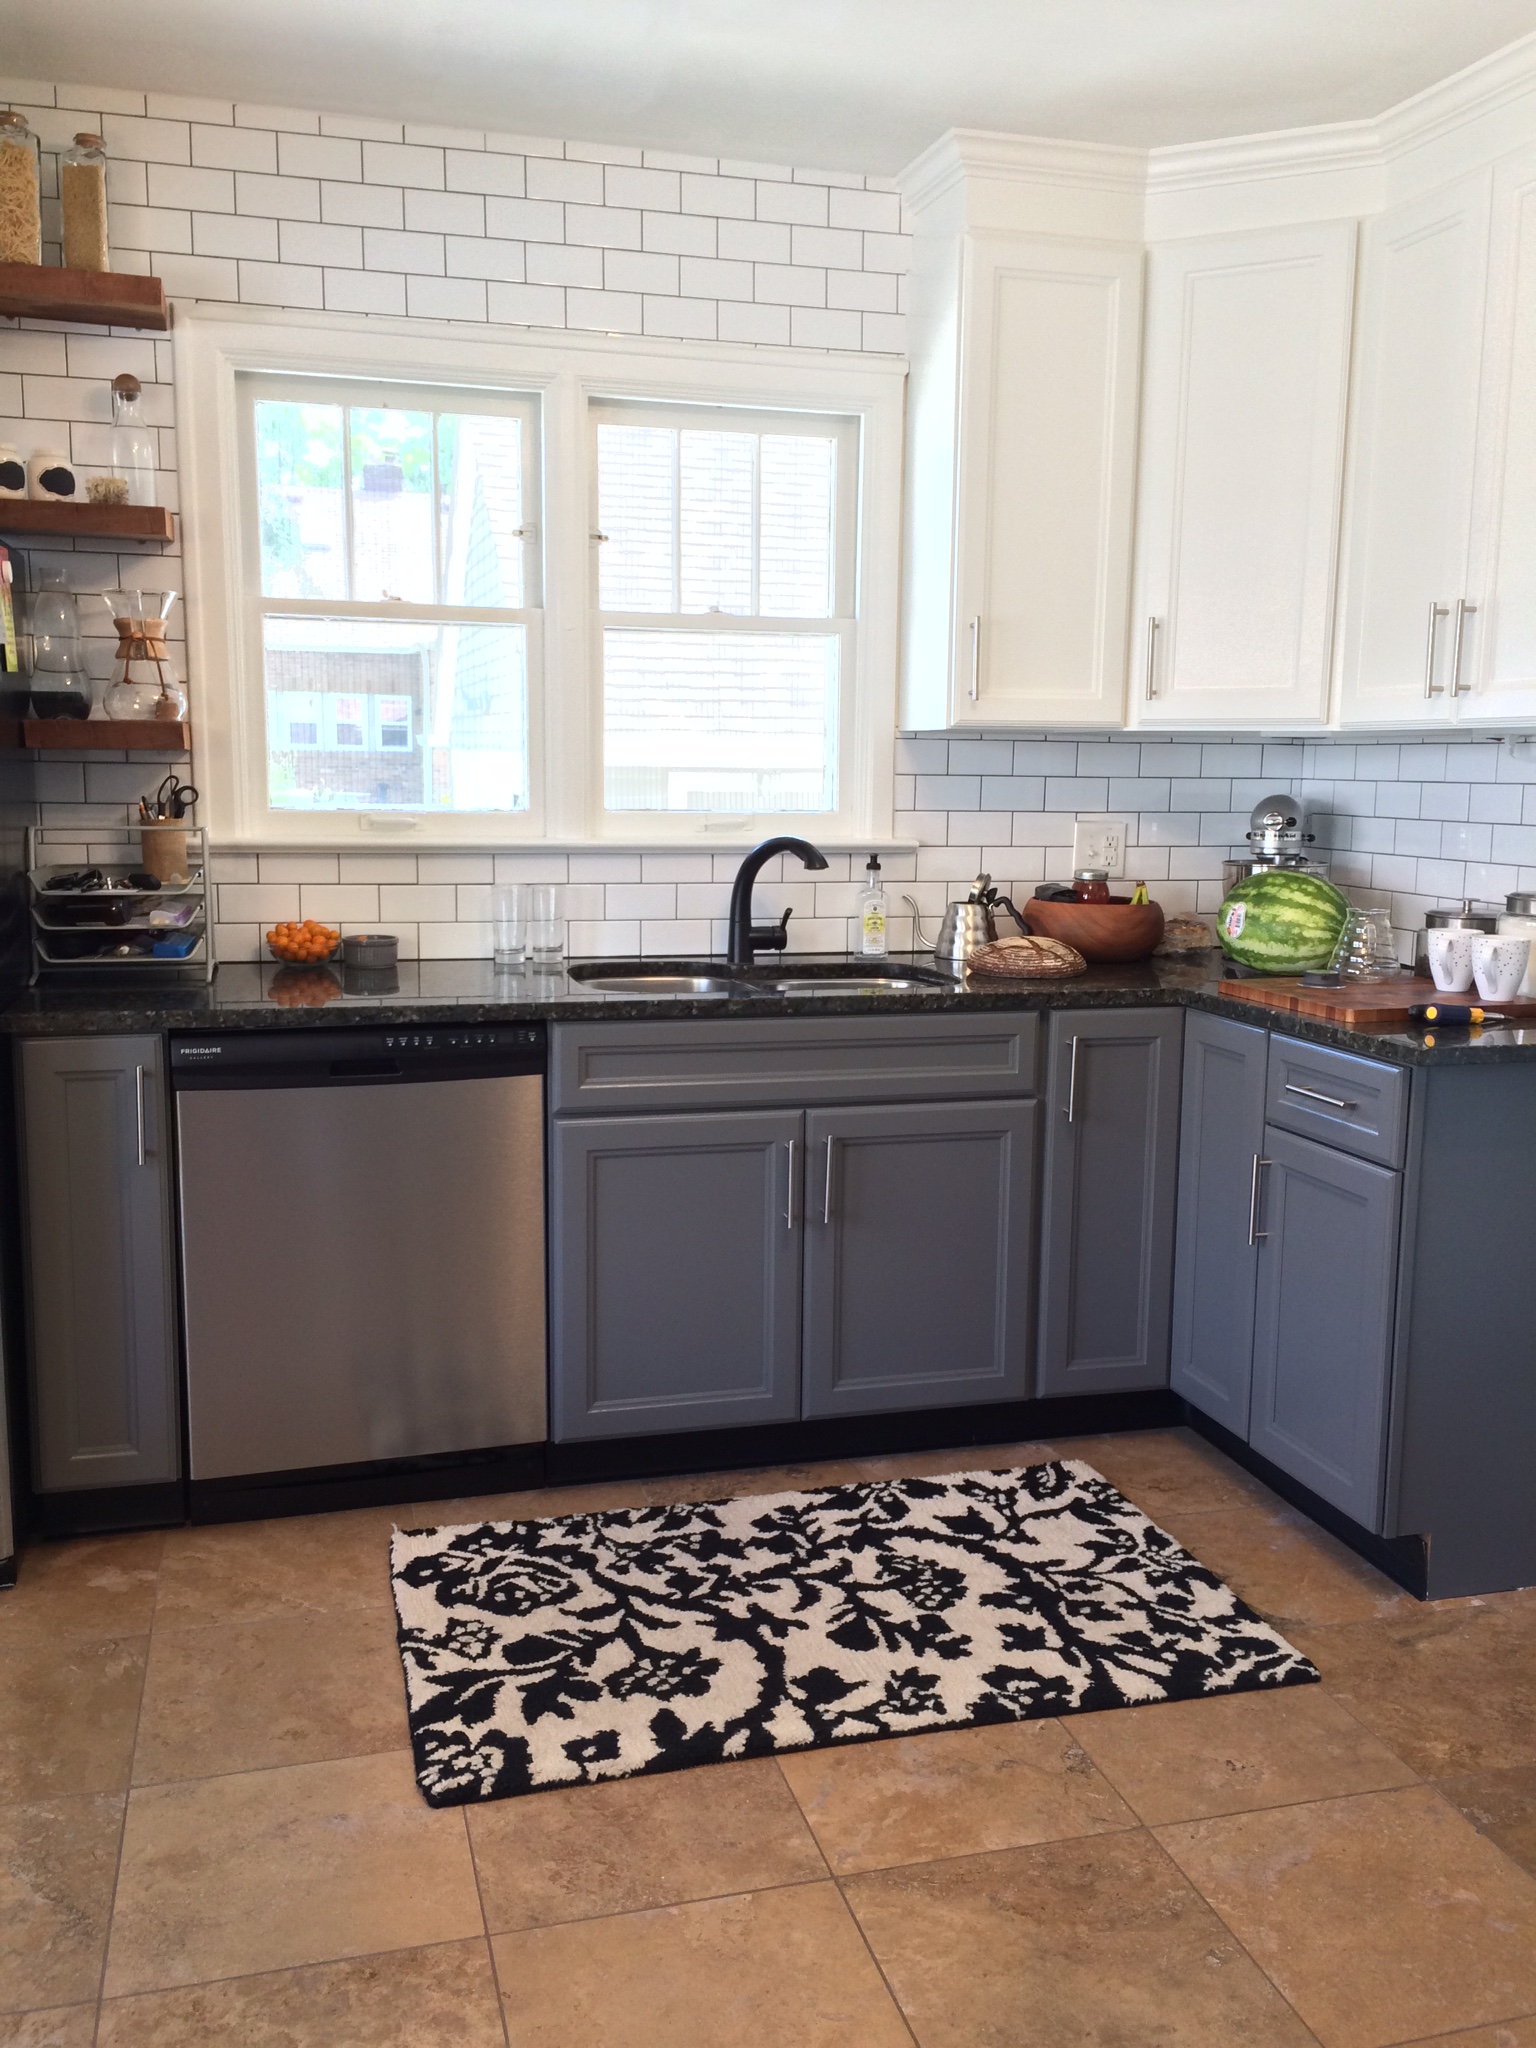
So at this point, all of our newly painted doors were re-installed and our hardware was attached. I knew my old red/navy rug wasn't going to fly any longer, but I hadn't found a single rug online that I liked just yet. This tends to happen to me a lot, so I frequently go "shopping" around the house to see if I can switch out items we already own. I stumbled upon a black and white rug I used to use at the front door and decided to give it a try....
Ick. It wasn't TERRIBLE, but I just really didn't like it. I felt like it was screaming at me and the only thing I could look at was the rug. Tyler, the genius that he is, picked up the rug we were currently using at the front door and laid it down.
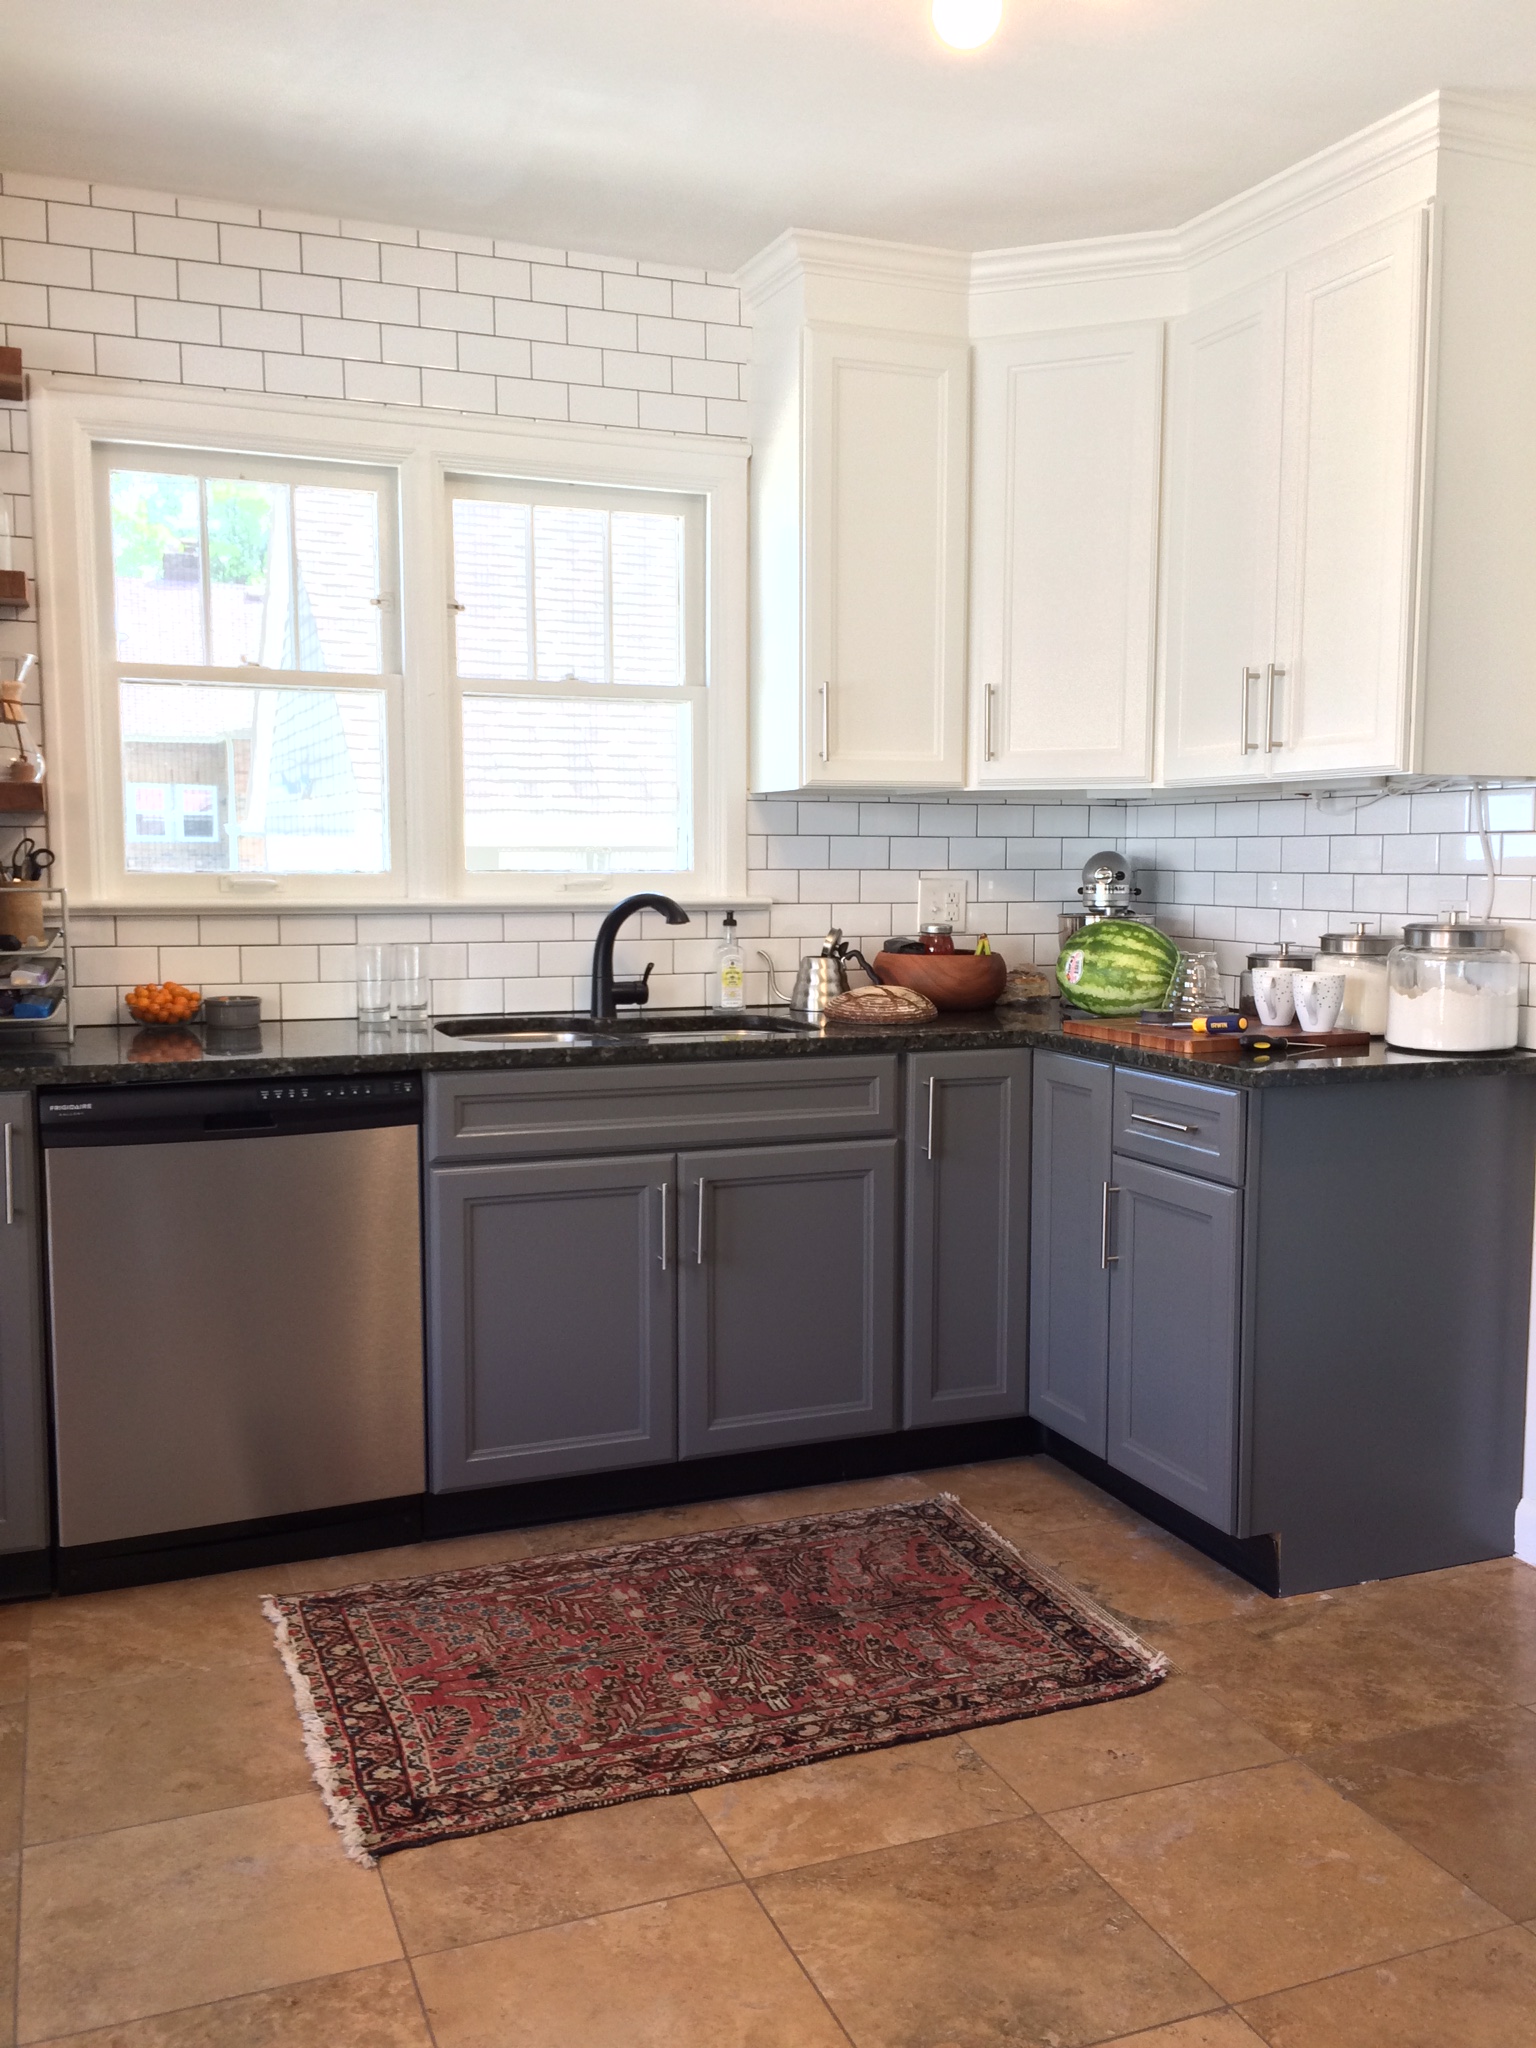
SO MUCH BETTER! It could just be that I love this vintage rug from Frances Loom, but regardless, the colors and pattern were much closer to my vision for the space.
Alright, so we have cabinets painted and a rug. All finished, right? Ha. Very funny.
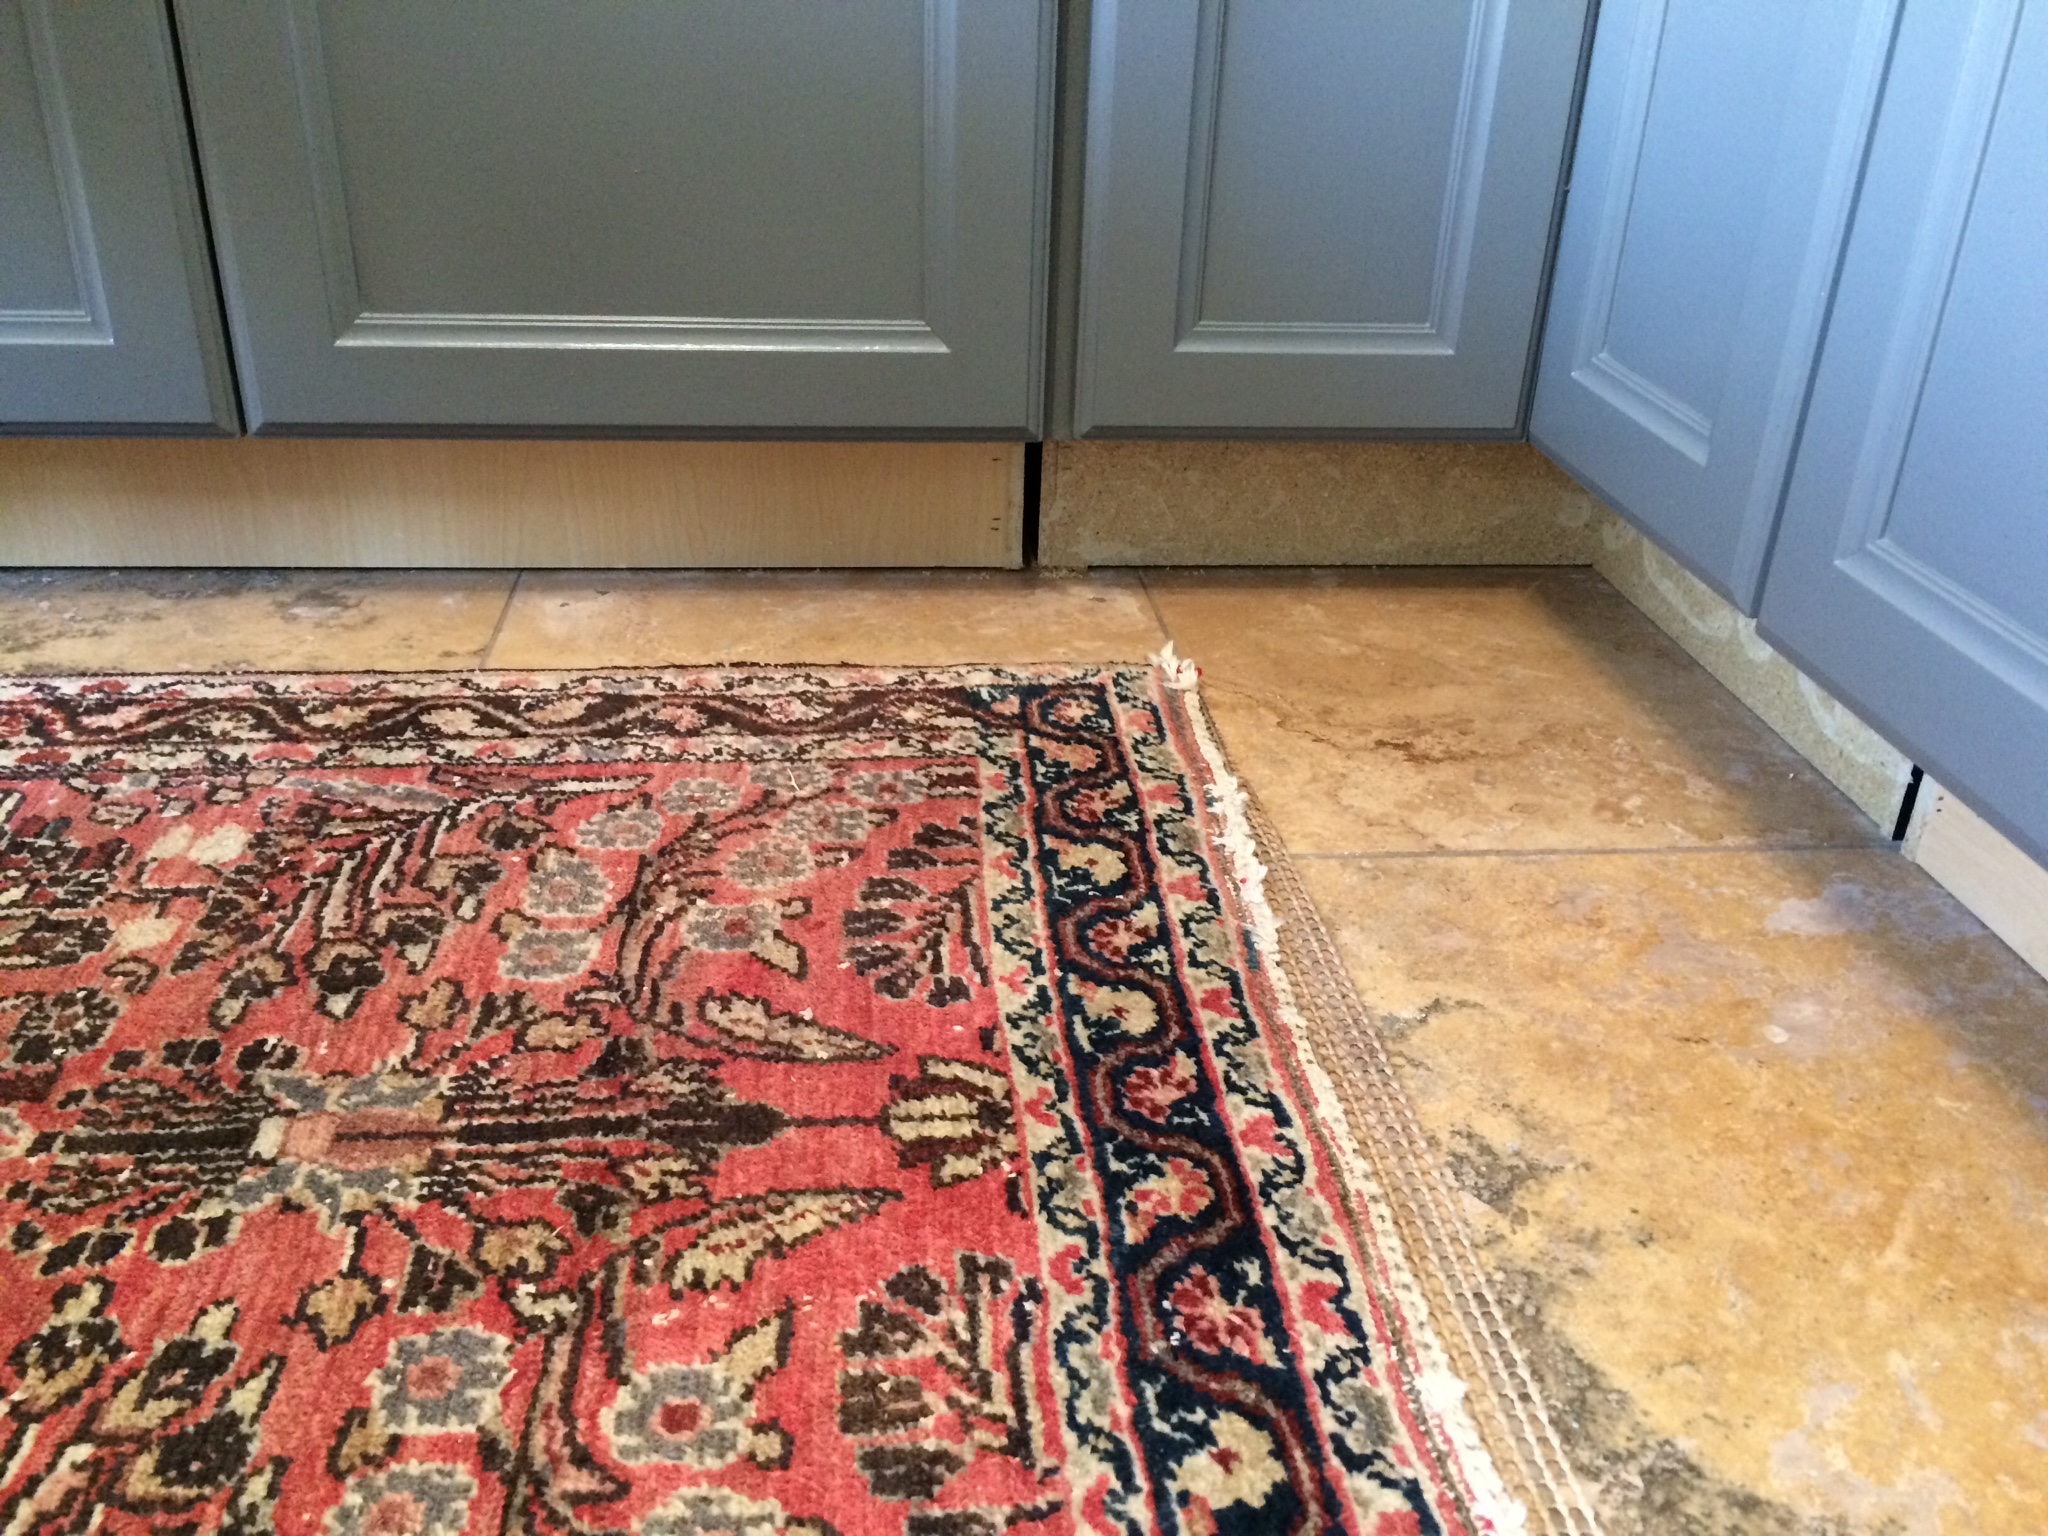
Did you notice the GLARING BLACK TRIM under the cabinets? No? Well look closer....
It must be common to install hideous black plastic "trim" under cabinets, but I hate it. You never noticed it with the dark cabinets, but now it was all "Hi! I'm here to drive you absolutely insane!" So out it came...
I originally wondered if we would just be able to paint the wood behind the ugly plastic, but it became quite clear that wouldn't be an option...
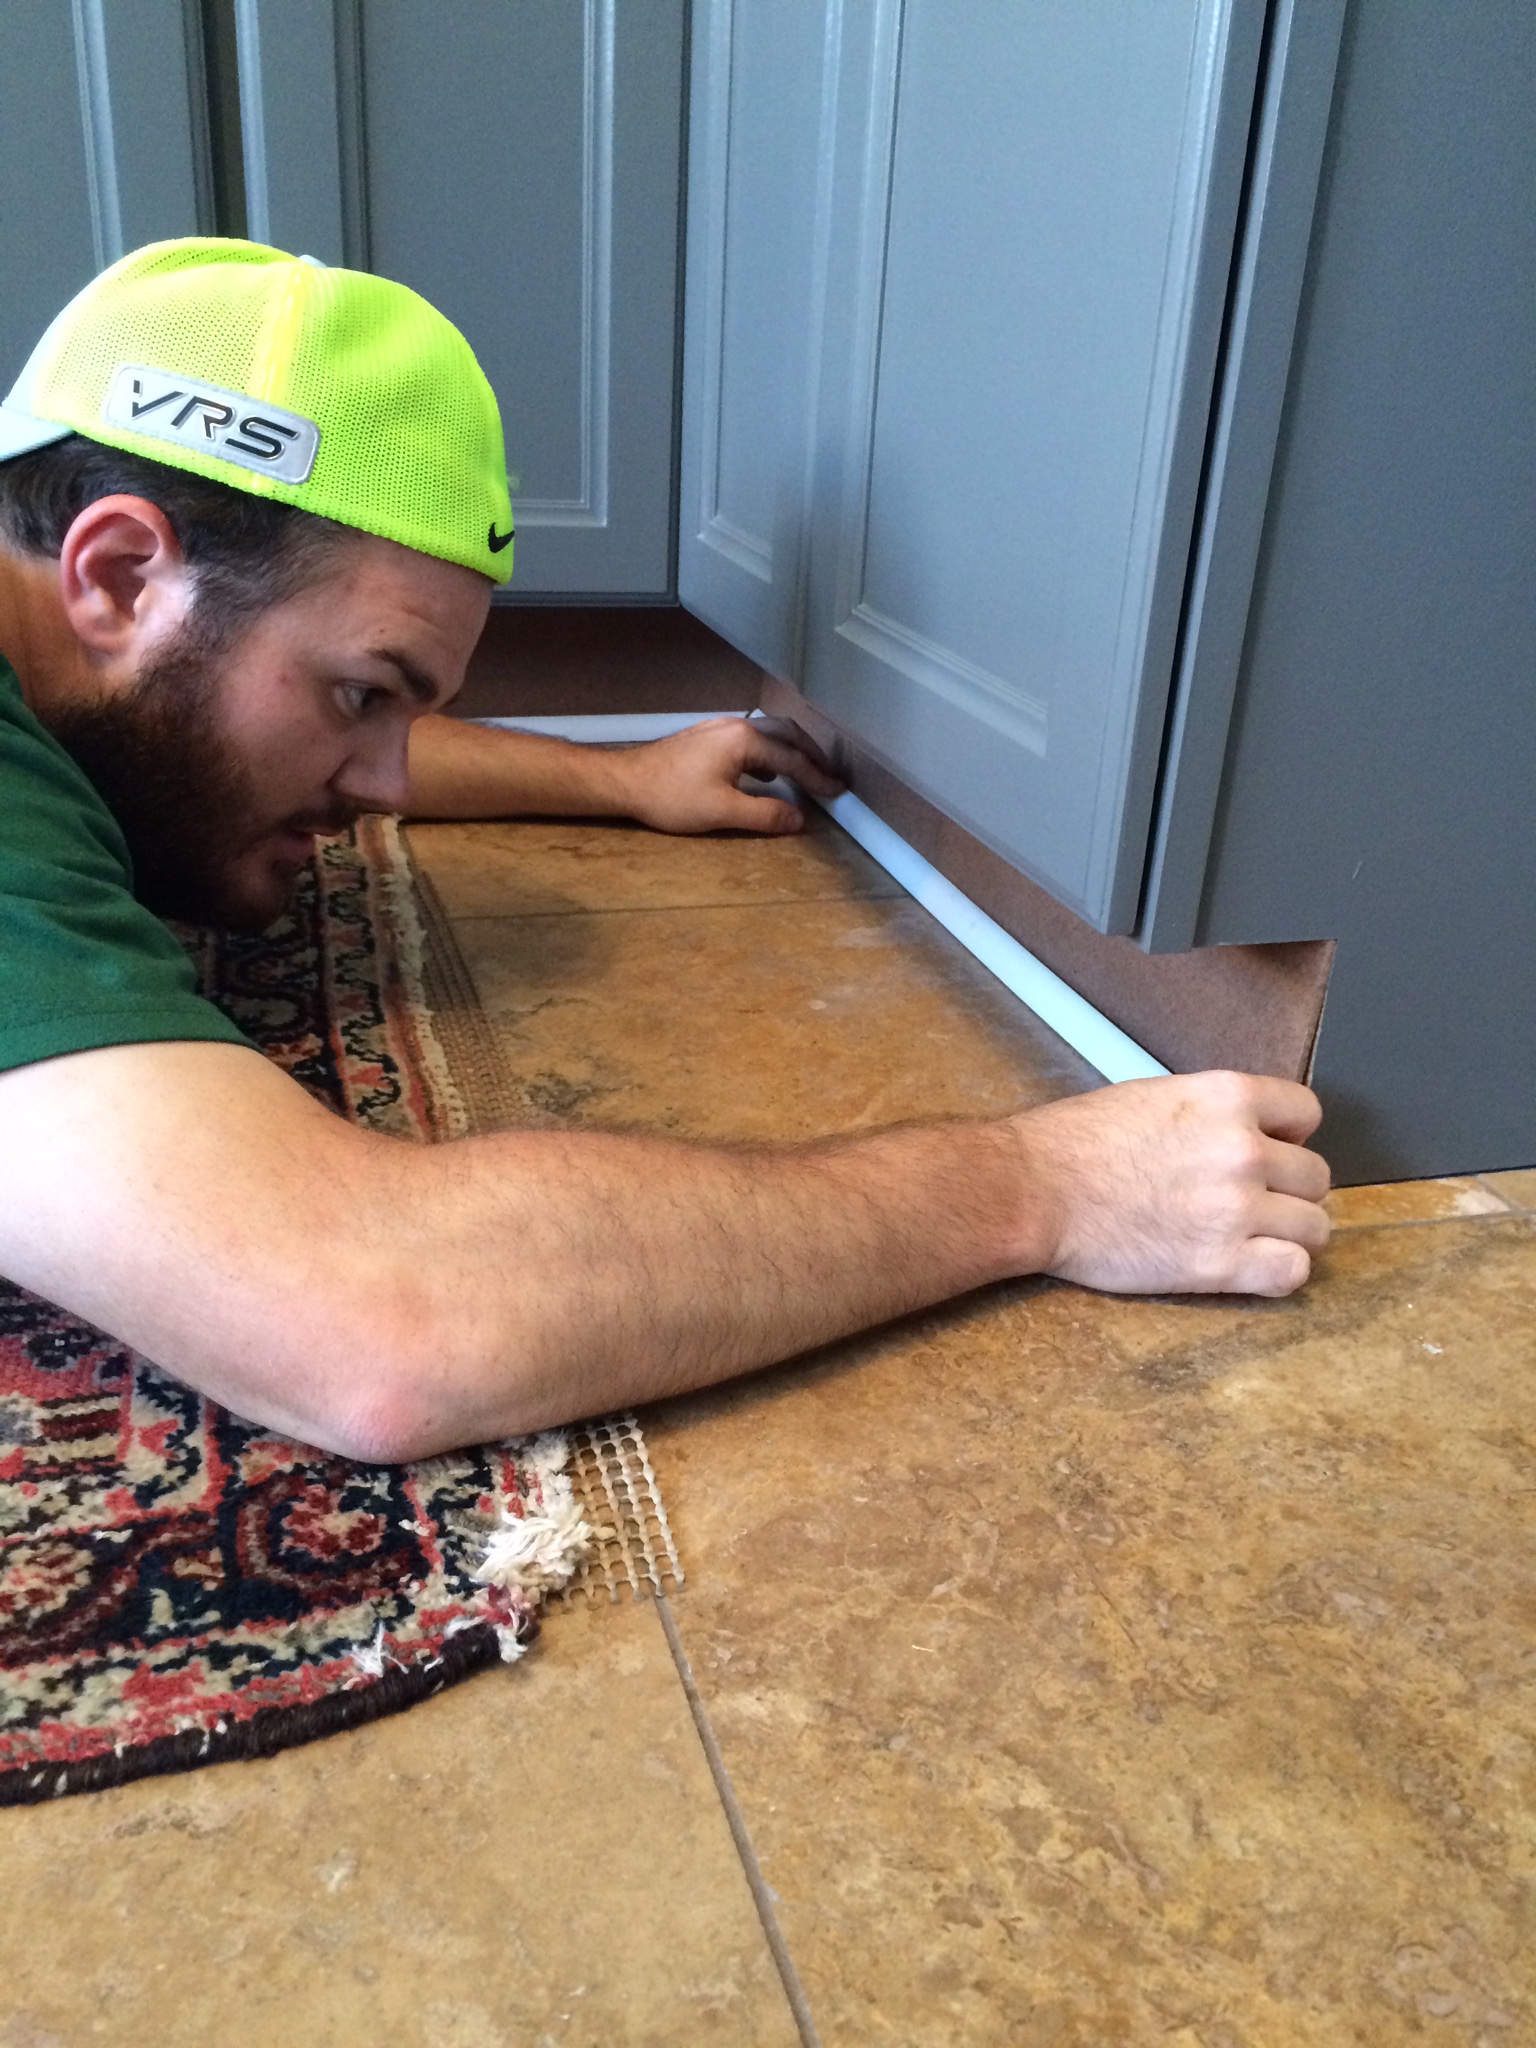
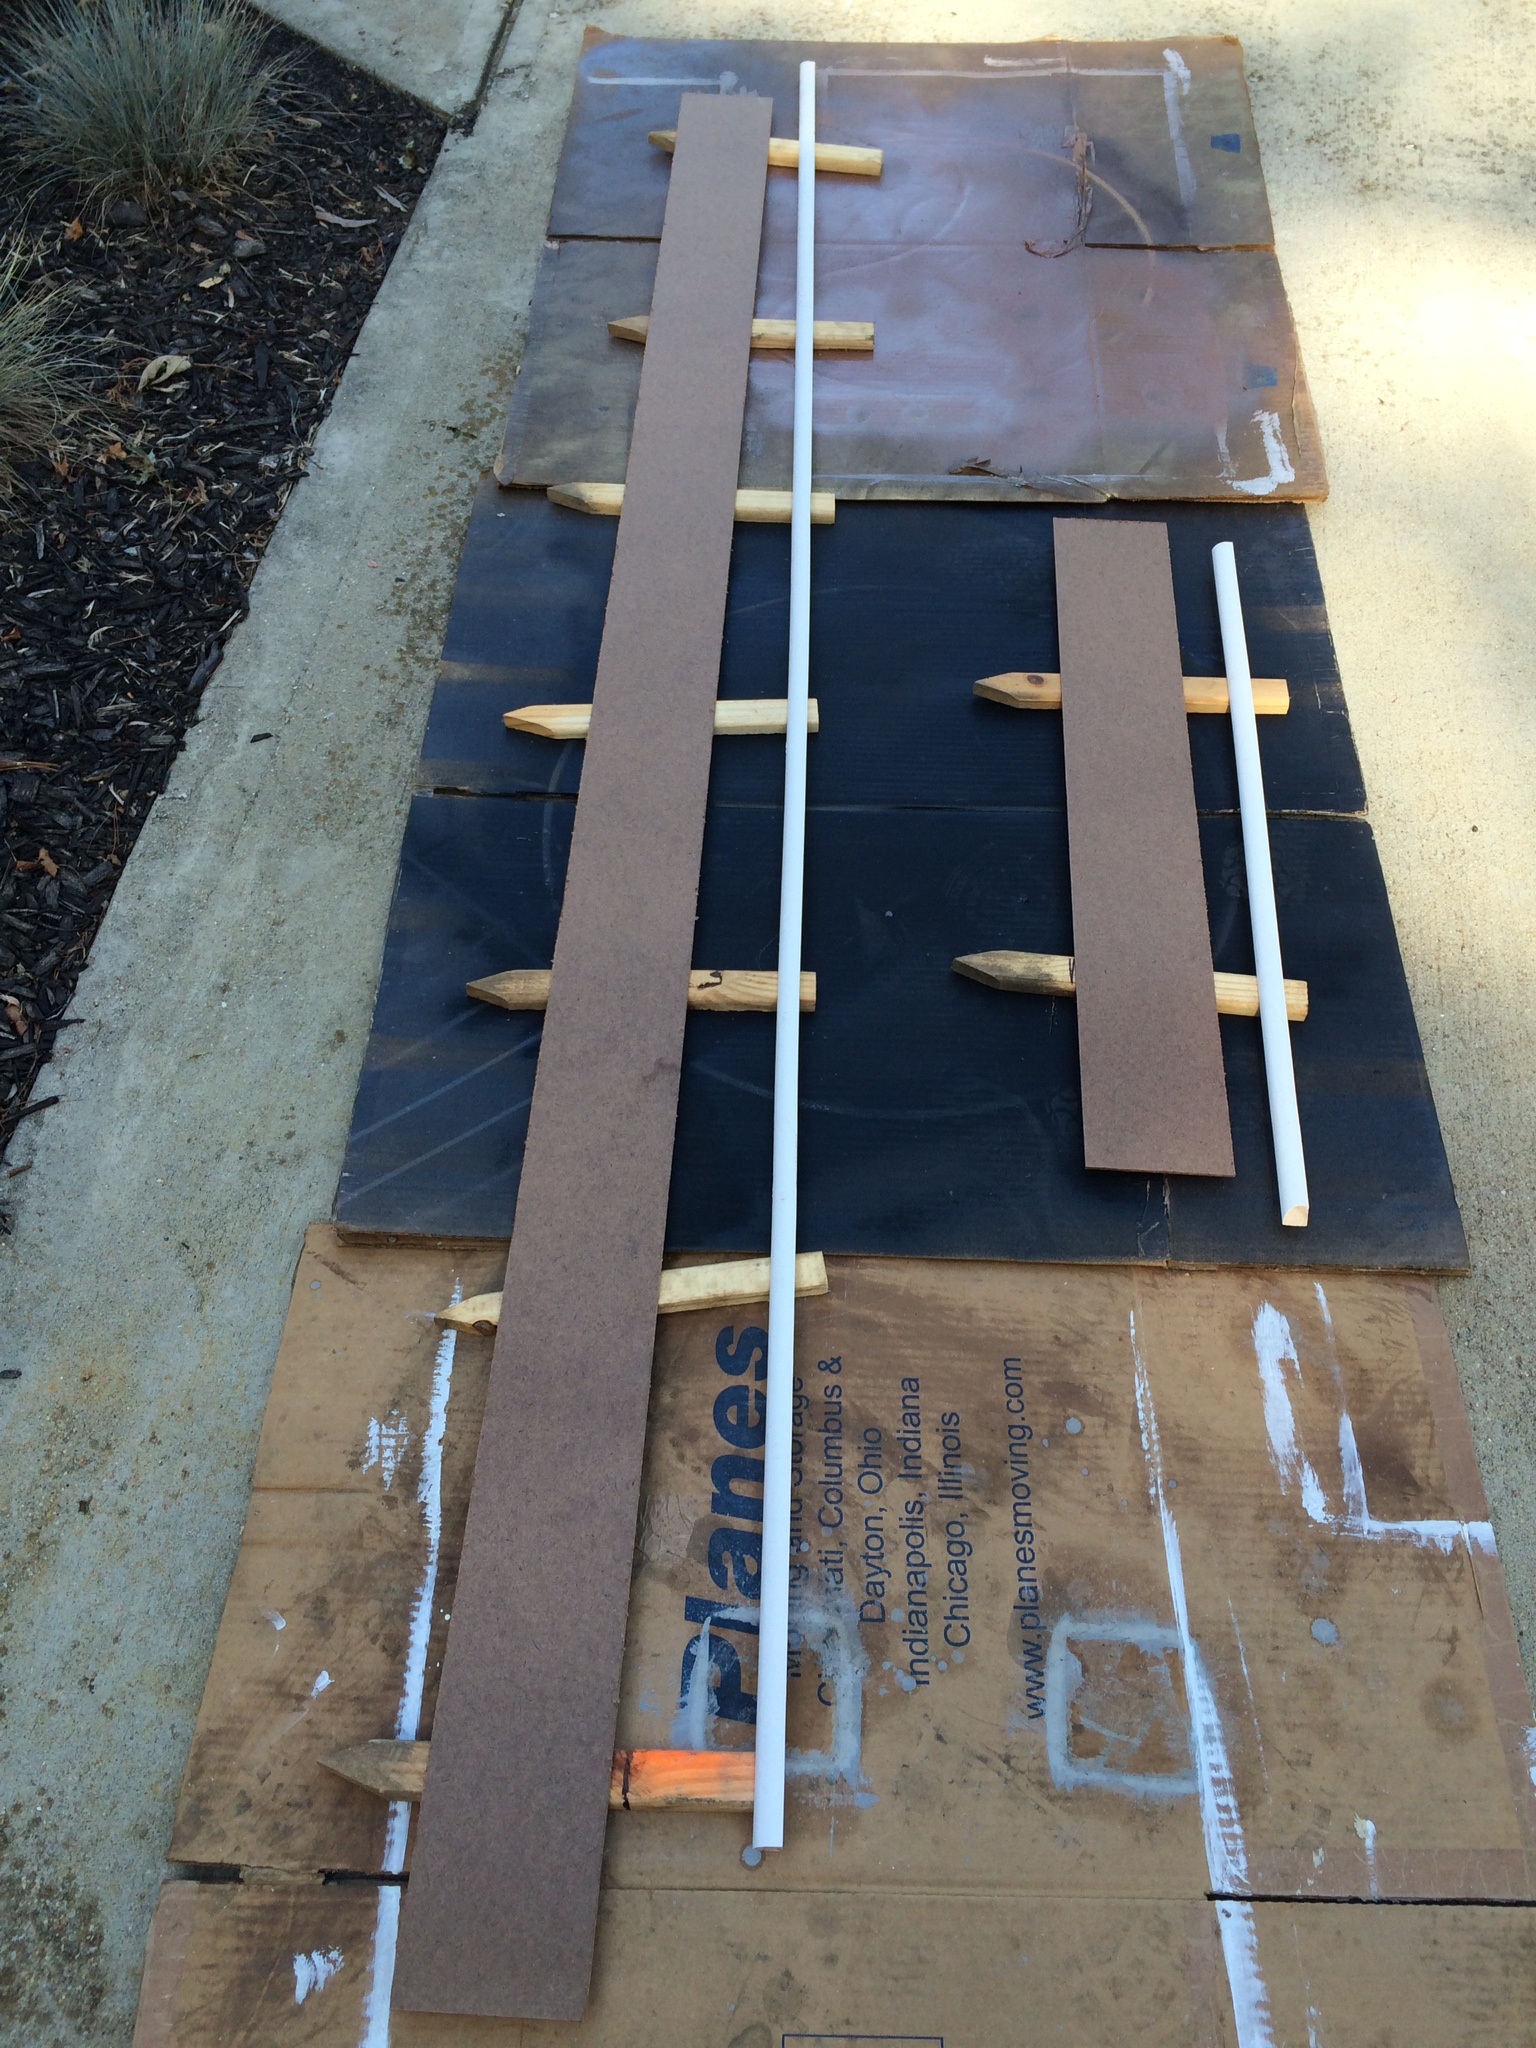
So we ran to Home Depot, picked up some MDF and quarter round molding, and decided to make our own trim.
We decided (after LOTS of back and forth) to go with MDF as the cover because it was thin. We didn't want a thick edge to stick out at the end of our cabinets like it might if we picked up a normal piece of wood trim. Tyler cut everything to size and I painted.
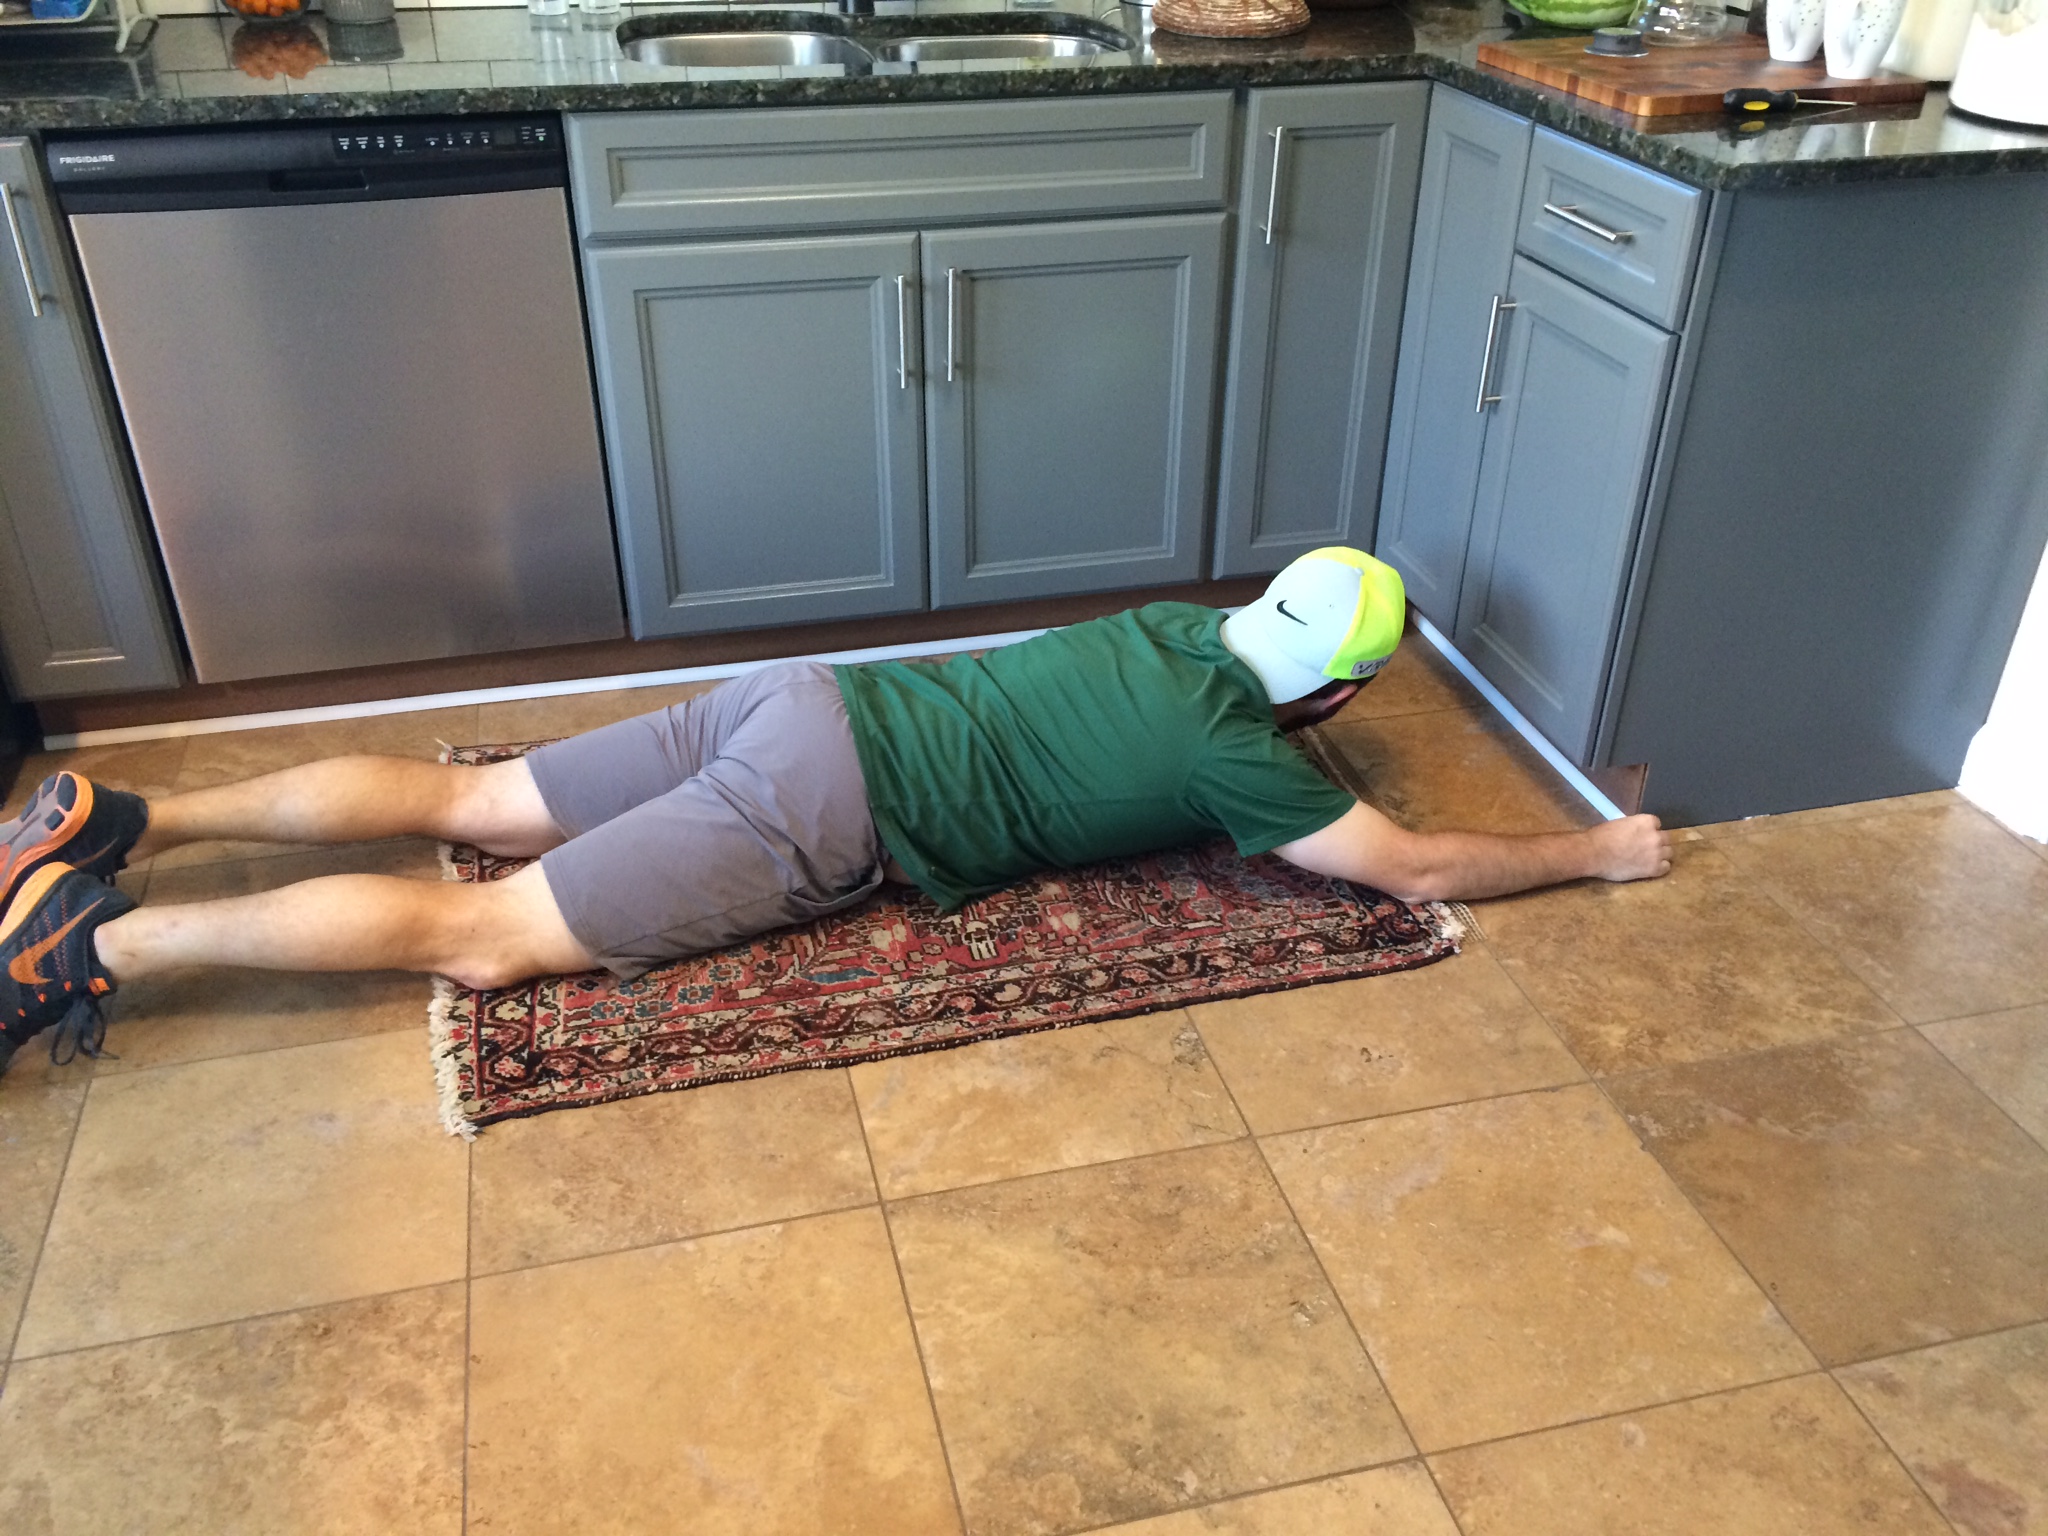
Once dry, Tyler used his brad nailer to secure everything in place.
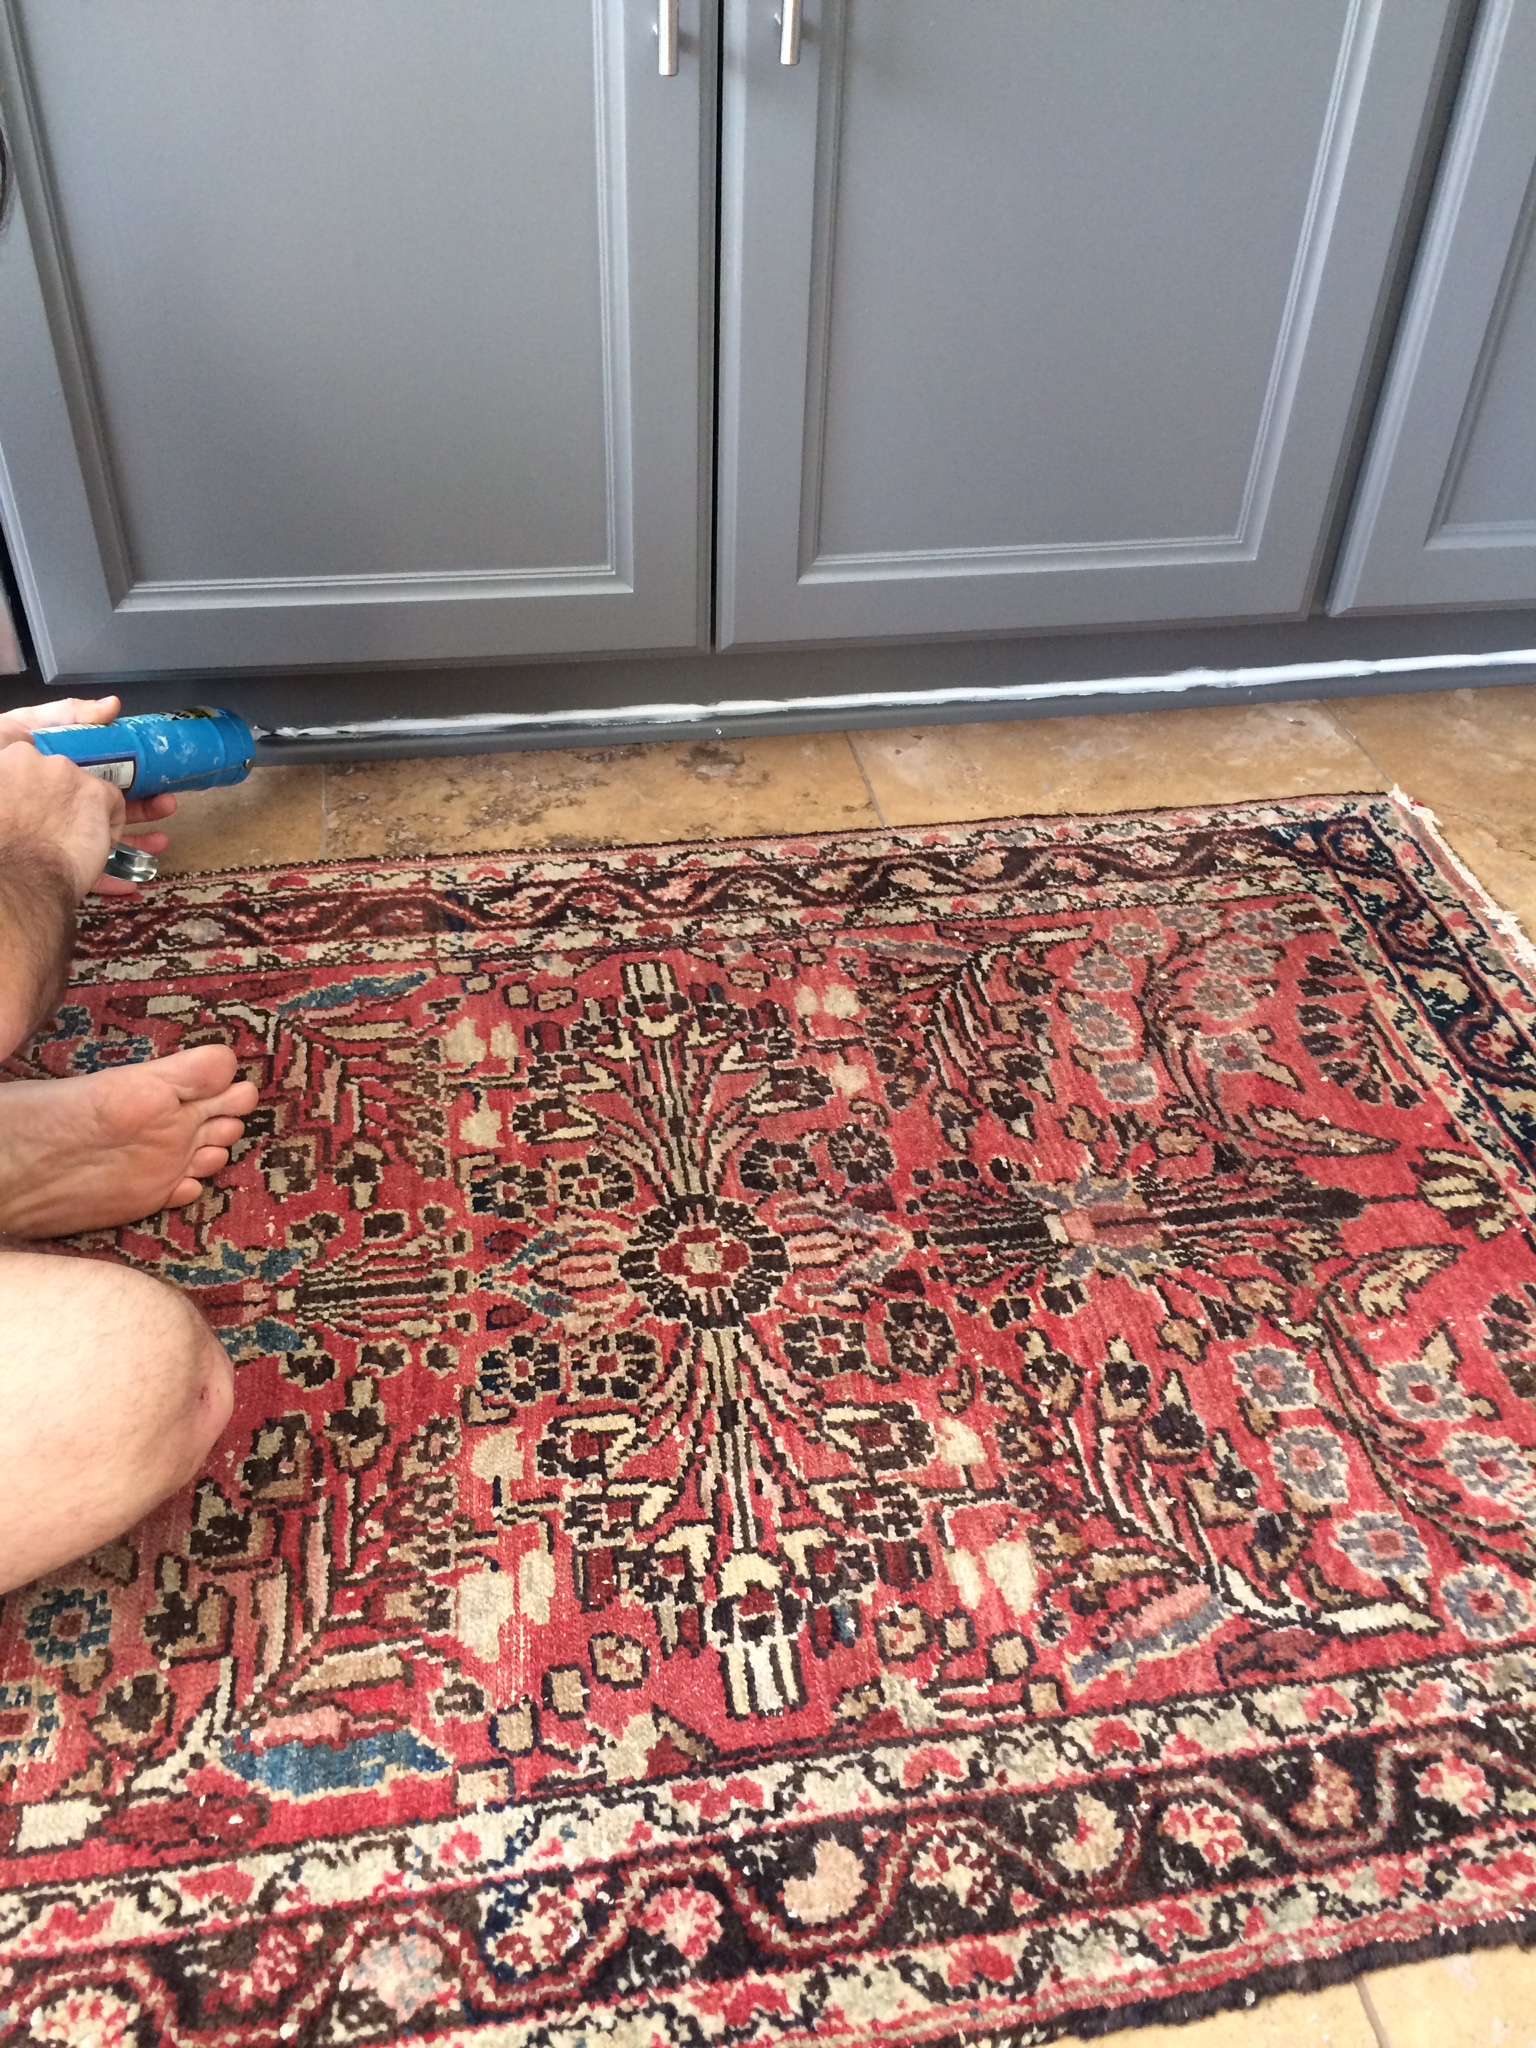
We were left with a few minor nail holes to caulk as well as the seam between the MDF and the quarter round moulding.
Once THAT dried (like I said, LOTS of drying time here...) I re-painted and we were finally left with a fresh and updated kitchen!
Here's a little before and after for reference...
I'm really happy with the way it all turned out! Lighter, brighter, and simple a fresh new look. Because we had nearly all of the supplies on hand, it hardly cost us a dime. Can't beat that. :) The only outstanding item left to complete in here is a new faucet. Whew!

