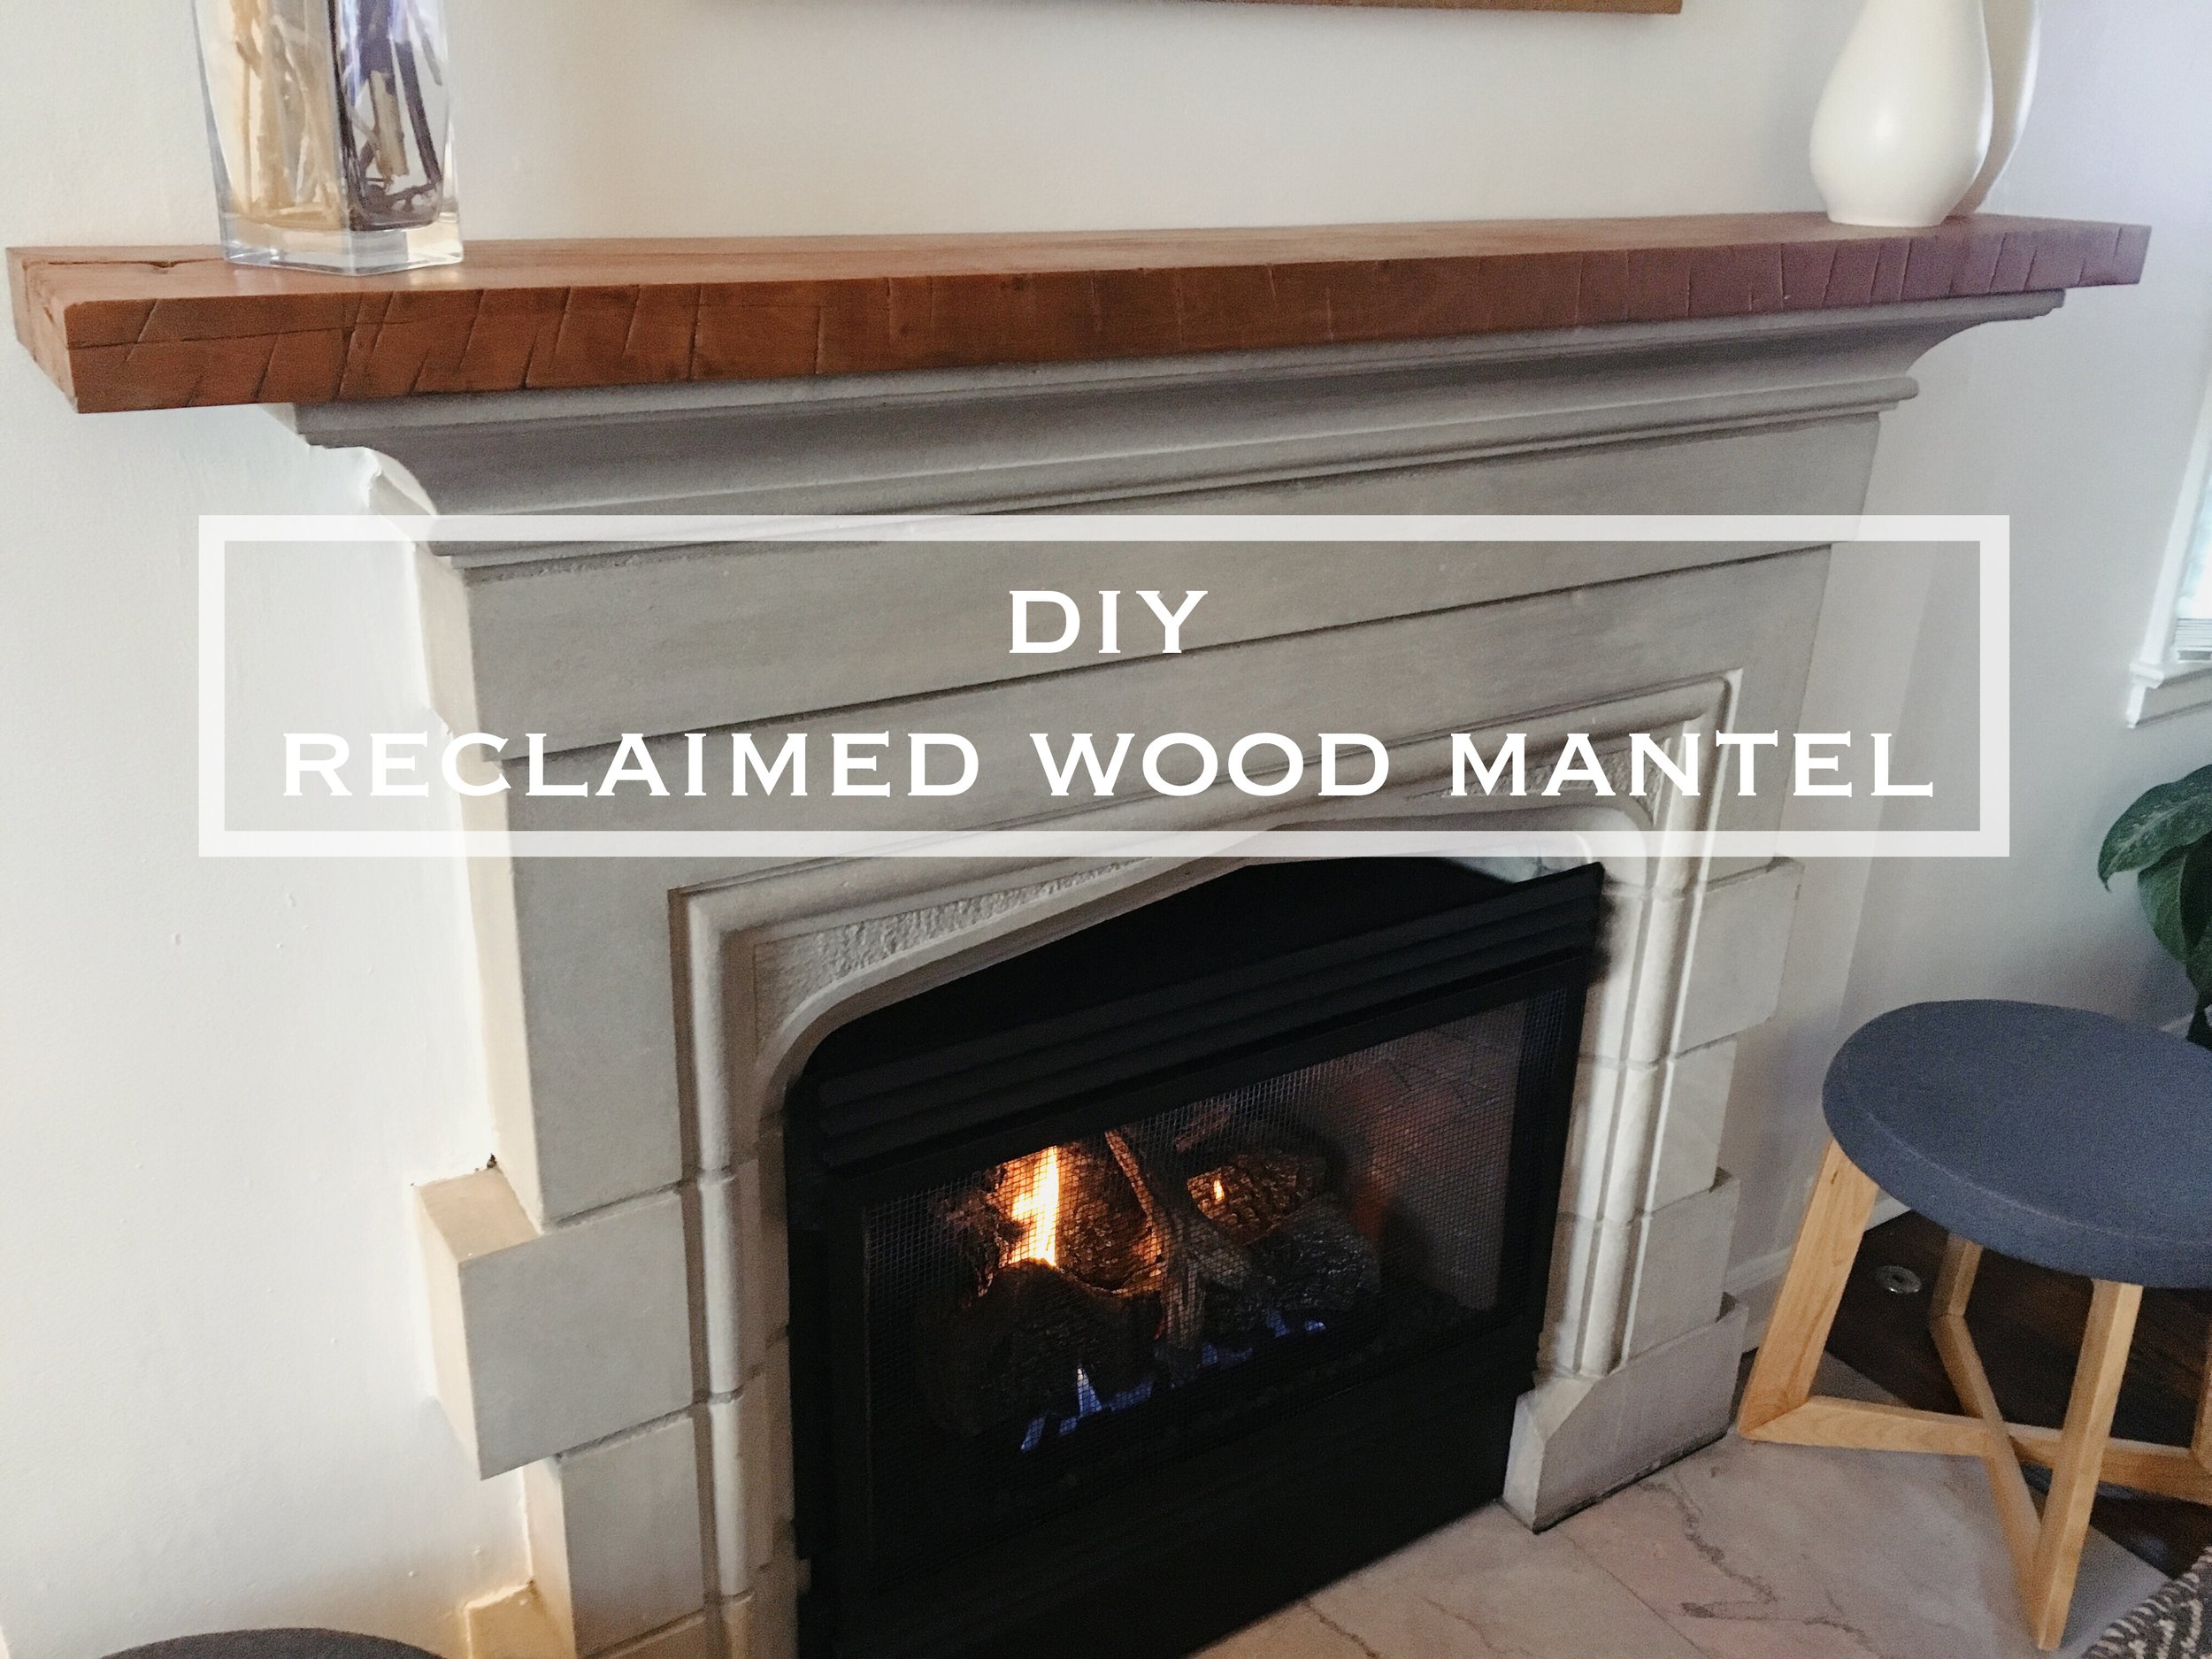
DIY Reclaimed Wood Mantel

Tyler and I have been working on a number of projects lately, and I'm happy to share the completion of a few with all of you this week! First up is our new wood mantel. This was kind of a last minute project, but it has turned out to have quite the impact in our living room. Before we dive in, however, let's step back for a moment and talk about where we started...
If you remember from this post last month, we were in the midst of an expensive chimney repair. Our 60+ year old chimney needed some serious love. The mortar joints had basically eroded away over the years and water was seeping inside. Between the extreme temperatures of Indiana and little to no maintenance over the last several decades, we had some serious problems to contend with.
On a positive note, we found some great masonry experts that spent several days repairing our beloved chimney, and there are no leaks in sight! Woohoo! If you're in the Indianapolis area and need some work done on your chimney, I would be happy to pass along contact information for the company we hired.
Although our chimney was looking great from the outside, we were left with quite the mess to contend with inside. Tyler spent several nights scraping out old caulk and damaged plaster above our fireplace.
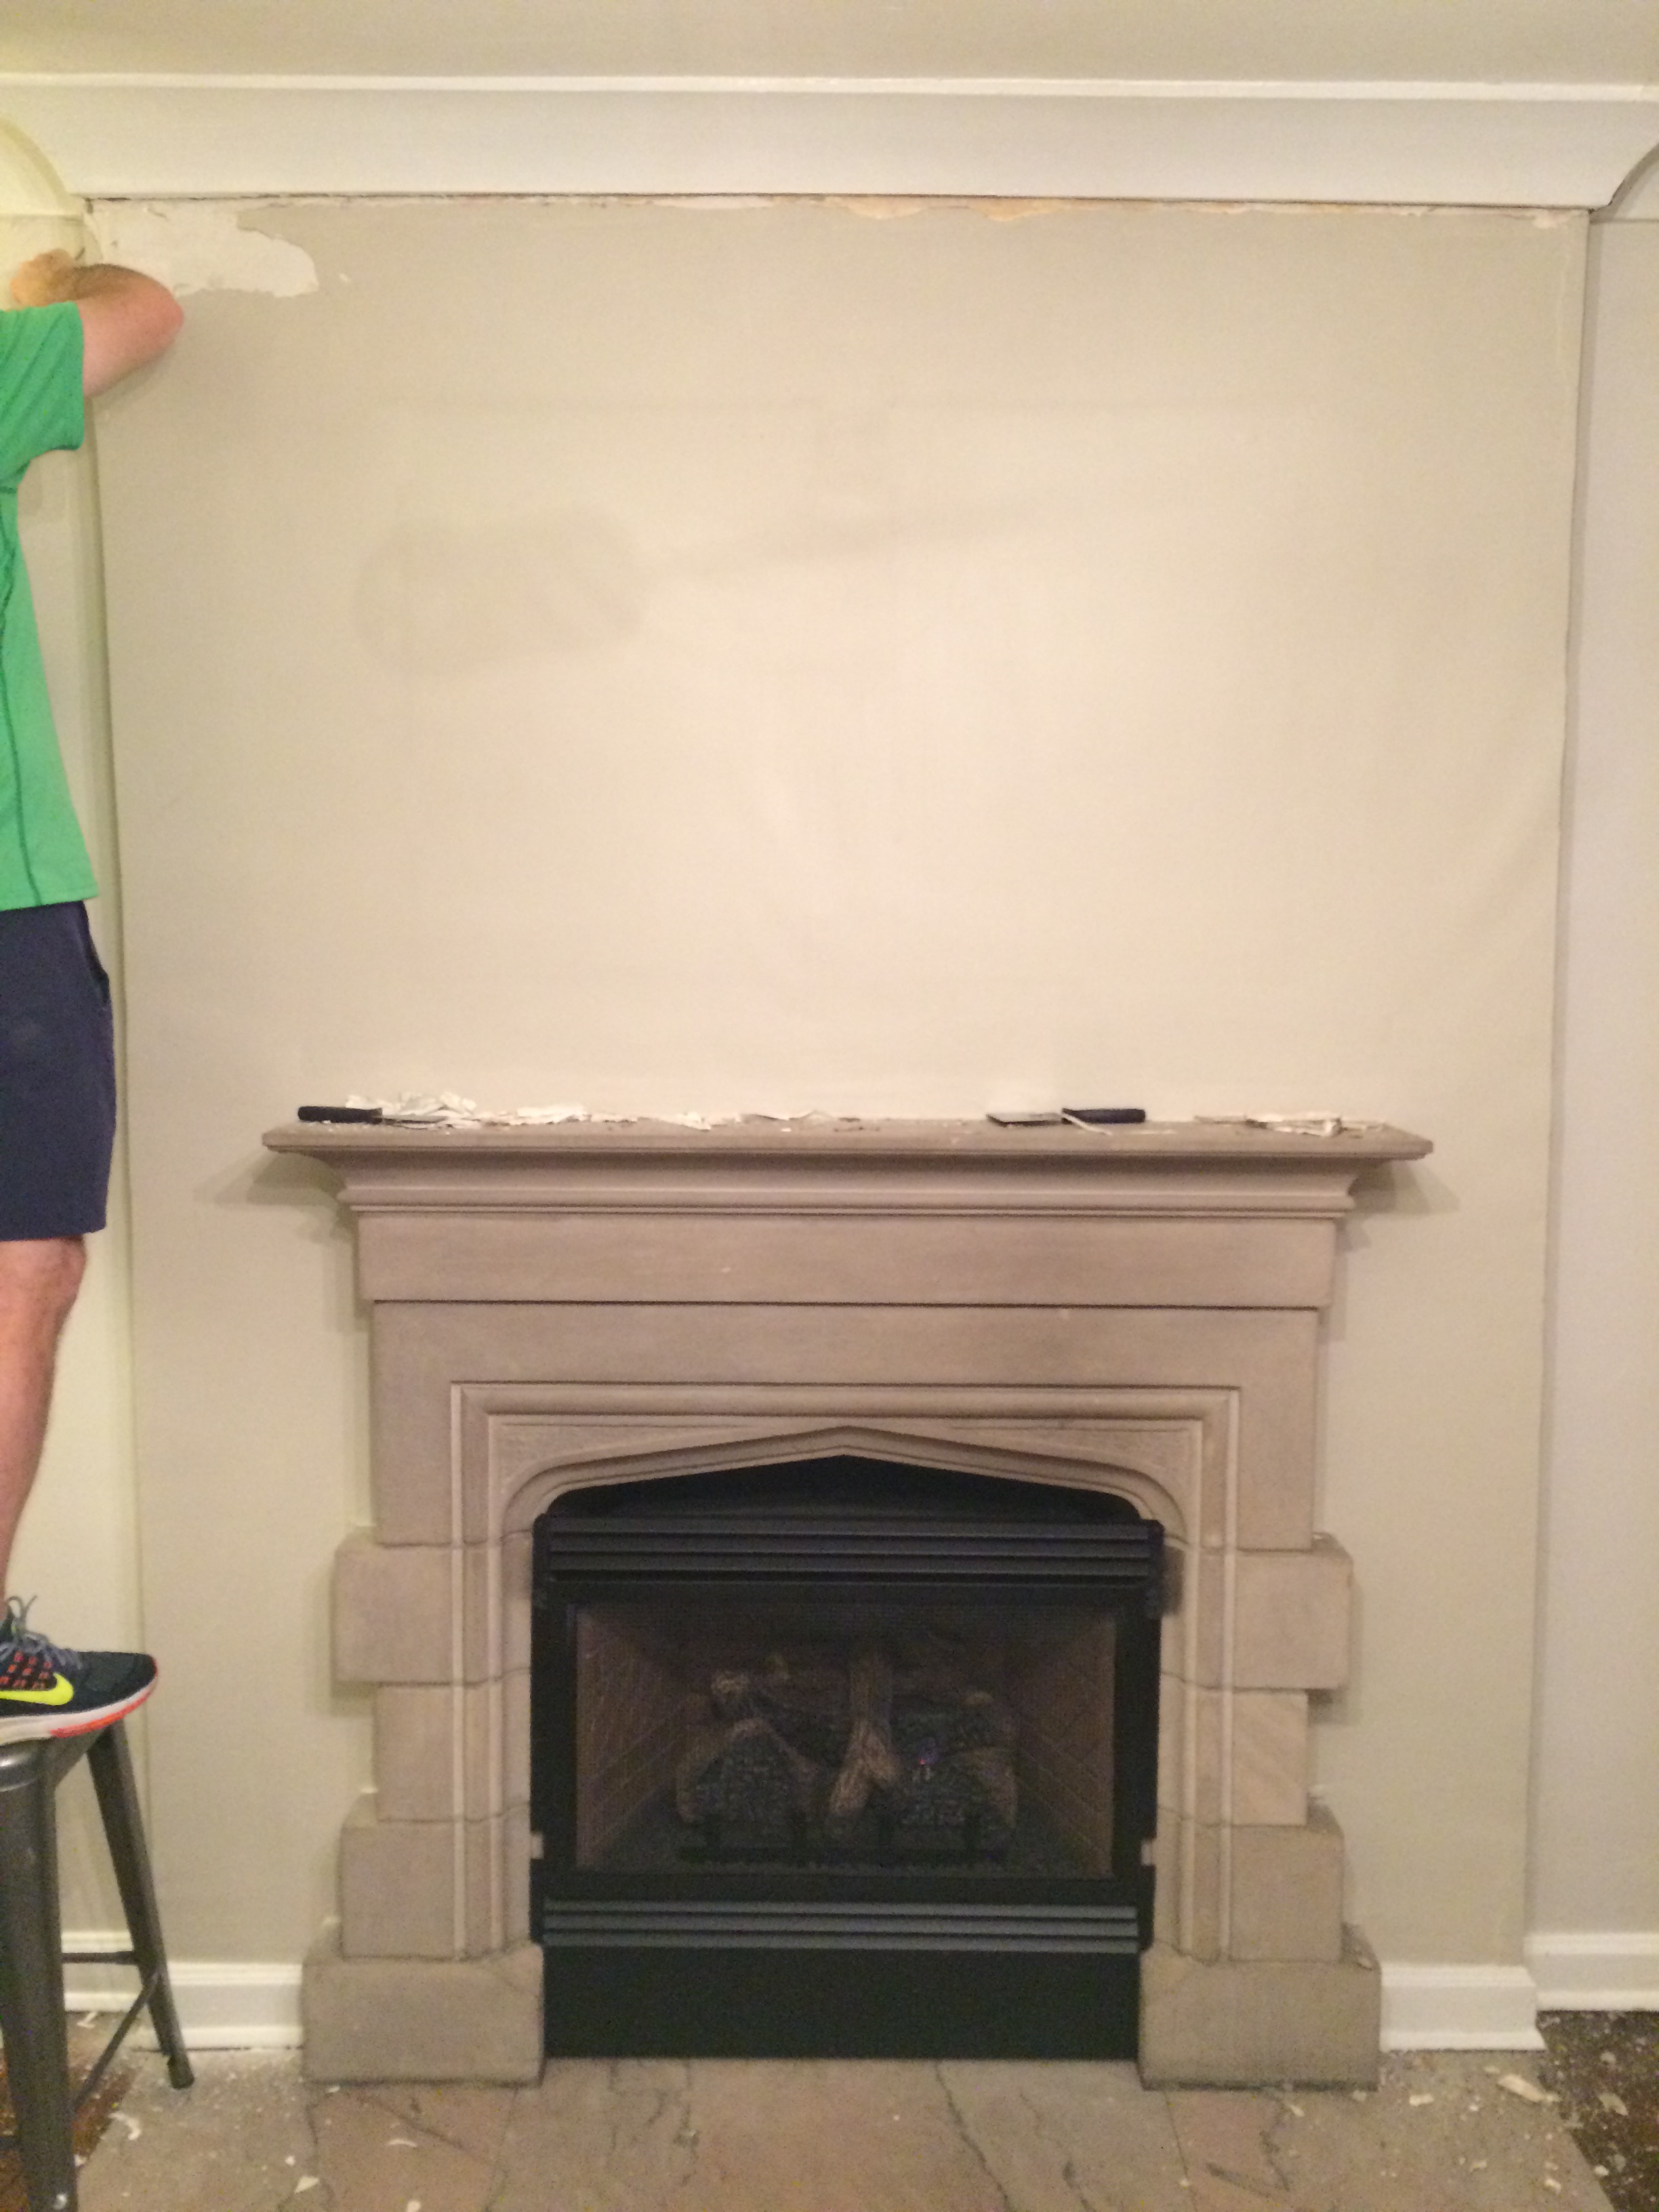

Once all of the damaged material was removed and everything had dried out, we moved on to the fun task of repair. LOTS of plaster of paris and sanding was used to smooth the walls out.
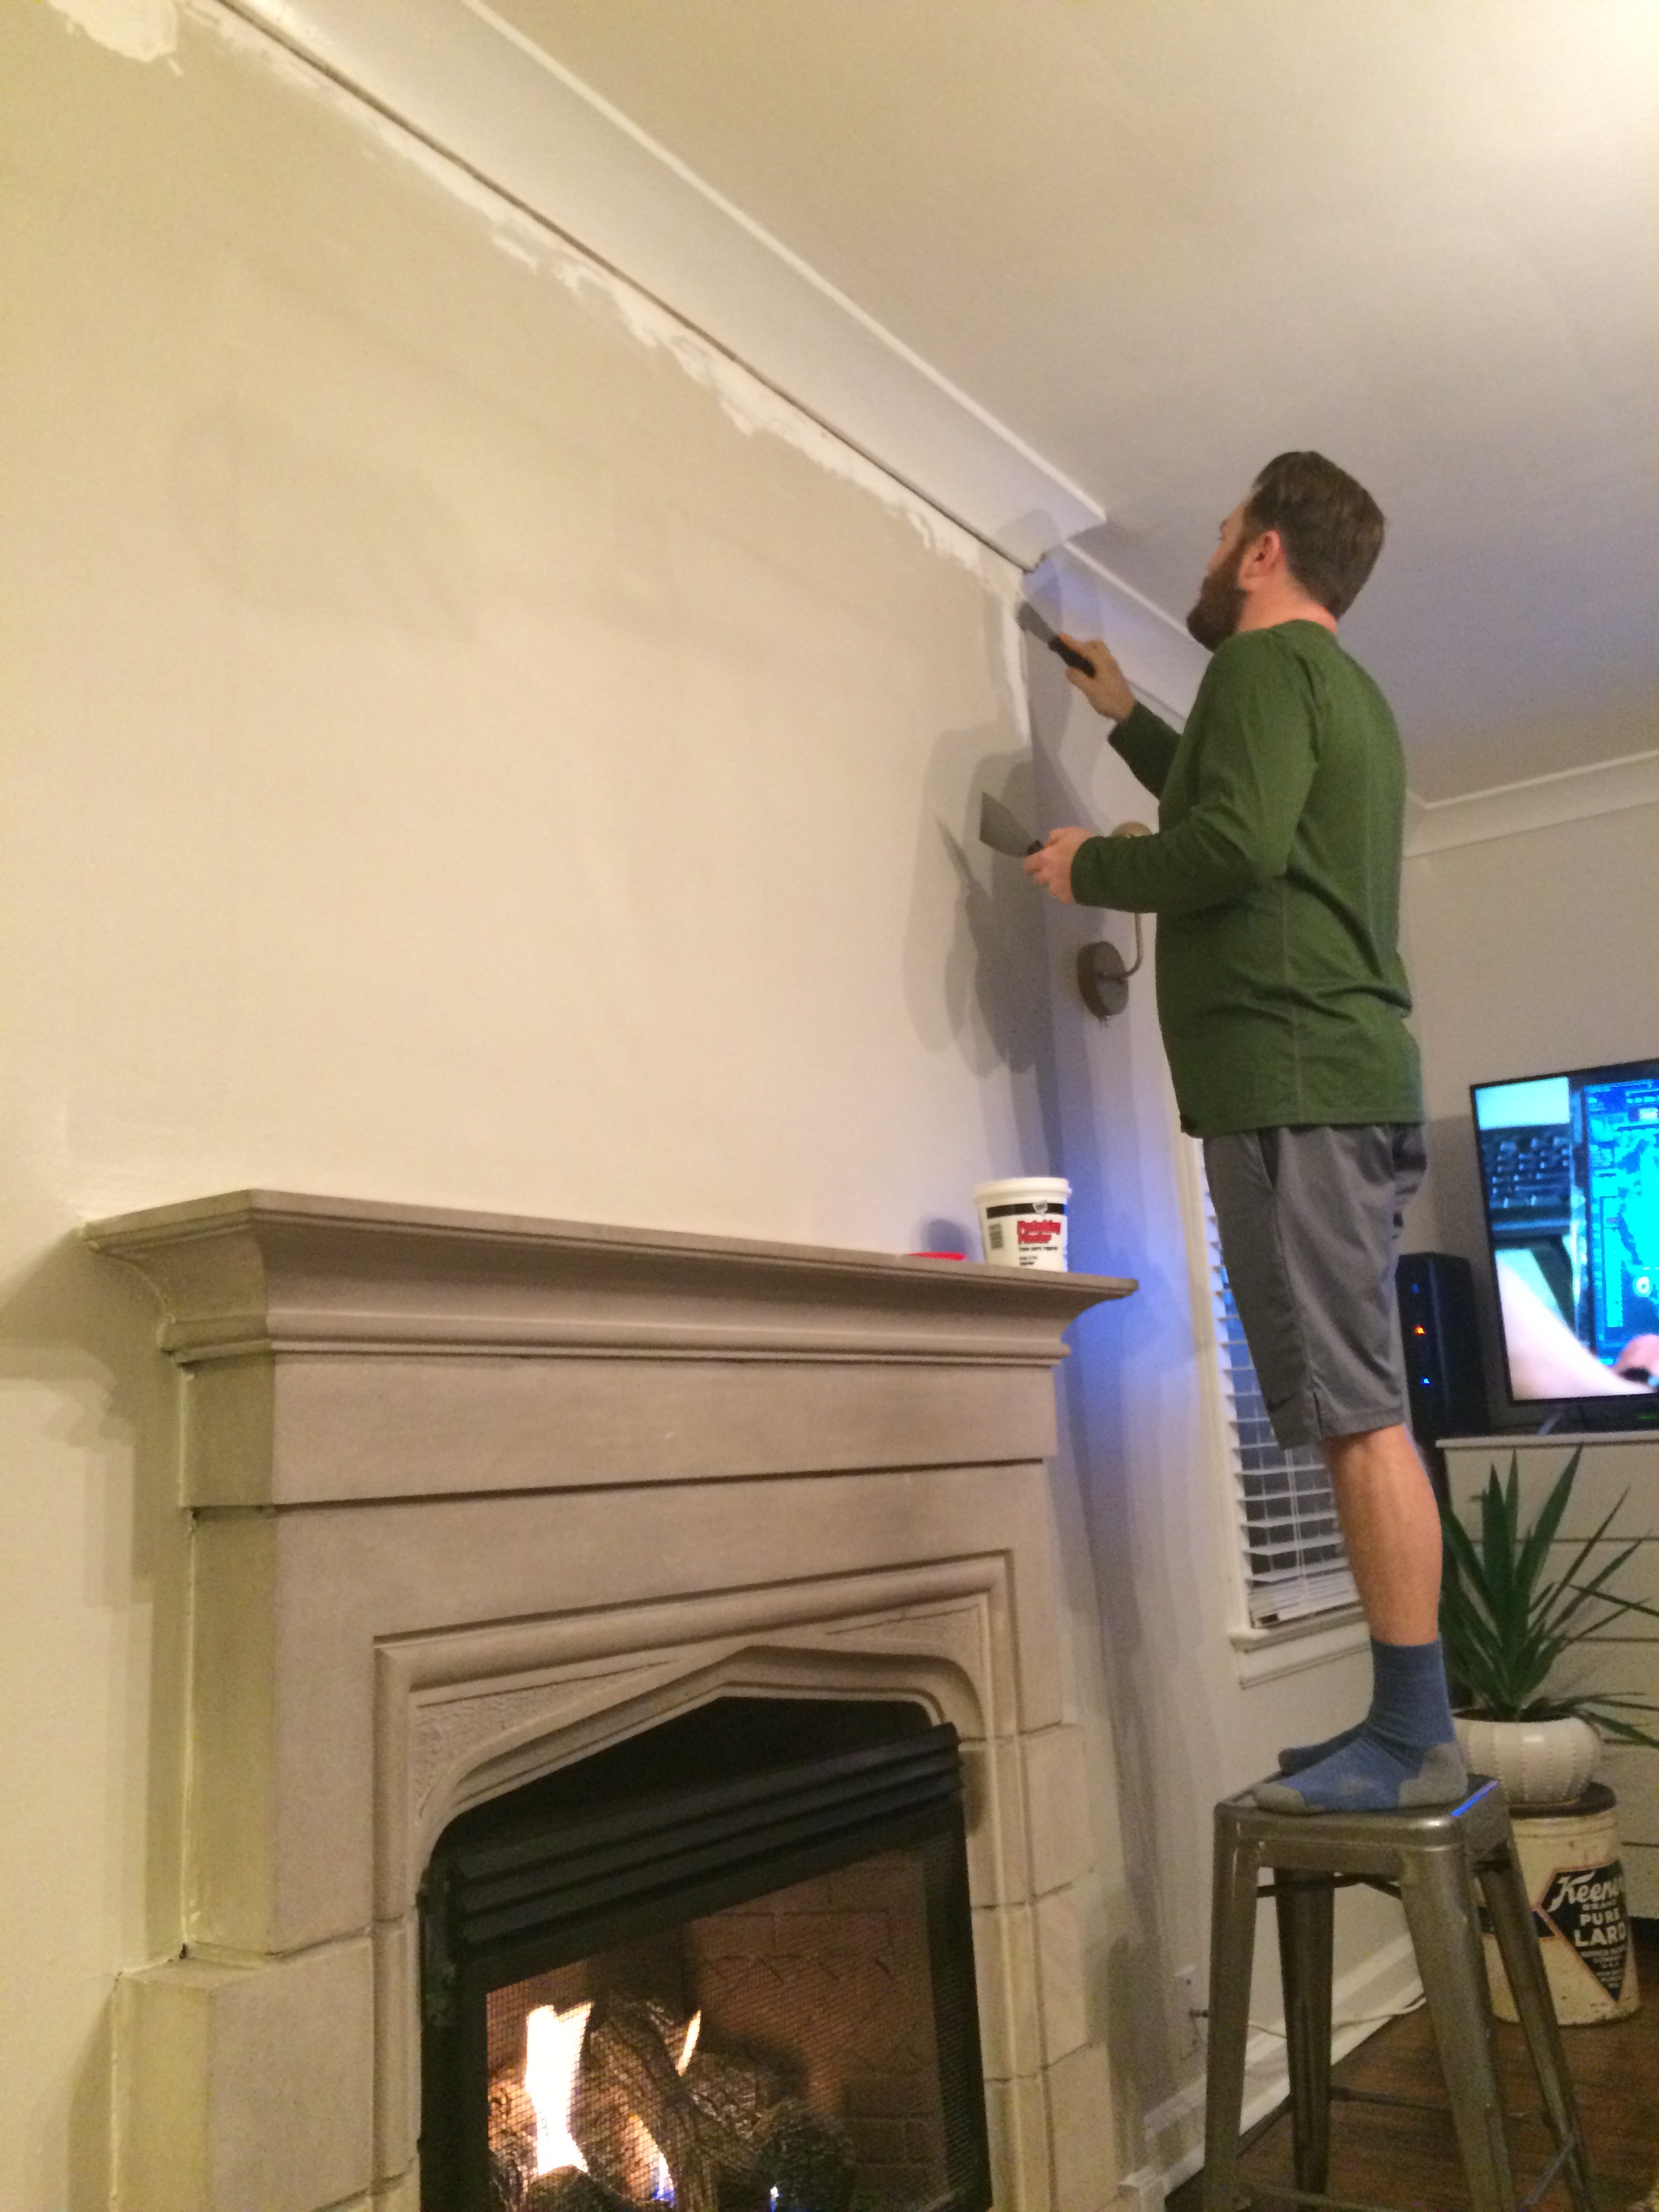
Once the walls dried and were smooth, Tyler repaired the crown molding, applied some caulk to the seams, and we applied a few coats of paint to the wall and trim. All of this sounds easy enough, but we decided to do all of this right before our Fall Dinner Party, so it was compacted into some pretty late nights. Oh the joys of home ownership! On top of that, I decided to repaint the entire living room, too. Tyler was thrilled. :)
BUT! Just look at that perfect white wall! No imperfections in sight!

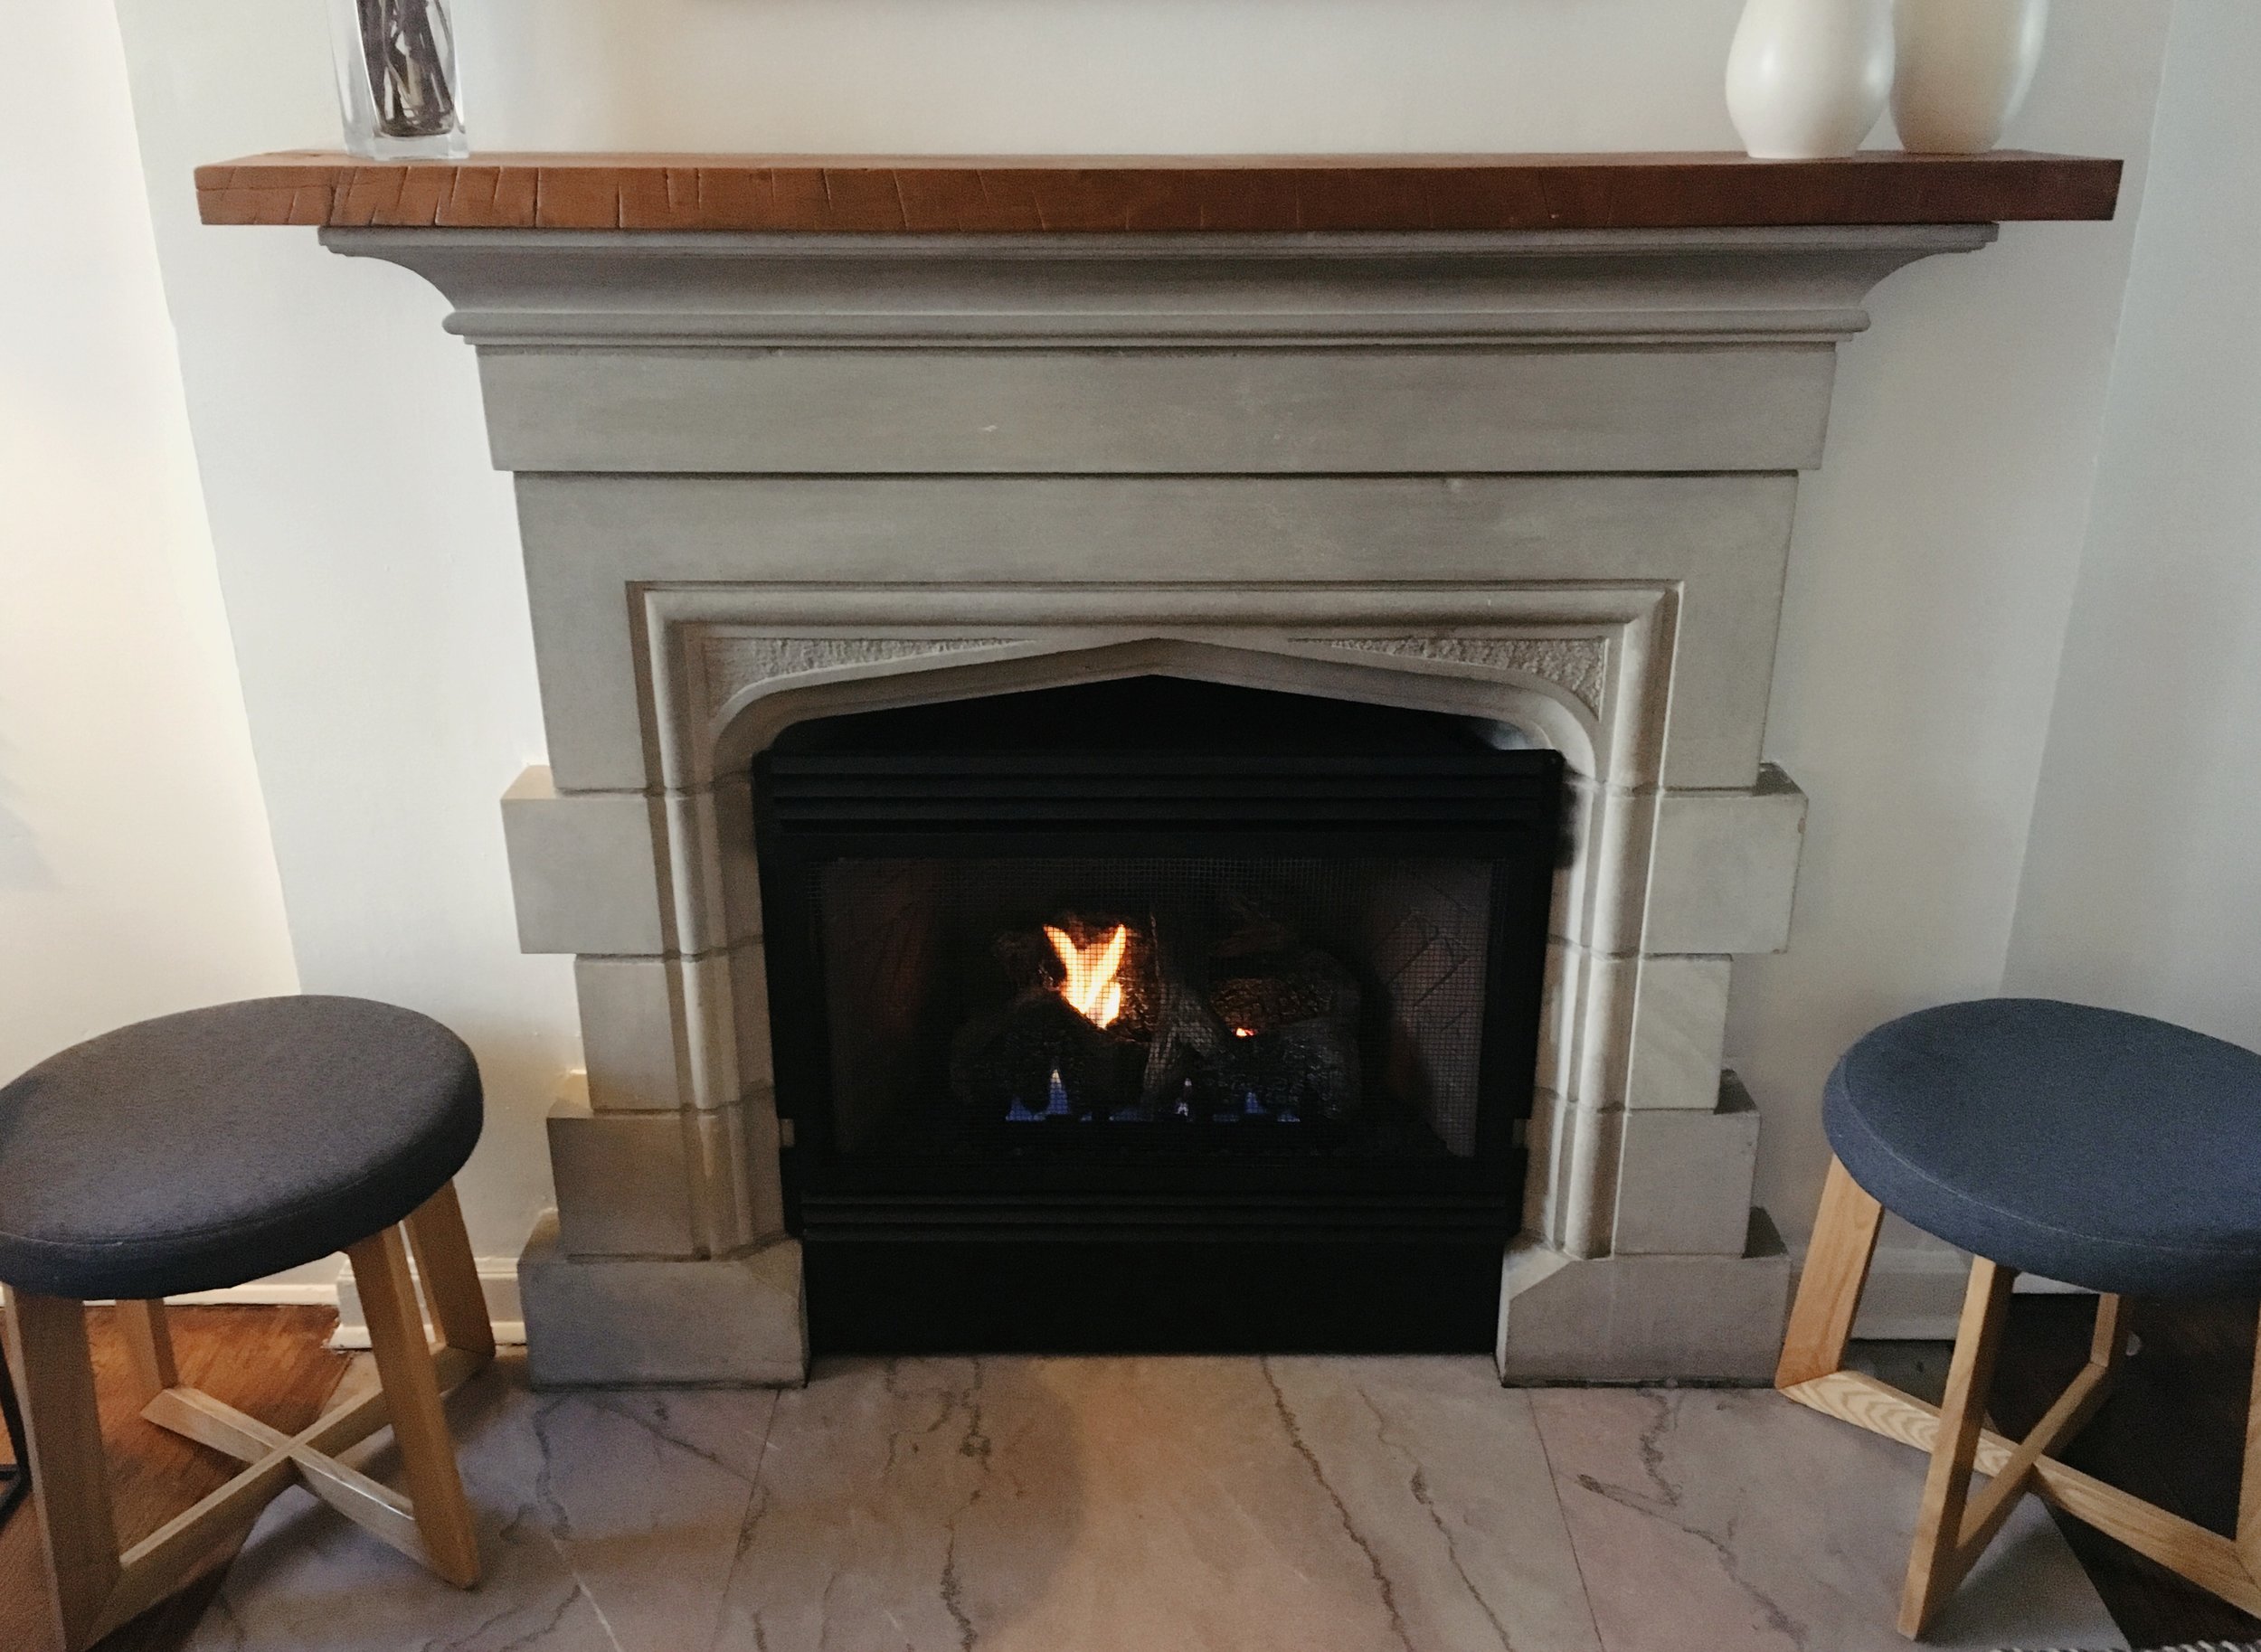
I added a few decorative pieces in time for our friends to come over for the dinner party, but something felt like it was missing. I thought about it for a few days and wondered if it would be possible to jazz up the actual fireplace a little. We needed some warmth and a way to bring the focus to the fireplace. Lucky for us, we happened to have some reclaimed wood hanging out in our basement. I had Tyler bring a piece upstairs, and I snapped a few photos.

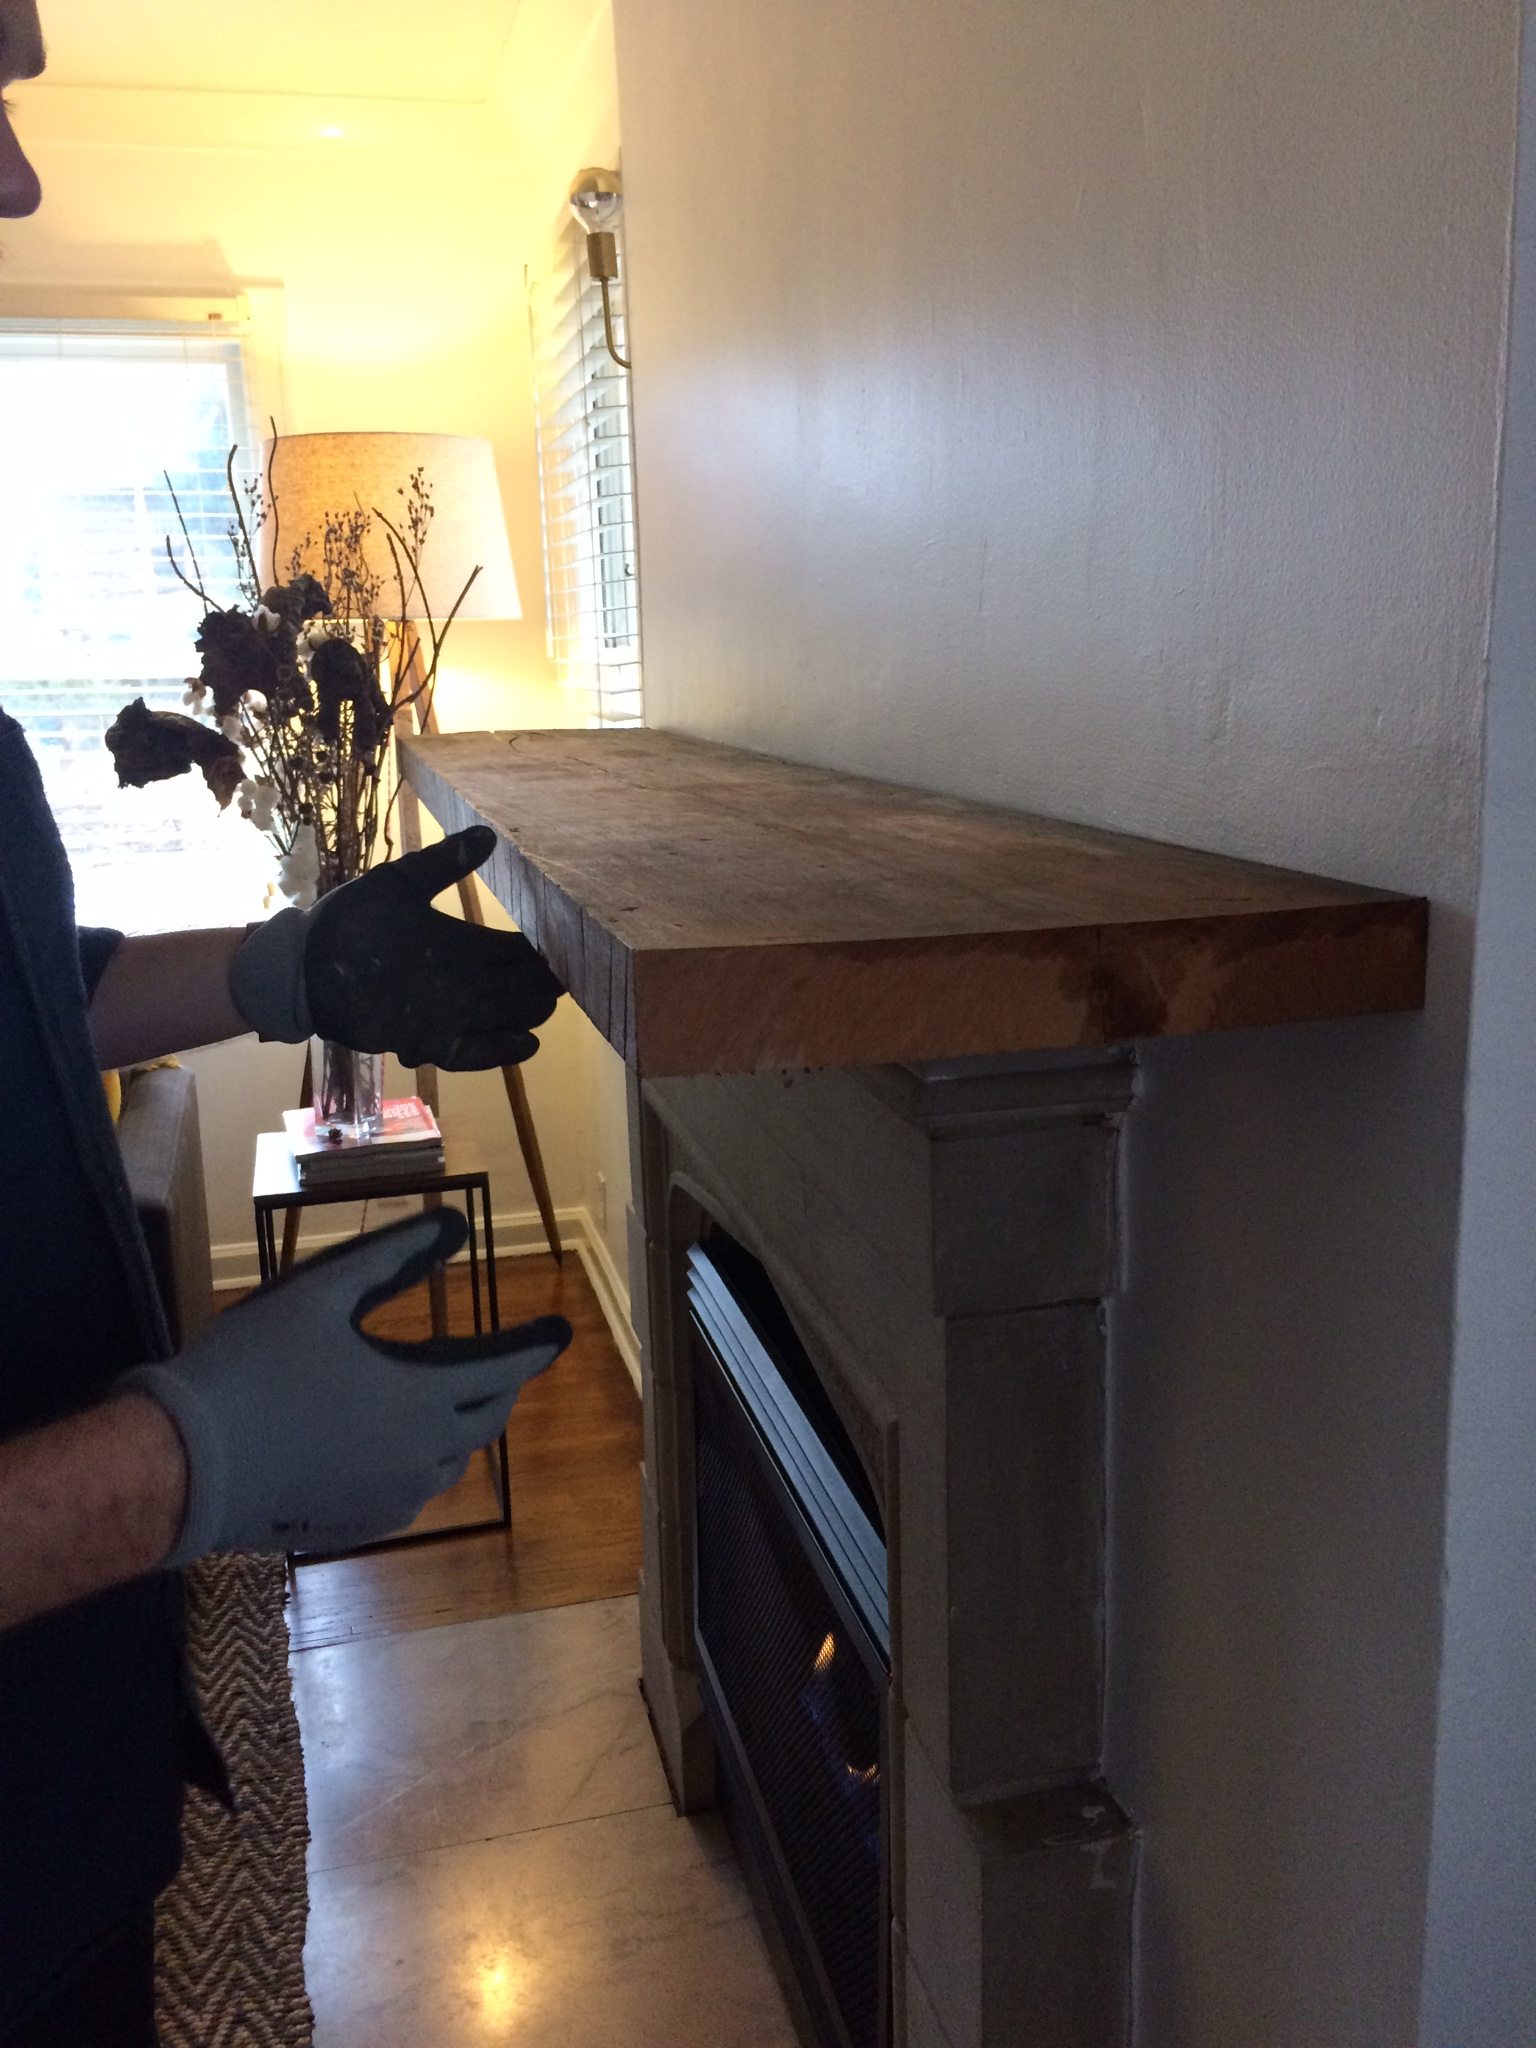
The piece was clearly too large - width and length - but the look was great! Plus, the wood is exactly what we used on our entry table and coffee table, so the entire room really started to come together.
To create a custom fit, we took our board to Tyler's work and did a little cutting on the "big boy" machines. Tyler was in heaven...


After some sanding and a little polyurethane, we were left with a GORGEOUS reclaimed wood mantel. The pure white walls and the warm wood tones really bring the entire room together. The space is light, bright, clean and modern while remaining warm and cozy.
By the way, we didn't want to put any holes in the plaster walls or in the original fireplace, so we used 3M picture hanging strips to secure the wood to the stone and to the wall. The wood is extremely secure, and we caused zero damage - win win!