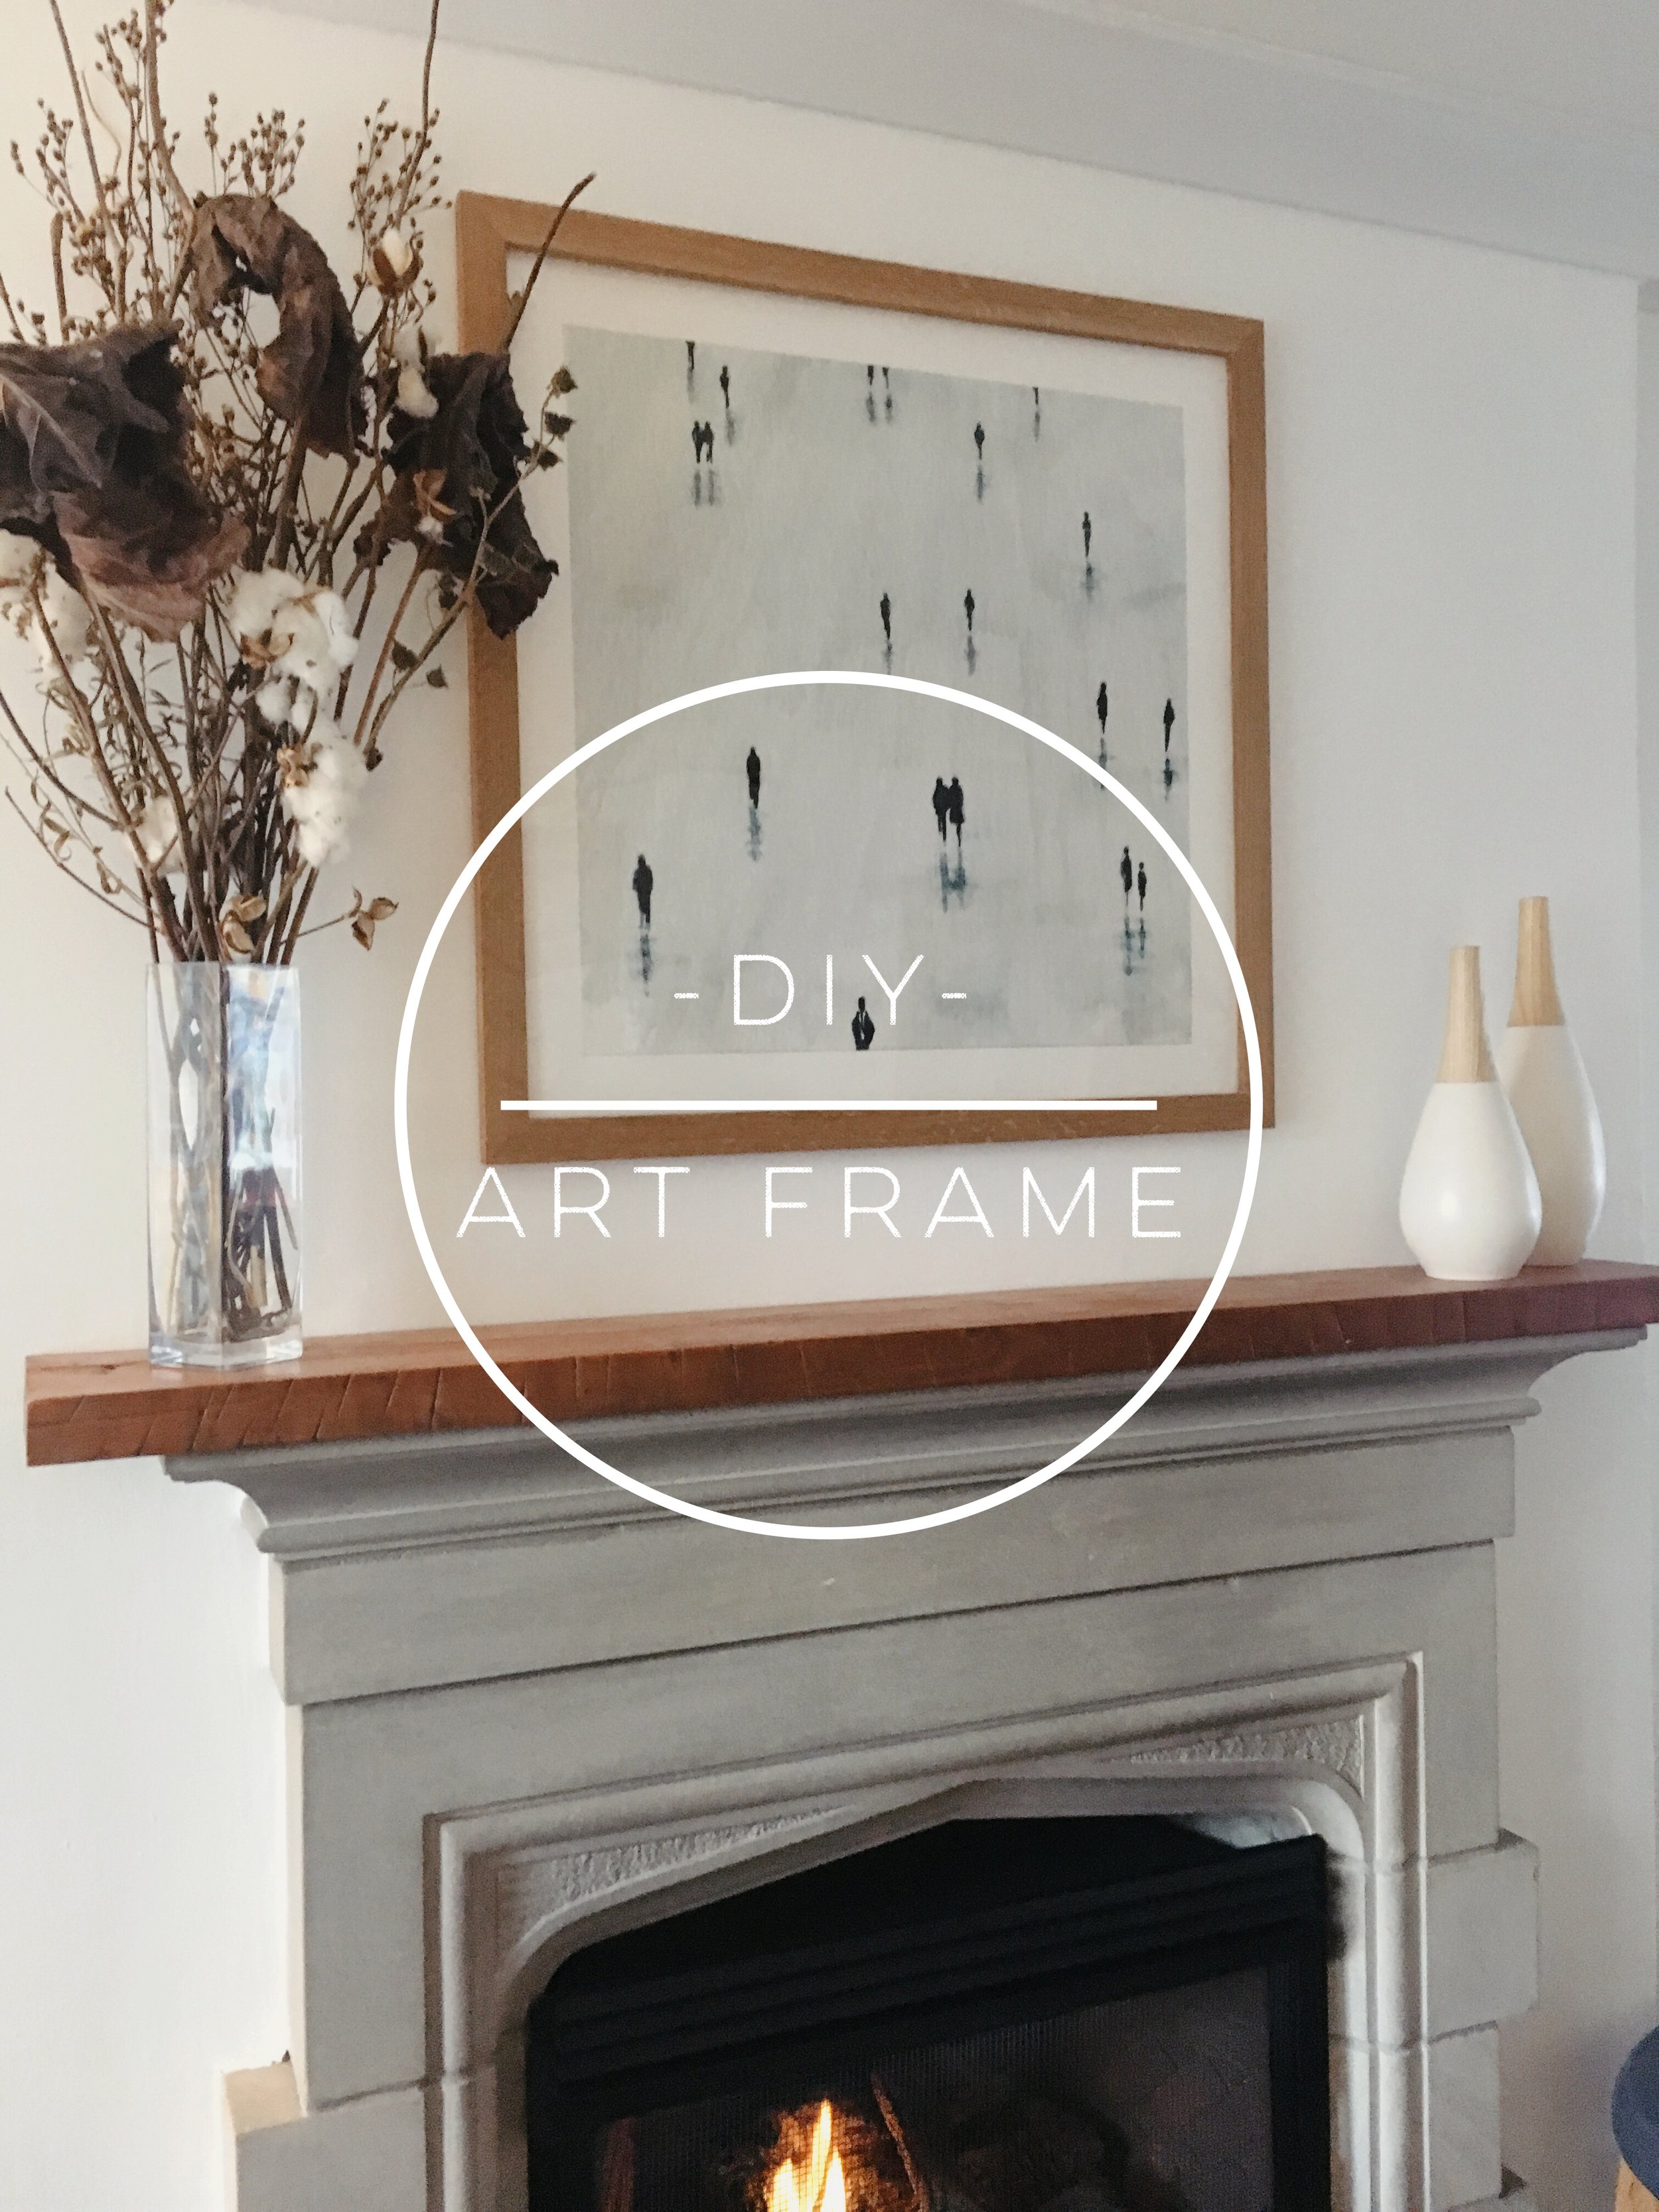
DIY Art Frame

I've had grand ideas of a mantel makeover for quite some time, but everything hinged upon us getting our chimney leak-free and our walls repaired. Sounds like a simple request, but oh how tricky home ownership can be. I shared our freshly repaired and painted walls on Monday along with our DIY reclaimed wood mantel. Did you notice that I didn't show a photo of the entire fireplace, though? Tricky, huh? :) That's because we've been working on another project - several weeks before the start of the mantel, in fact. A DIY art frame!
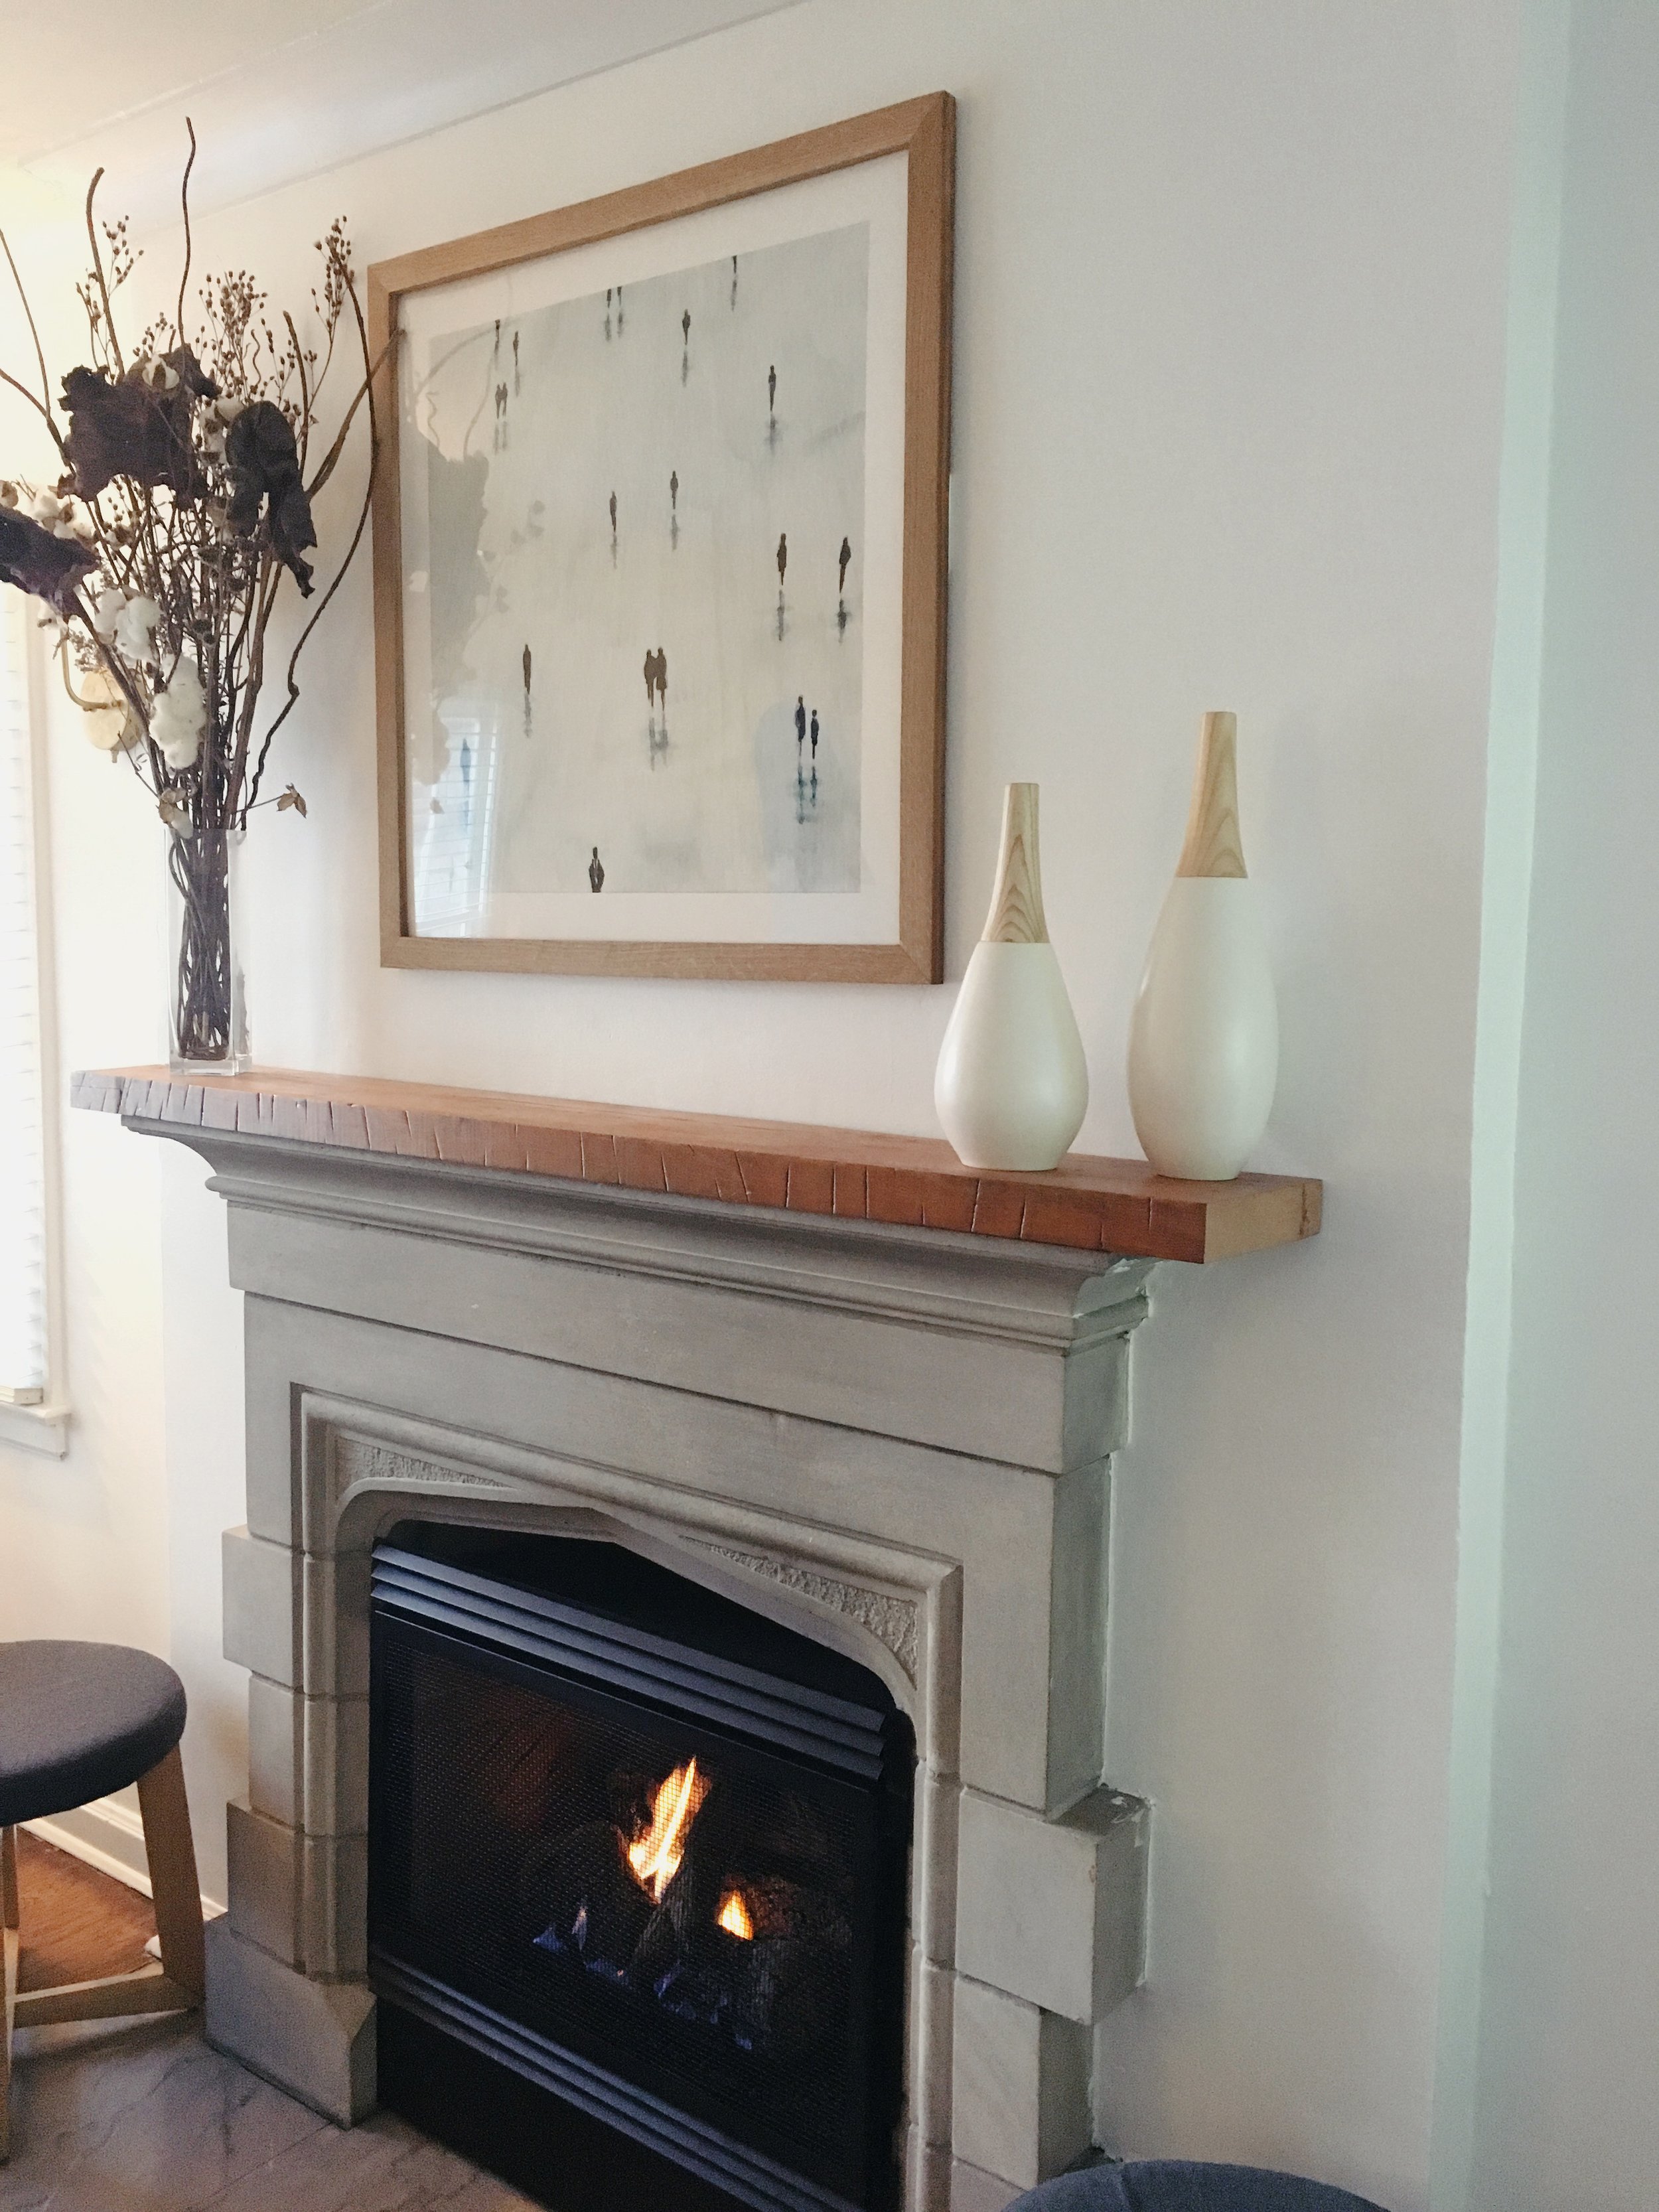
As I was designing the new space, I knew I wanted to keep things simple and understated but yet catch your eye as soon as you entered the room. To meet the need, I immediately jumped to Minted. Minted is one of my favorite sites to shop for art. We actually bought our bedroom art from Minted. When I was browsing the selection, the "Sambras" print by Lulaloo caught my eye.

The colors were calming and I really liked the artists description.
"People walking towards their own reality, carrying their own history. Sometimes happy and sometimes sad, sometimes alone and sometimes together. The colors that I have chosen also reflect the nostalgia in the painting. I called this sombras because of the reflections on the floor."
Tyler liked the piece as well, so we ordered a 30"x30". I had a coupon on hand, so we were able to snag the print for about $75. To keep costs low, we decided to make our own frame using some white oak we had lying in the basement. (Yes, our basement is basically a lumber yard. Isn't that normal?) The same weekend we headed to Tyler's work to cut the wood for our mantel, we also cut our frame pieces.

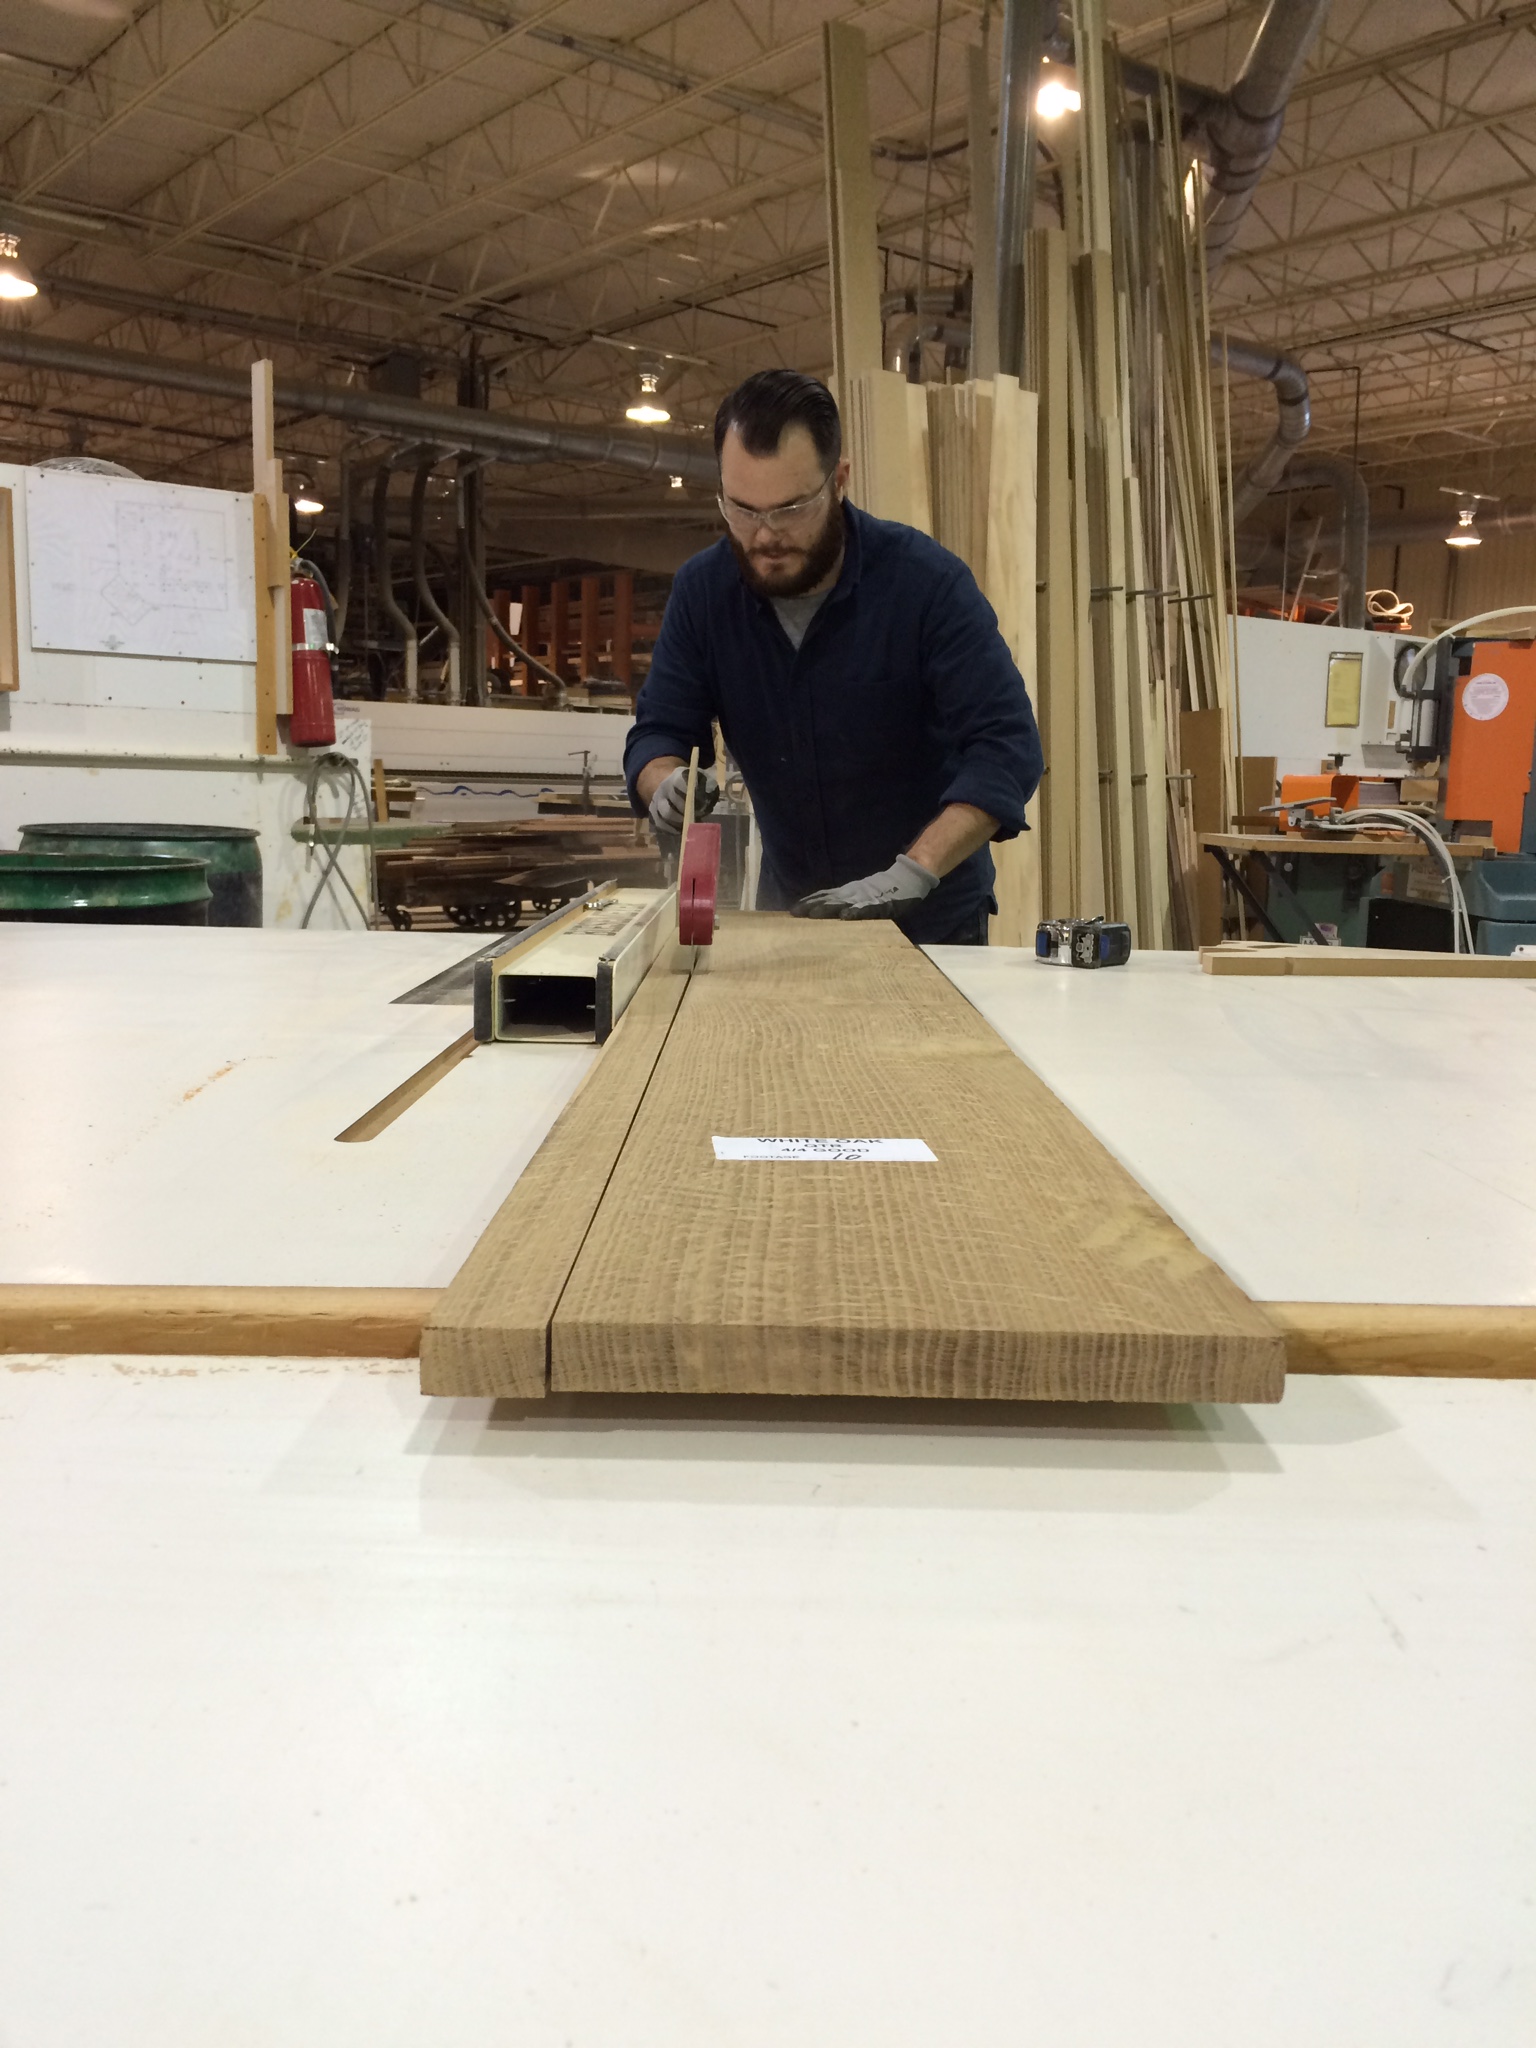
Once again, Tyler was in heaven. In no time at all, we had everything cut to size and loaded back in the car to take home and assemble. Tyler spent the better half of the weekend measuring, sanding, filling in nail holes, some more sanding, and then applying a thin coat of stain. I wanted to keep the wood looking as light and natural as possible, so we used Minwax Wood Finish in Pickled Oak.
We headed to True Value to have a piece of plexiglass cut to 30"x30" and purchased a piece of posterboard from Staples to use as the backer. Once again, we used 3M poster strips to hang the art to avoid putting holes in the walls. The end result? Perfection.