DIY | Vegetable Garden Cage
Tyler and I finished our vegetable garden cages this weekend. Hooray! There was a lot of trial and error, but I suppose that's the fun/fear of a DIY, right? :) Let's jump right in...
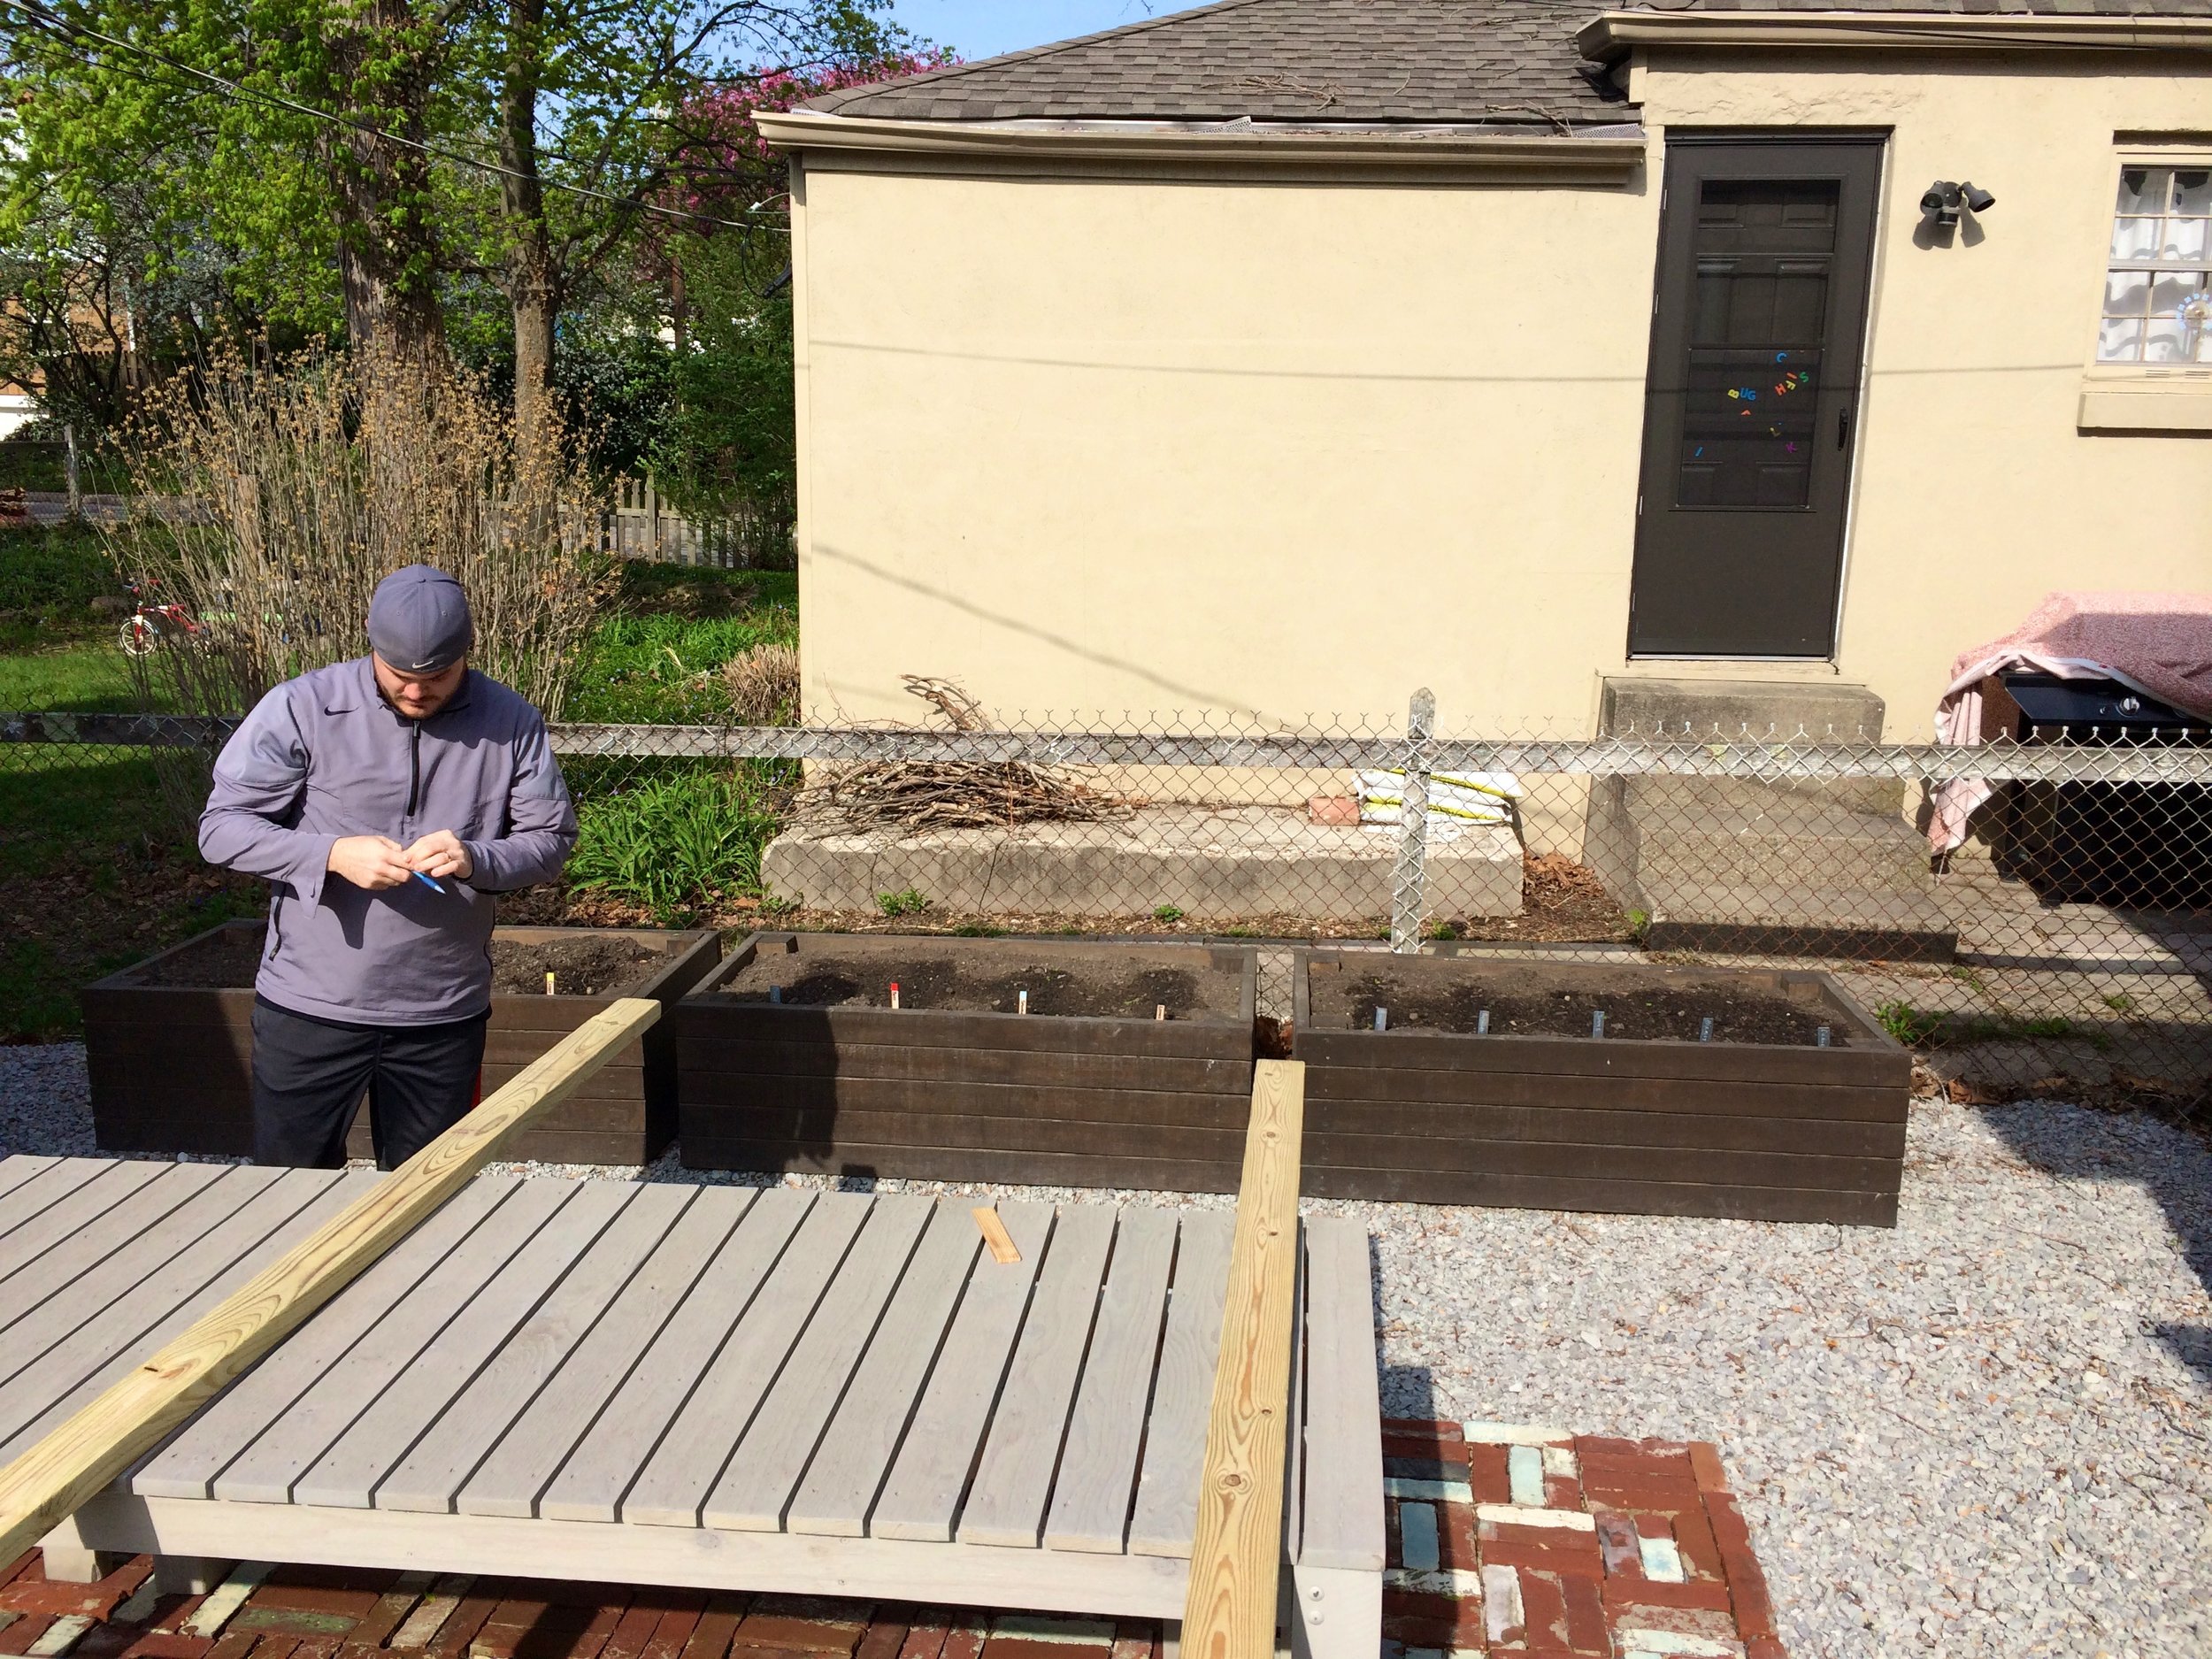
We moved into our house in the winter of 2012. That following summer, we started to revamp our backyard in preparation for our rehearsal dinner which was going to be at our house. It's a super small space, but we thought it had just enough room for a garden and outdoor dining space. We started by tearing out all of the grass - and by grass I mean poison ivy. Super long story, but I ended up with it from head to toe. MISERABLE is an understatement... so let's not talk about that. The next summer, we decided some privacy screens would be a really nice addition. Below are some before and after shots of the space...
Much better, don't you think? The garden beds were primed and ready for a beautiful garden. Unfortunately, the neighborhood squirrels agreed. The crazy things ate EVERY SINGLE tomato. On top of that, the bunny's decided to eat all of my lettuce and beets. We didn't get anything but herbs out of those planter beds all summer. I was furious.
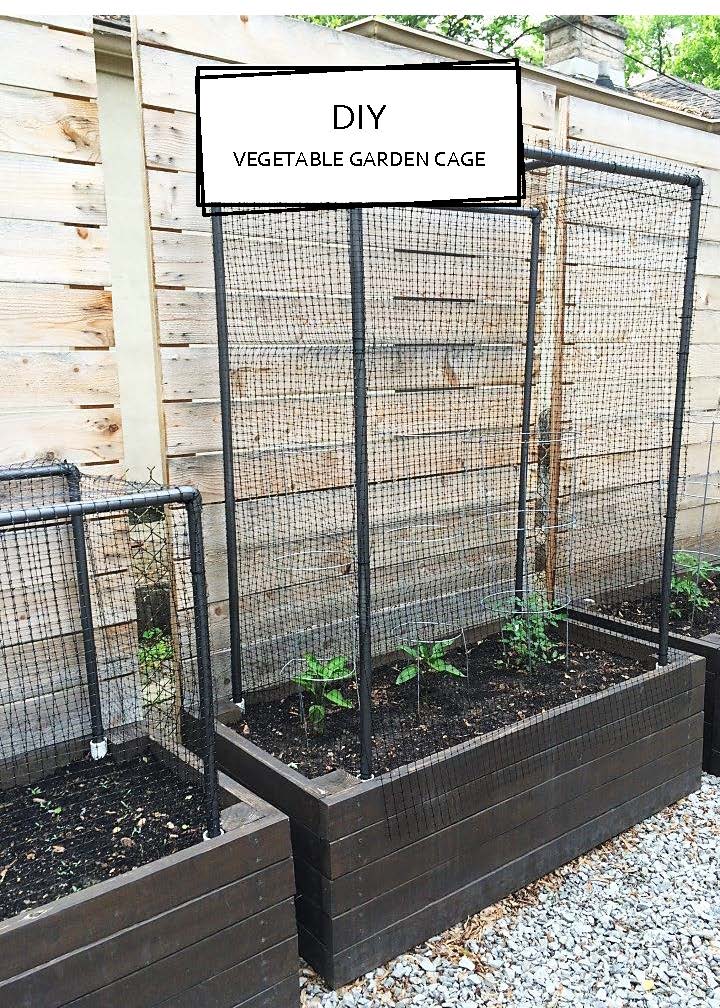
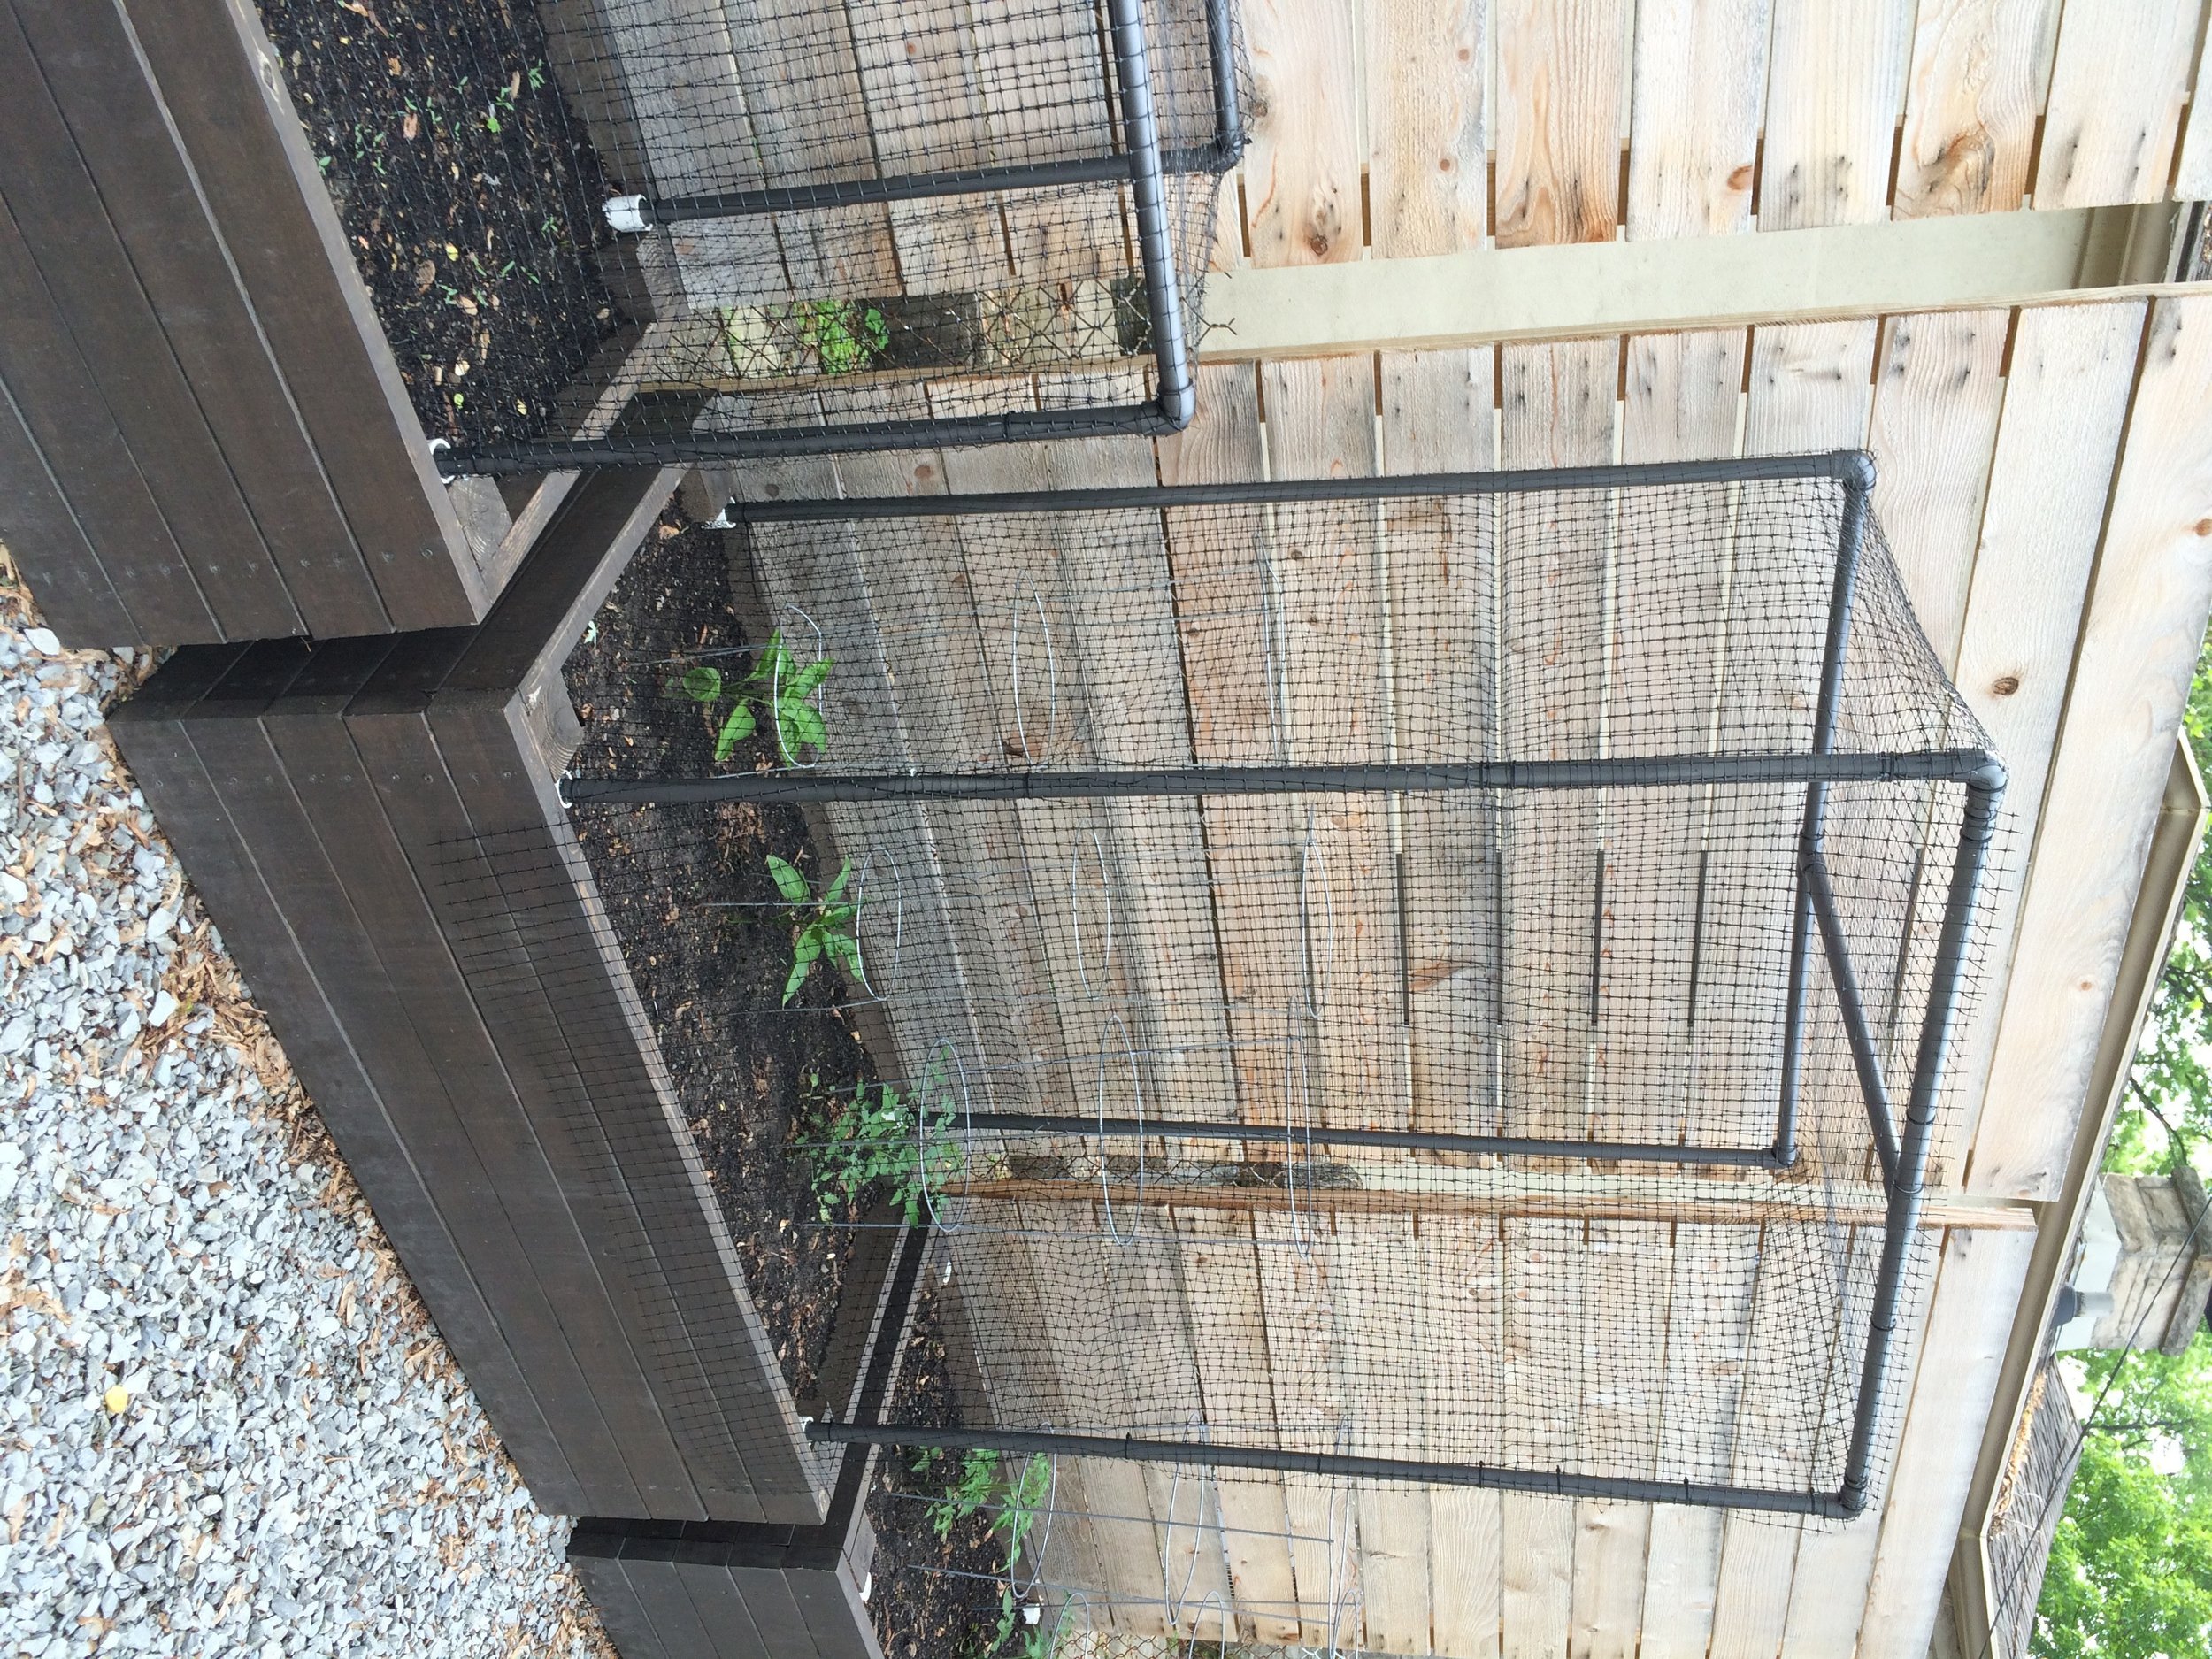
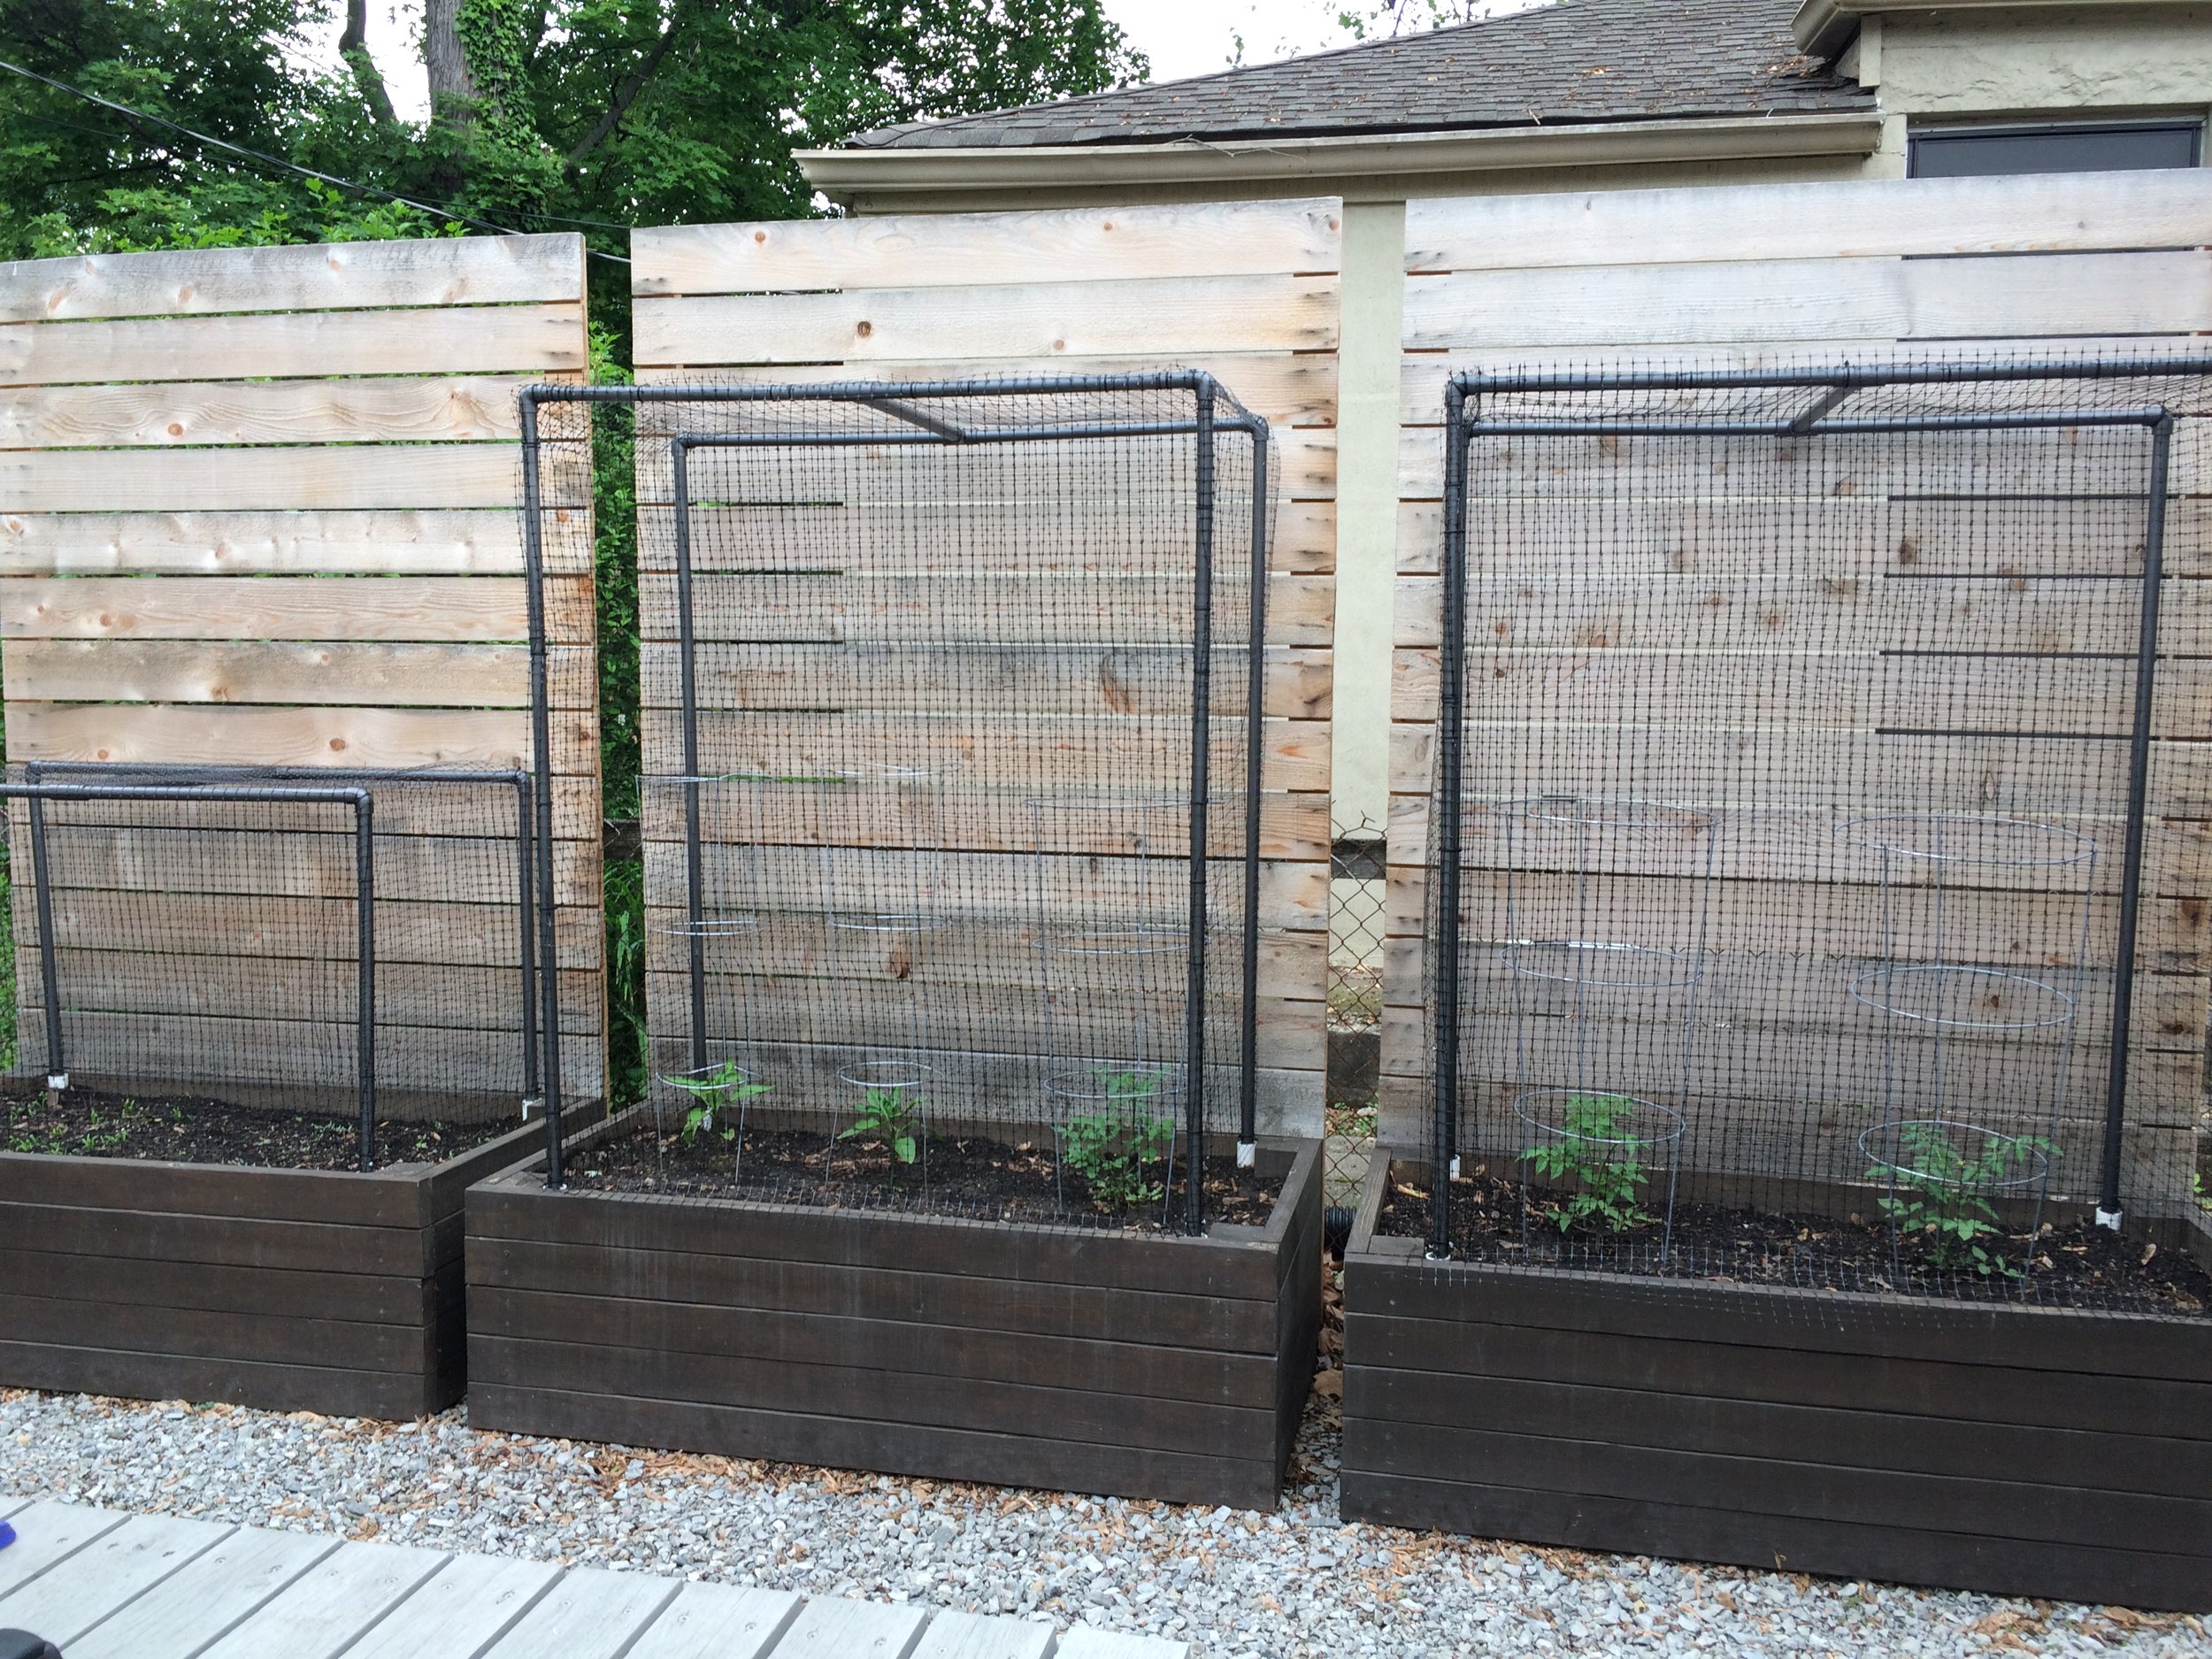
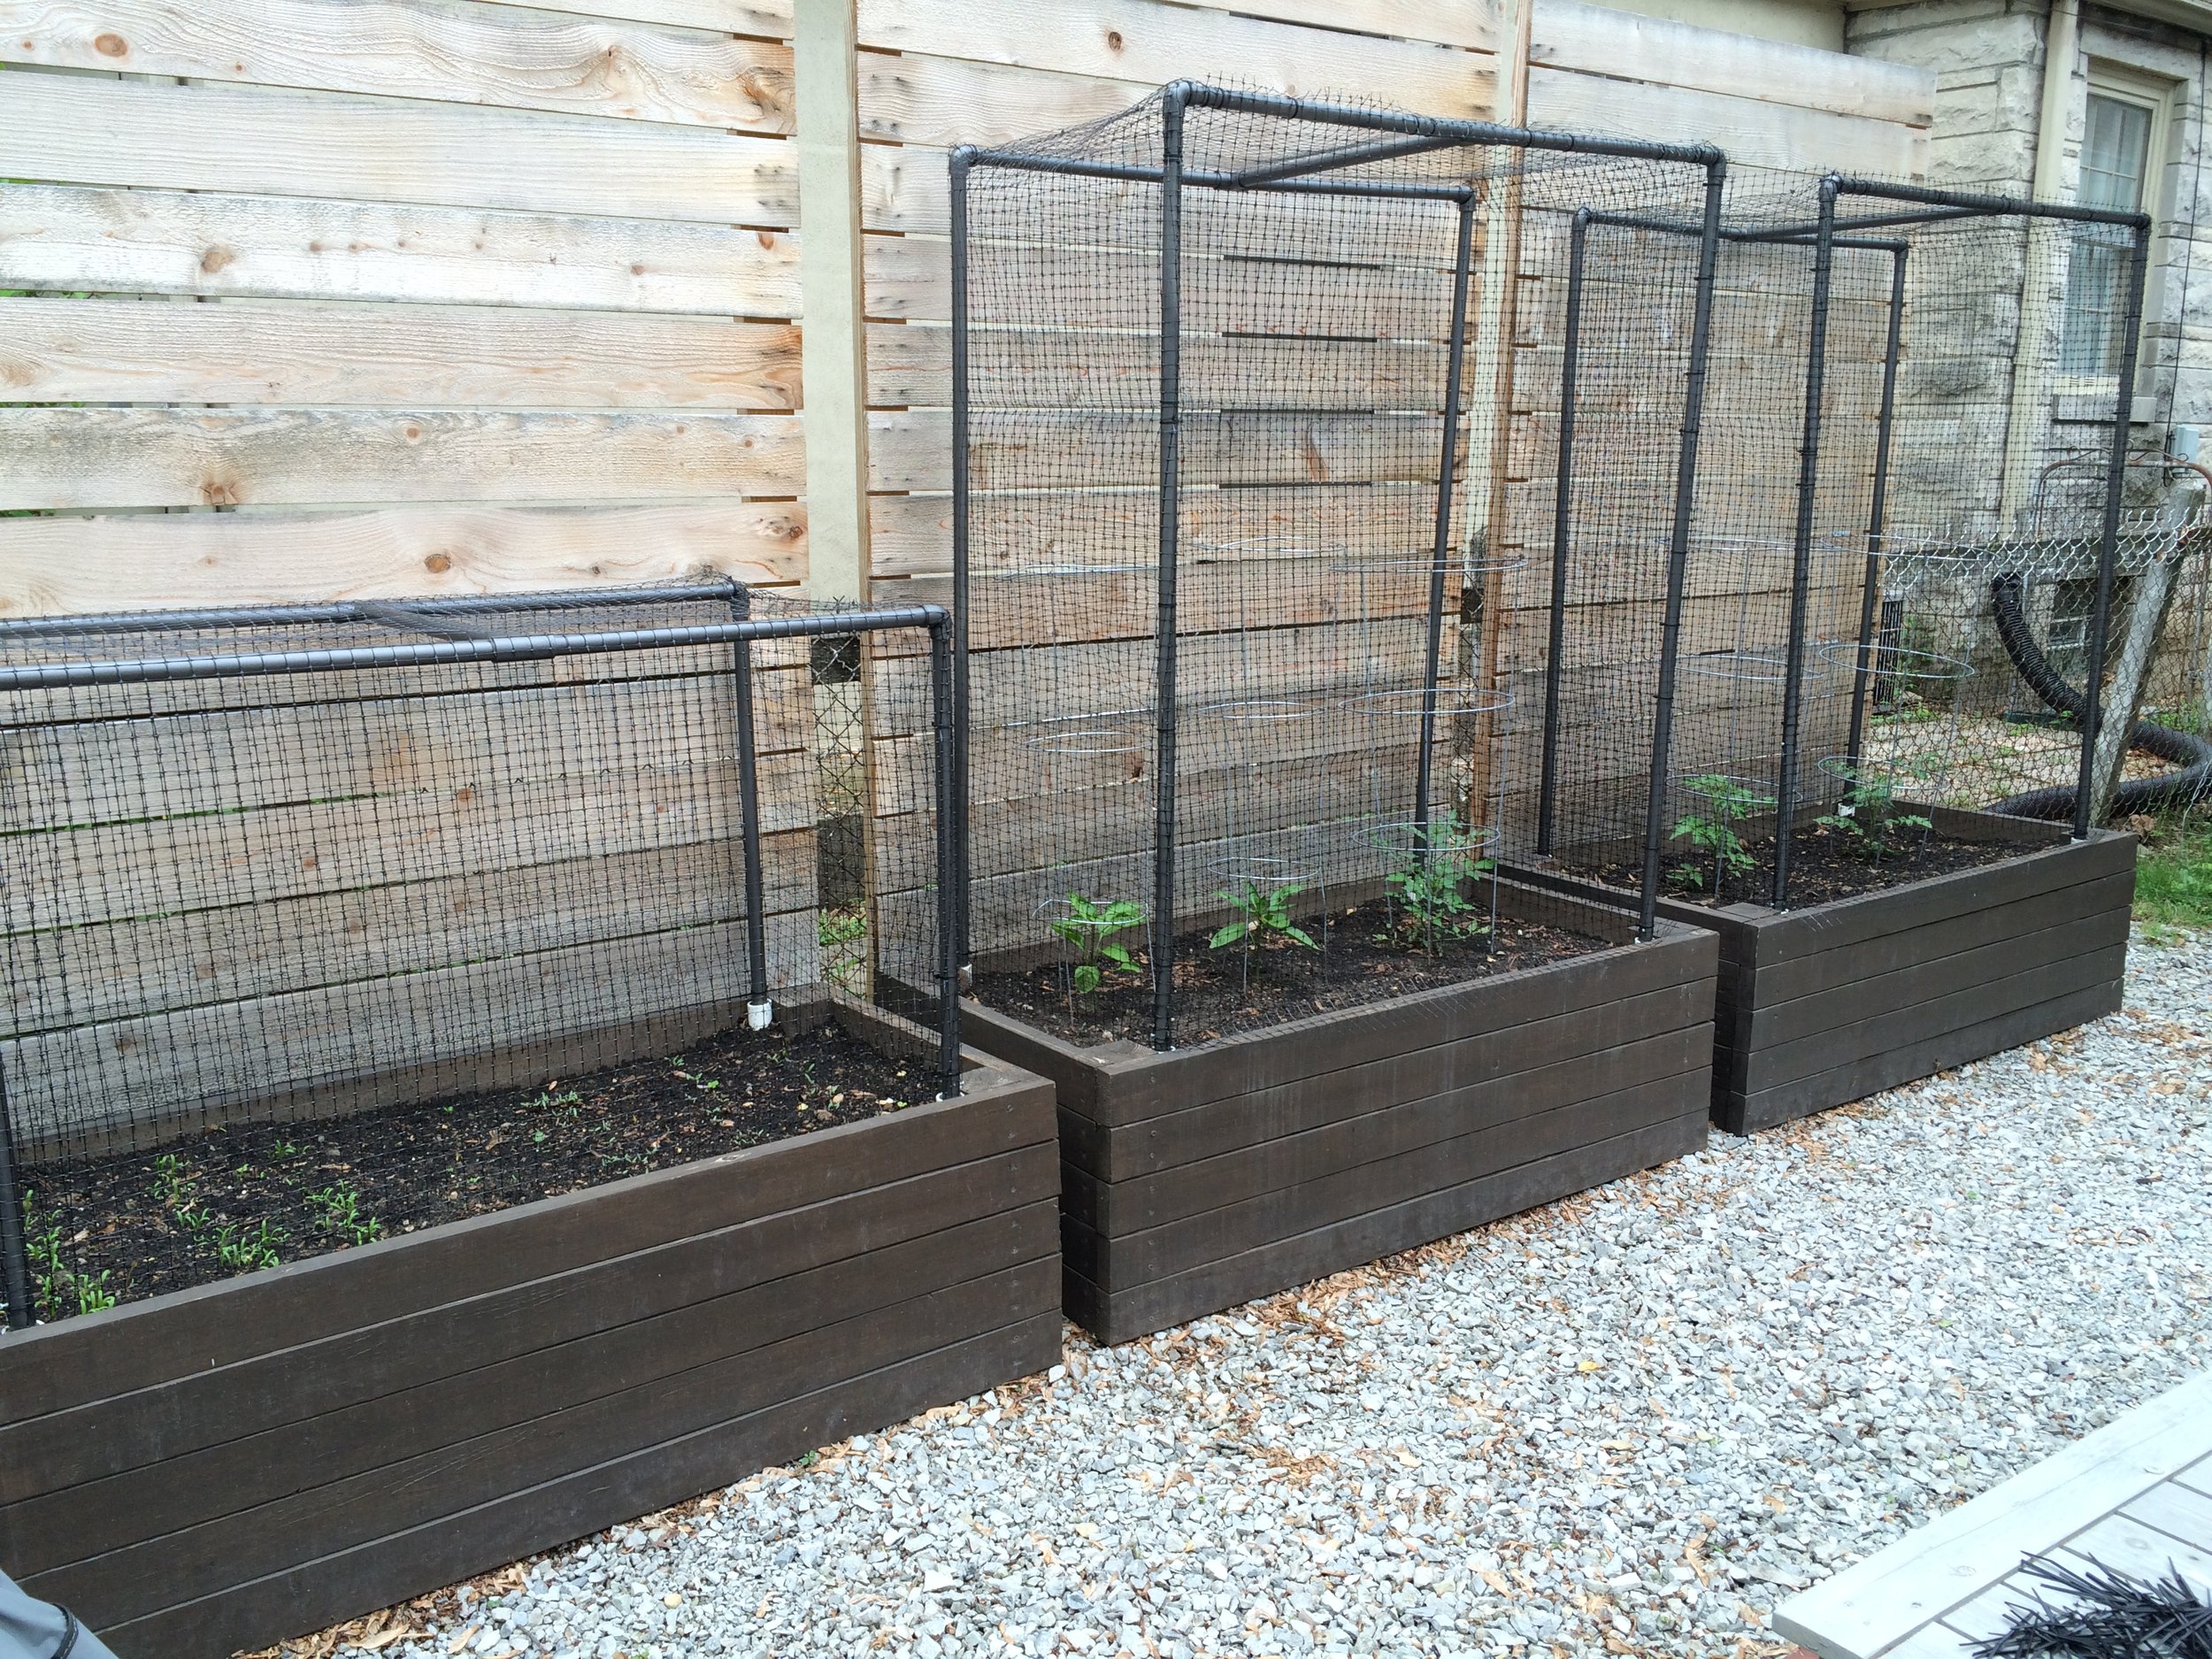
So this year, we decided to fight back with some cages! We built full-surround cages to protect every last veggie - at least that's the goal. *Fingers crossed!* Here's what we did...
Supplies
*Supplies for (1) 4' x 5' cage.
- (1/cage) 1" x 10' PVC - $2.97 each
- (3/cage) 3/4" x 10' PVC - $2.13 each
- (4/cage) 3/4" diameter 90-degree elbows - $0.30 each
- (2/cage) 3/4" diameter tee - $0.49 each
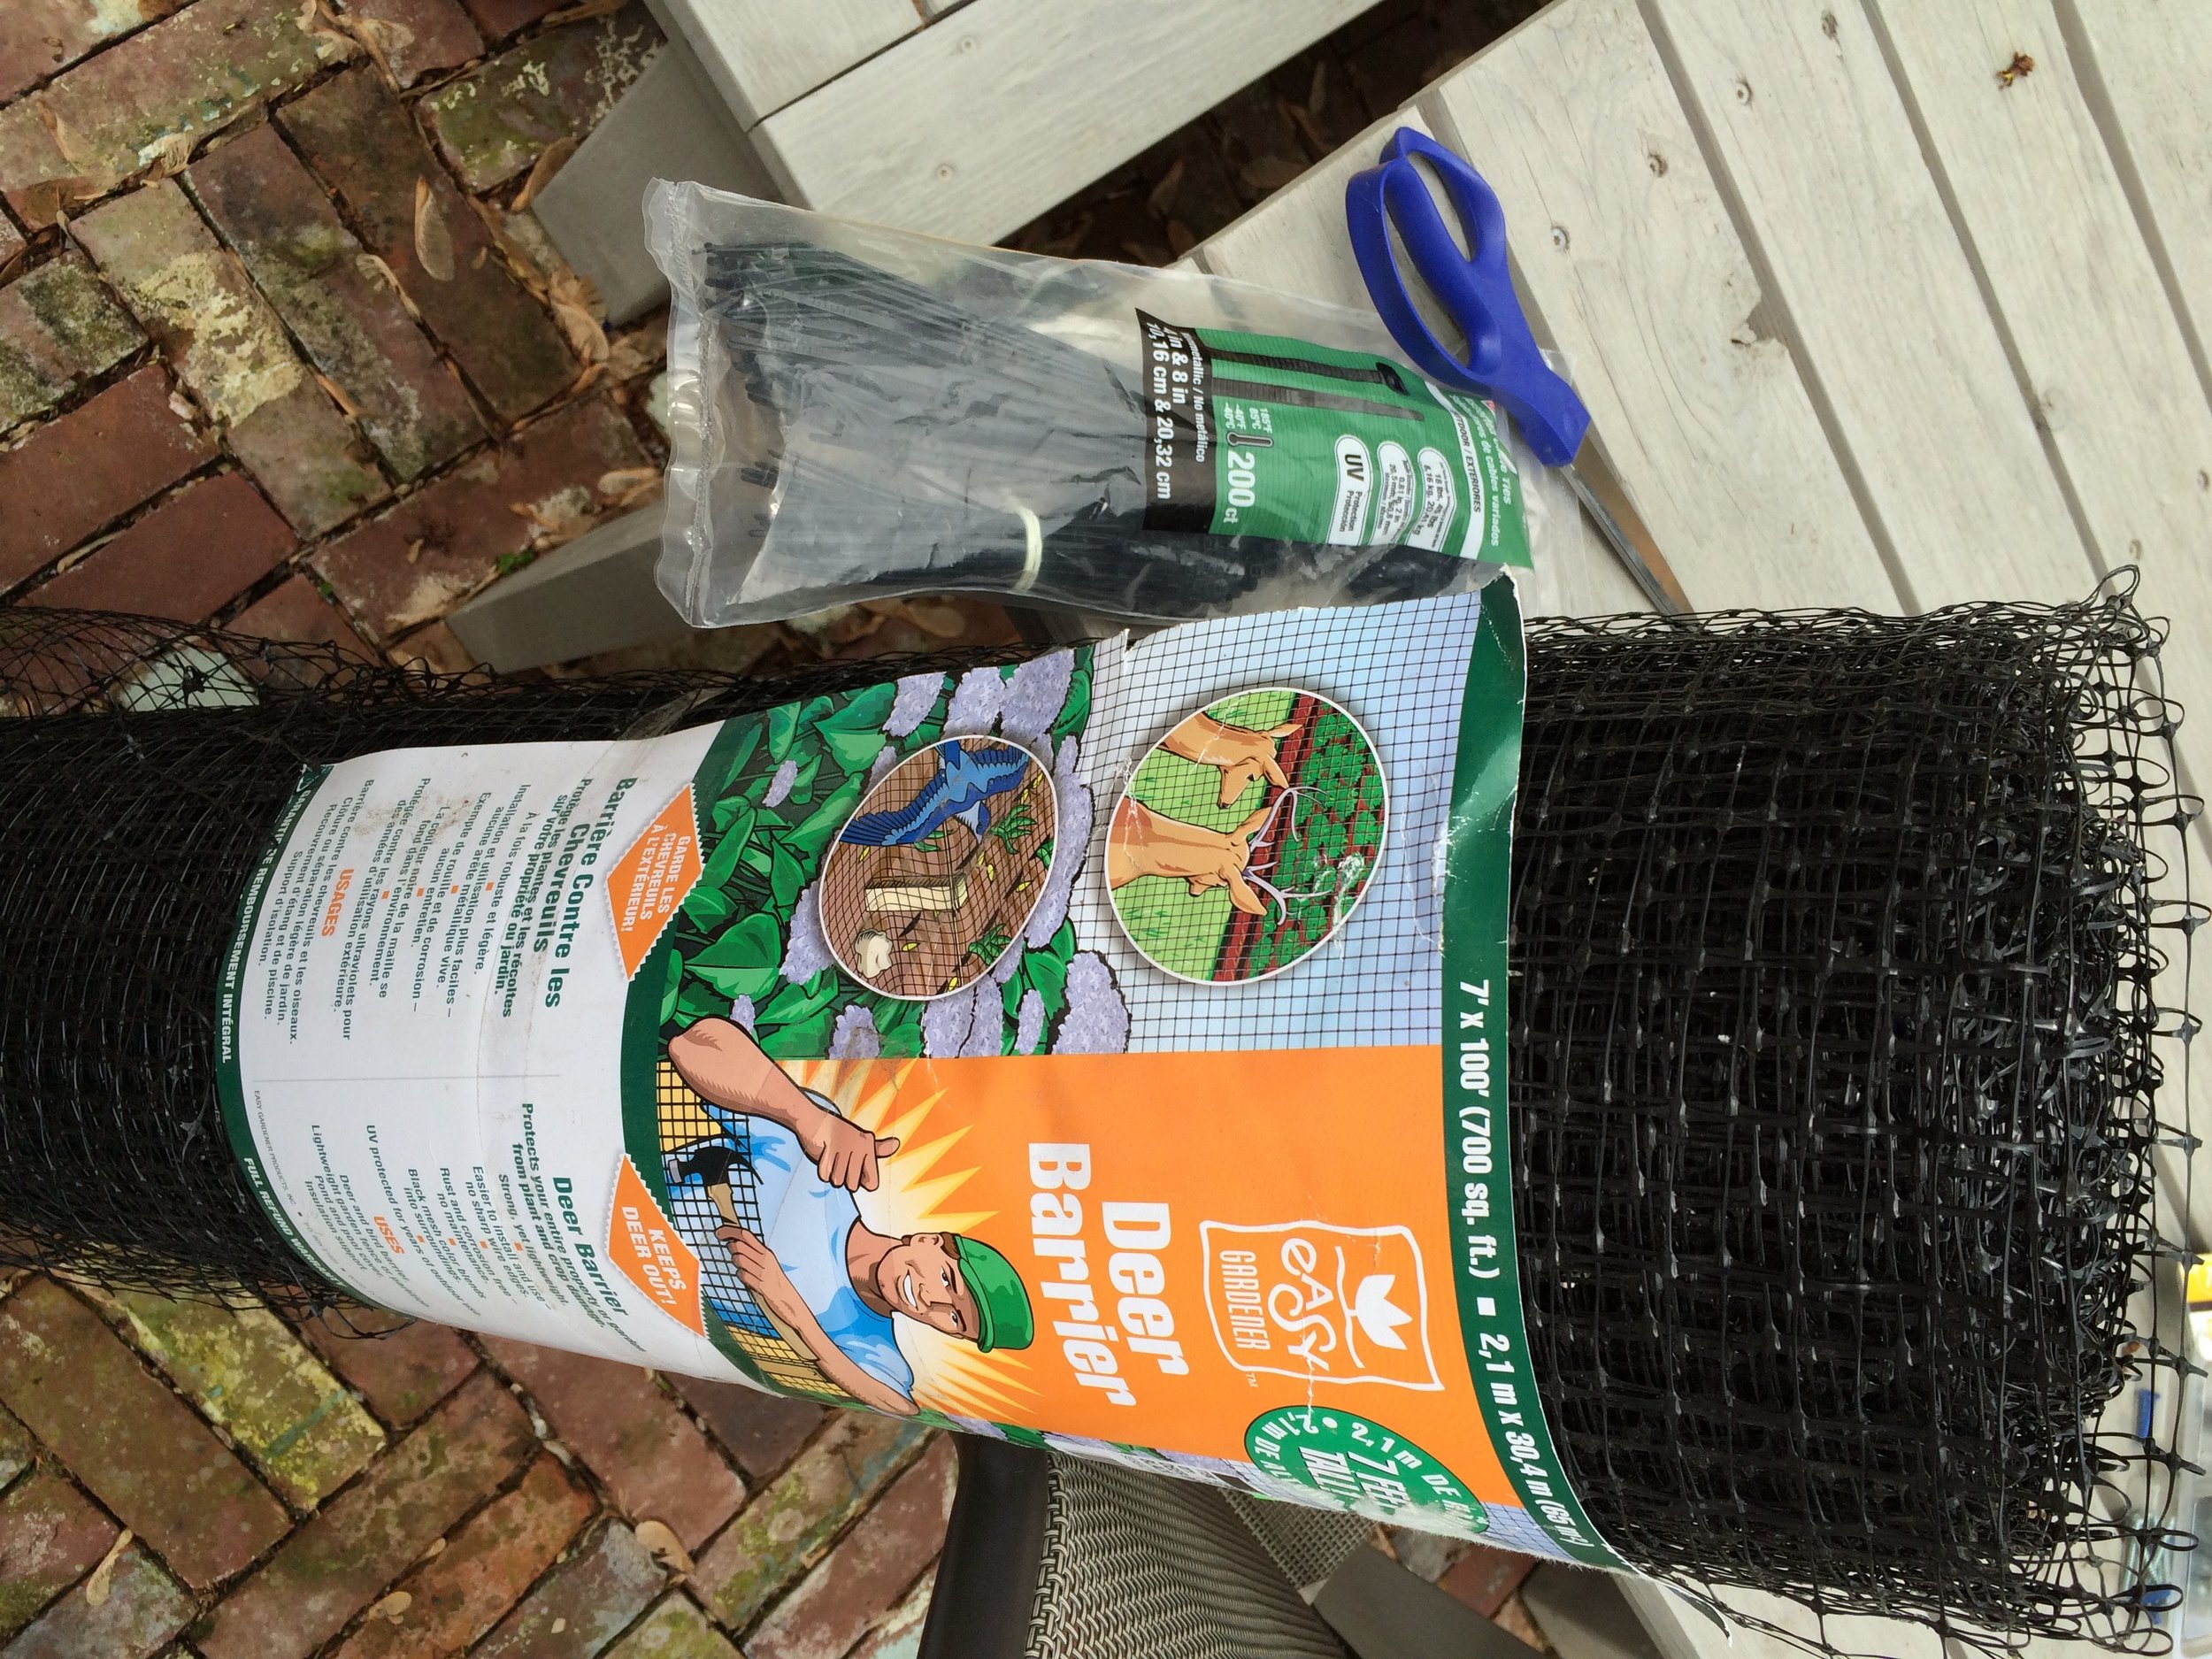
- 4" & 8" zip ties - $7.44
- Black plastic/polyresin deer fencing - $55.00
- (2 cans) Spray Paint - $6.88
- (4) 1" screws
- Scissors
- Measuring Tape
- Jigsaw
- Pencil
TOTAL COST: $87.74 + tax
**Please note, the zip ties and fencing would only need to be purchased once if you made multiple cages. We have TONS of each leftover after making 3 cages, so your total cost doesn't increase much after purchasing these items.
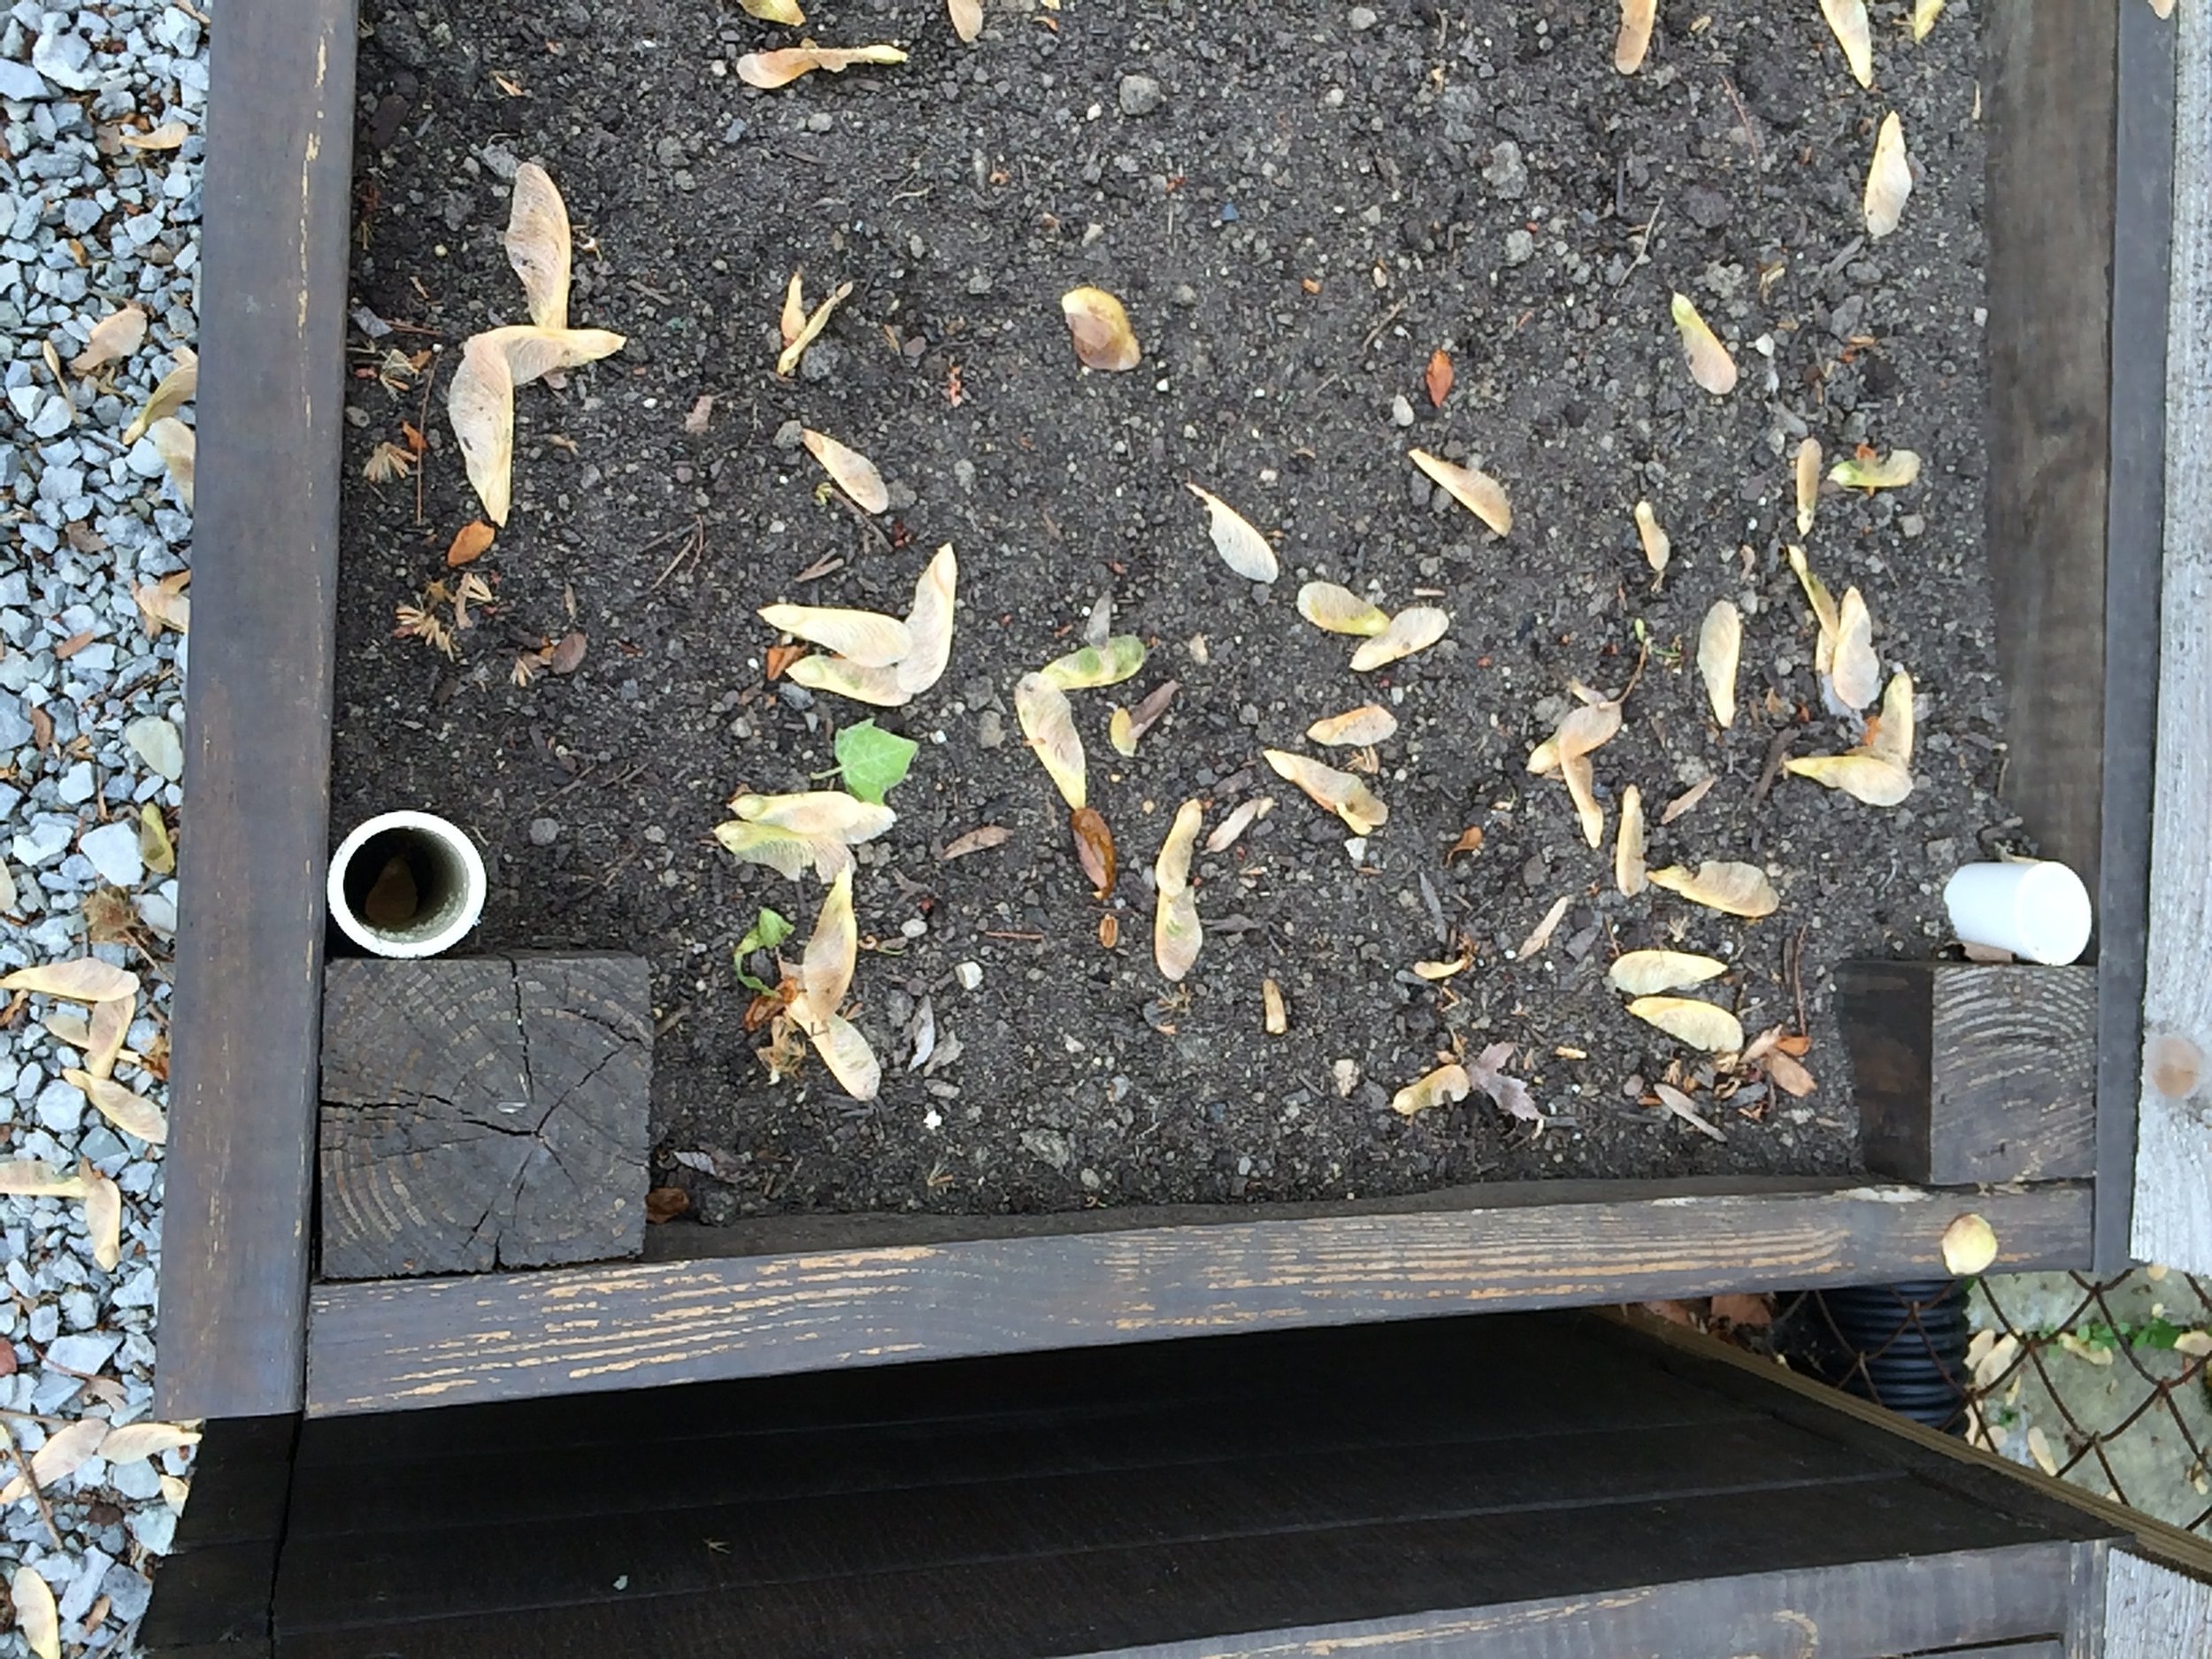
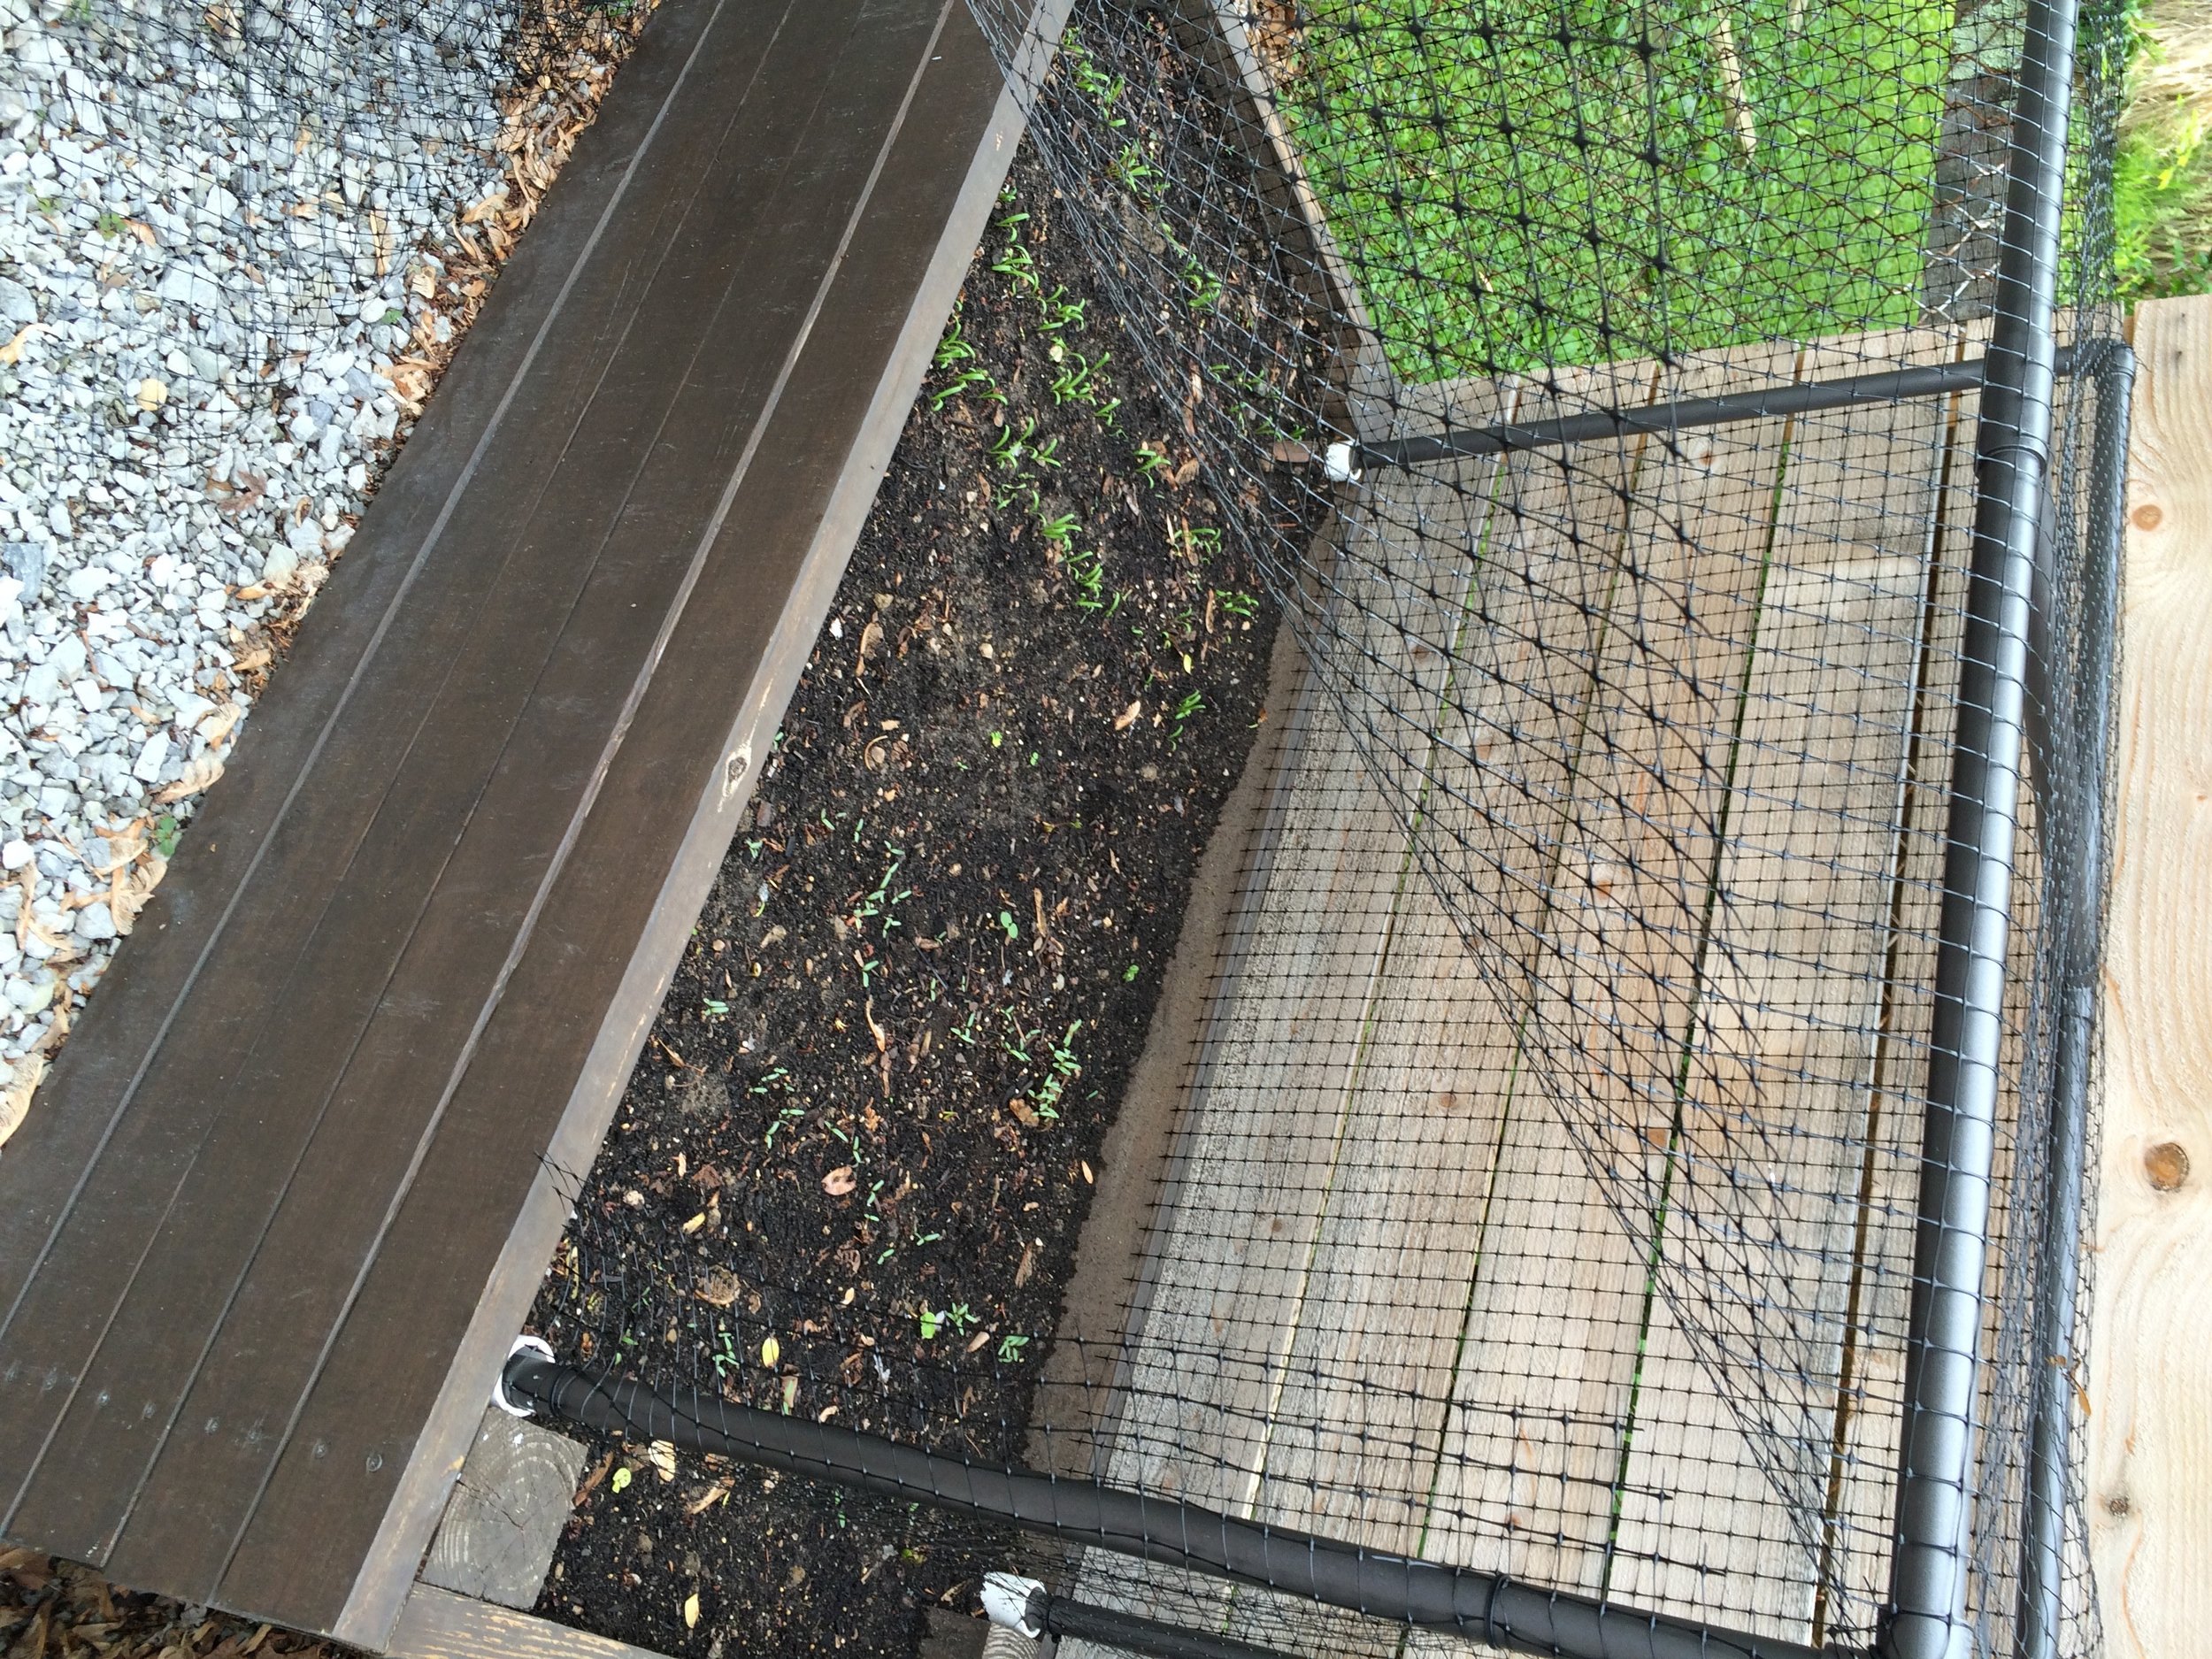
We started out with the 1" PVC pipes. Each was cut down to a 2' length and buried inside the existing raised beds. This would allow us to create a cage up top that could easily be lifted off the bed if/when necessary. The 1" diameter allows the 3/4" pipe to fit right inside.
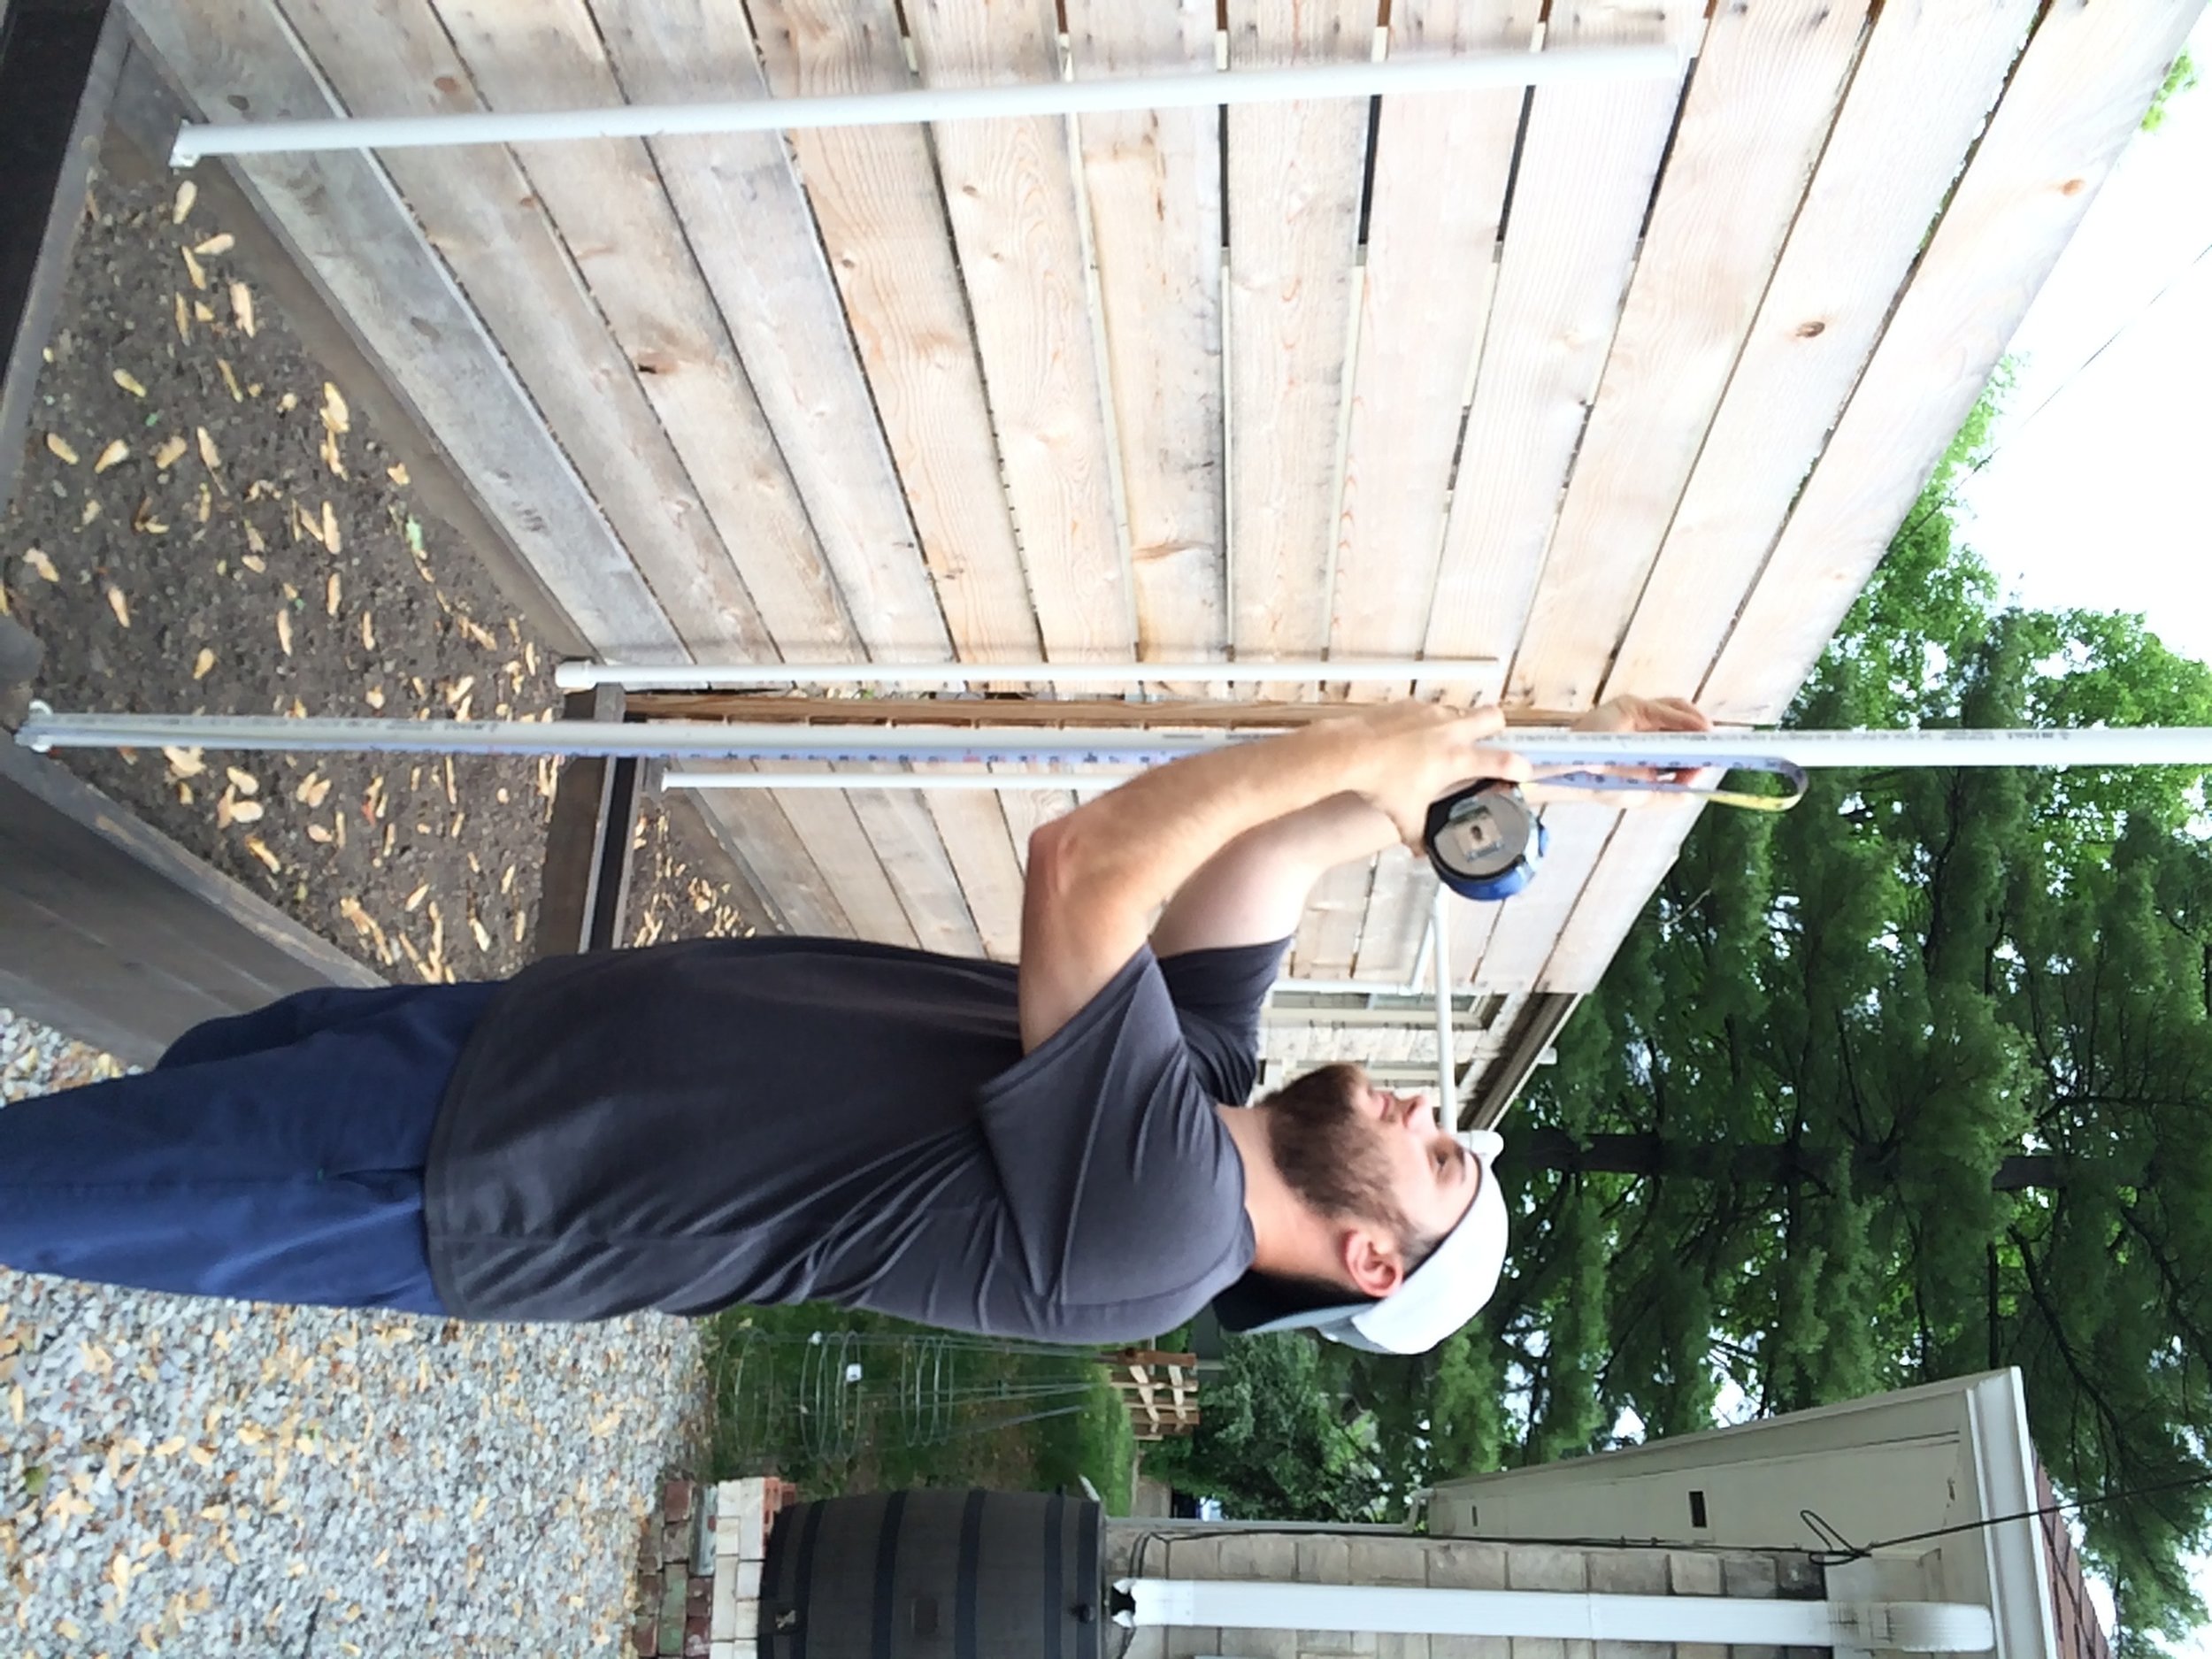
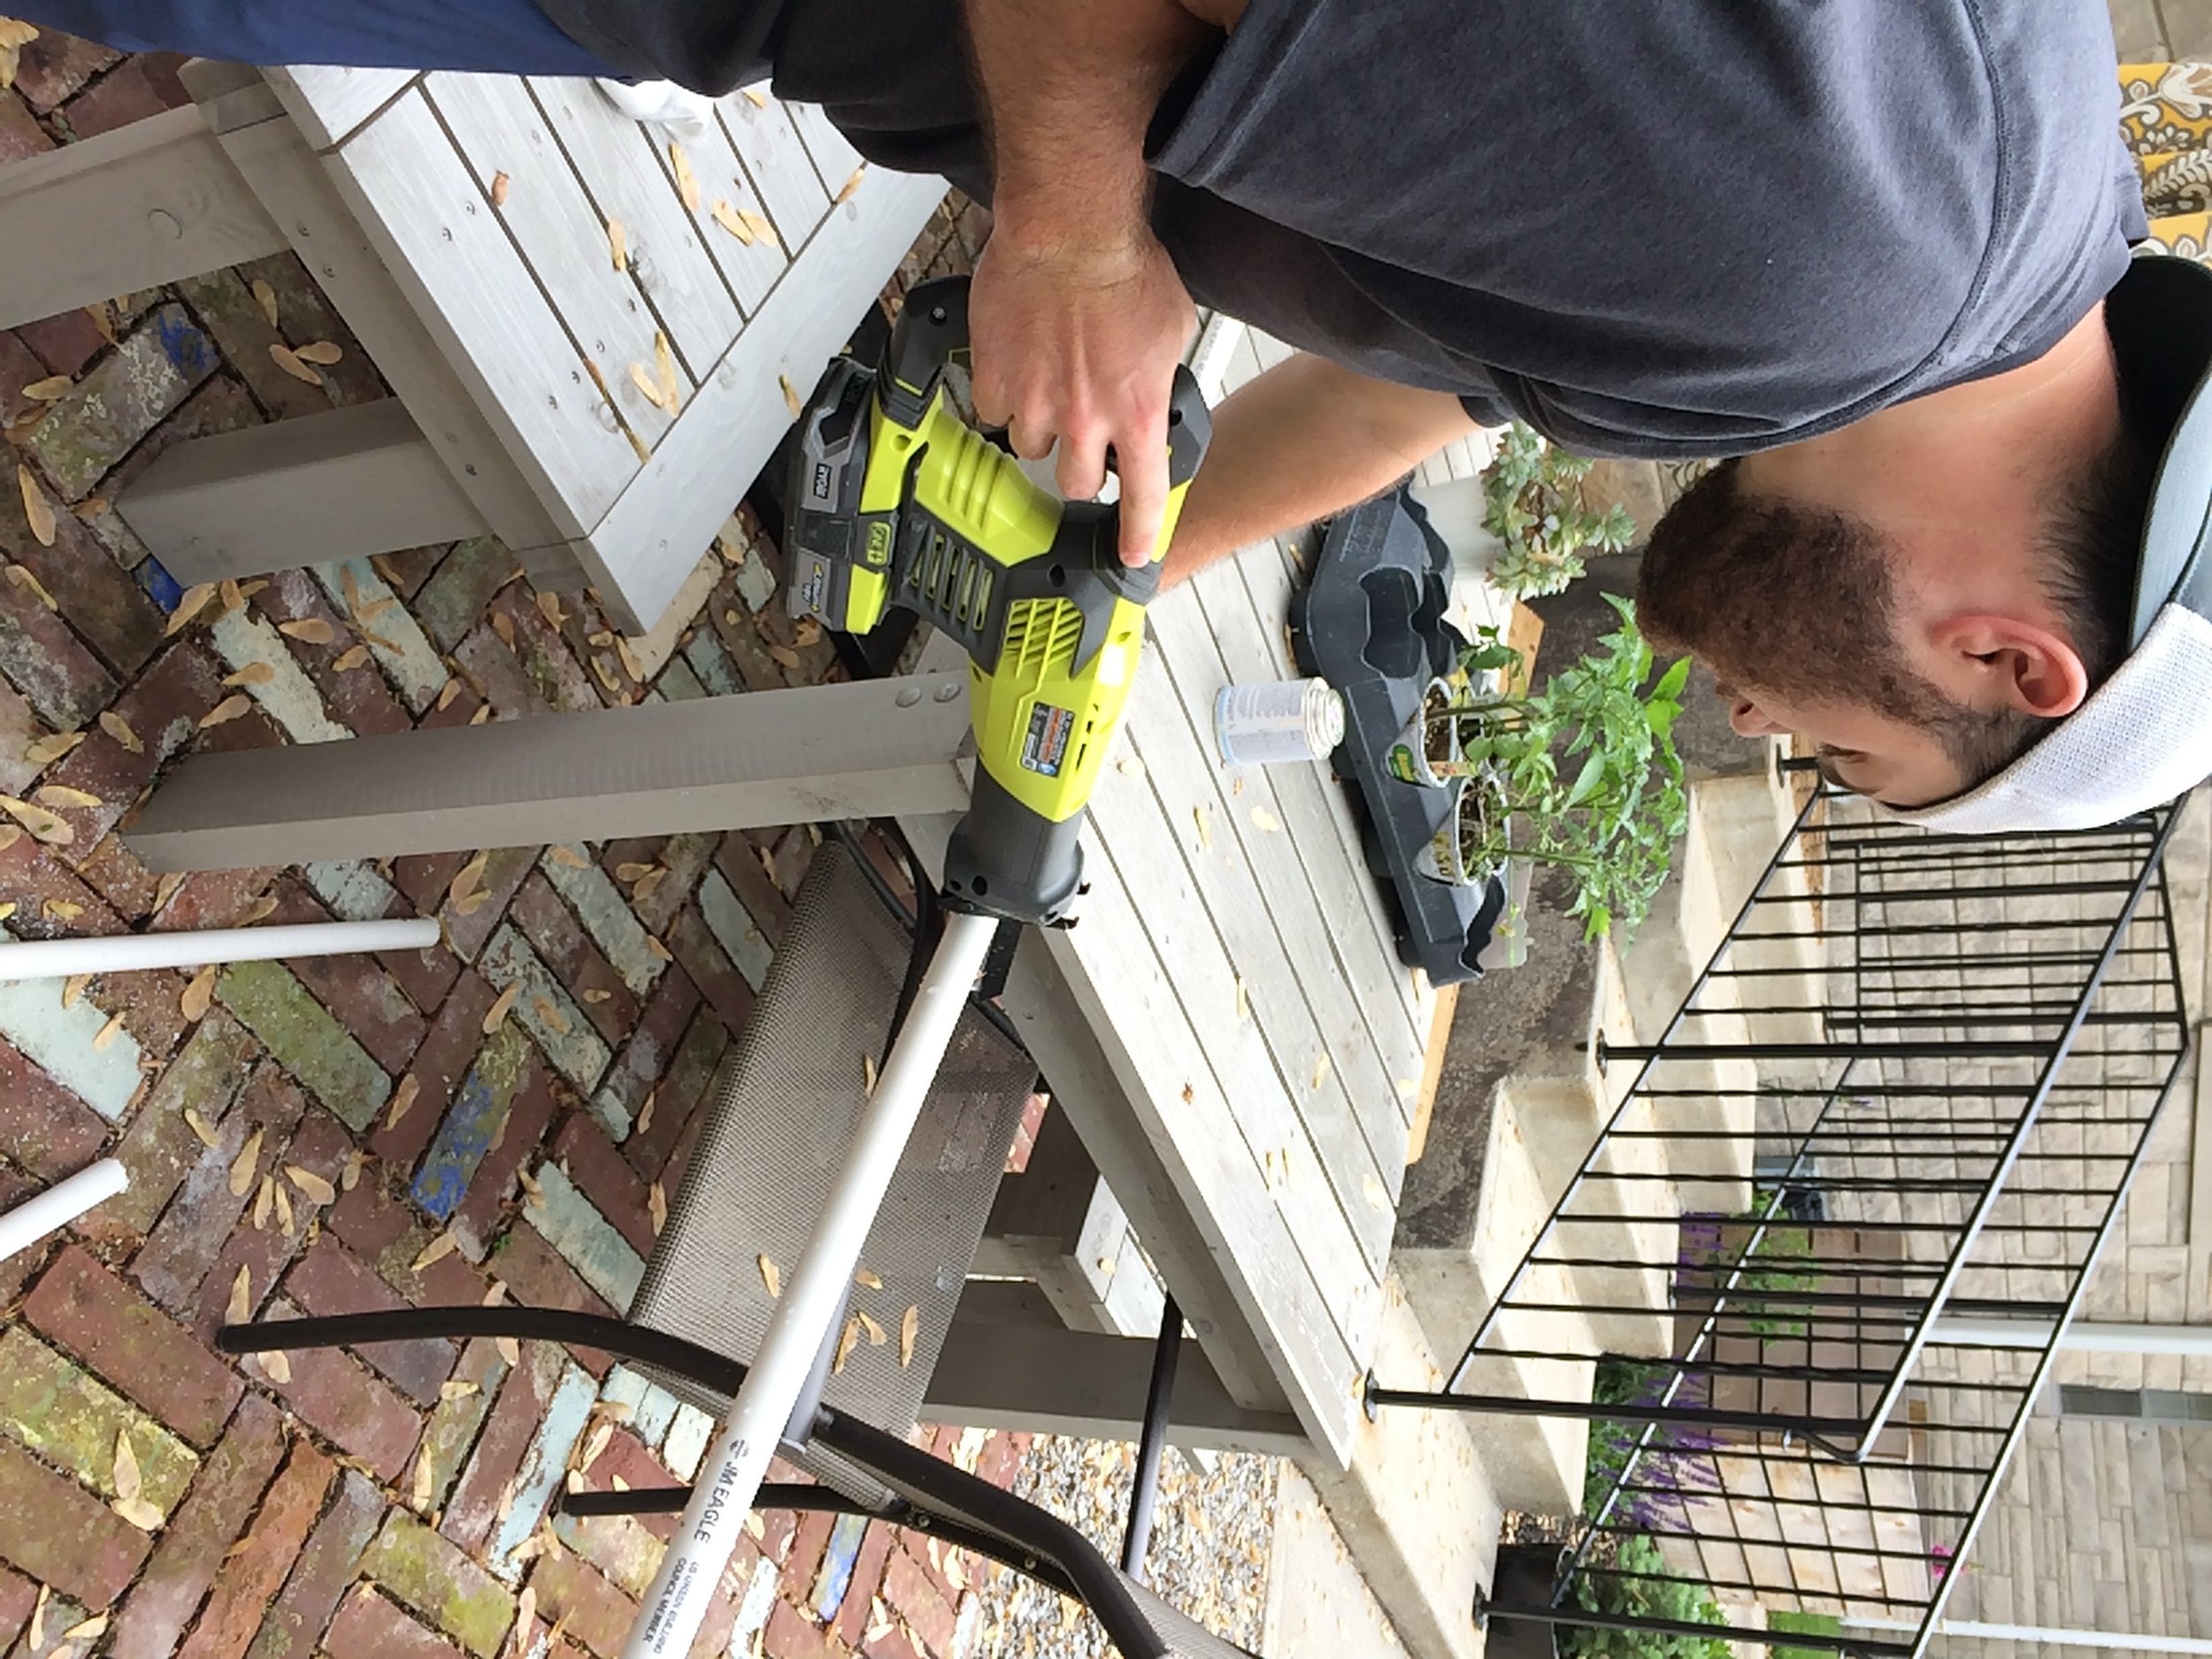
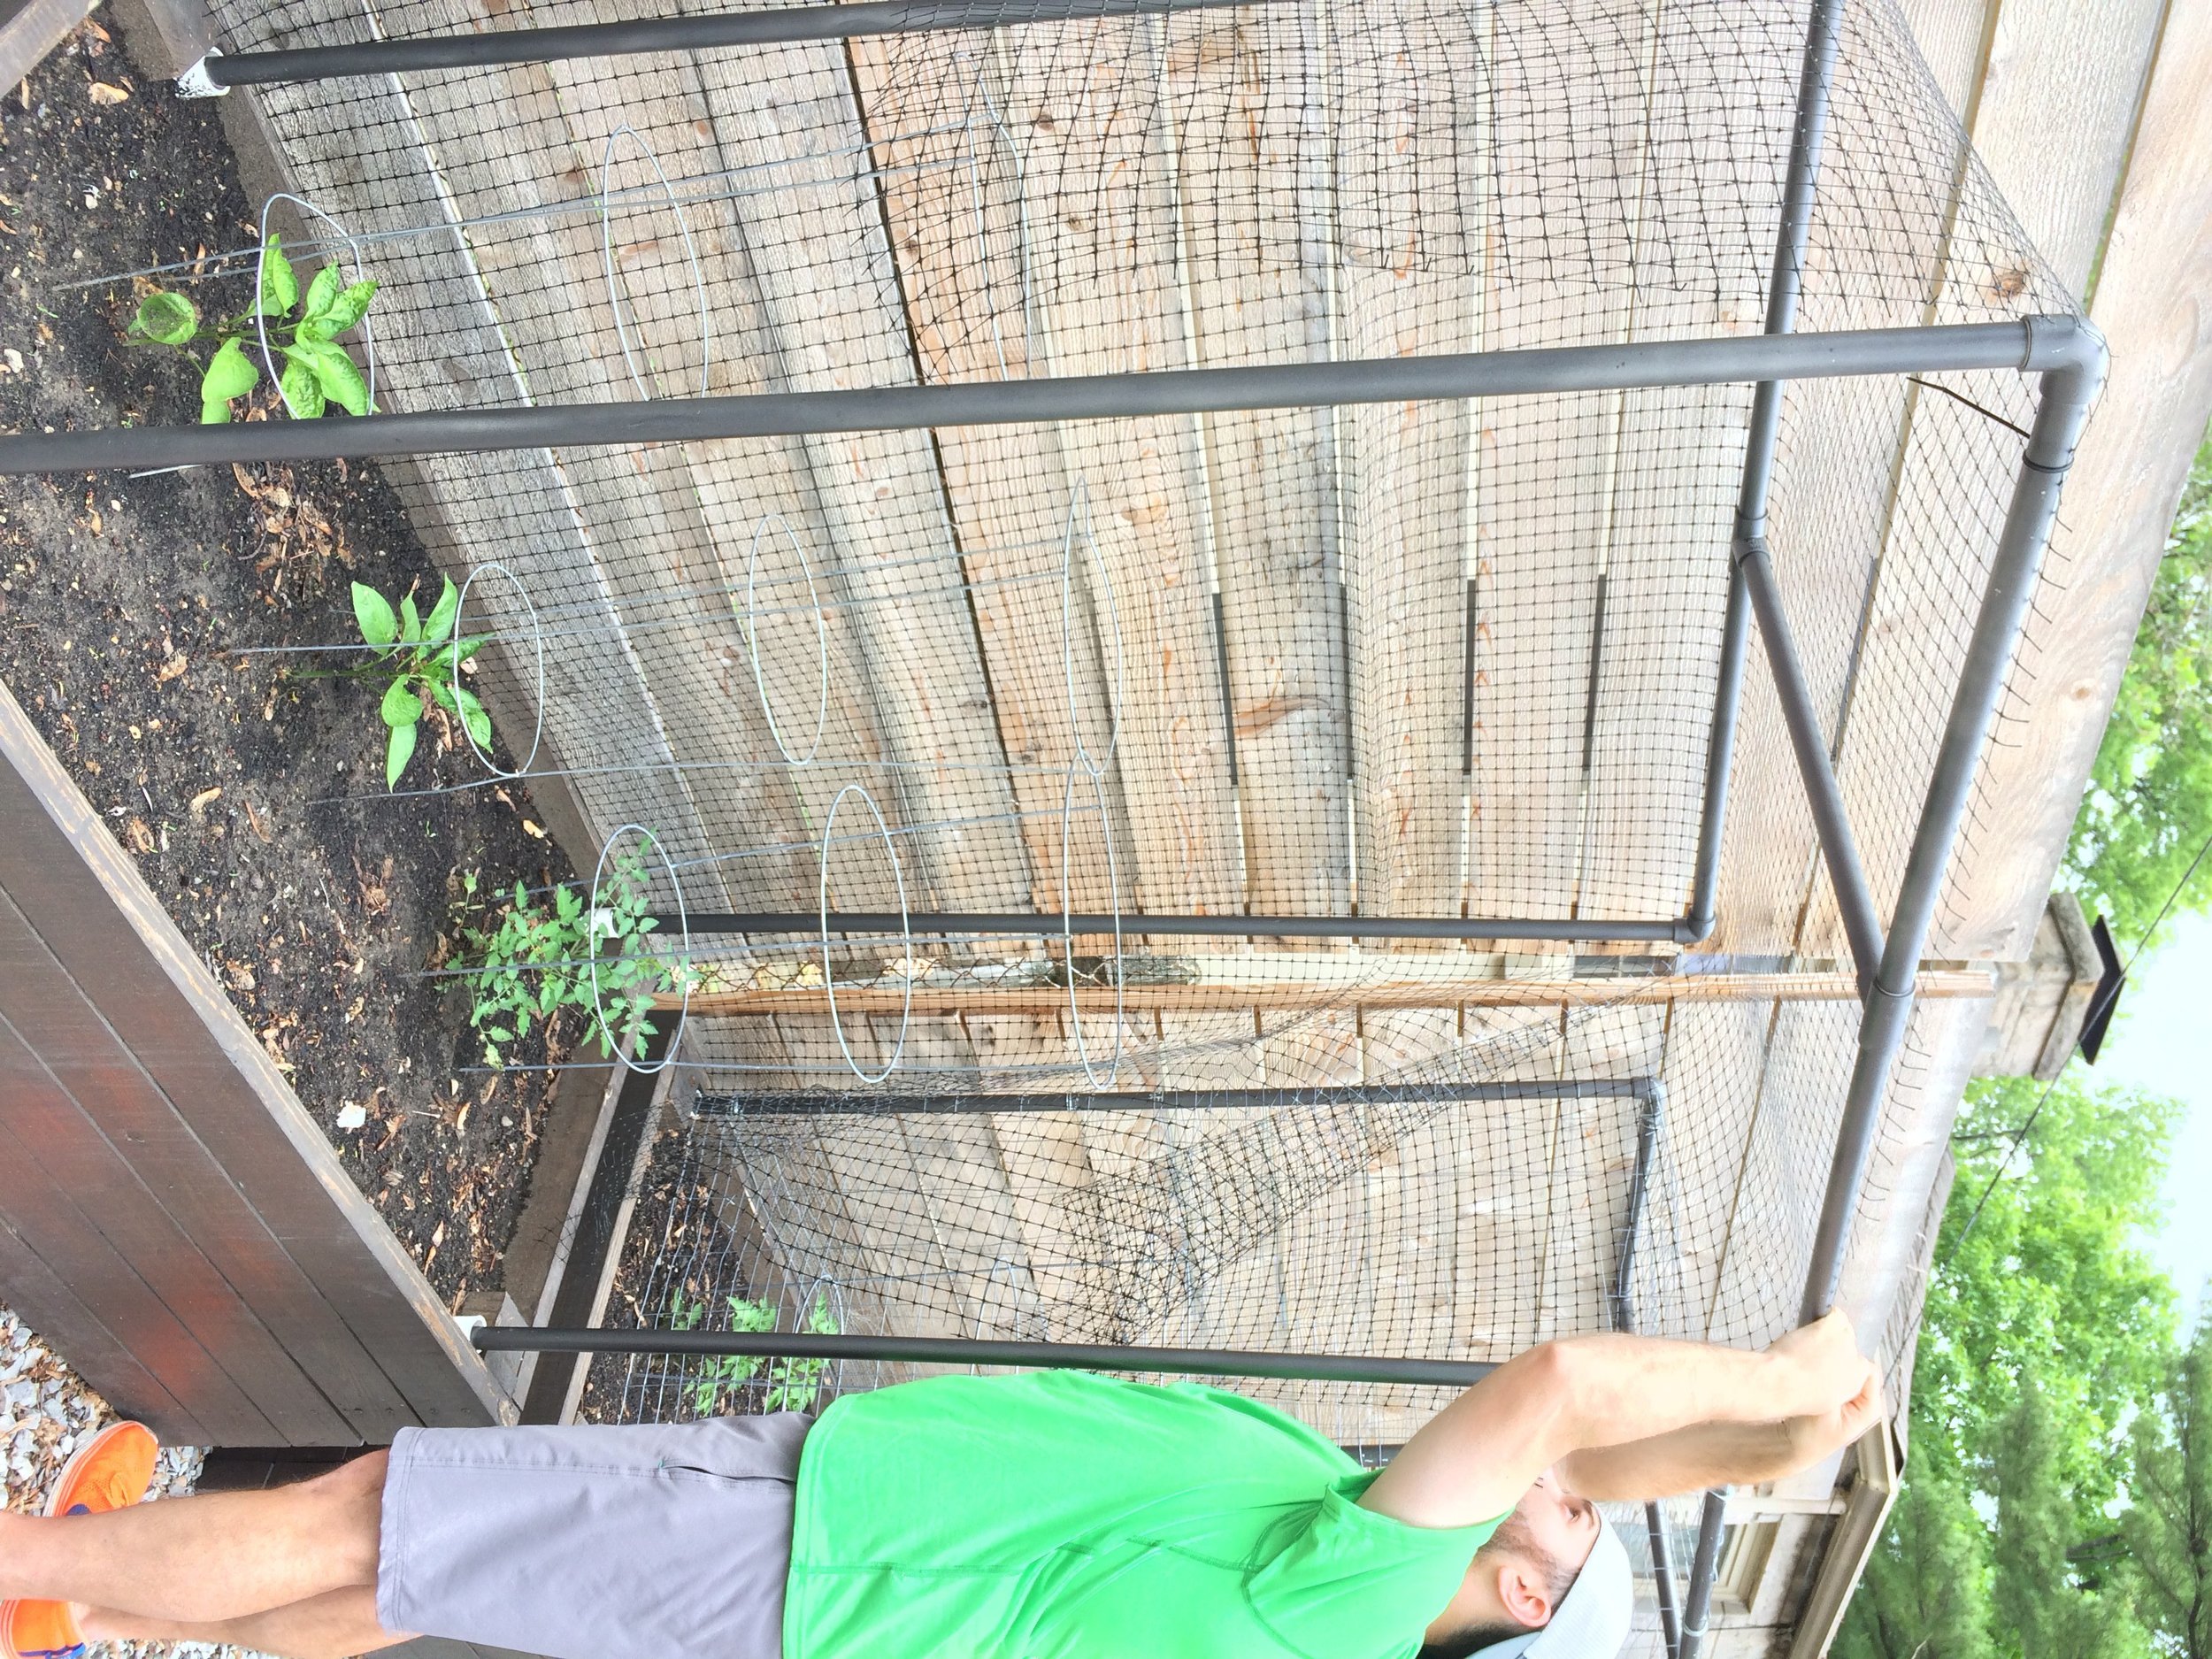
Next up, Tyler measured each 3/4" pipe and cut with his jigsaw. Our cage is ~5' tall (7' total).
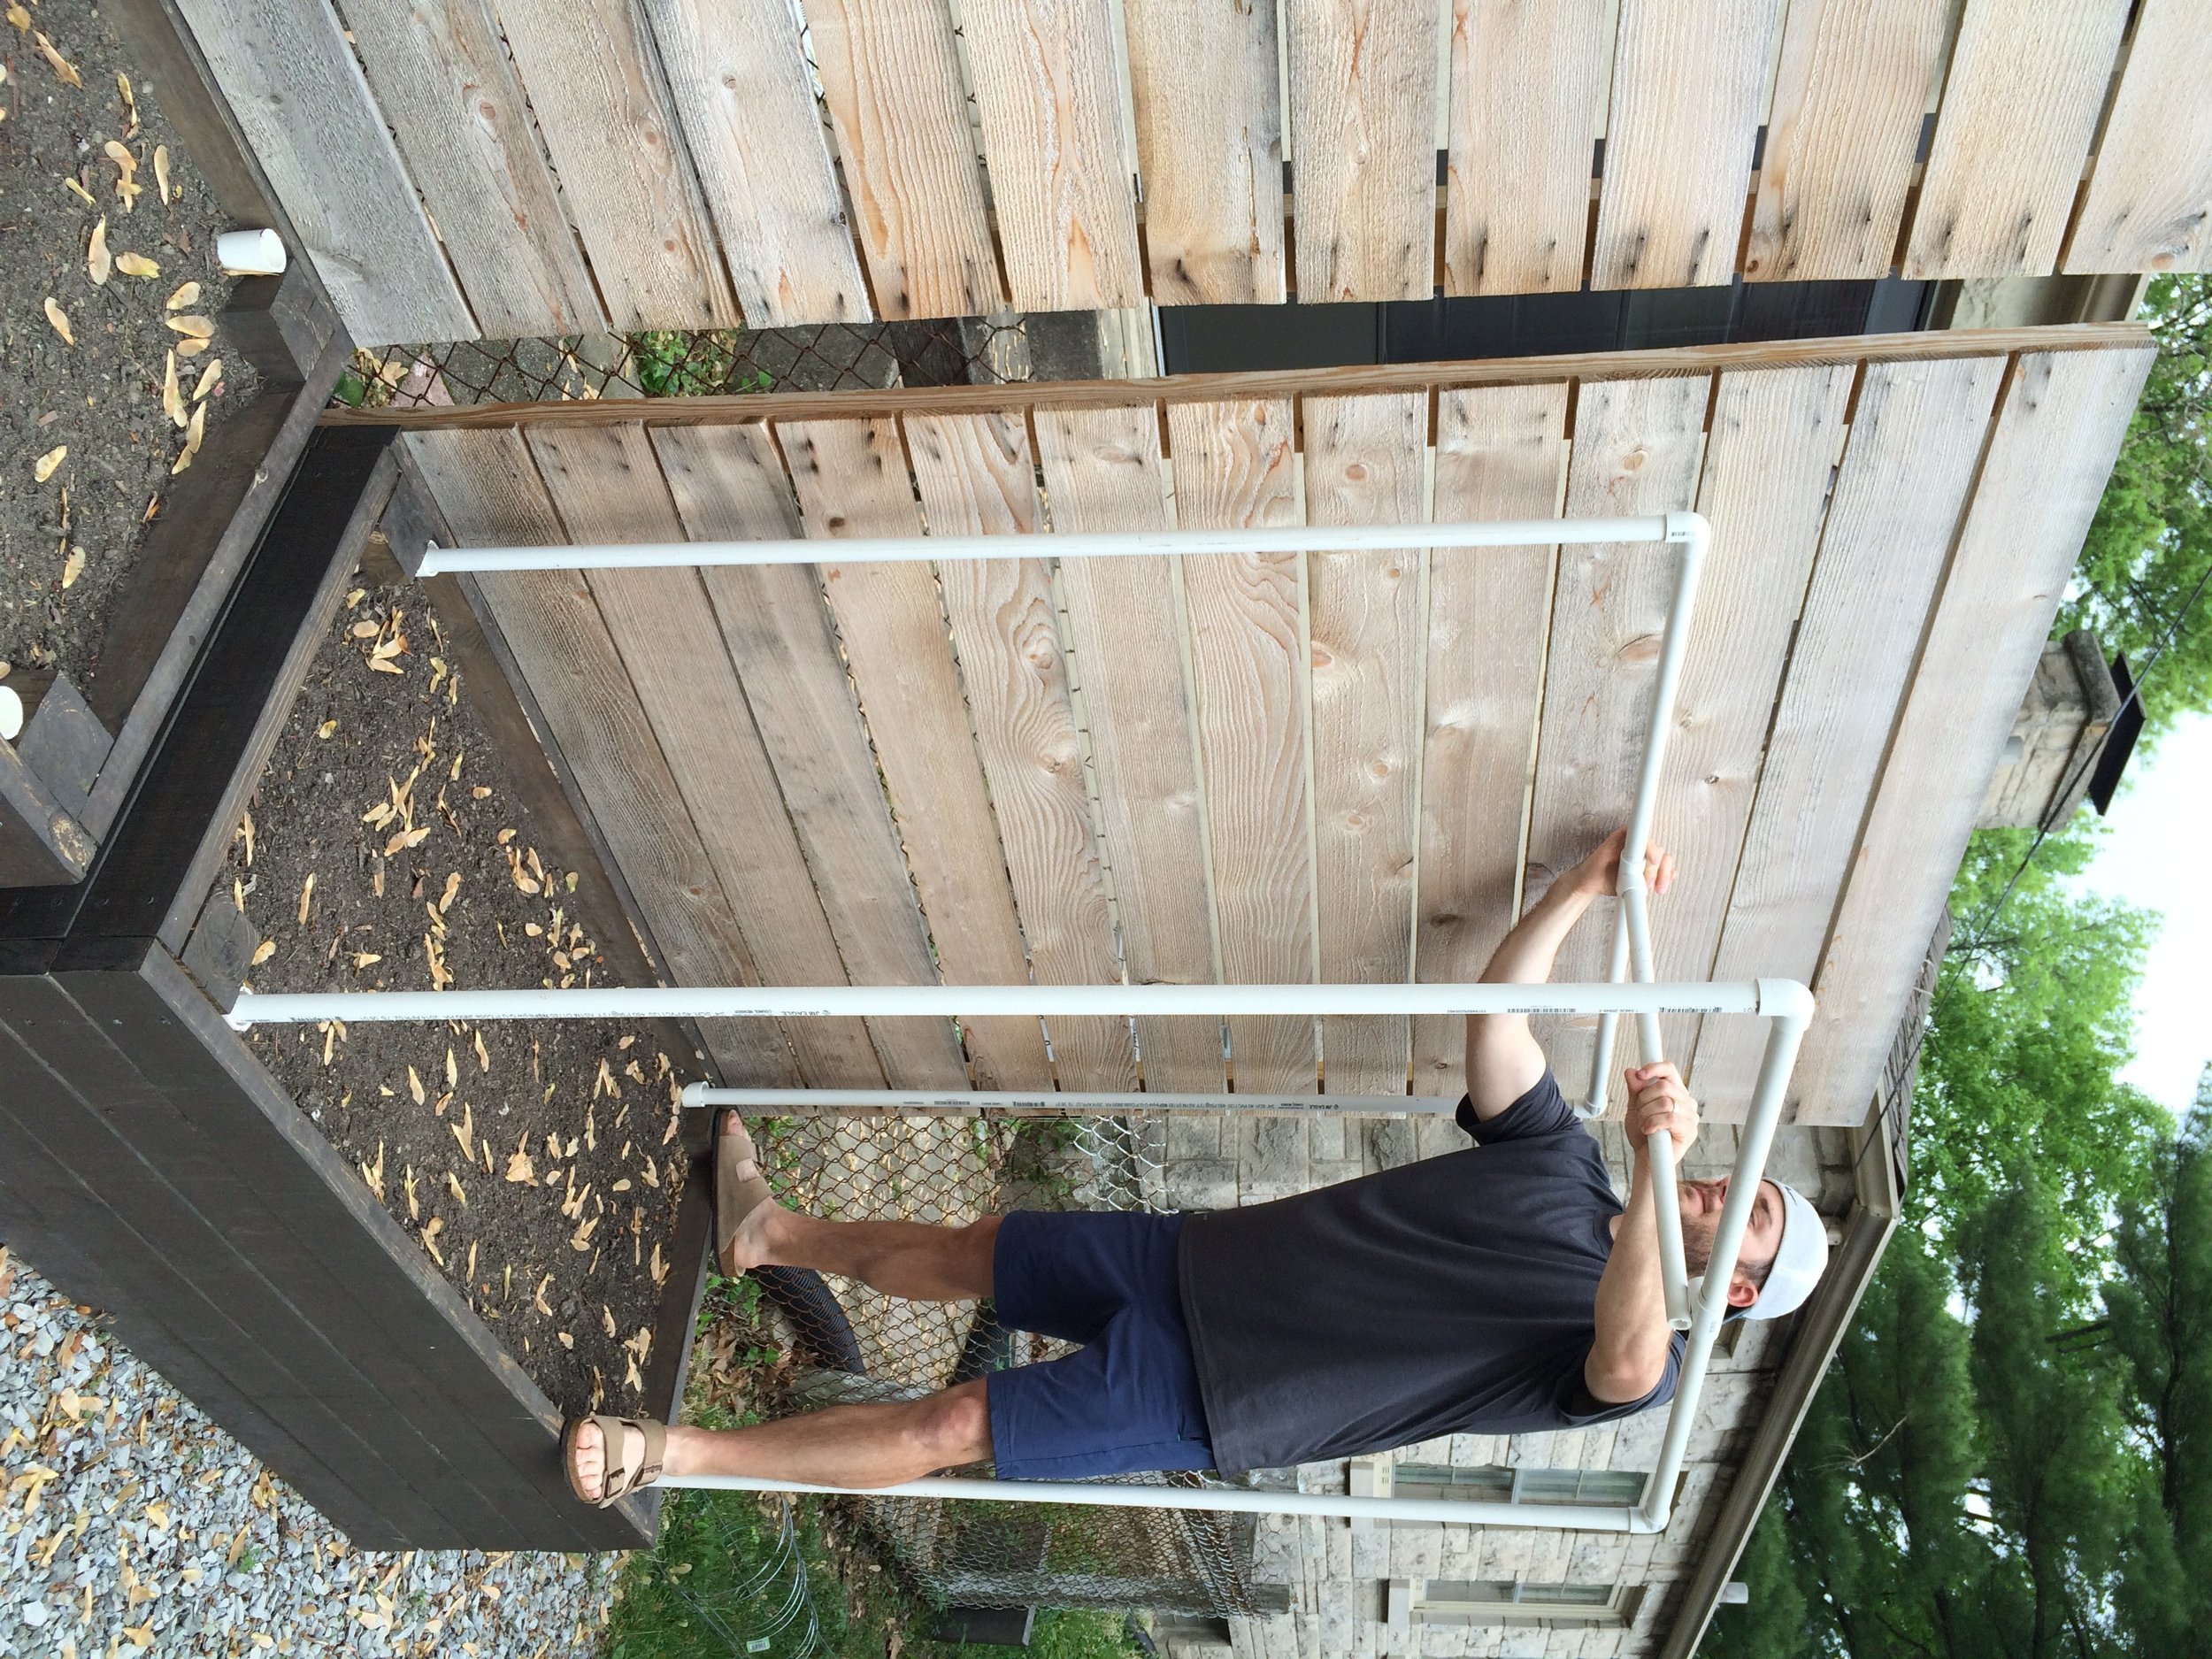
We then assembled all of the pieces by using elbow joints at the corners and tee's in the middle for support. We considered gluing all of the joints together, but the structure seems pretty sturdy as-is. We may do so down the line, but so far so good.
After everything was assembled, we lifted them out of their slots and over to the grass for a little spray paint.
After everything was dry, it was carried back over and slid into place. Looking good!
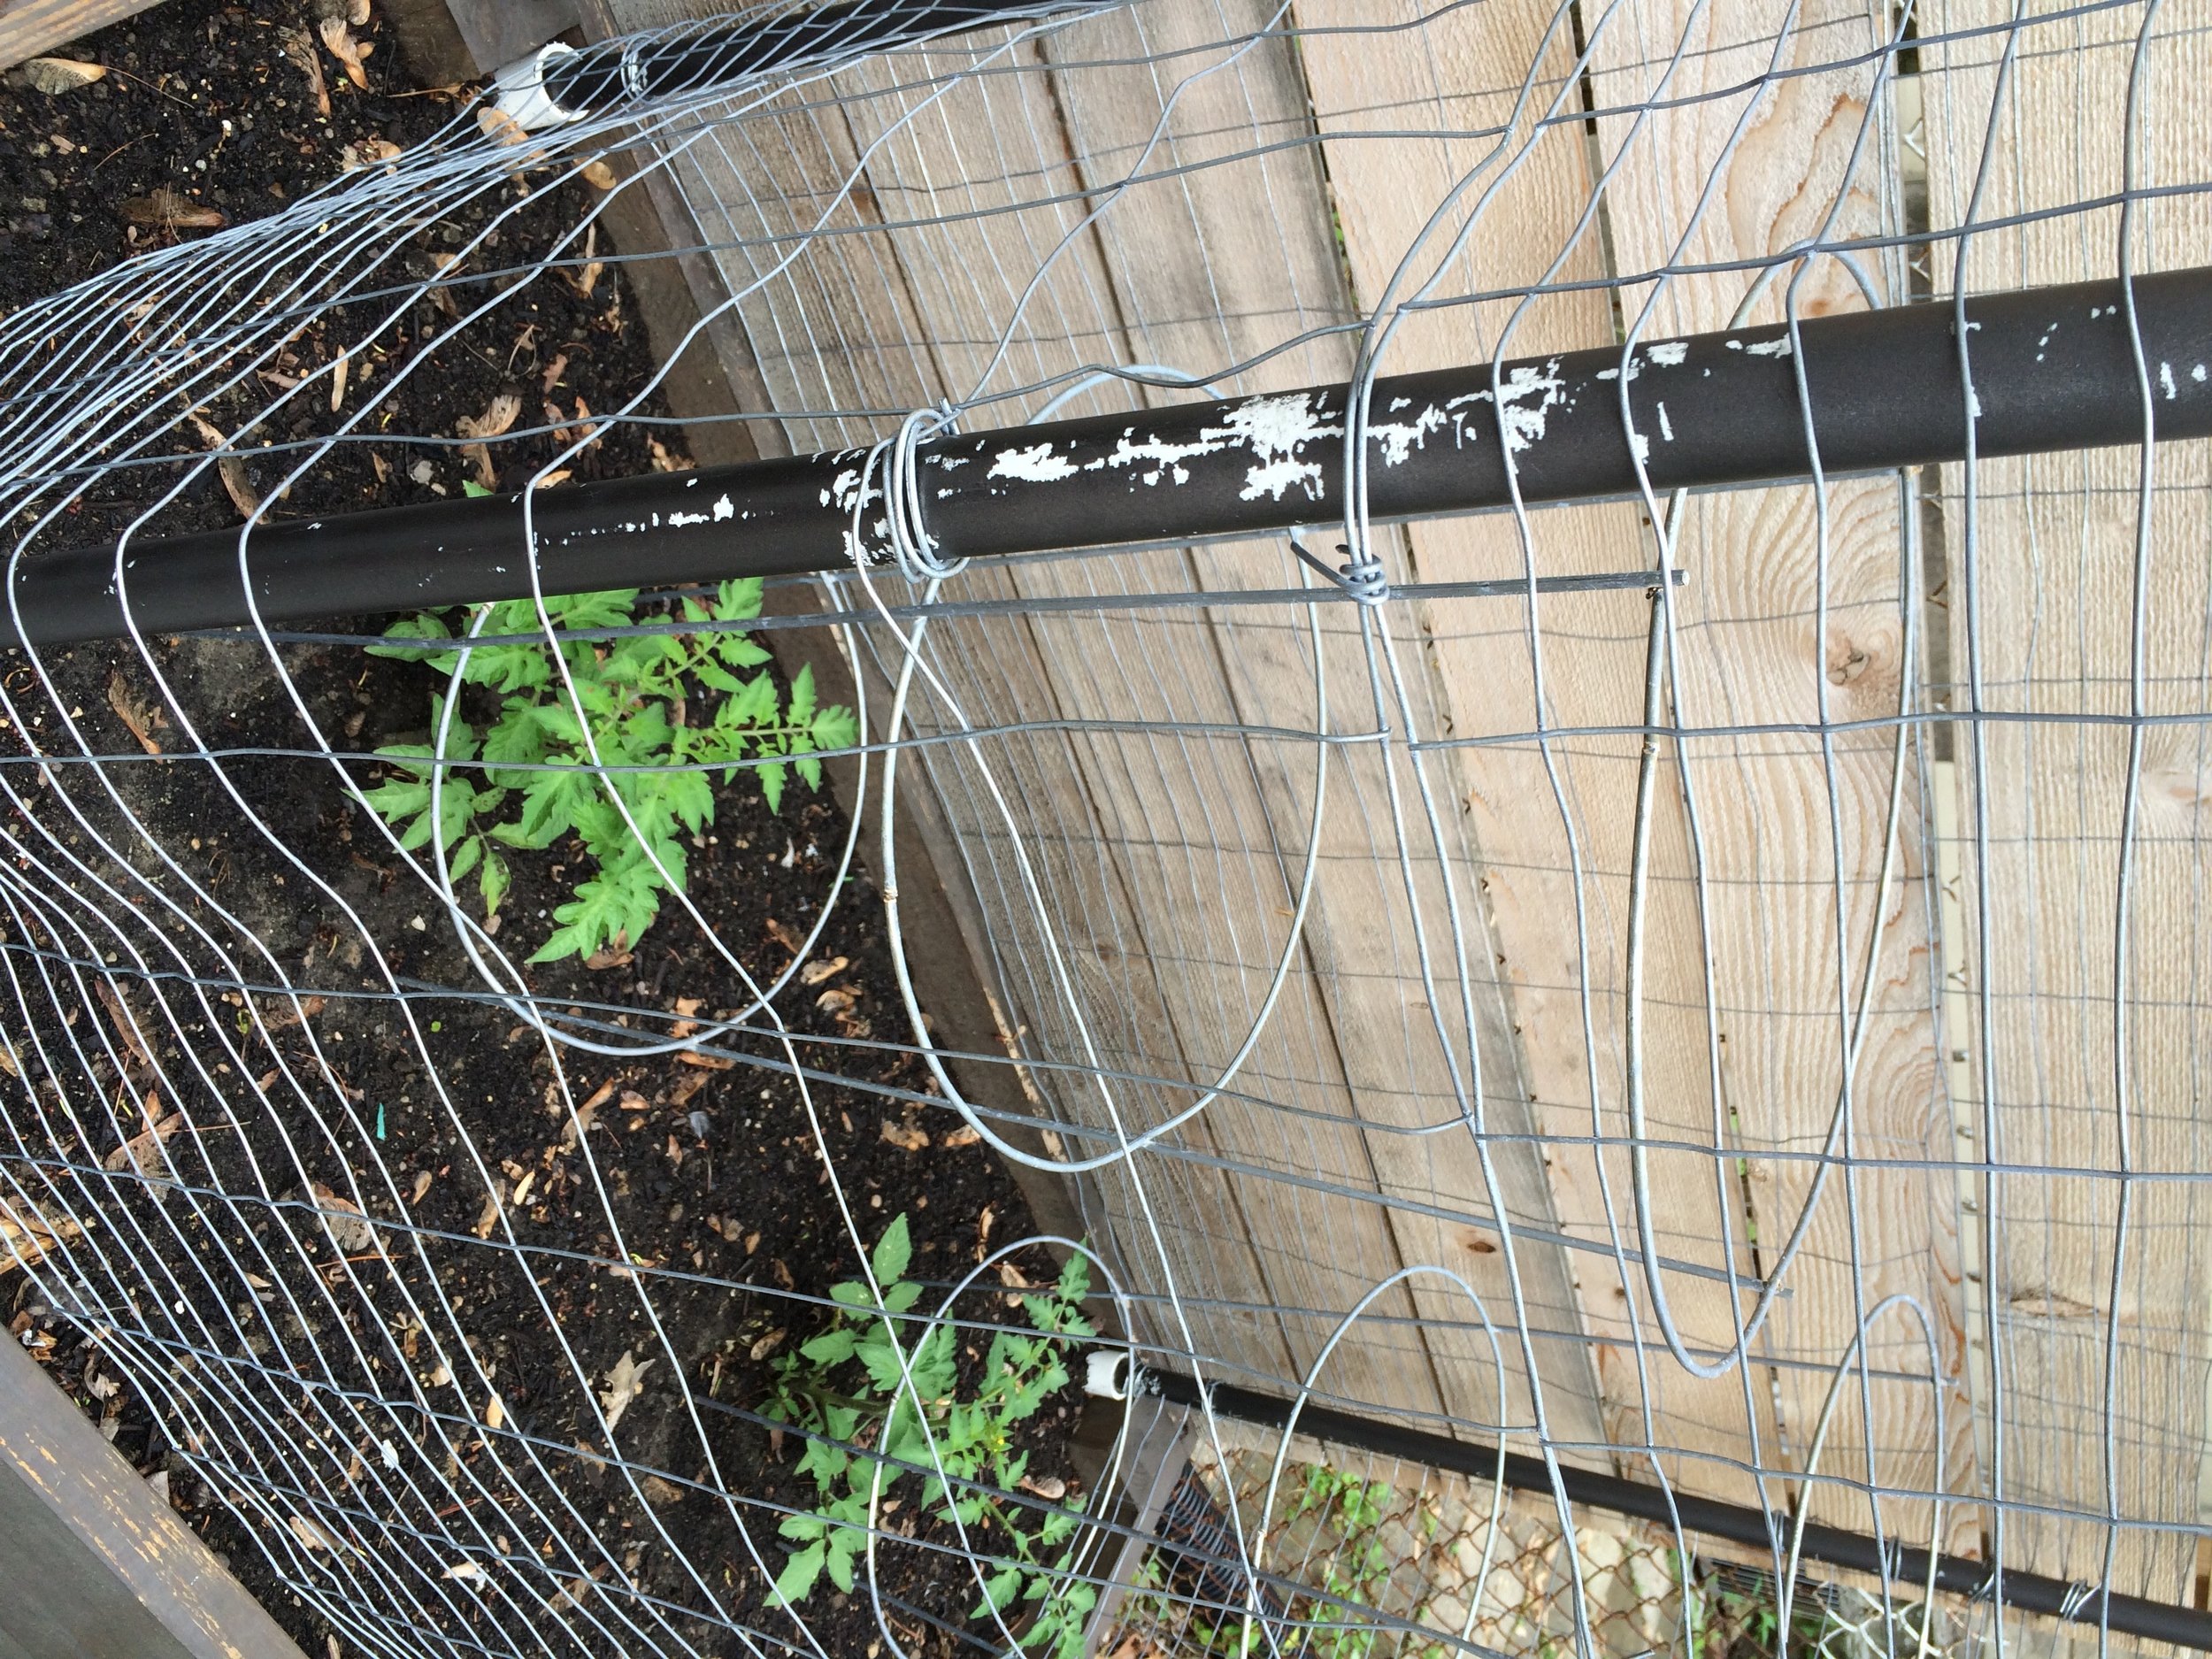
At this point, we had to decide what we wanted to use as our "cage". We originally opted for a metal Garden Fence, and that's right about the same time that our DIY took a horrible turn....
First of all, it ended up looking terrible. Second of all, it tore the crap out of our spray painting job. Oh, and worst of all, the cage was SO HEAVY. We thought we would be able to easily lift the cage up and off for watering, pruning, and picking, but that was definitely not the case. It was a two person job to get this thing off, and our plants weren't even very big yet!
So, back to the drawing board.... We needed something strong but lightweight. After lots of searching, we ended up finding Deer Barrier at our local Lowe's. While it was more expensive than we hoped, it was extremely lightweight and SUPER tough. We both tried to rip this stuff and got nowhere. Plus, it came in a 7' x 100' roll, so we would need to make minimal cuts - perfect. With a few zip ties, we should be able to easily secure the fencing to our PVC.
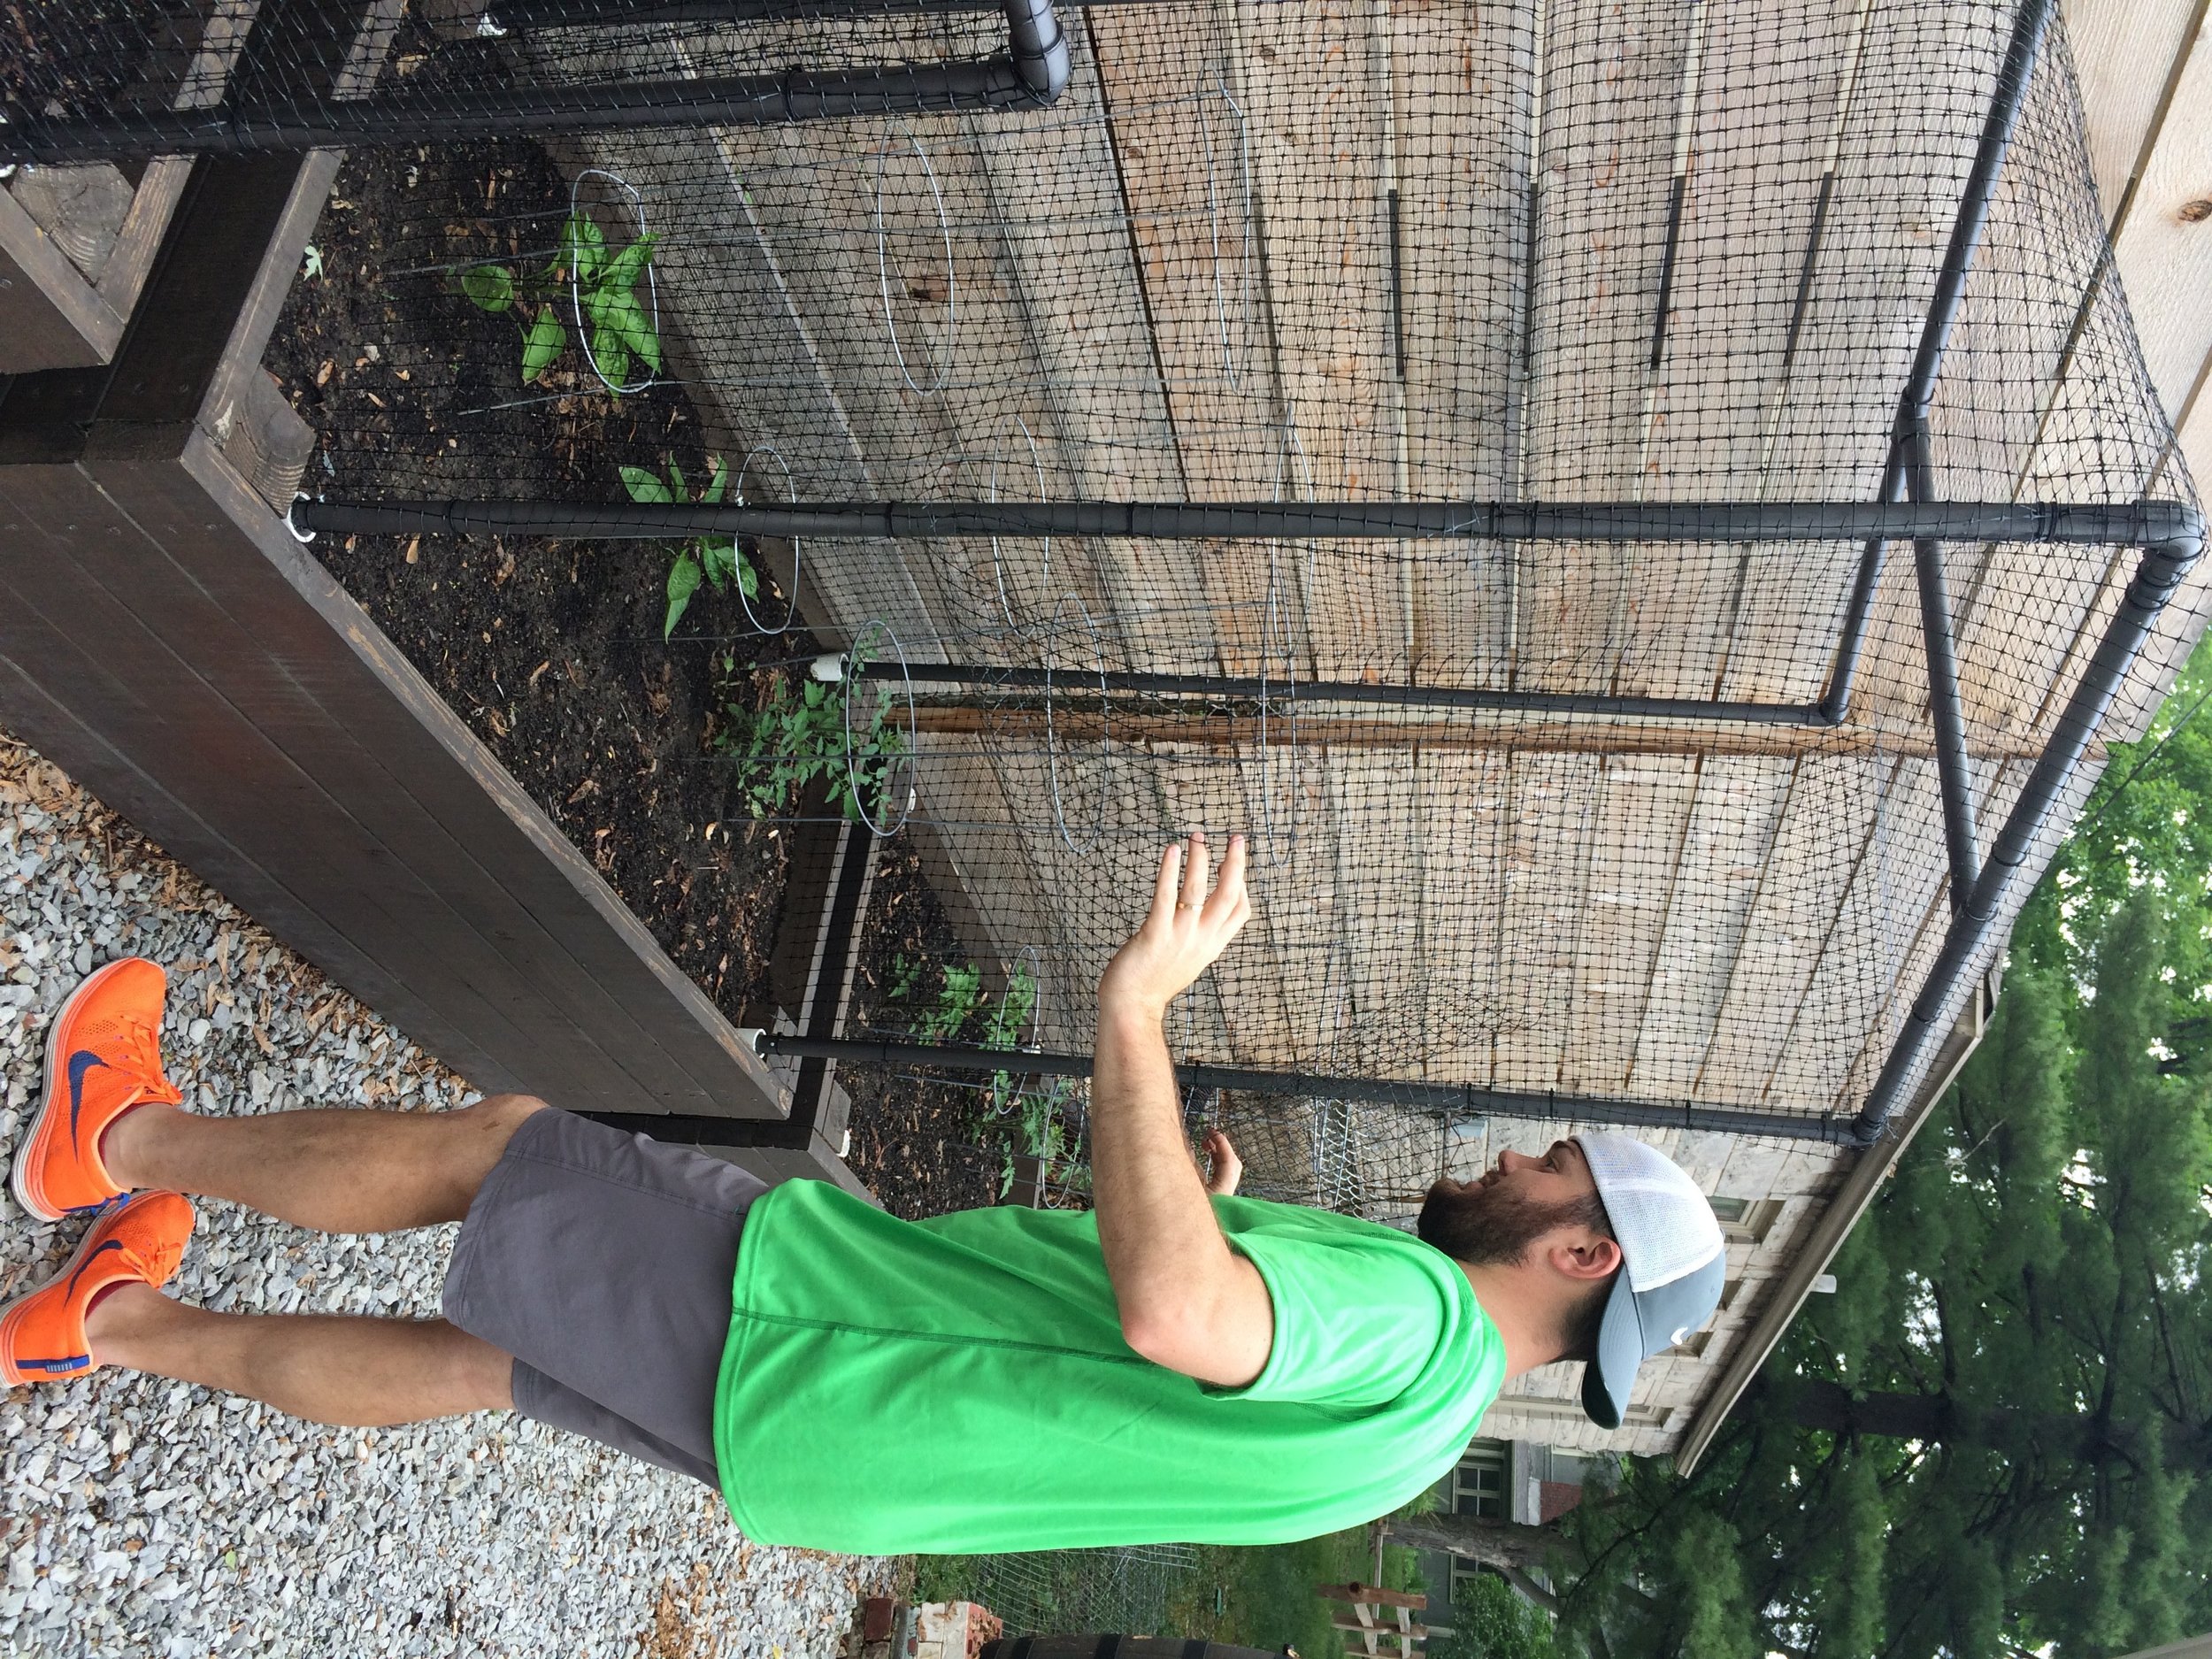
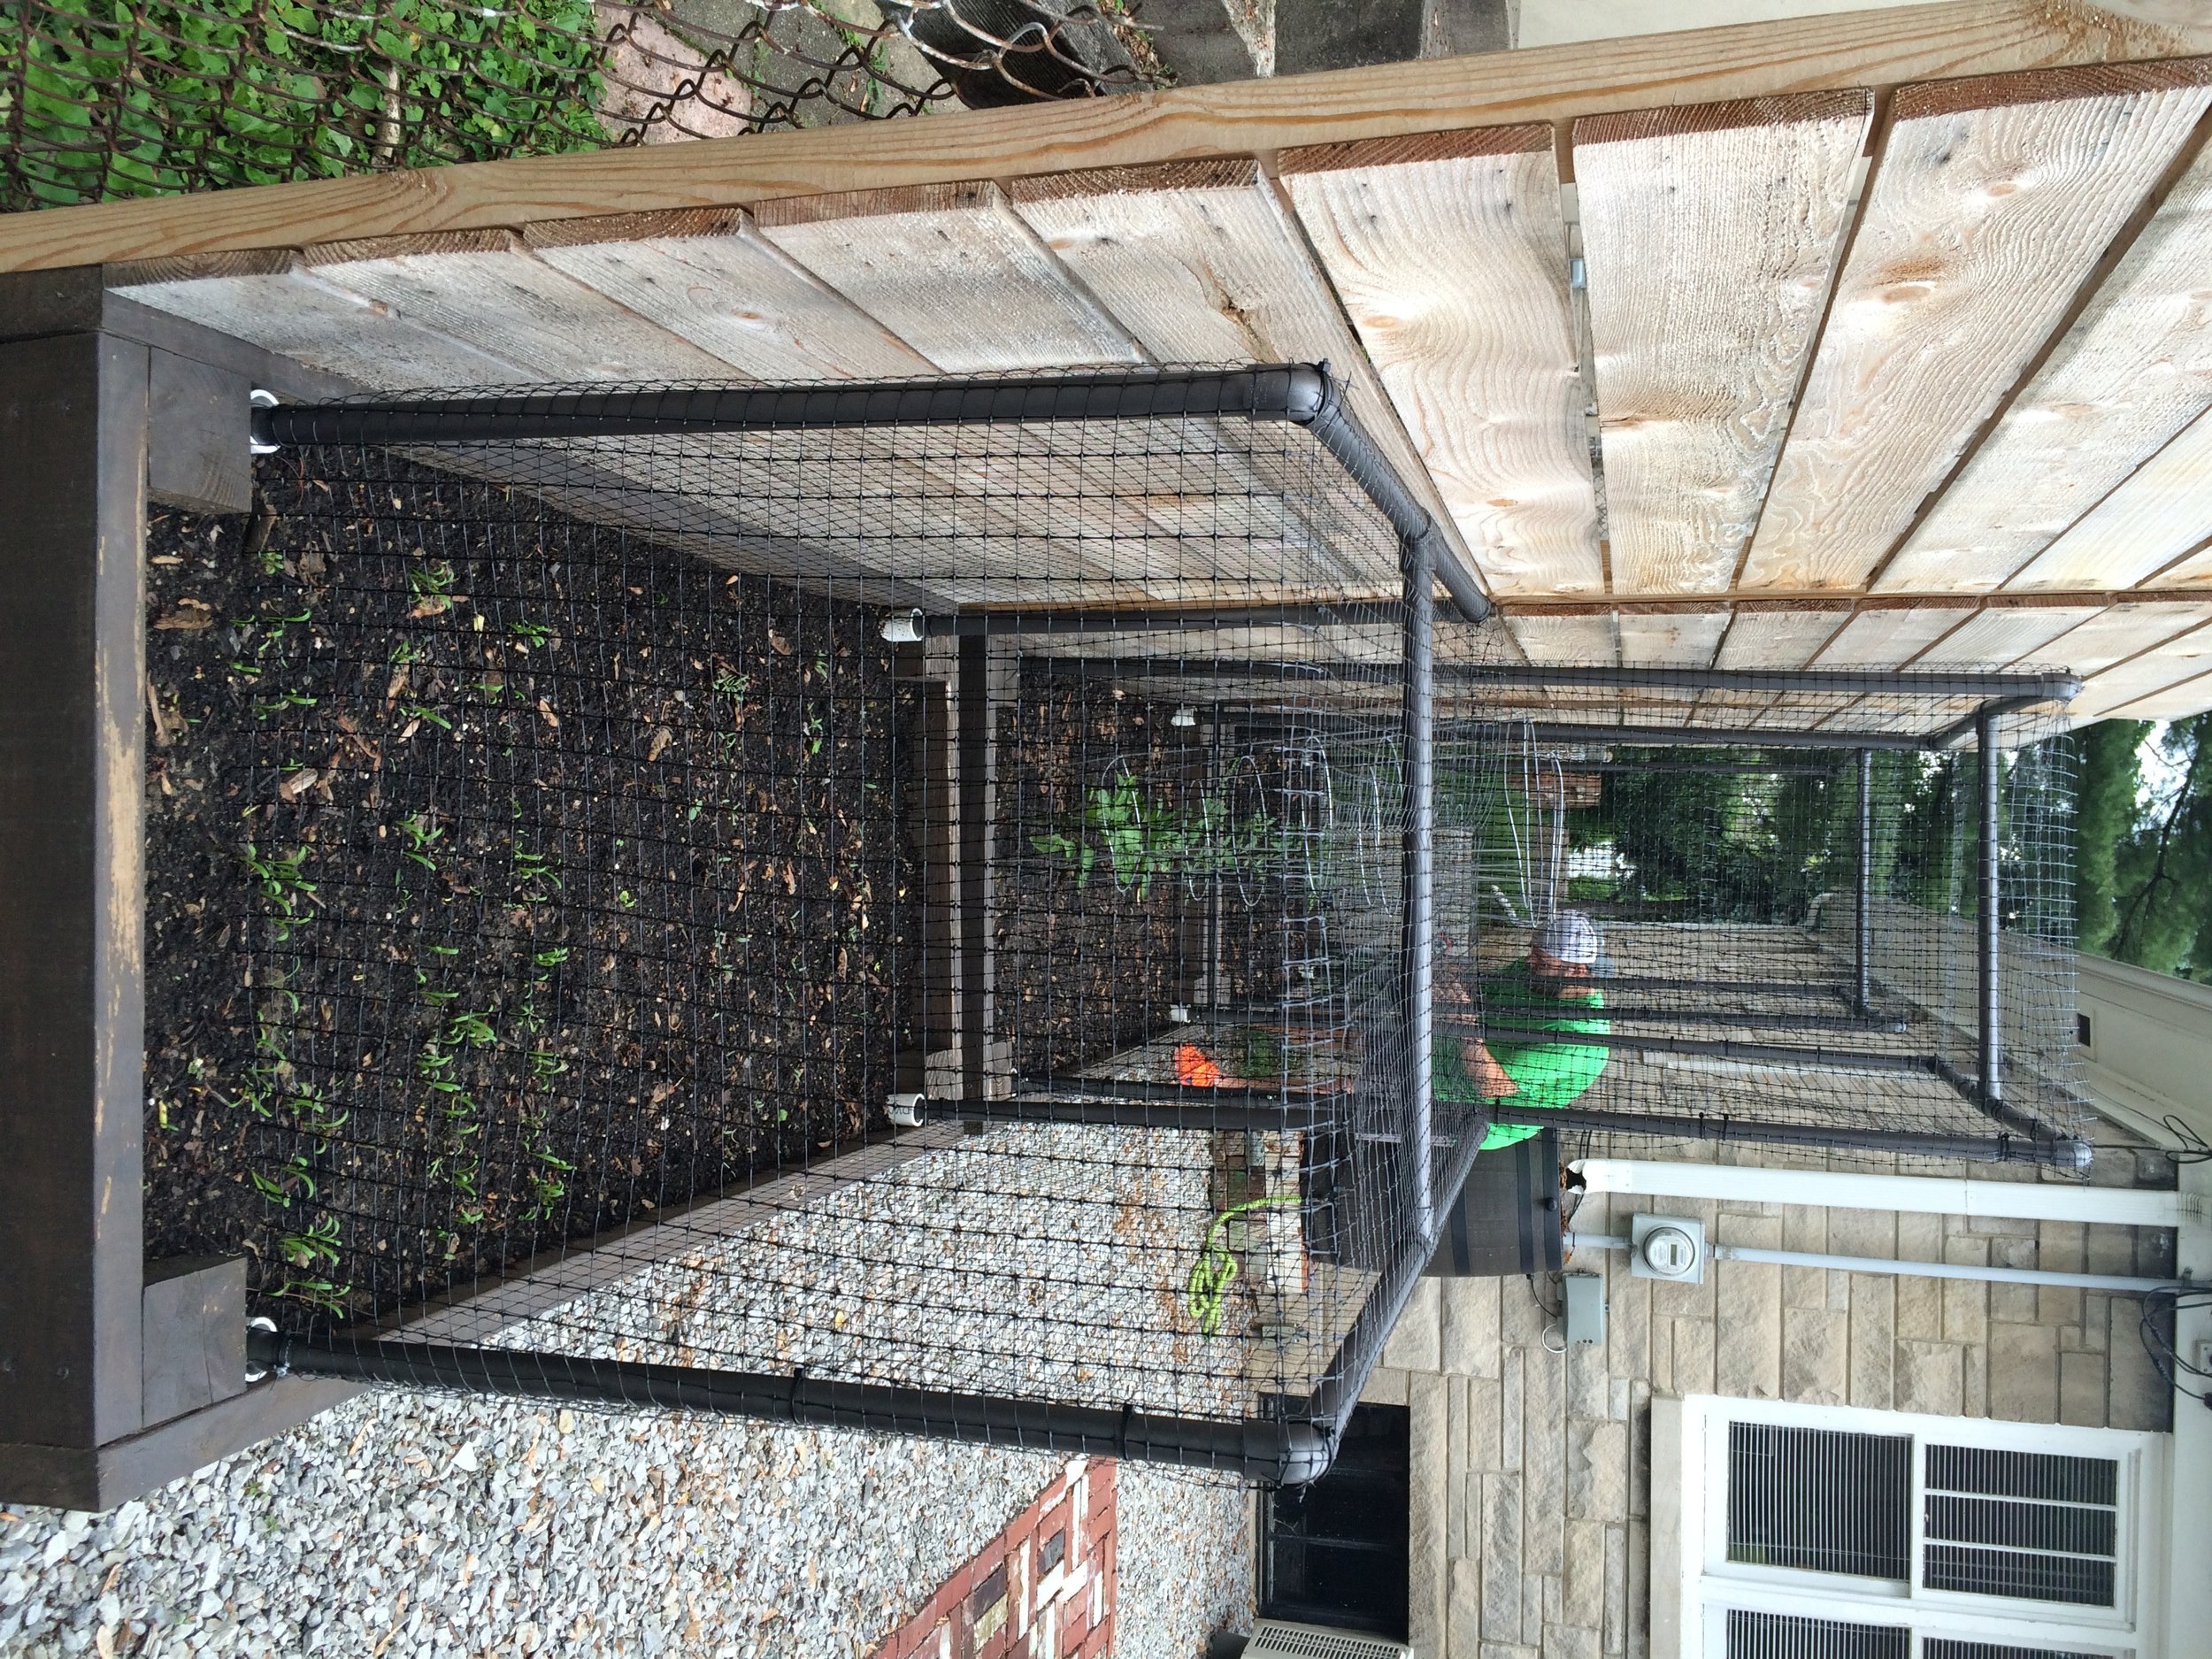
We also decided to make another slight tweak to our design.... instead of relying on us to lift the cage each time we wanted to access the veggies, we decided to build in a "door". A single continuous piece was secured around the back, top and sides while the front remained open. We then secured a second separate piece to the front. A giant "garage door" sort of thing.
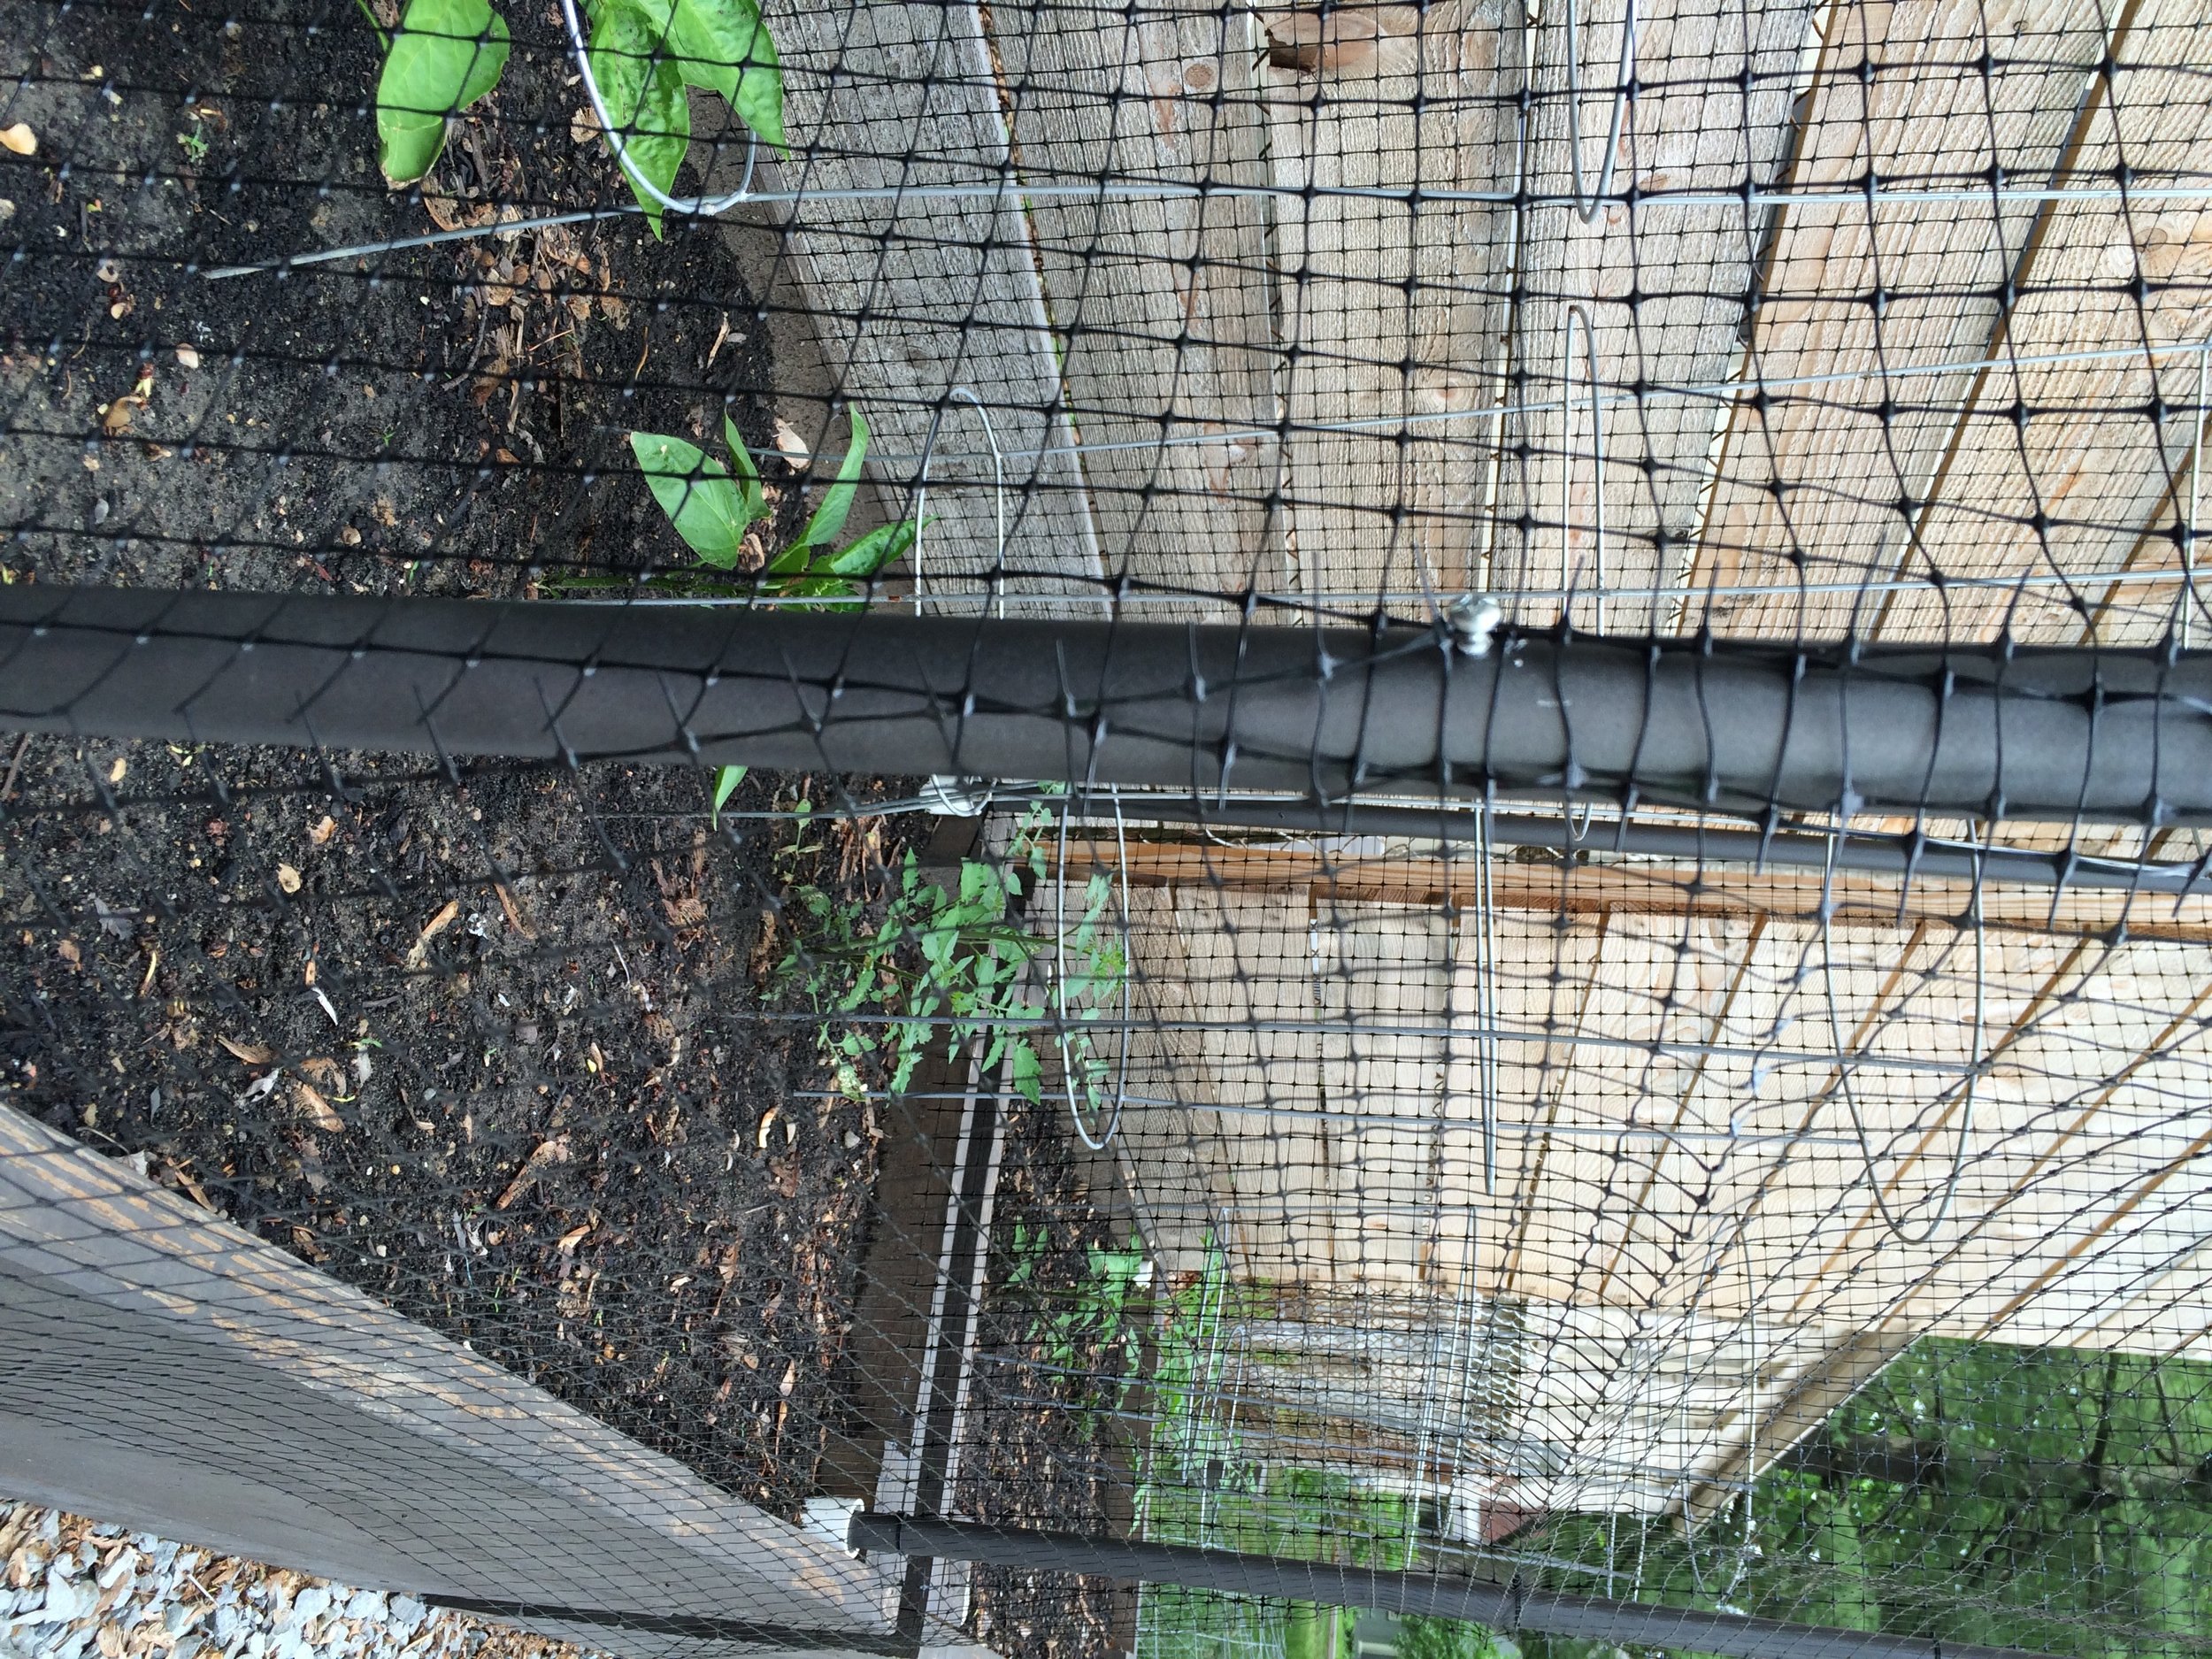
So how do we secure the front so that it is easily accessible but doesn't allow varmints inside? Oh, and it needs to be cheap. What about screws?? Yep, we busted out some handy dandy screws that were lying around the house and simply attached them to the side of our front two PVC pipes.
We can slide the netting around the screw on each side to close. Easy-peasy!
For the tall cages, we added a second set of screws about 1/2 of the way up to add a bit of extra stability. It is then zip tied at the top and ~1/3 of the way down, so it's nice and snug.
I'm actually kind of shocked how well this worked out. The cages look great! We're pretty sure the neighborhood hooligans won't be eating our veggies, but time will tell!
