Bedroom Makeover // DIY Copper Hooks
When it comes to home decor, I'm all about things that look pretty. Whether it be a nice pillow, a vintage vase, or a quirky piece of art, pretty things are important. HOWEVER. I'm a fairly practical person, so items that are pretty AND functional will when that fight any day of the week. Let's talk about the hooks in our bedroom, for instance.
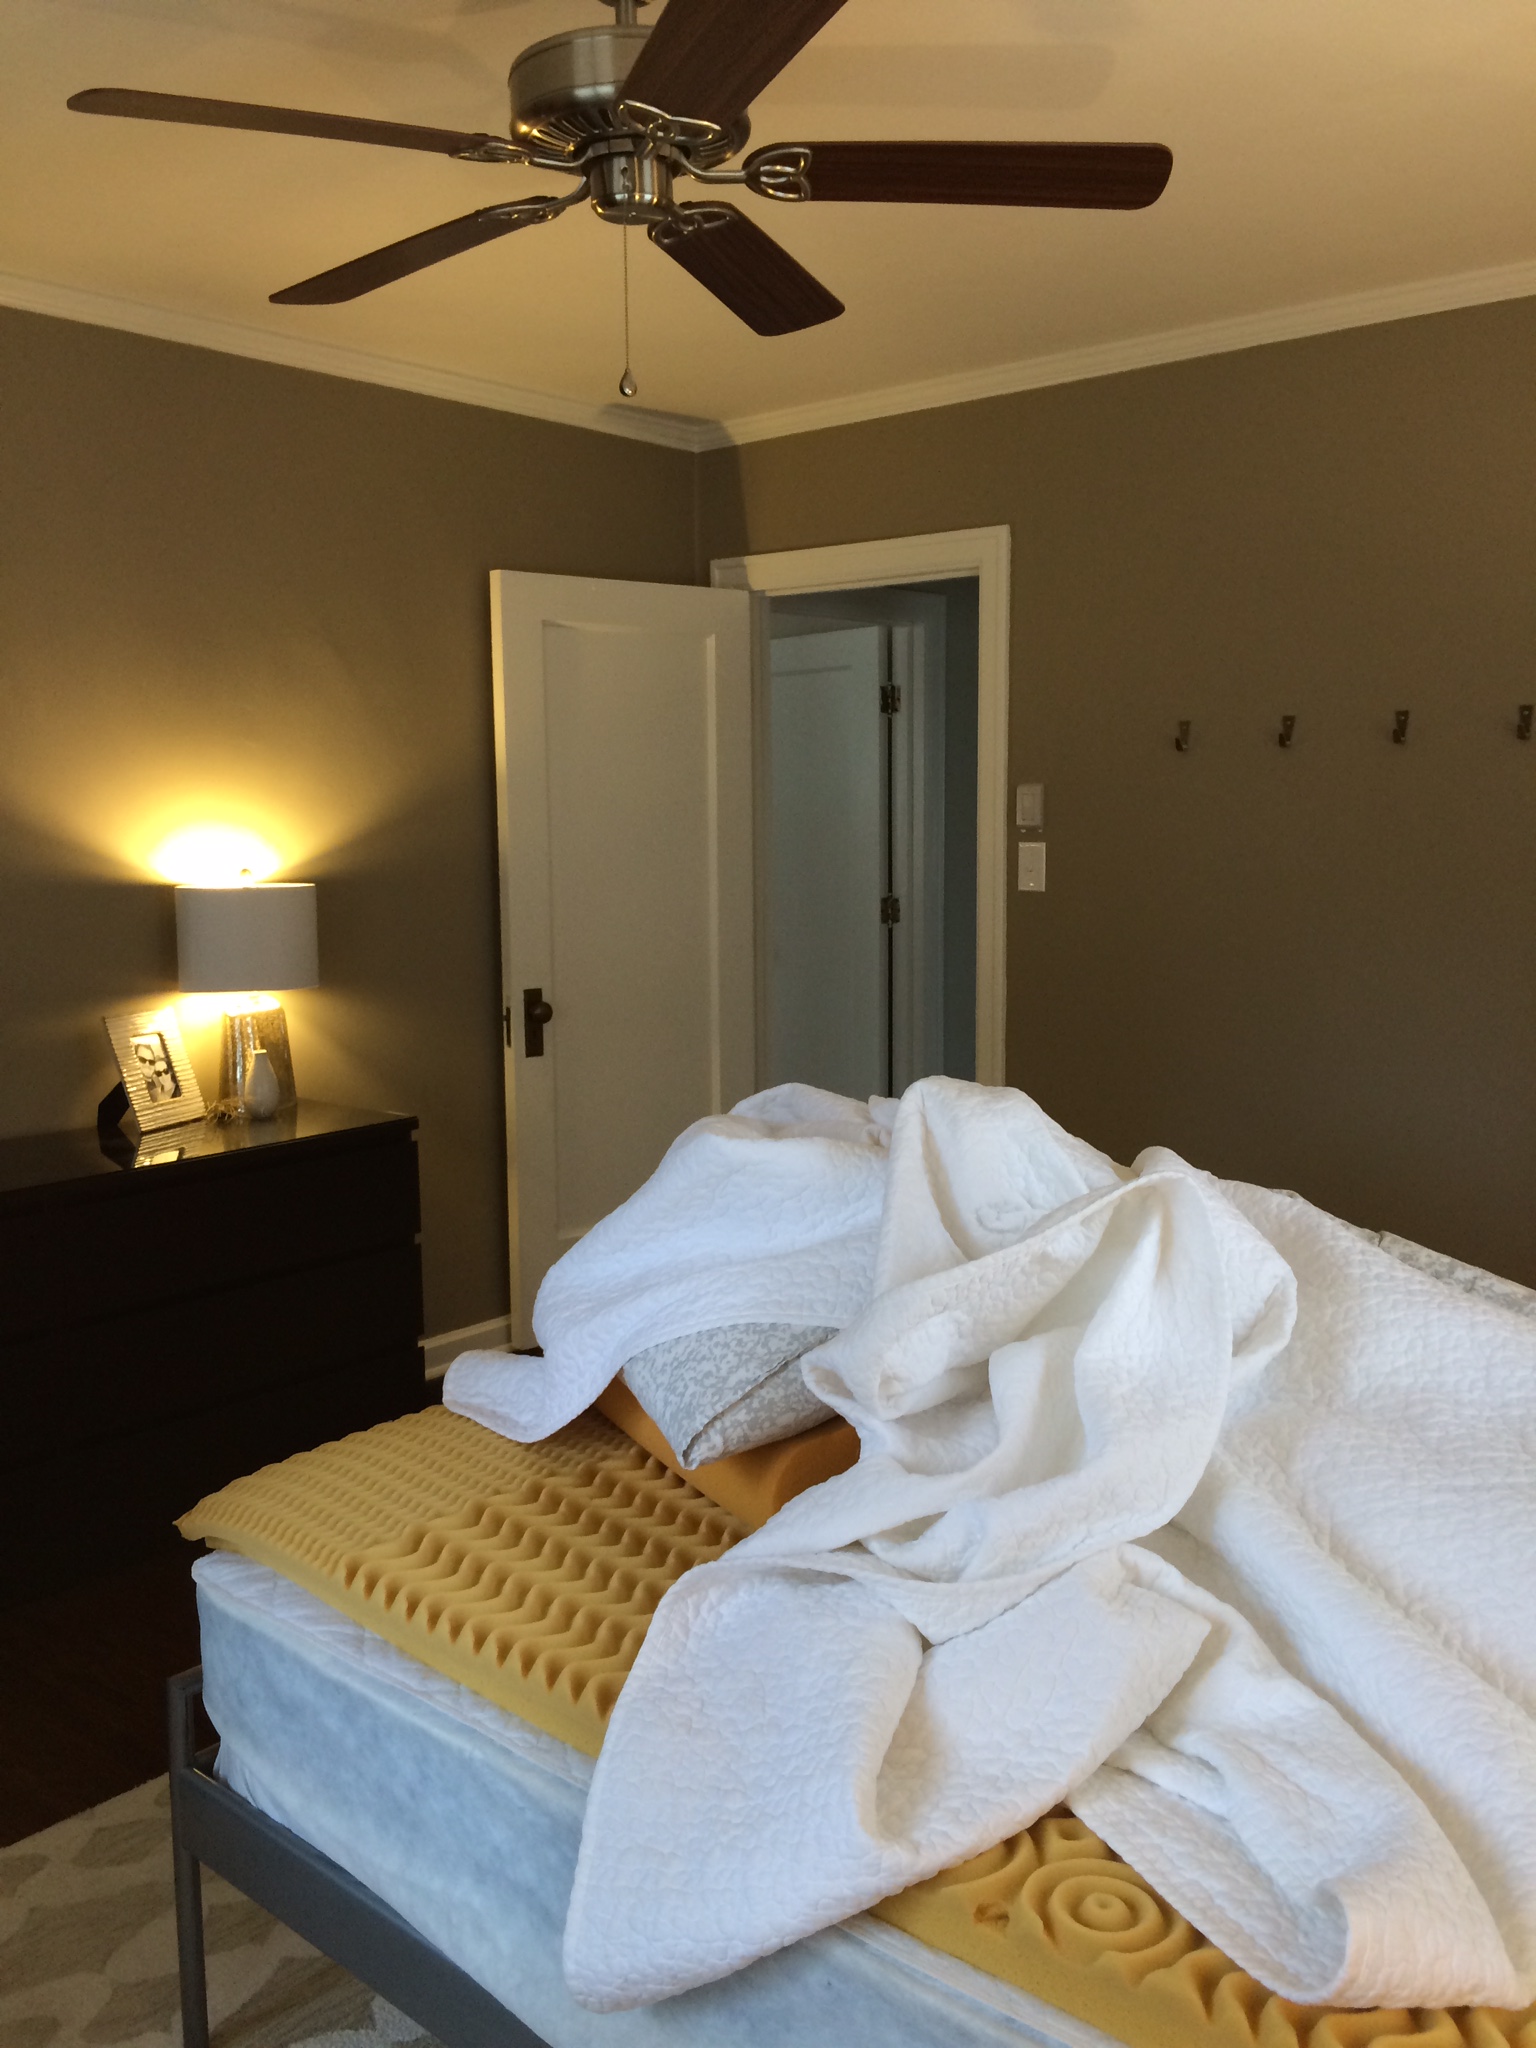
Before we started our bedroom makeover, we had a set of four hooks hanging on the wall between our doorway and the closet. I love to have a place to hang odds and ends - anything to keep clothes and accessories off the floor. These weren't fancy by any means, but they sure got the job done. I rummaged through some old images and these were the best "before" photos I could find.
As you can see, it was simply four silver hooks. Functional needs were met, but the hooks sure left something to be desired in the pretty category. When I removed them to paint our room white, I started to think about other options. I definitely wanted hooks, but could we come up with something a bit more eye catching?
Tyler and I threw a number of ideas around but ultimately landed back on our copper trend. Wouldn't this be a great place to bring in a bit more of that detail to the room? Plus, we could totally DIY something for cheap. We did a bit of research on Pinterest to get ideas and decided to go with a mix between the industrial/pipe trend and something a bit more modern.
![Izabella DIY Copper Pipe Curtain Rods [Obsessively careful instructions including, heaven forfend, painting them! I would polish these until they gleamed so bright they could be used as nightlights — 13-05-14]](https://s-media-cache-ak0.pinimg.com/736x/fd/ff/cd/fdffcd59a95a01422487d58a09531fbd.jpg)
MATERIALS
- One copper pipe 1/2" x 10' - (We purchased two 10' pipes for our DIY Wall Hanging and used leftovers for this project. ) : $8.61 each - Lowe's
- Two 90 degree elbows 1/2" x 1/2" : $0.36 each - Lowe's
- Two copper pressure cup adapters 1/2" x 3/8" : $4.86 each - Lowe's
- Two galvanized 3/8" floor flanges : $3.78 each - Lowe's
- Screws
- Loctite Super Glue
- IKEA Grundtal "S" Hooks : $2.99 packet of 5 - IKEA
TOTAL COST: ~$30
We started out by measuring the distance between both doorways. We planned to center our hooks between this space, so a 3' span looked to be about right. (Feel free to make your bar longer or shorter depending on the size of your space.) We then used a pipe cutter to trim our 10' copper pipe down to one 3' length and two 2" lengths. The 2" pieces would be used to affix the pressure cup adapters to the elbows - giving us a bit more distance from the wall.
Tyler then screwed the pressure cup adapters into the floor flanges and used four screws to attach them into the wall. We could then easily insert our 2" pieces into the pressure cup adapters and attach the elbows to our 3' pipe. At this point, we slide the whole thing together. We left it that way for a few days to make sure it was the look we wanted, and then finally glued the juncture points together. Super simple!
We're still weighing our options when it comes to additional decor on this wall, but we're thinking about hanging something up above. Maybe bring in some natural wood elements? Tyler got the pleasure of holding up some options for me one night...
We'll see! For now, I'm loving the mix of copper and silver. Everything is really coming together!


