Art DIY : Hanging Sacks
As I've mentioned several times over the past few weeks, I use the term "art" quite loosely around our house. If I find something I like or want to incorporate in the house, I just tell Tyler it's "art" and he wouldn't understand. :) So up on the wall or on a shelf it goes!
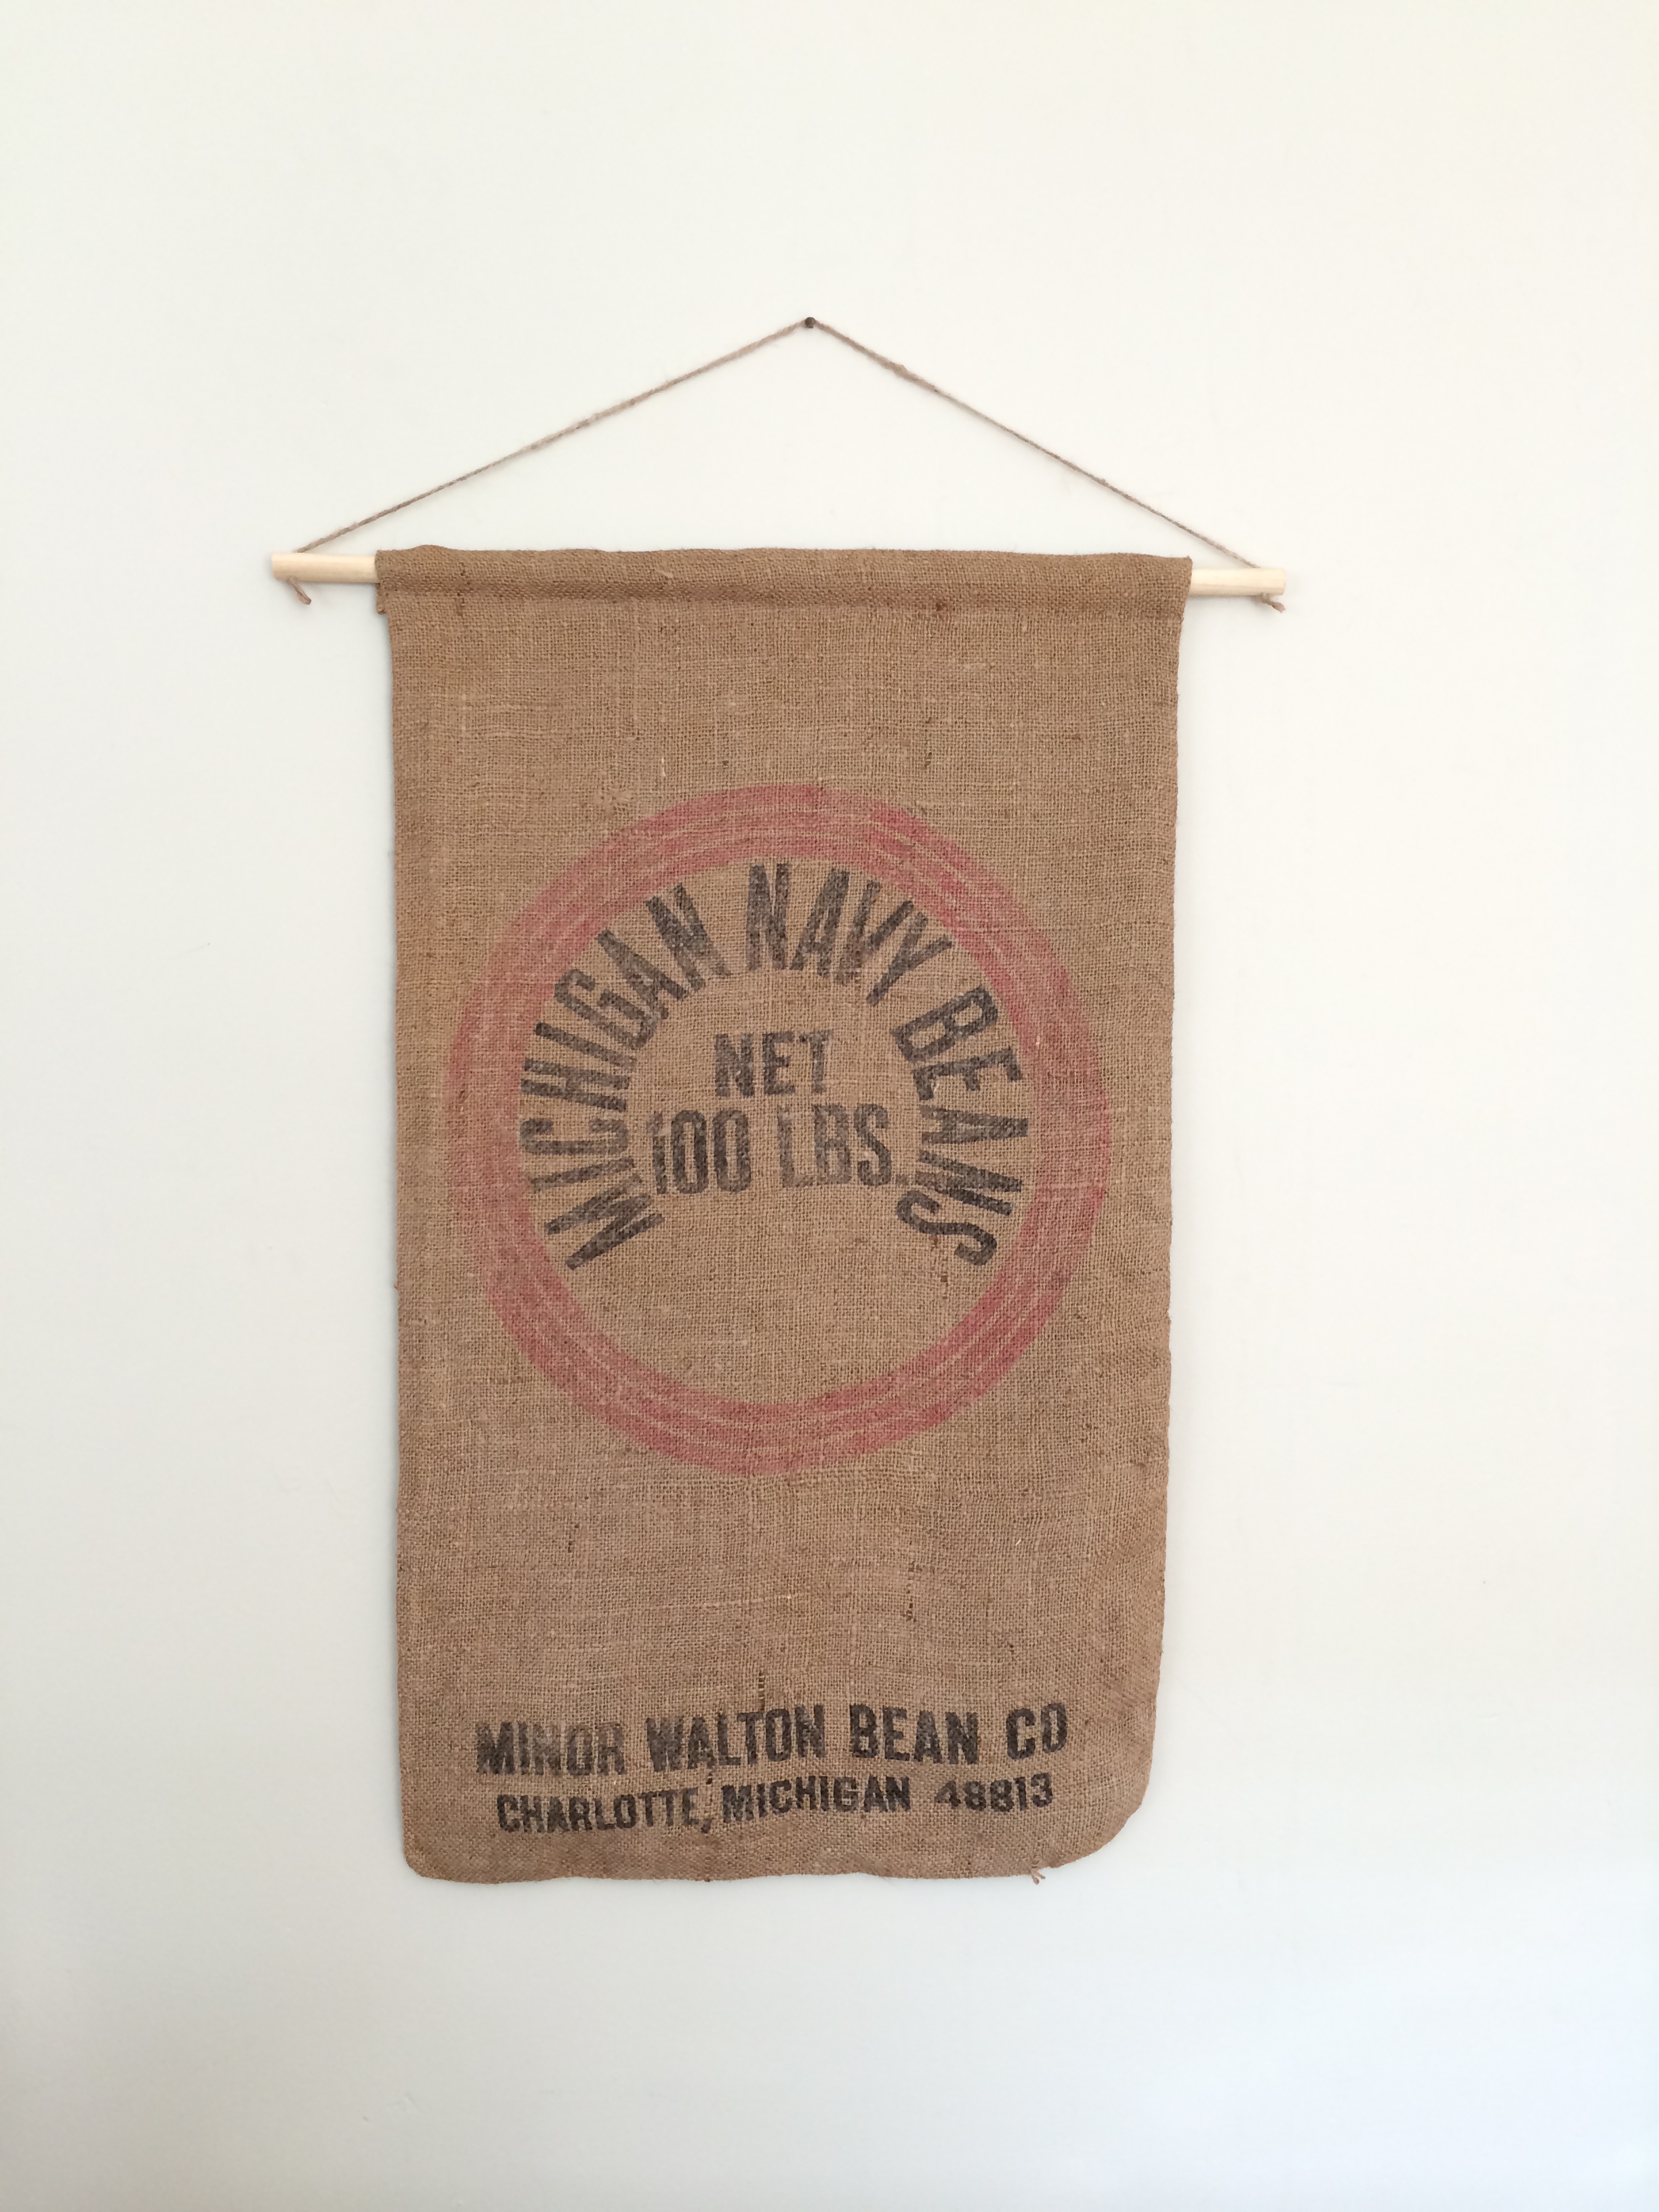
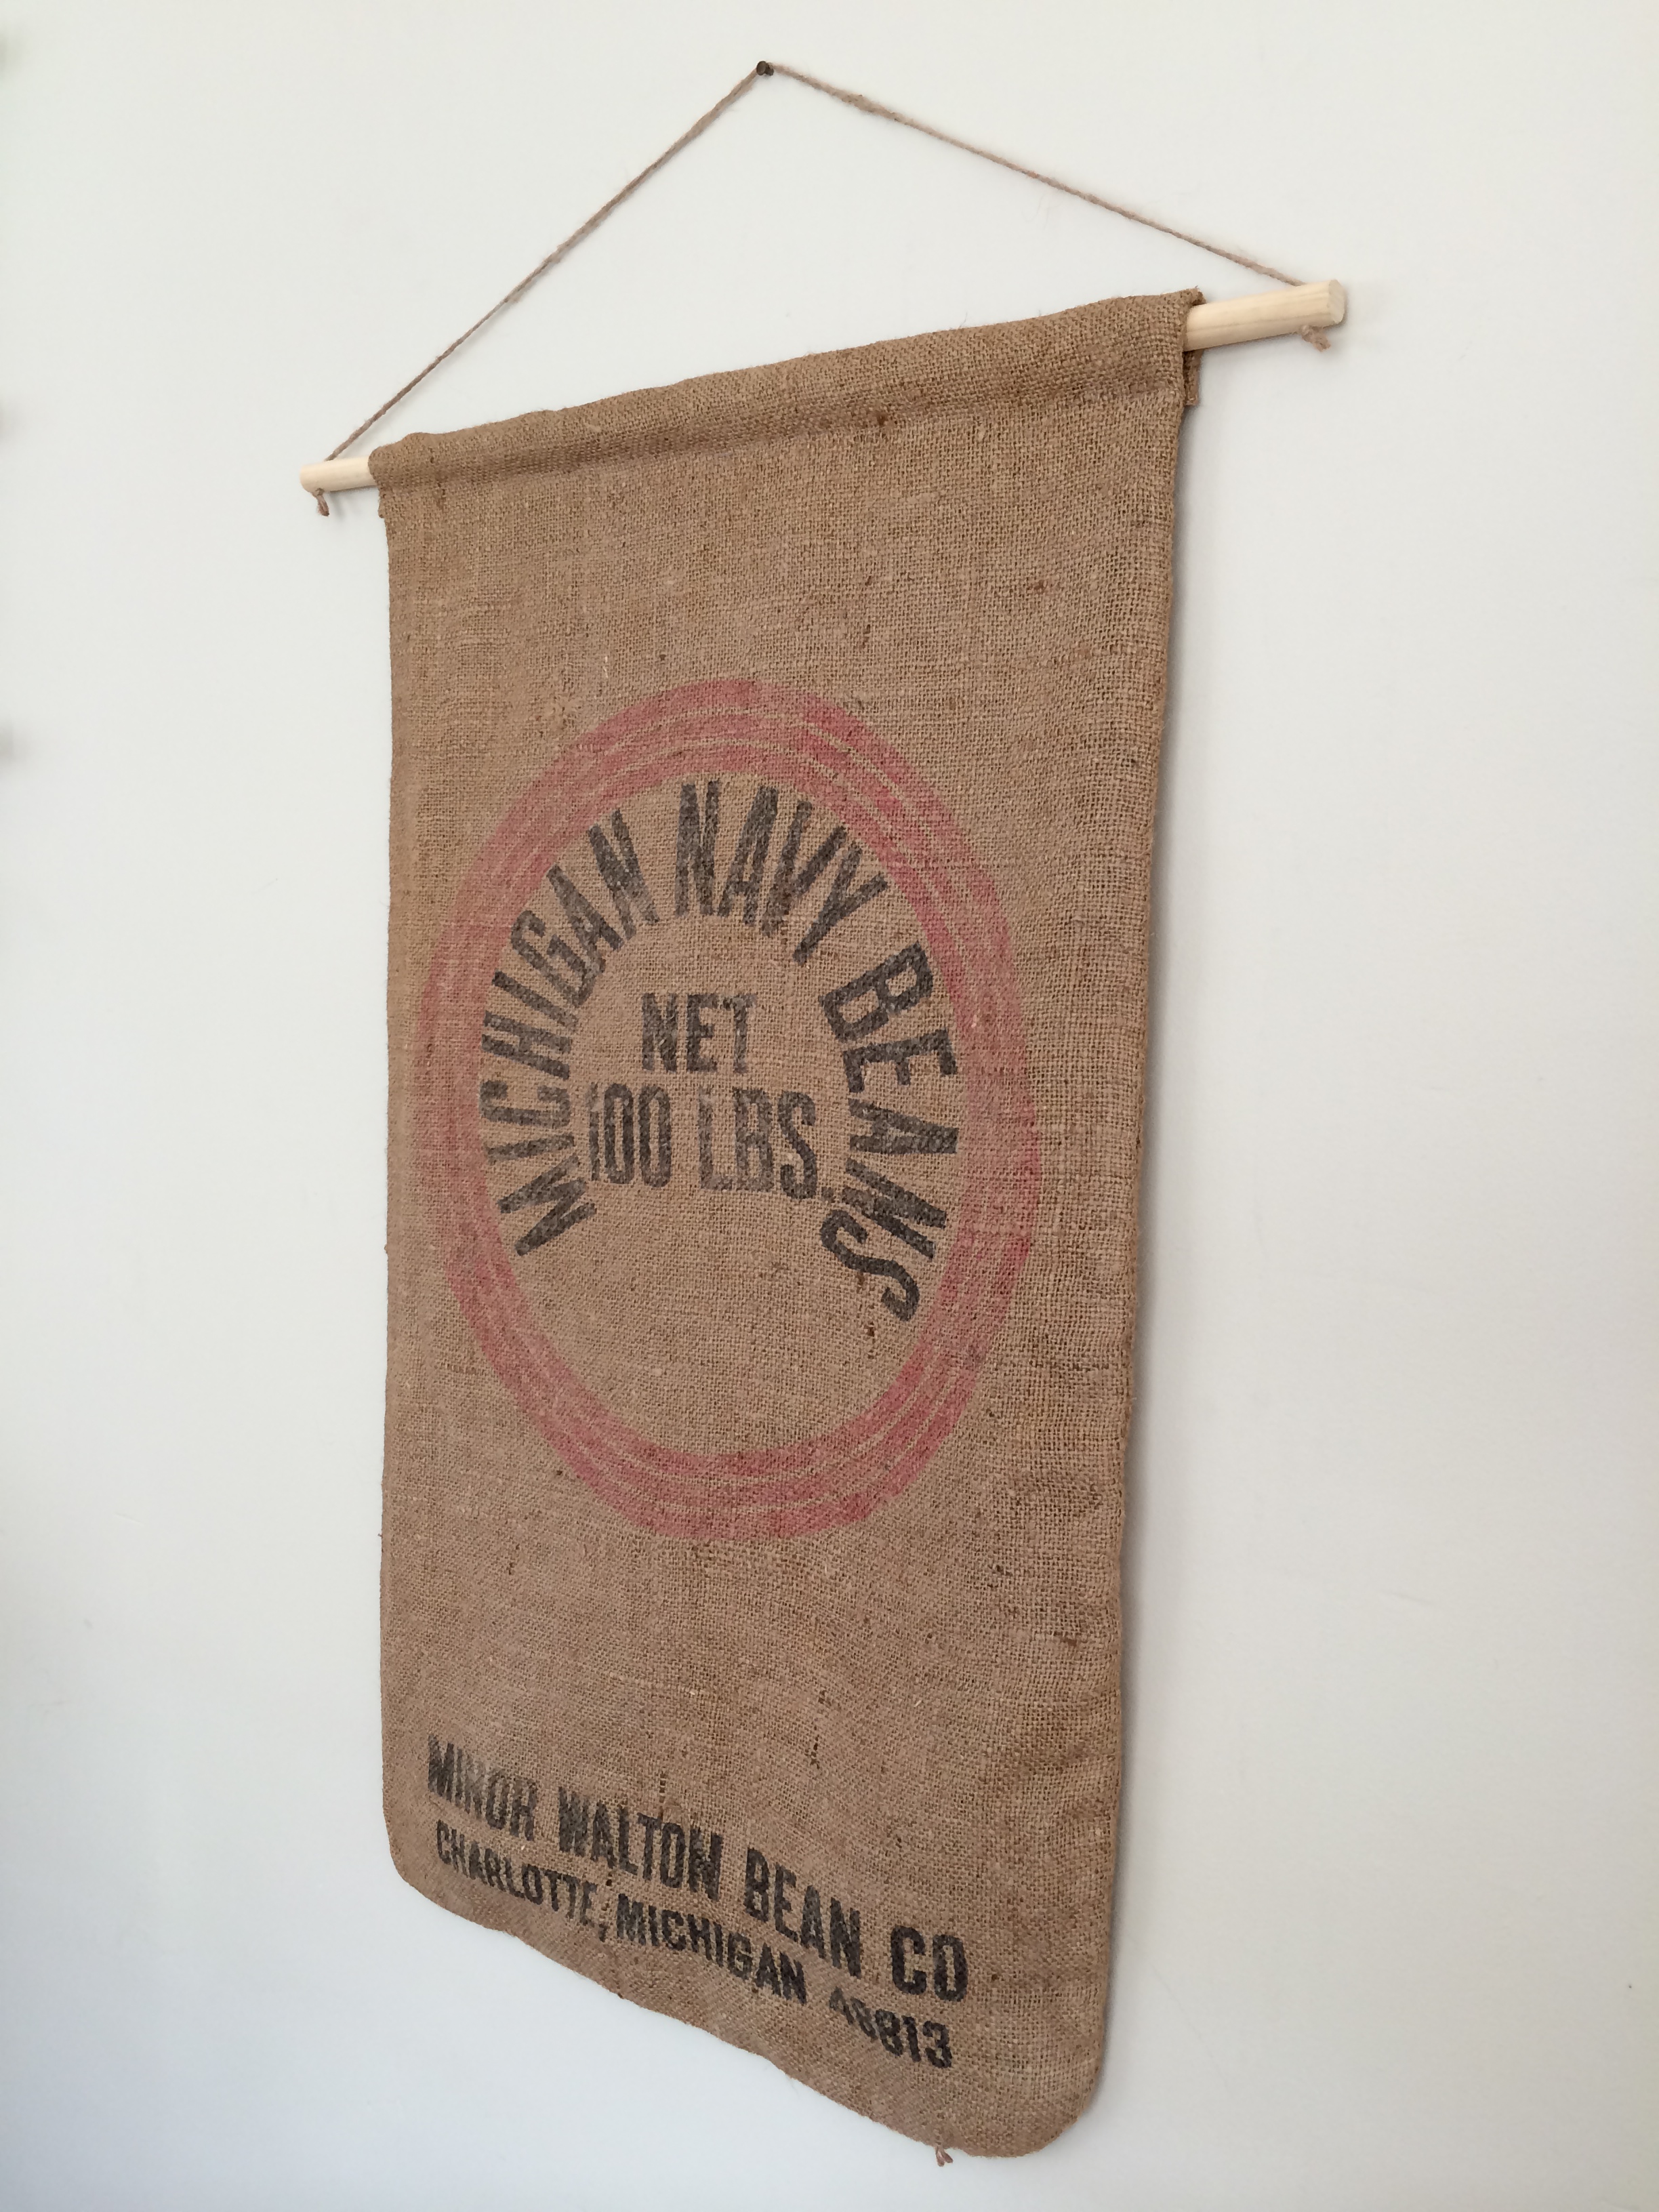
One of our latest art DIY endeavors is the hanging navy bean sack in our dining room. If you've been to an antique market or reclaimed store lately, I'm sure you've seen tons of these things for sale. My Mom actually bought some really neat ones in California about a year ago with plans to turn them into pillows. You can buy them in all sorts of materials, and the options are truly limitless.
I purchased my sack from the Antique Mall in Portland while I was visiting my parents over the summer. I loved the colors and just thought it was a cool piece. I had no idea what I was going to do with it at the time, but I simply couldn't pass it up. I think it cost me $6. When I got back to Indy, I threw it in the washer, hung it outside to dry, and gave it a nice little ironing.
To hang the sack, I had an idea to attach dowel rods on the top and bottom - the top to mount it to the wall and the bottom to provide some weight. Well, I started out by hand stitching the top of the sack shut and completely forgot to insert the bottom dowel rod - whoops! Well instead of ripping out all of my hard work, I decided to proceed with only the top rod. The sack ended up having plenty of weight on it's own to lay flat, so no harm done.
When it came time to hang everything, Tyler had a genius idea to drill holes in each side of the rod, insert some twine and keep the knots exposed. I love it! The sack is obviously not perfect, so I didn't want the mounting to be perfect either. It was a simple little project for less than $10. My favorite!


