Sidetable Makeover
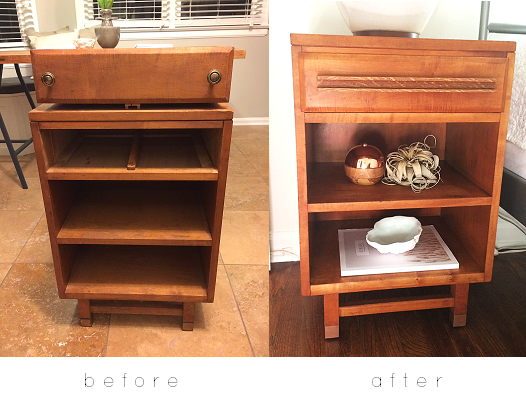
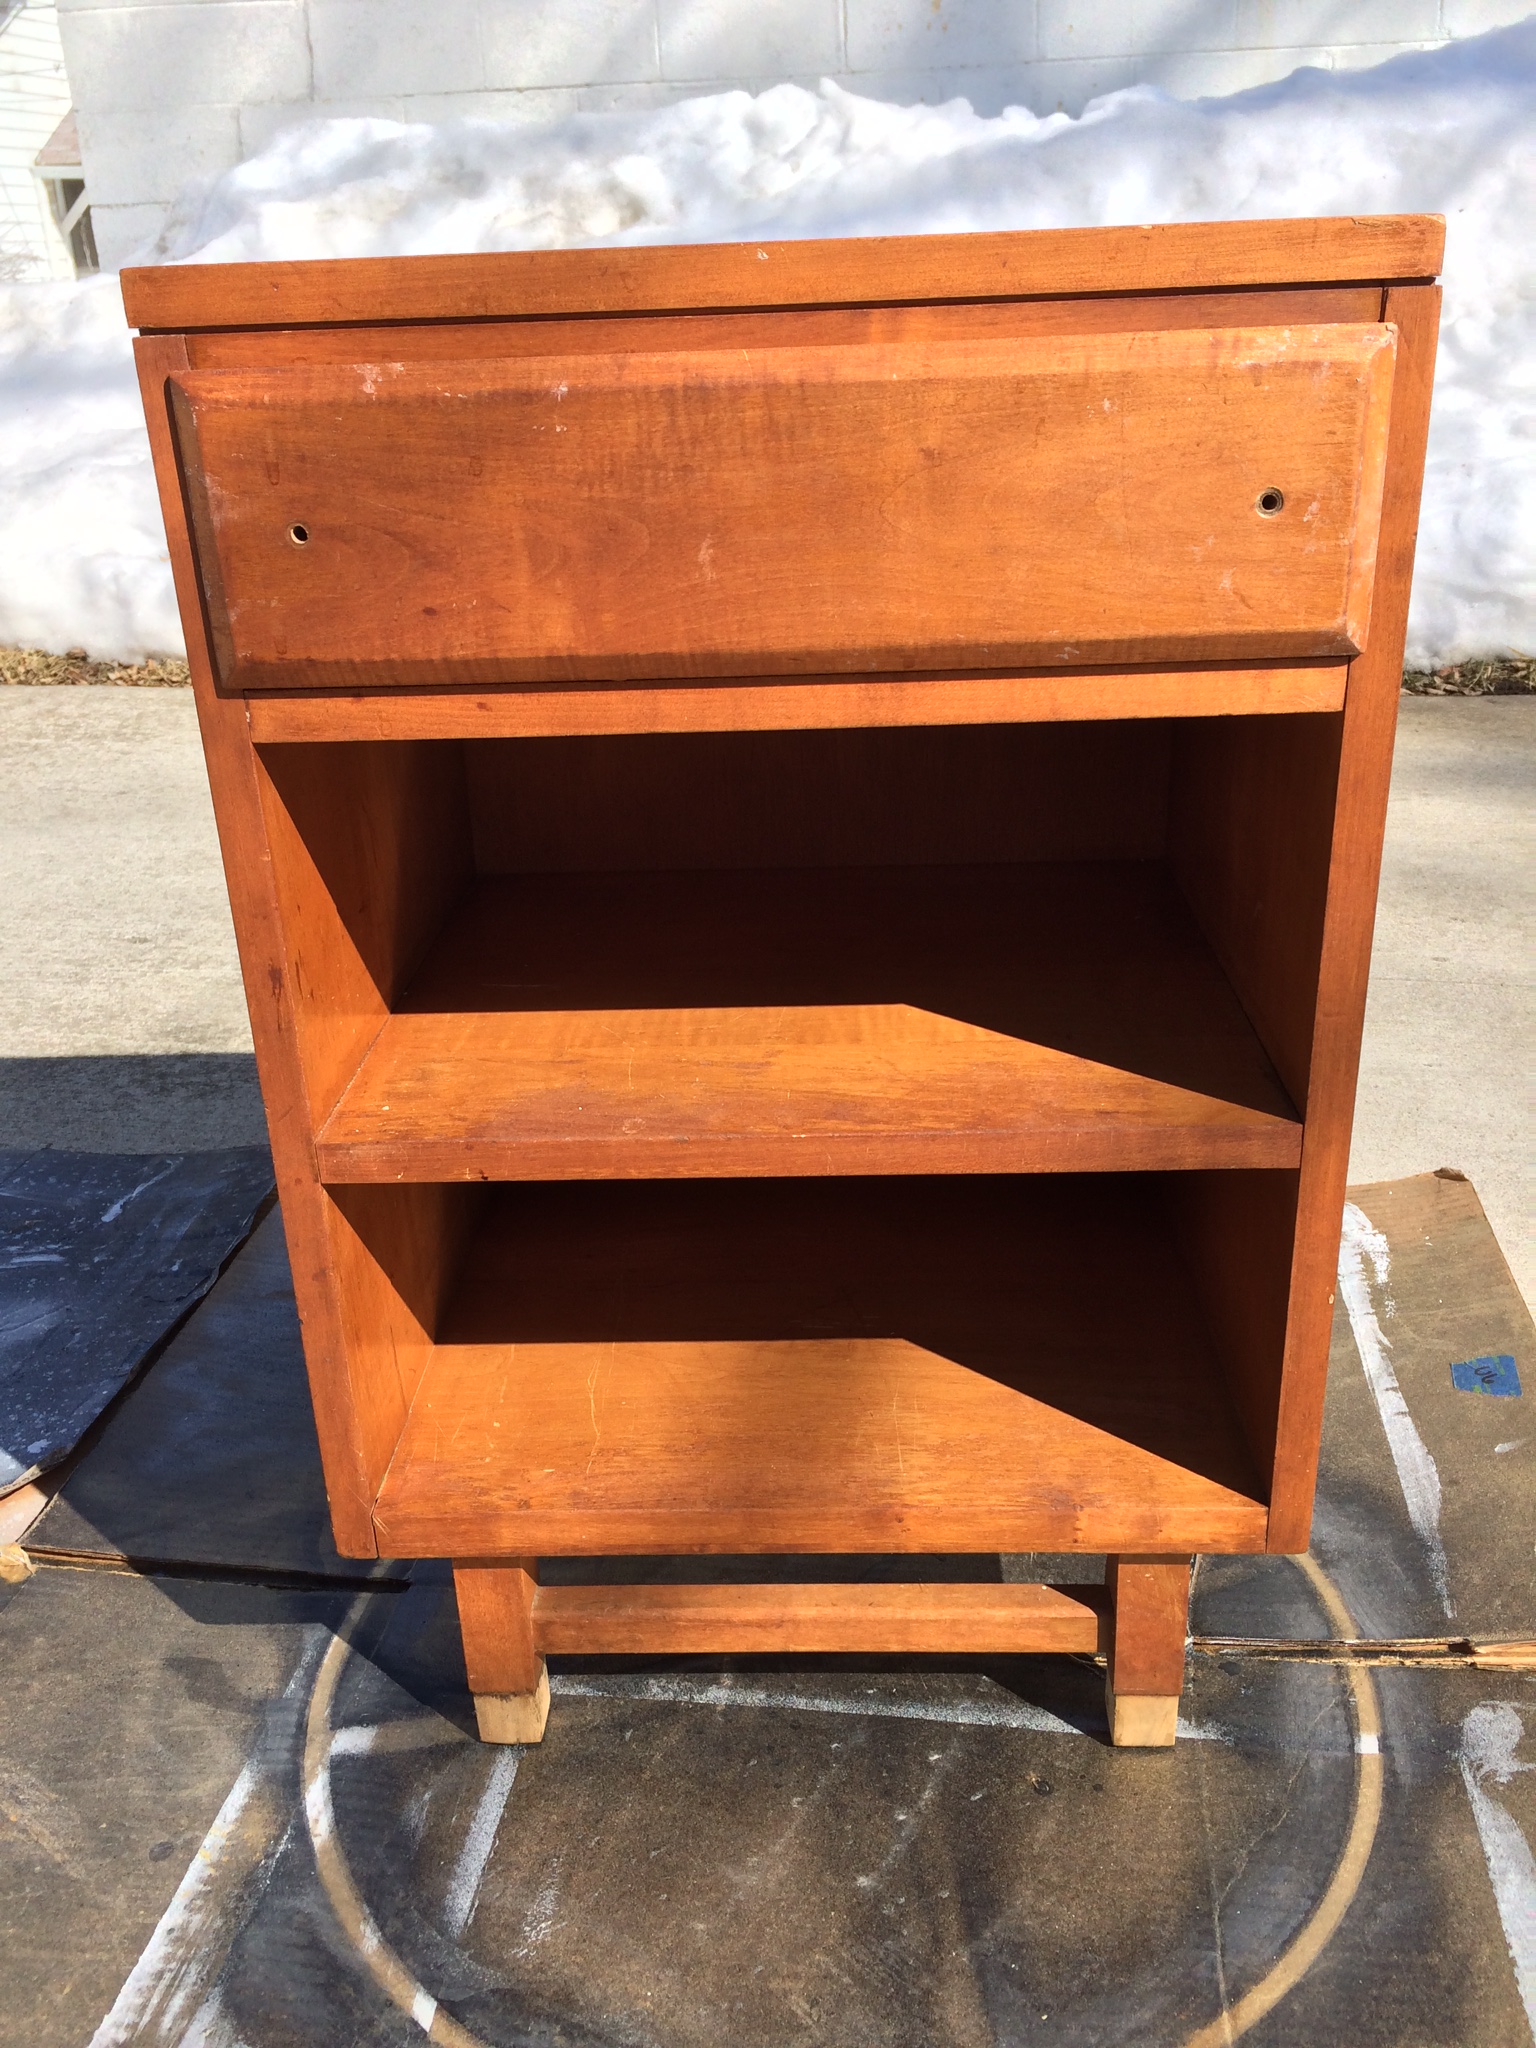
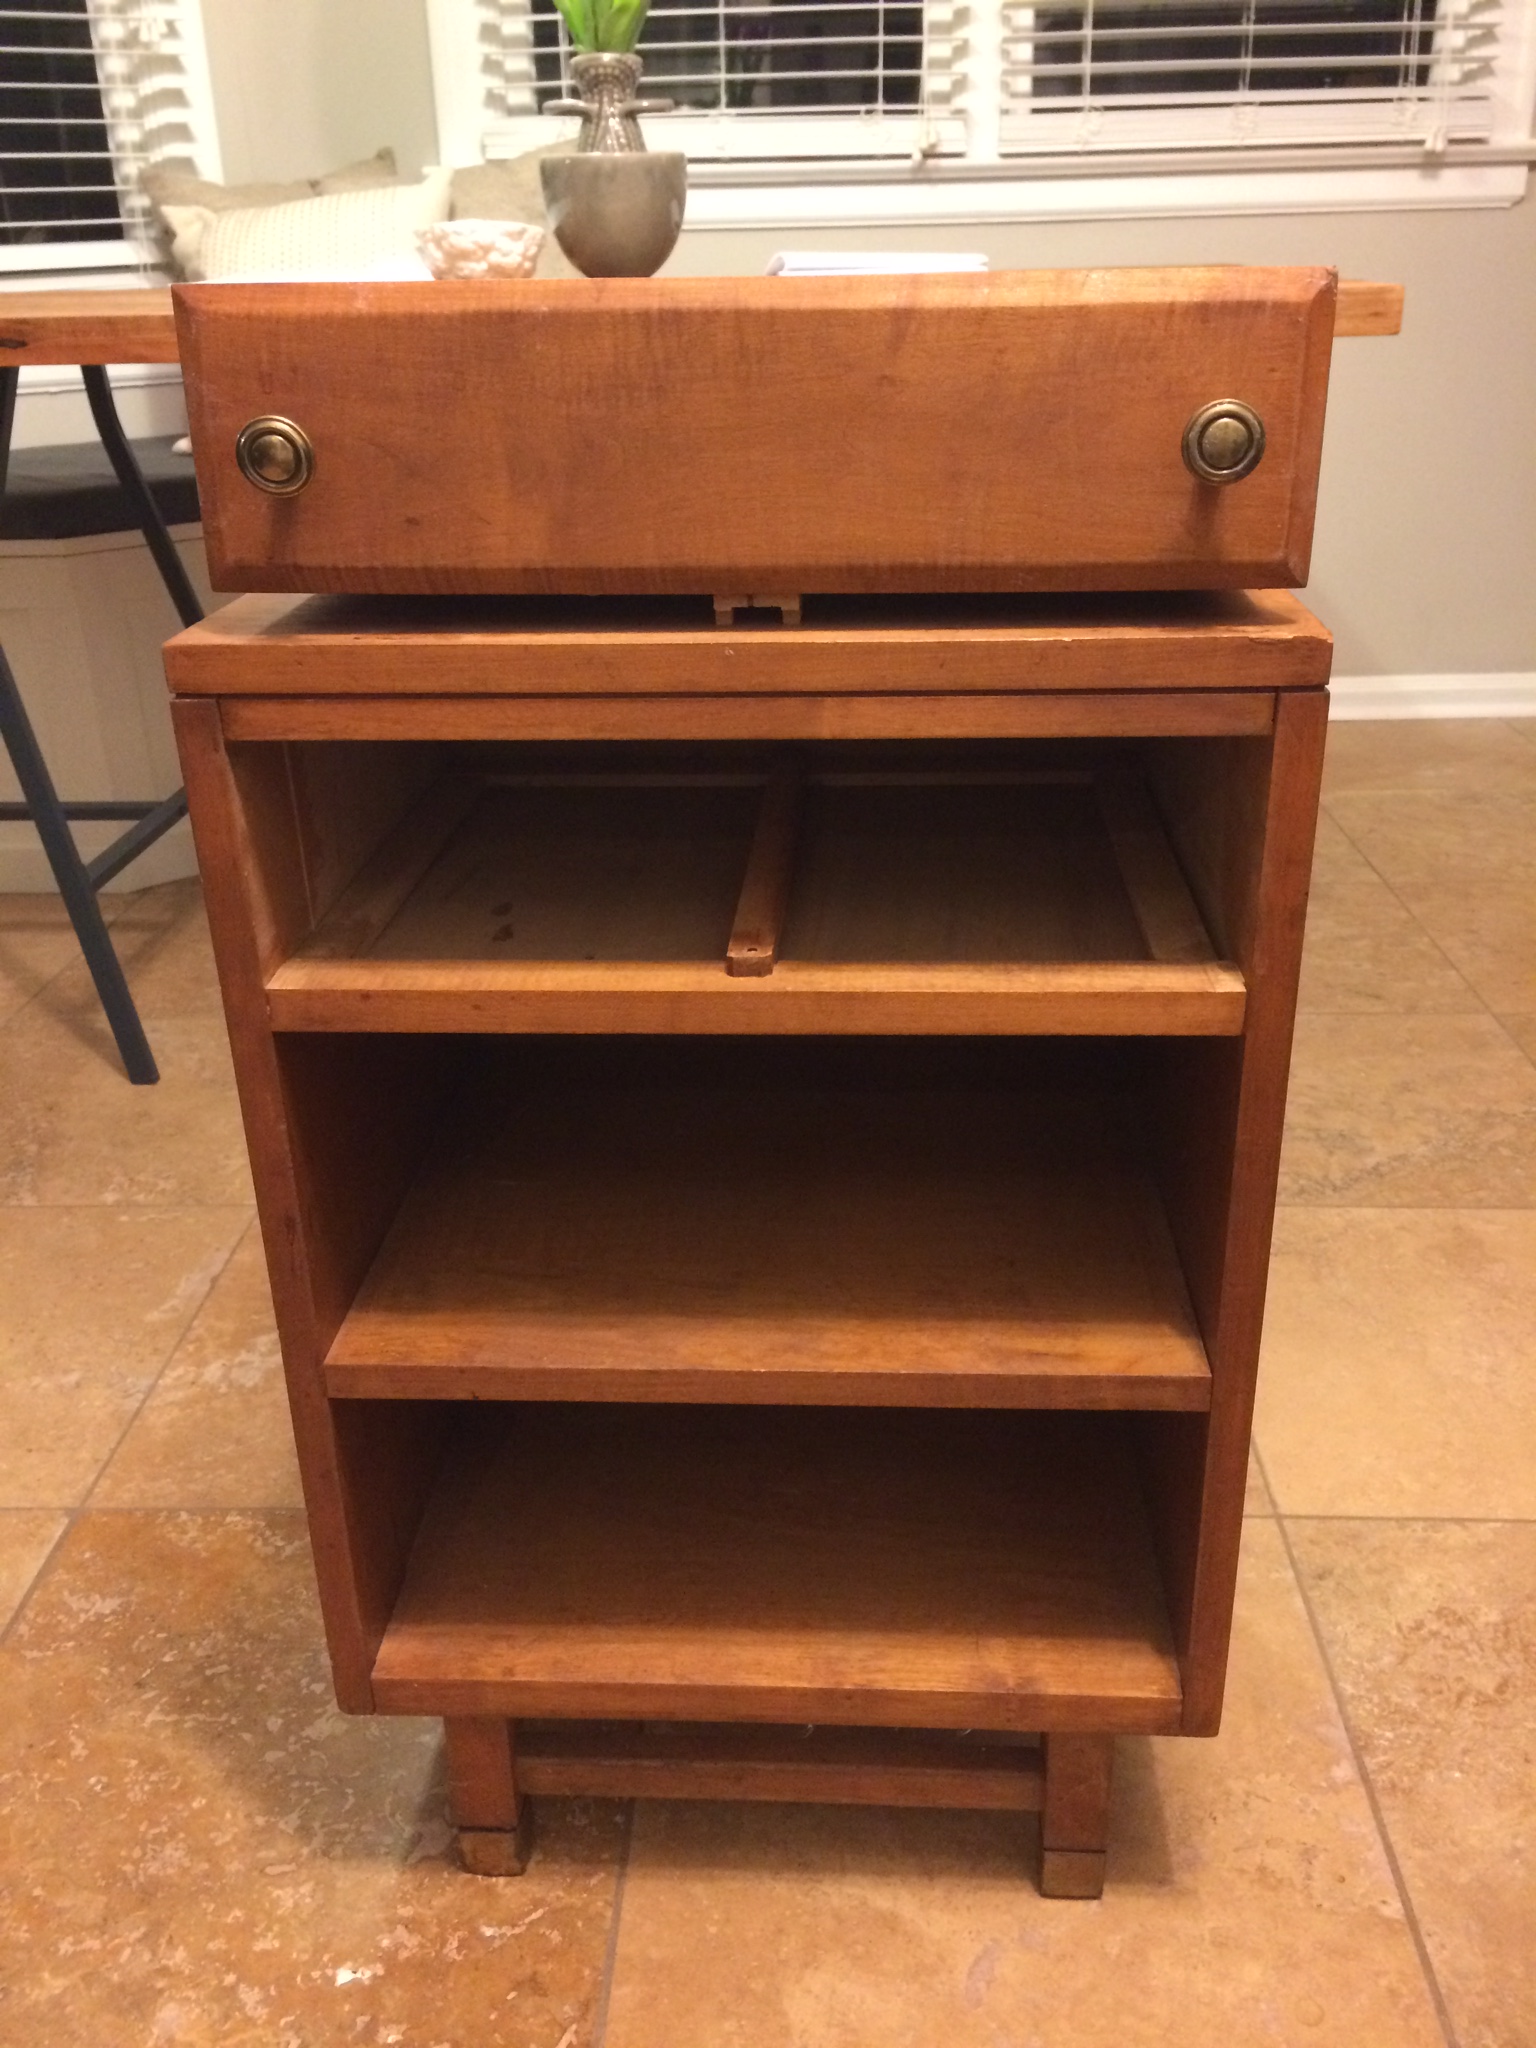
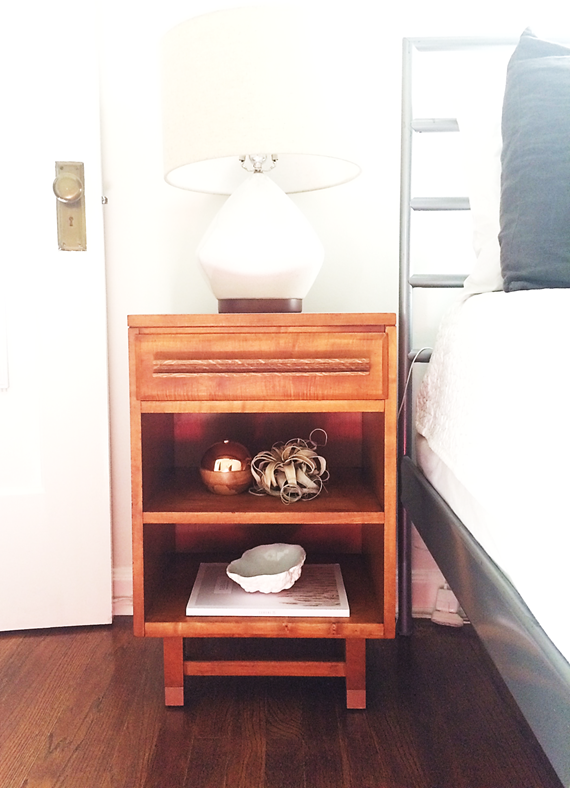
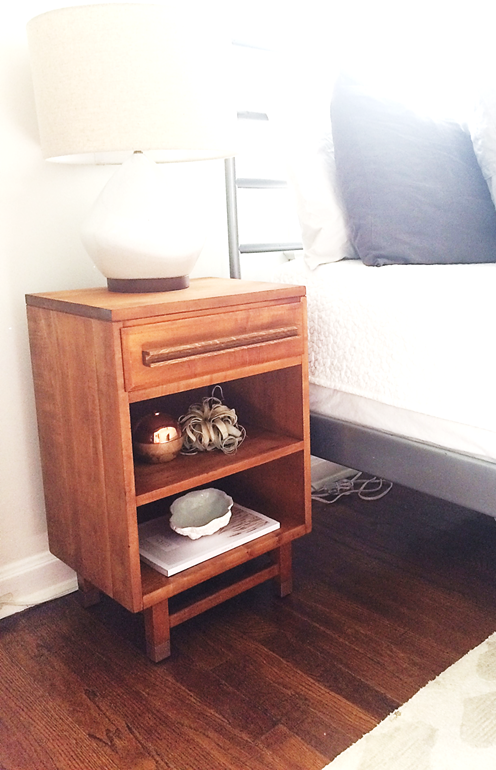
My roadside find received a little face lift, and I couldn't be happier with the end result. I didn't do anything drastic - just a little love is all this guy needed!
To start out, Tyler removed all of the hardware and repaired some minor splits, cracks, and wobbles. A few brad nails here, a little glue there, and we were in business. Next, I took everything outside (thank you 50 degrees and sunshine!) and sanded it all down with my brand new toy - Dewalt orbital sander. This guy is a winner. I started with 80 grit sand paper and worked my way up to 220 to make sure everything was super smooth.
After sanding was complete, I washed every surface with no rinse TSP. If you ever decide to paint something or just need to remove some serious grit and grime, I'd highly recommend this stuff. Just make sure you wear some gloves!
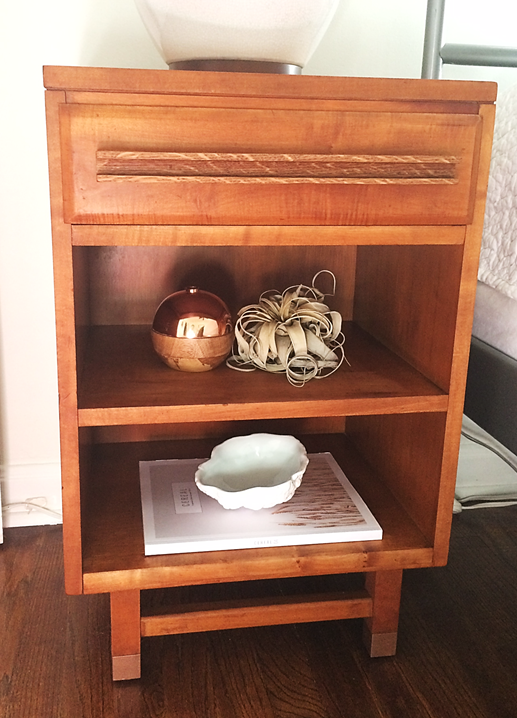
Next, I wiped everything down with some Murphy's Oil Soap and then applied a light coat of Restor-A-Finish in walnut. This stuff isn't so much a stain as a product that helps bring out the woods natural color. I went with walnut in hopes that things would err on the dark wood tones but not orange-y. After that dried, I applied some Feed & Wax and allowed that to soak in. You could clearly tell that this thing was thirsty - no residue remained after just 5 minutes. I waited for about 20 minutes, wiped him down with a clean cloth and then repeated that entire process. After everything was said and done, I ended up applying 3 coats of the Restor-A-Finish/Feed & Wax combination.
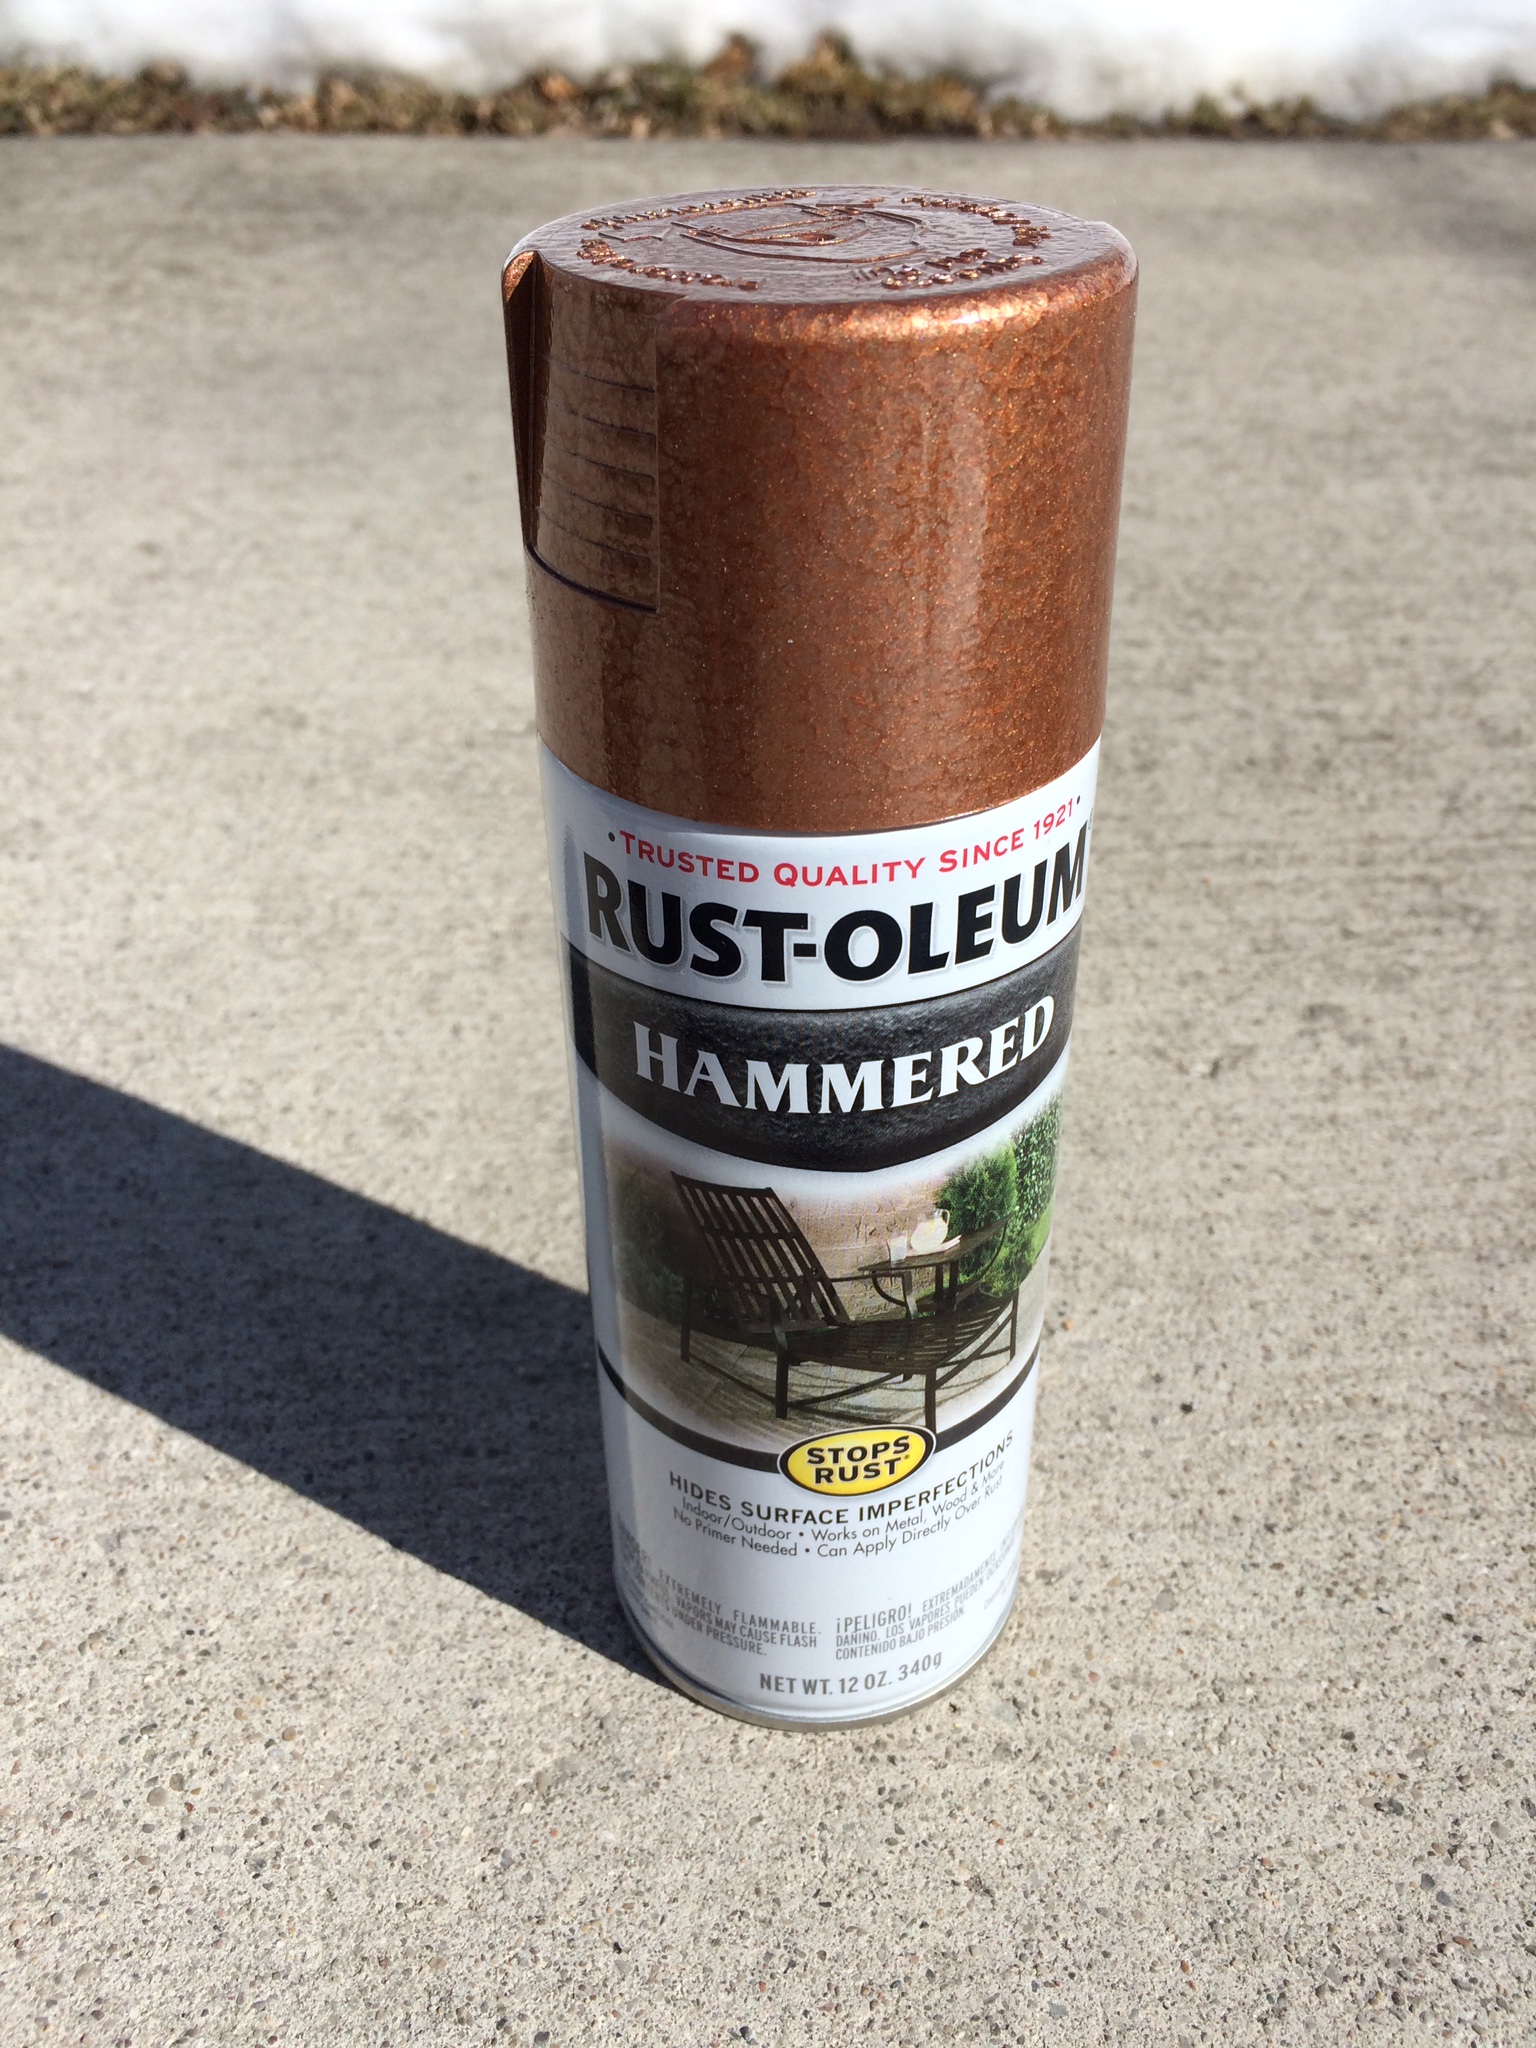
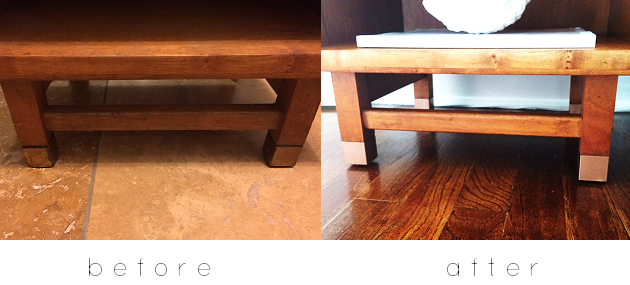
As for the "shoes", I simply washed these really well with TSP and then spray painted them copper. We're using this table in our bedroom, so I wanted to keep with the stainless/copper mix we have going on in there. Brass just wasn't going to cut it and these things were pretty beat up.
Here's a little before and after for reference:
Everything up to this point was super easy. There's always a hard part though, right? WELL. The old hardware was.... ugly. Oh, and did you notice how far apart the knobs were placed?
It just looked really awkward. I attempted to fill in the holes with wood filler in hopes that they wouldn't be too visible and we could simply find some new hardware, but that didn't work out so well. Plus, I just couldn't decide what type of hardware I wanted. Knobs? Pulls? Bar? Leather? Wood? Metal?
After much deliberation, I finally decided to keep everything as minimal as possible. I sort of wanted the handle to just blend in. I came up with a wood design and Tyler thought he could replicate it with his new router. Well, low and behold, after much arguing and back and forth, my design just wasn't going to work out quite like I wanted. We didn't have the necessary router bit to make the shape I had in mind and buying one would cost us $25. Uh, no. That's silly.
We finally came up with a modified version using a table saw, and I think it looks great! Plus, we didn't spend a dime AND the old holes are covered. Win-win!
