MAKE IT | diy wall hanging

The falling leaves and crisp air are sure signs the holidays are just around the corner. Are you ready? Tyler and I hosted a "Friendsgiving" dinner party at our house on Saturday (more on that to come!), so we've been in hyper-mode to get the house cleaned and ready over the last few days. Nothing like a last minute decision to re-paint your entire living room three days before guests arrive. Oh vey....
Anyway! I previously had a staghorn fern hanging in the dining room, but the poor guy kicked the bucket about six months ago. The board continued to hang sans staghorn ever since. In loving memory? I'd like to think so. :) Regardless, I decided something needed to be done before everyone came over and wondered why I had some random board with dried moss hanging on the wall.
I searched the house and found a rug remnant I had picked up at West Elm many moons ago. Have you seen these things? If you head to the rug section of your nearest West Elm, there is likely going to be a basket full of them. Even better, they're usually on clearance. I remember sifting and sorting through a giant pile and thinking, what the heck am I going to do with such a tiny rug?? Of course that didn't stop me. I'm pretty sure it cost about $5, and I knew it would come in handy one of these days.
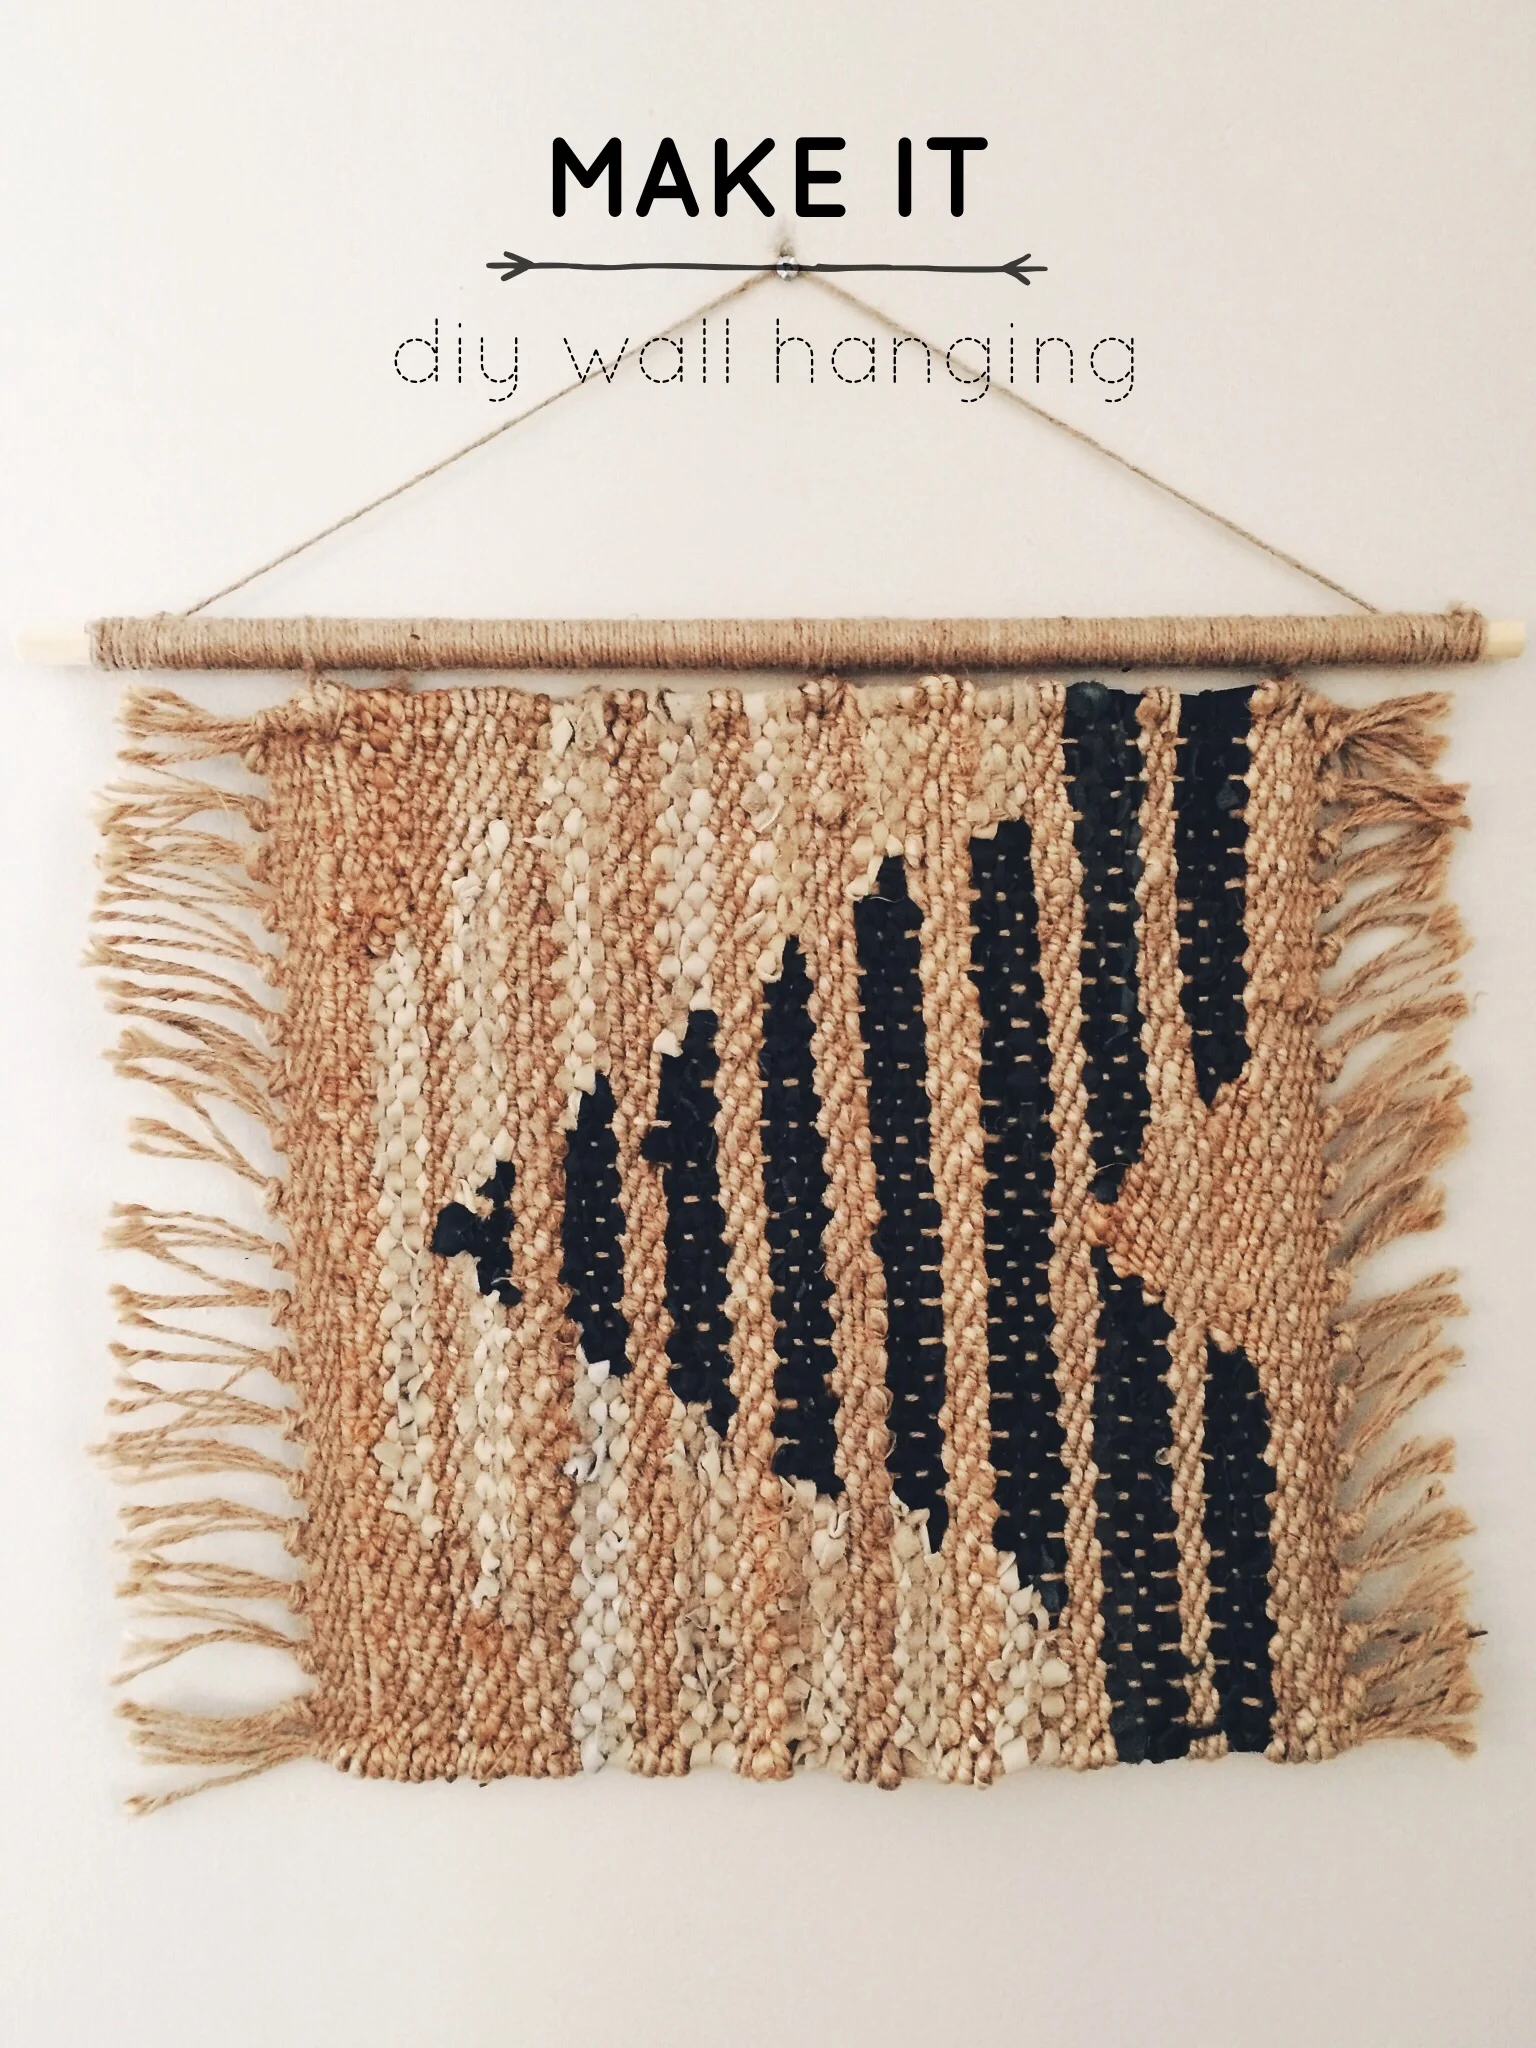
It ended up being the perfect purchase! It may have been too small to act as a rug, but it was the perfect size for a wall hanging. I gathered up some supplies from the basement and whipped this guy up in less than 10 minutes.
s u p p l i e s
Time: 10 minutes
- (1) rug remnant
- (1) dowel rod - length and diameter completely up to you
- (1) ball of twine
- scissors
Total Cost: $10
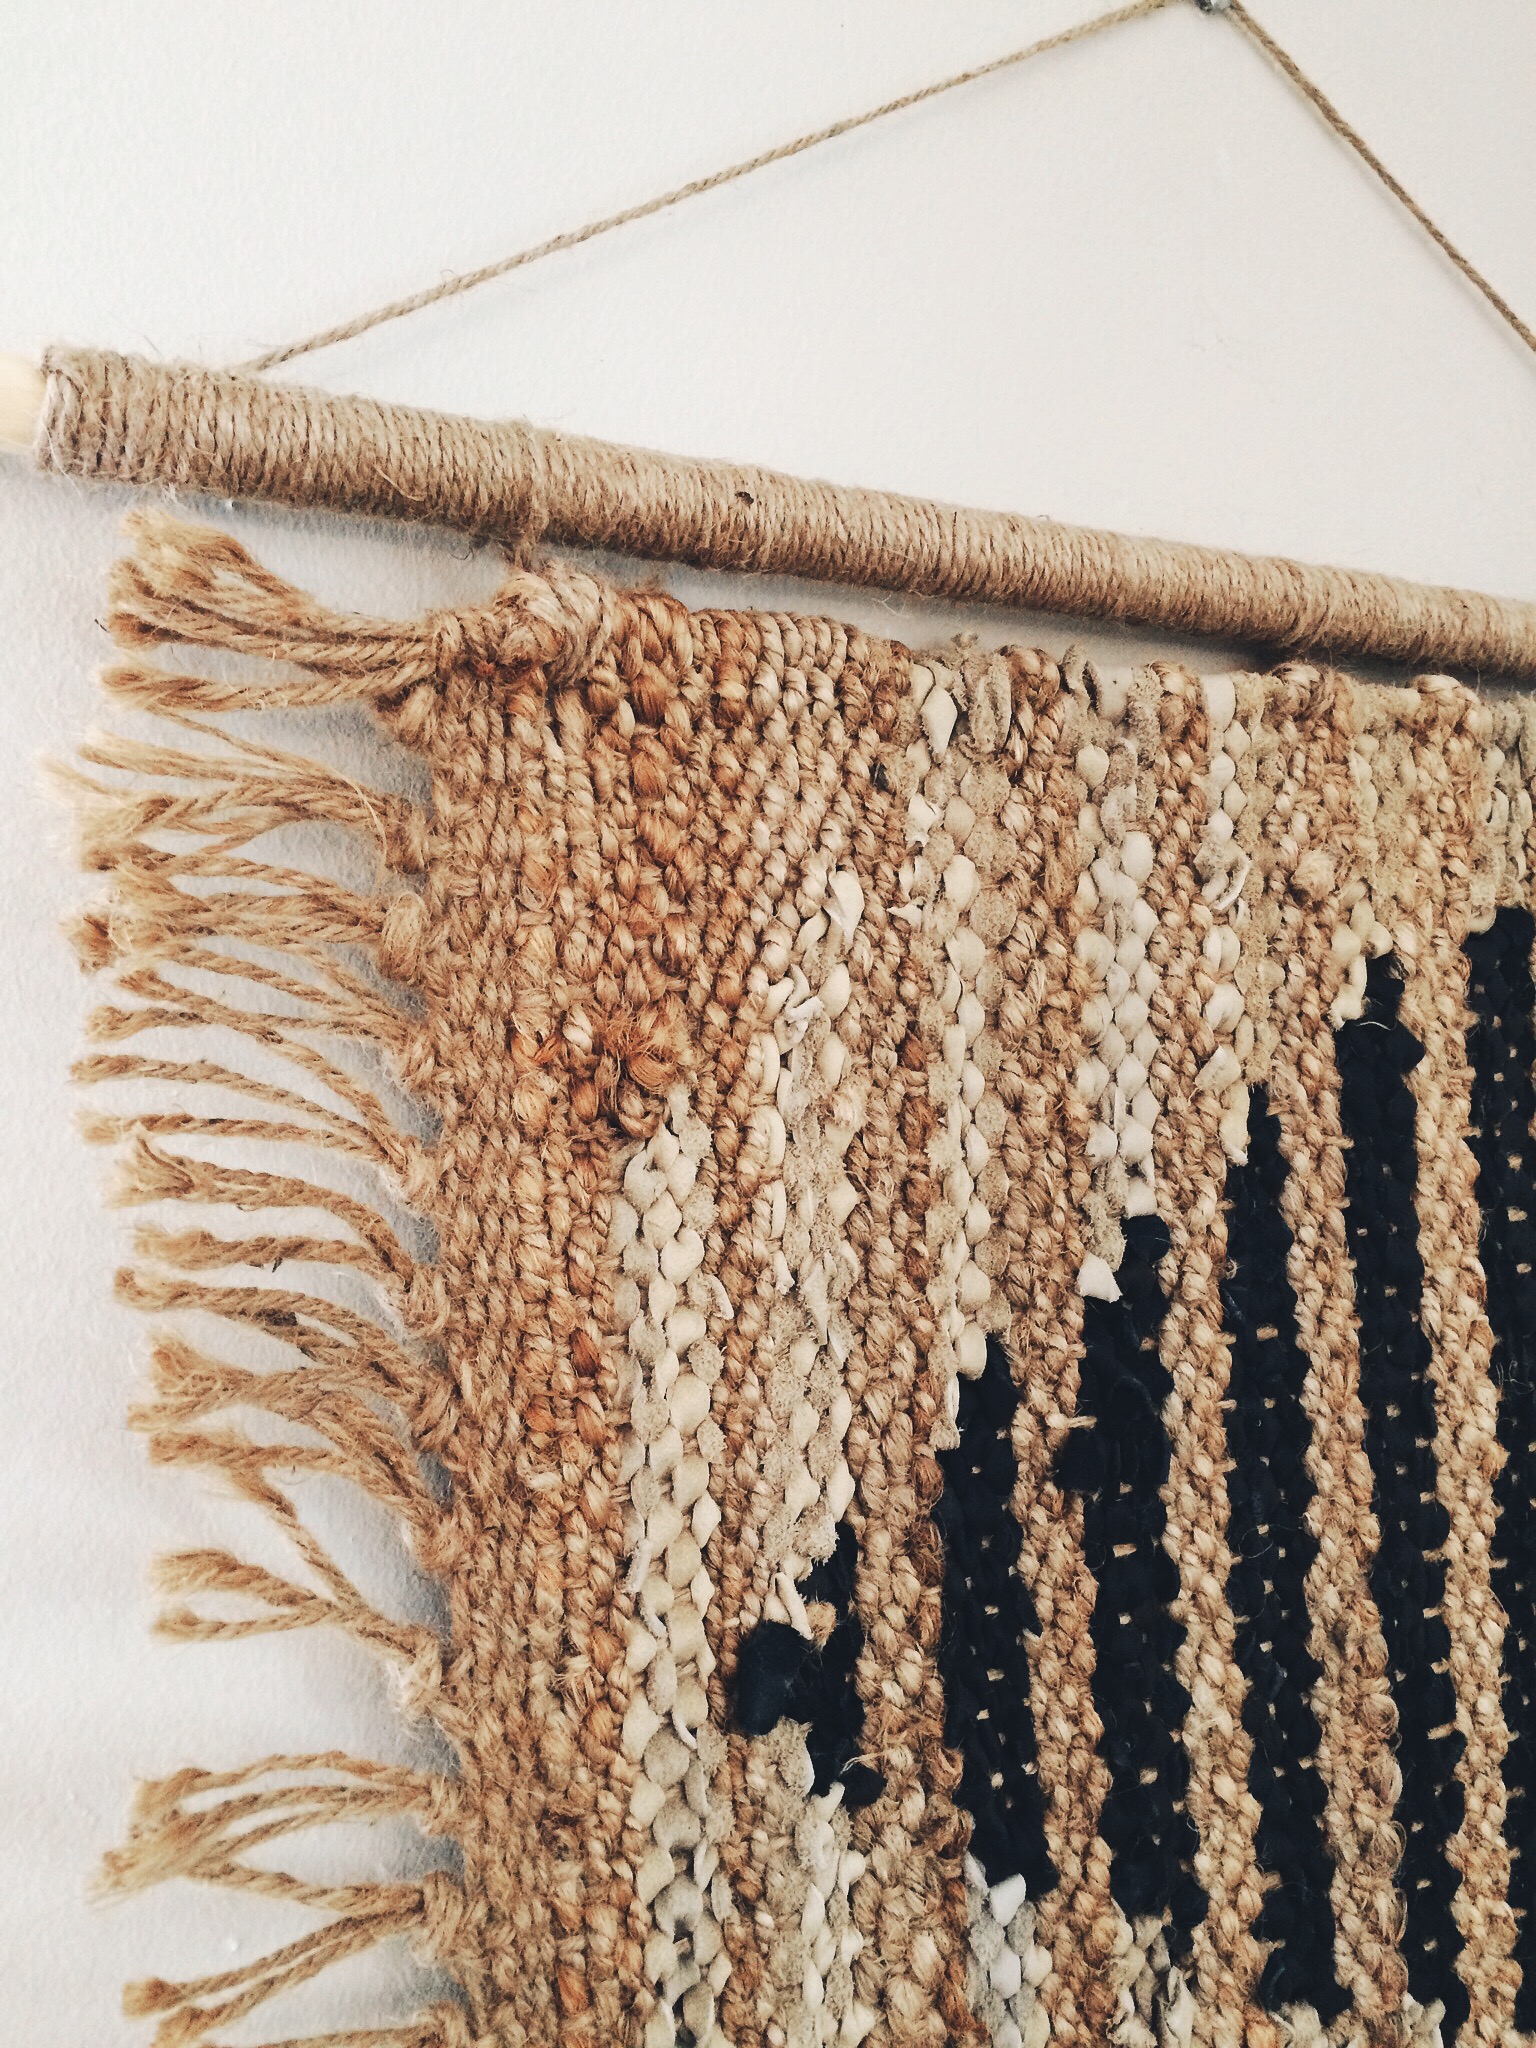
STEP 1: Since my rug remnant had a very loose weave, it was easy to stick twine through openings at the top and tie knots. You may need to use a needle and thread if yours is a tighter weave or a fancier remnant, but this method worked just fine for me. I started off tying simple knots on the left, right and middle of the rug, leaving plenty of slack to secure to my dowel rod at the end.
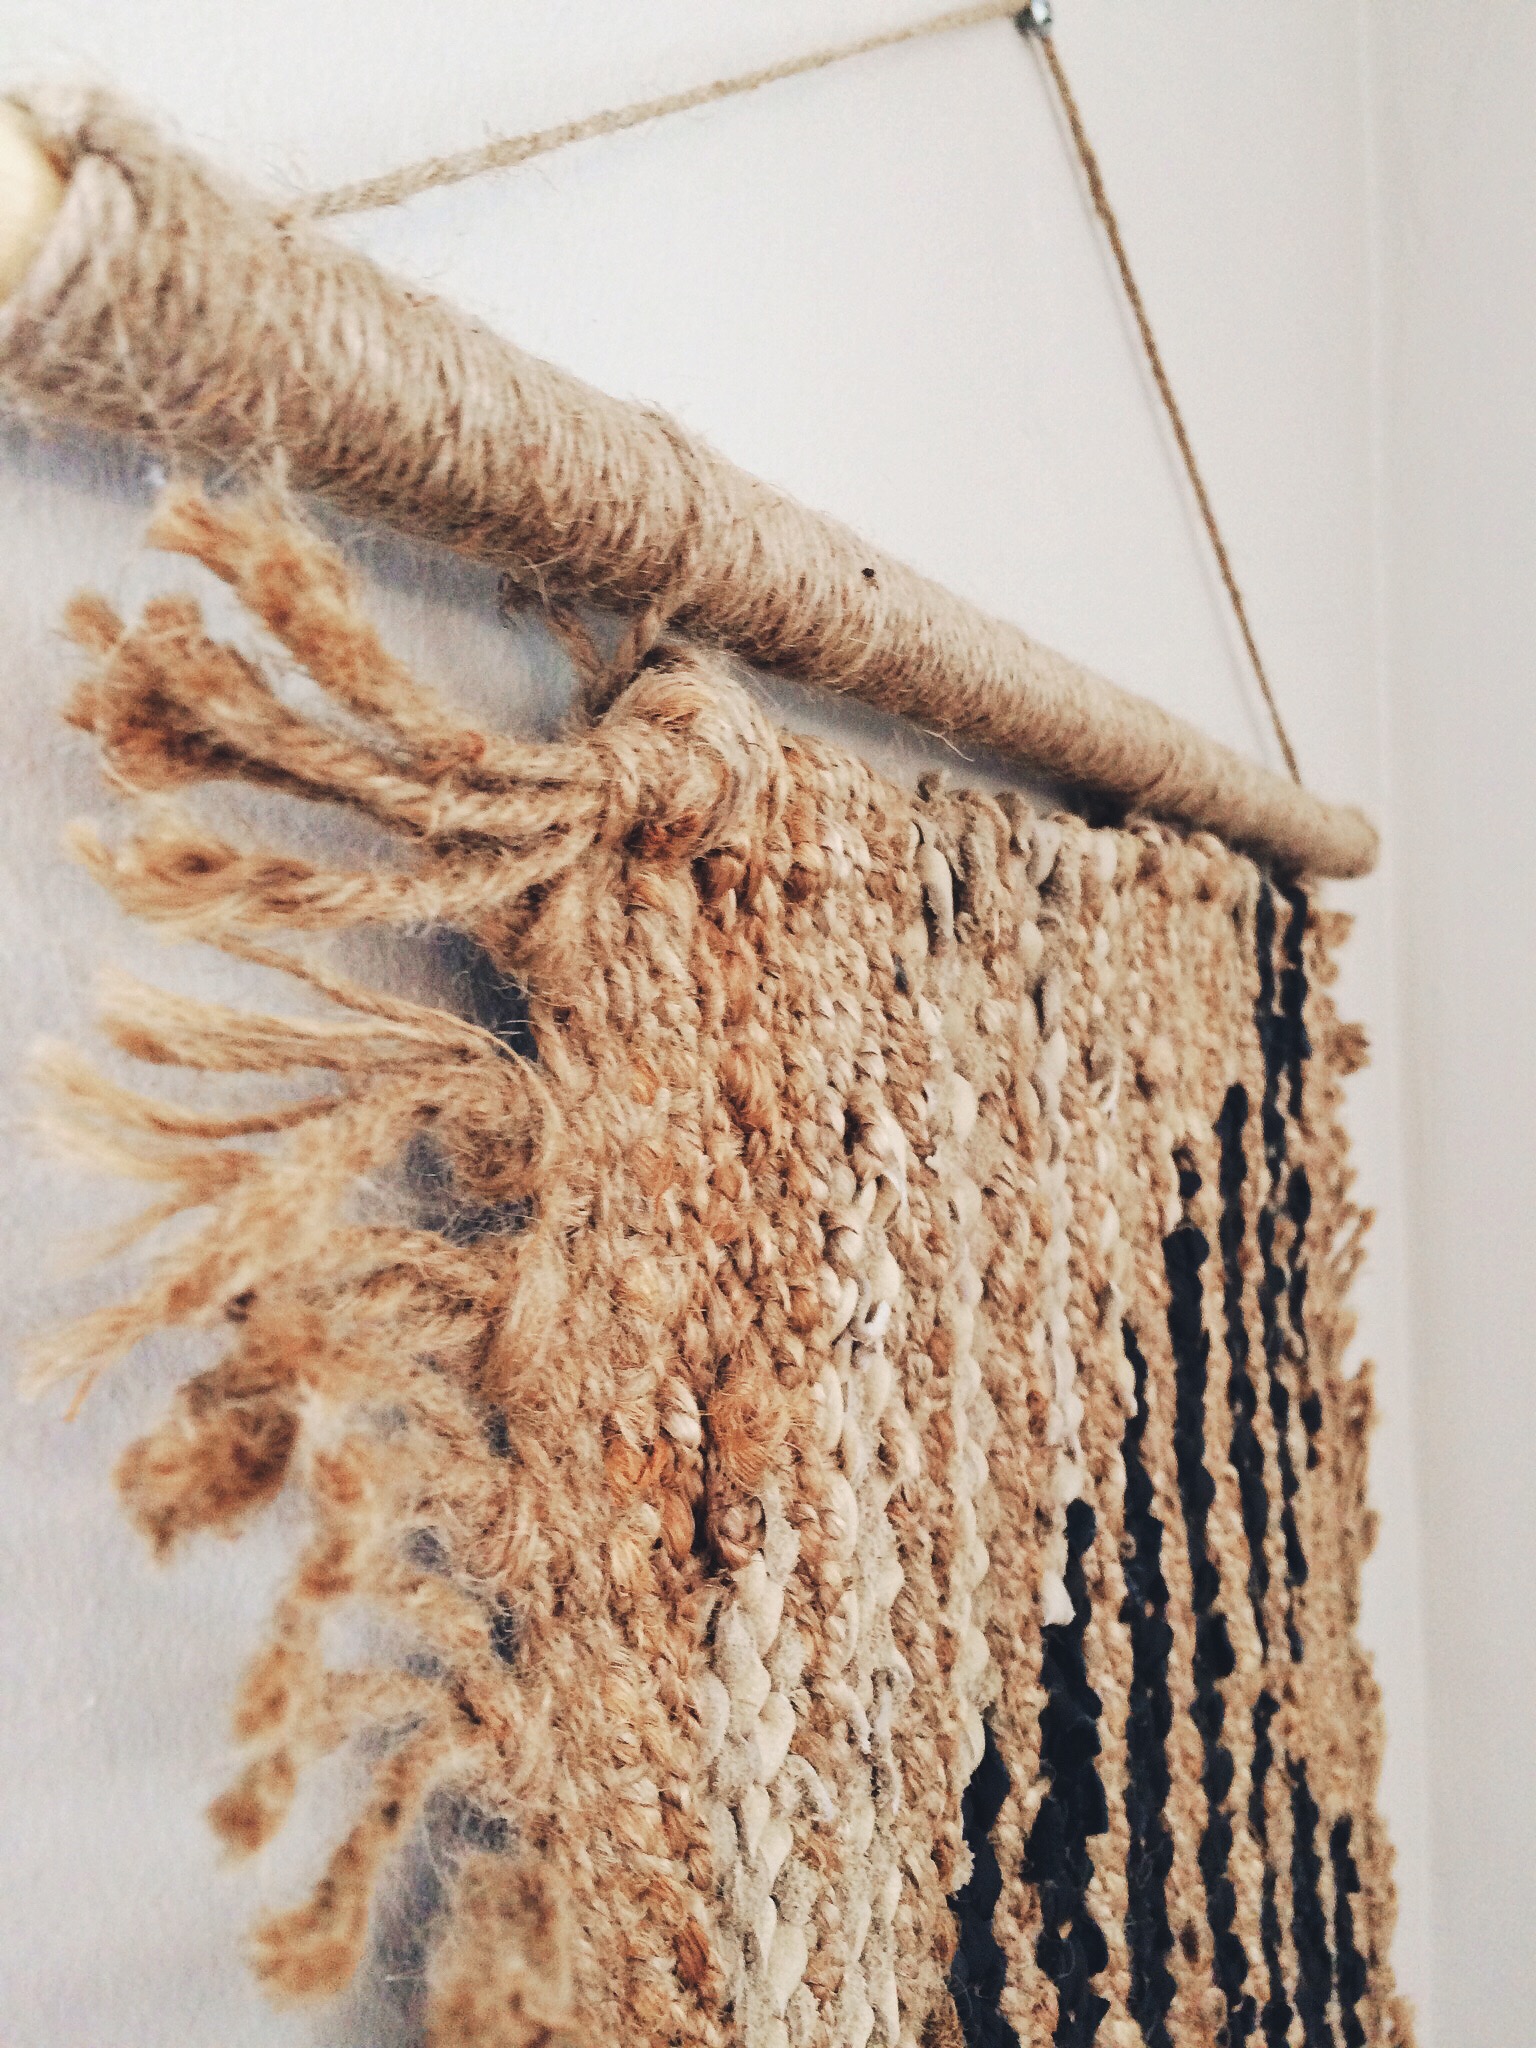
STEP 2: I then tied a knot around the end of my dowel rod and started spinning the twine around it. I did so until all but ~1" on each end was covered. I tied knots on the other end to secure. Side Note: You could possibly use glue to secure each end which may be an even cleaner look. I didn't have any on hand. I did, however, try to be strategic with my knot placement to ensure they were hidden.
STEP 3: Finally, I tied the slack hanging from my rug remnant in step 1 around my twine-covered dowel rod from step 2. Since I used the same twine throughout, the ties were almost perfectly hidden. I then took a final piece of twine and tied it on the left and right sides of the dowel and hung over a screw!

This was probably one of the easiest projects I've done in a while, and I absolutely love how it turned out. Just the decor and project you need around the holidays!

