Entryway Makeover
Do you remember when I posted some Entryway Planning ideas back in November? Believe it or not, I think we might have a finished product to share today! We got most of the work completed over the Christmas/New Year's time frame, but I just now got around to adding a few decor pieces and taking some photos. Let's jump right in.
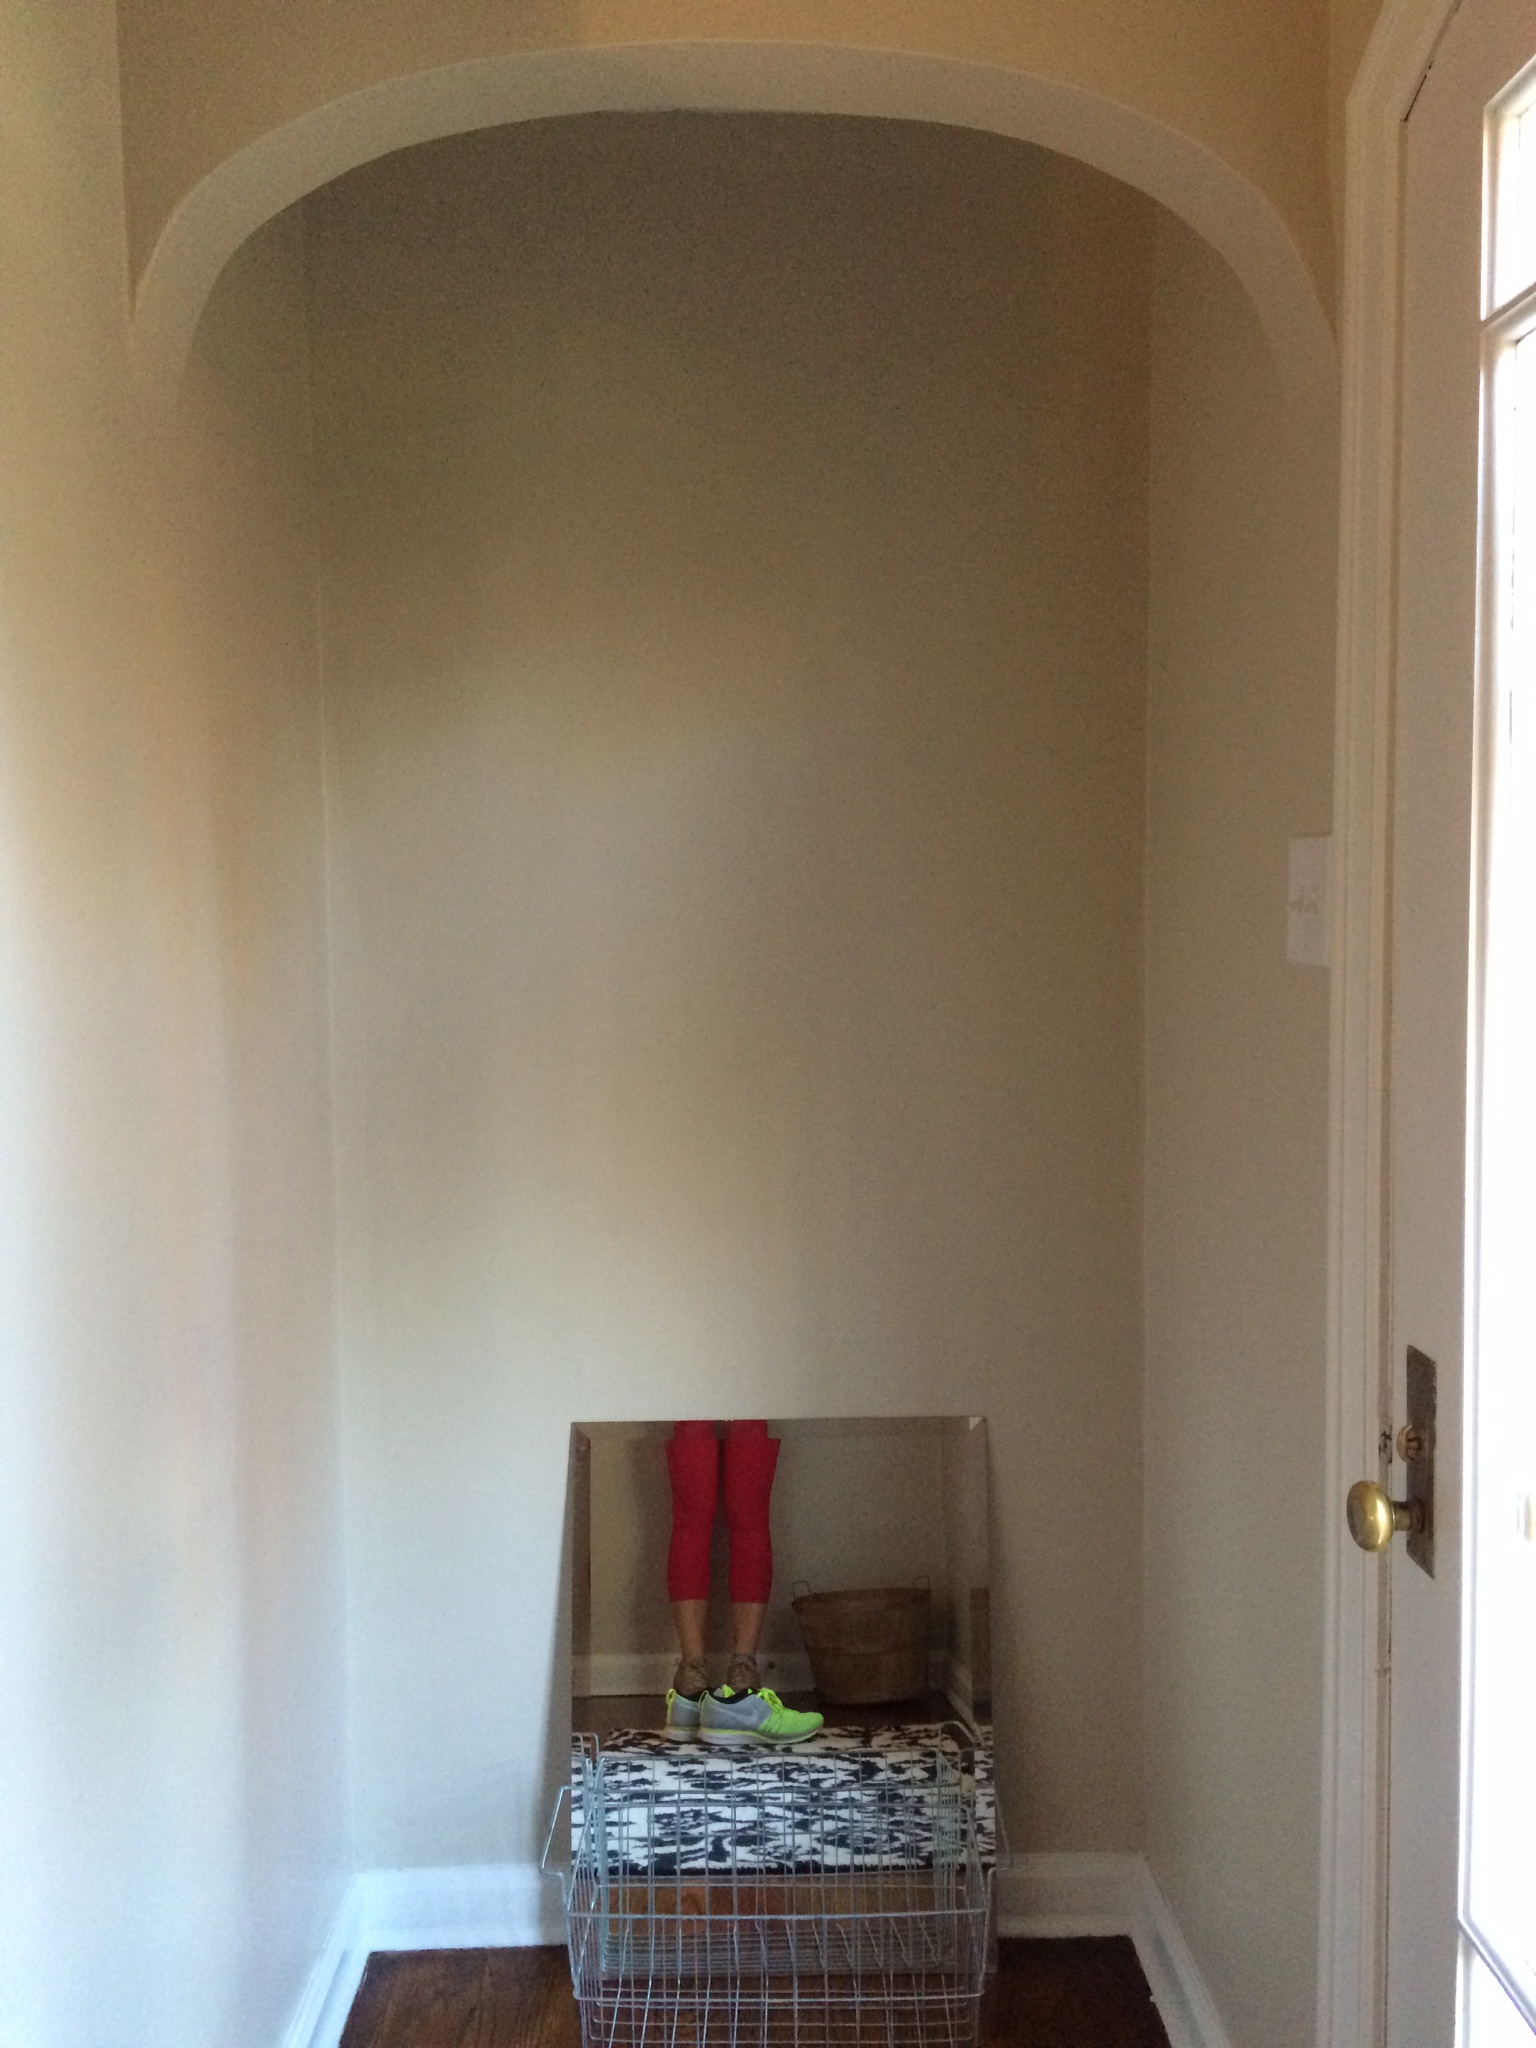
This is what our entryway has looked like for the past two years...
Oddly enough, this was one of the first spaces I wanted to tackle when we initially bought our house. I thought it was the cutest little space but there was zero storage. Go figure, the entryway continued to fall to the bottom of the to-do list once I realized we didn't actually spend much time in it. We come in and out of the back door most of the time, so the mudroom was the first to get some attention. Either way, I've always loved this little nook. The arched ceiling adds such character and just begged to be highlighted.
I threw around a number of ideas for this space. Everything from wall paper, to DIY Sharpie wallpaper, to wood "paneling", or even just some nice white paint (BM White Dove, anyone?? :)). After a ton of hem-hawing around, I finally decided to just leave it as-is for now. The current color of the space is Sharkskin by Porter Paints which is the same color as our living room. (I'm thinking of repainting everything (again!) this summer, so I decided to hold off on any changes until I can make up my ever-changing mind.) At the end of the day, keeping the color consistent between both spaces feels the most natural and gives a nice flow.
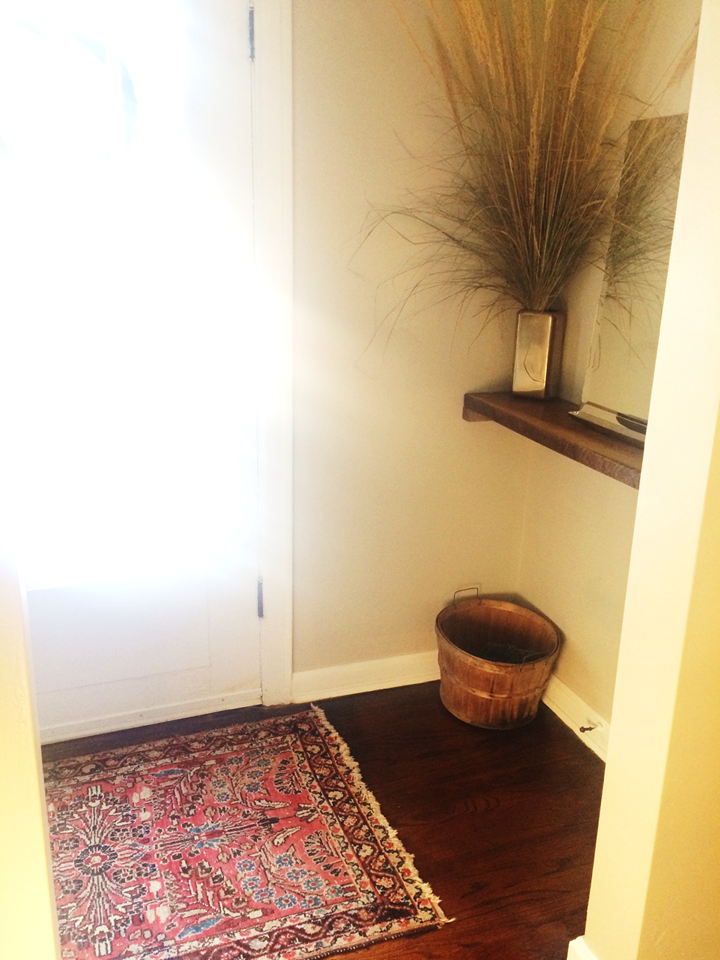
Even though I decided to hold off on any wall treatments for the time being, I knew some wood shelving and antique hooks were a must. Tyler happens to work for a lumber company that is based in Union City, so we drove over on a Saturday morning to check out their outlet store. We were in lumber heaven! I've never seen so many varieties in my life. I'd highly recommend taking a trip if you're in the market for lumber! We ultimately chose a beautiful piece of walnut to take home.
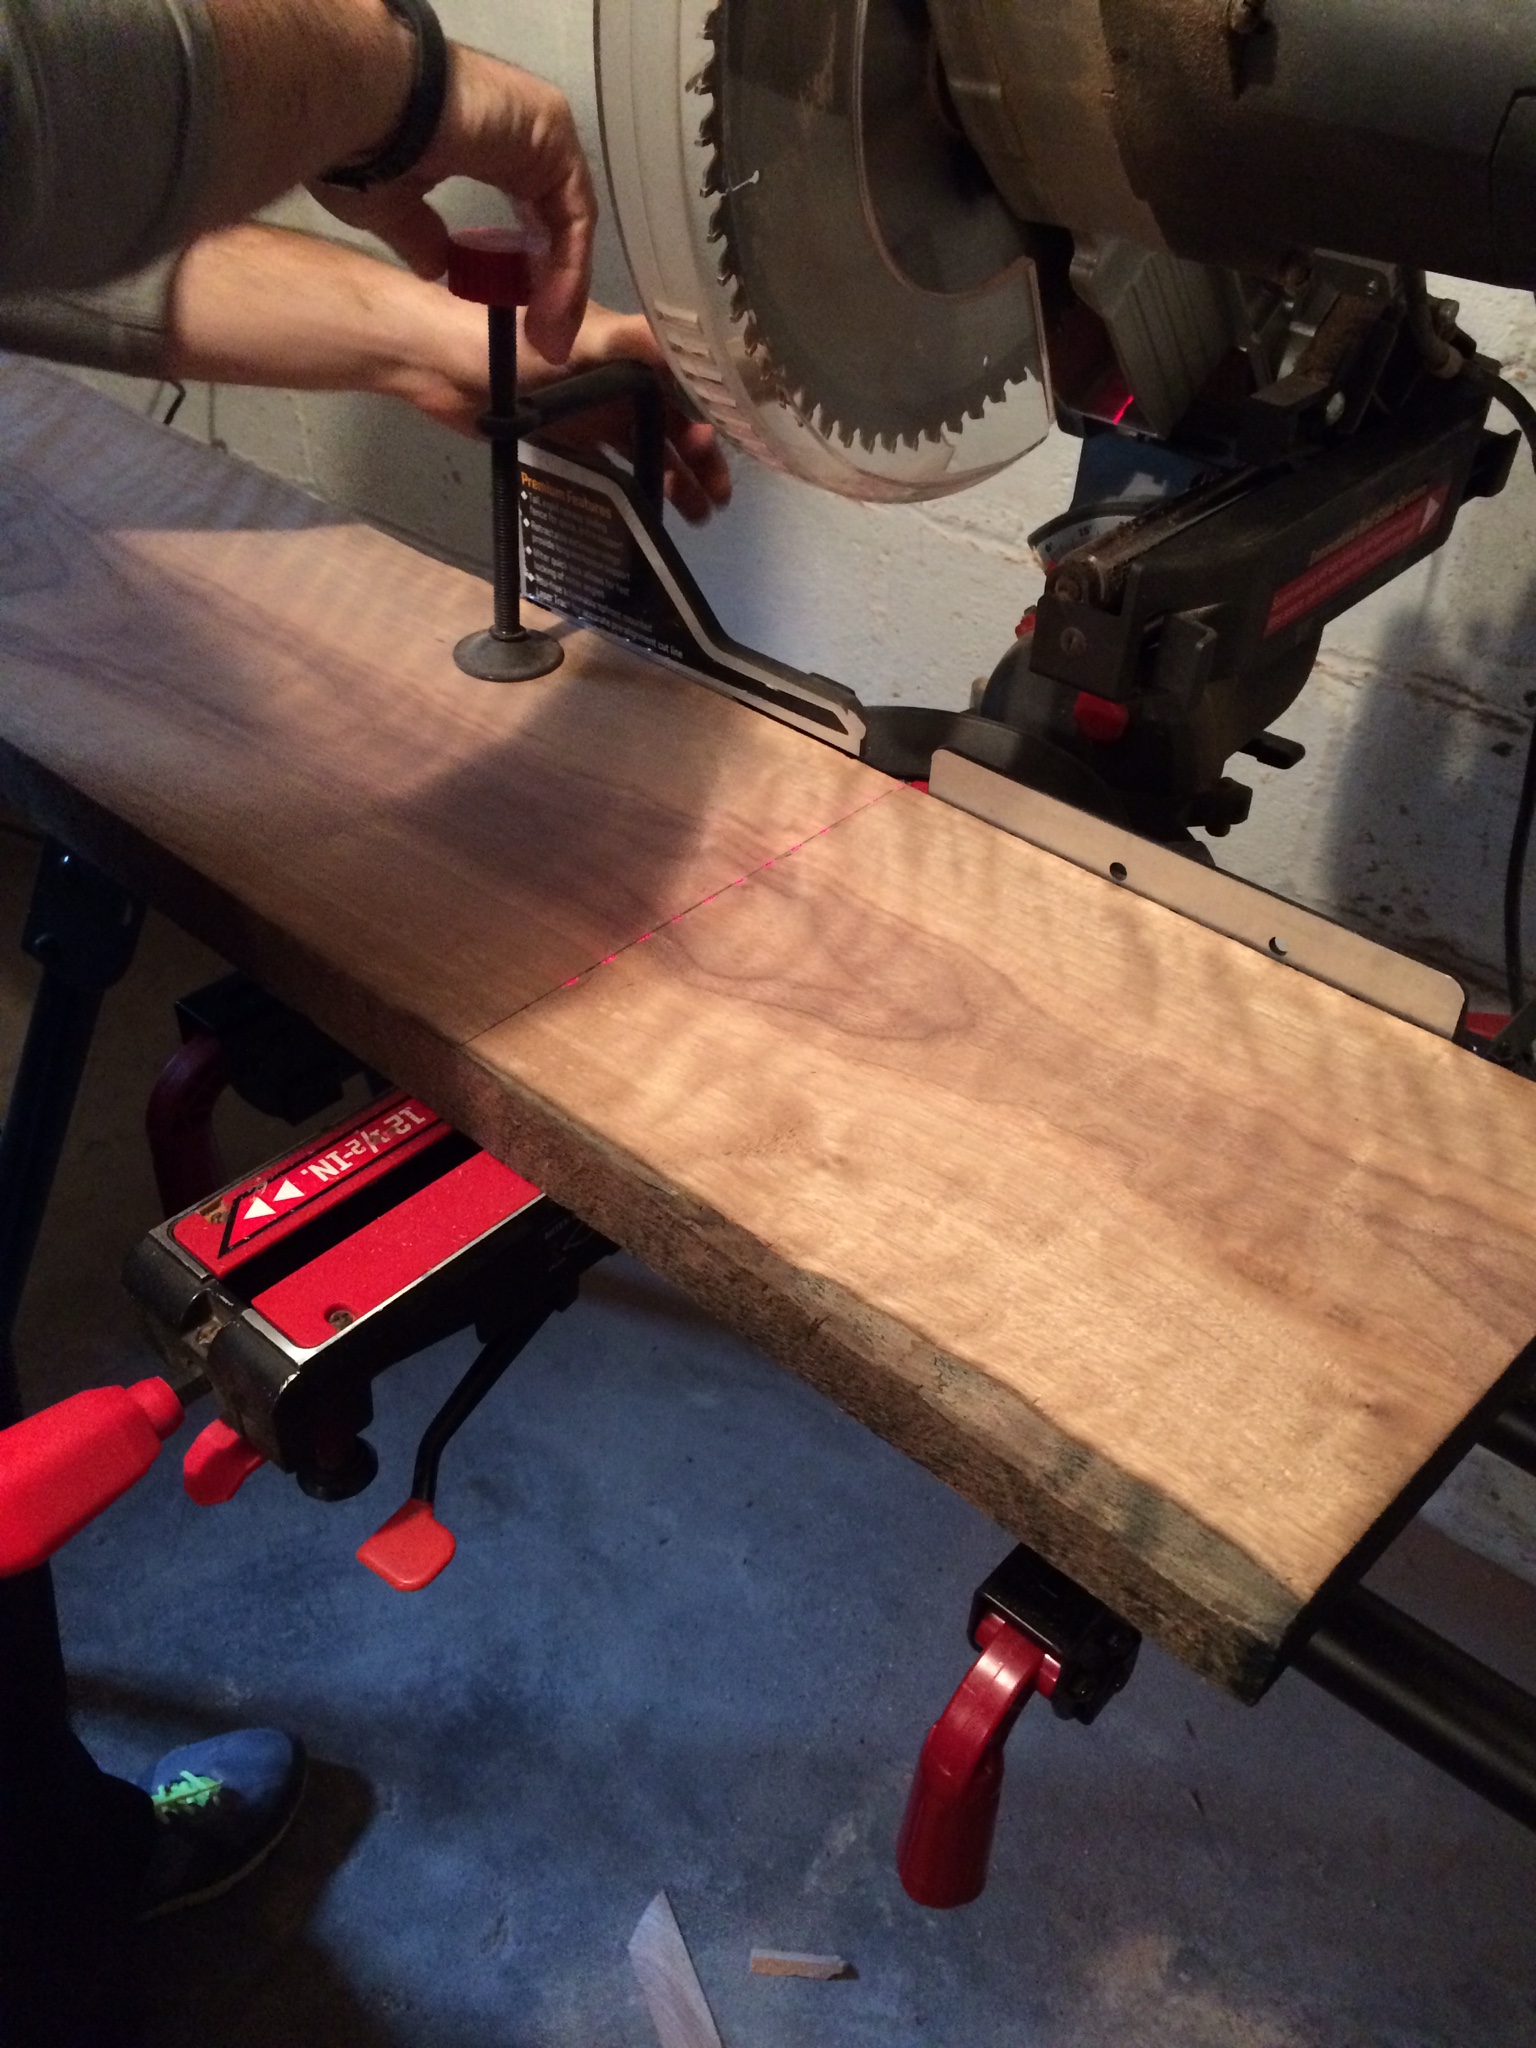
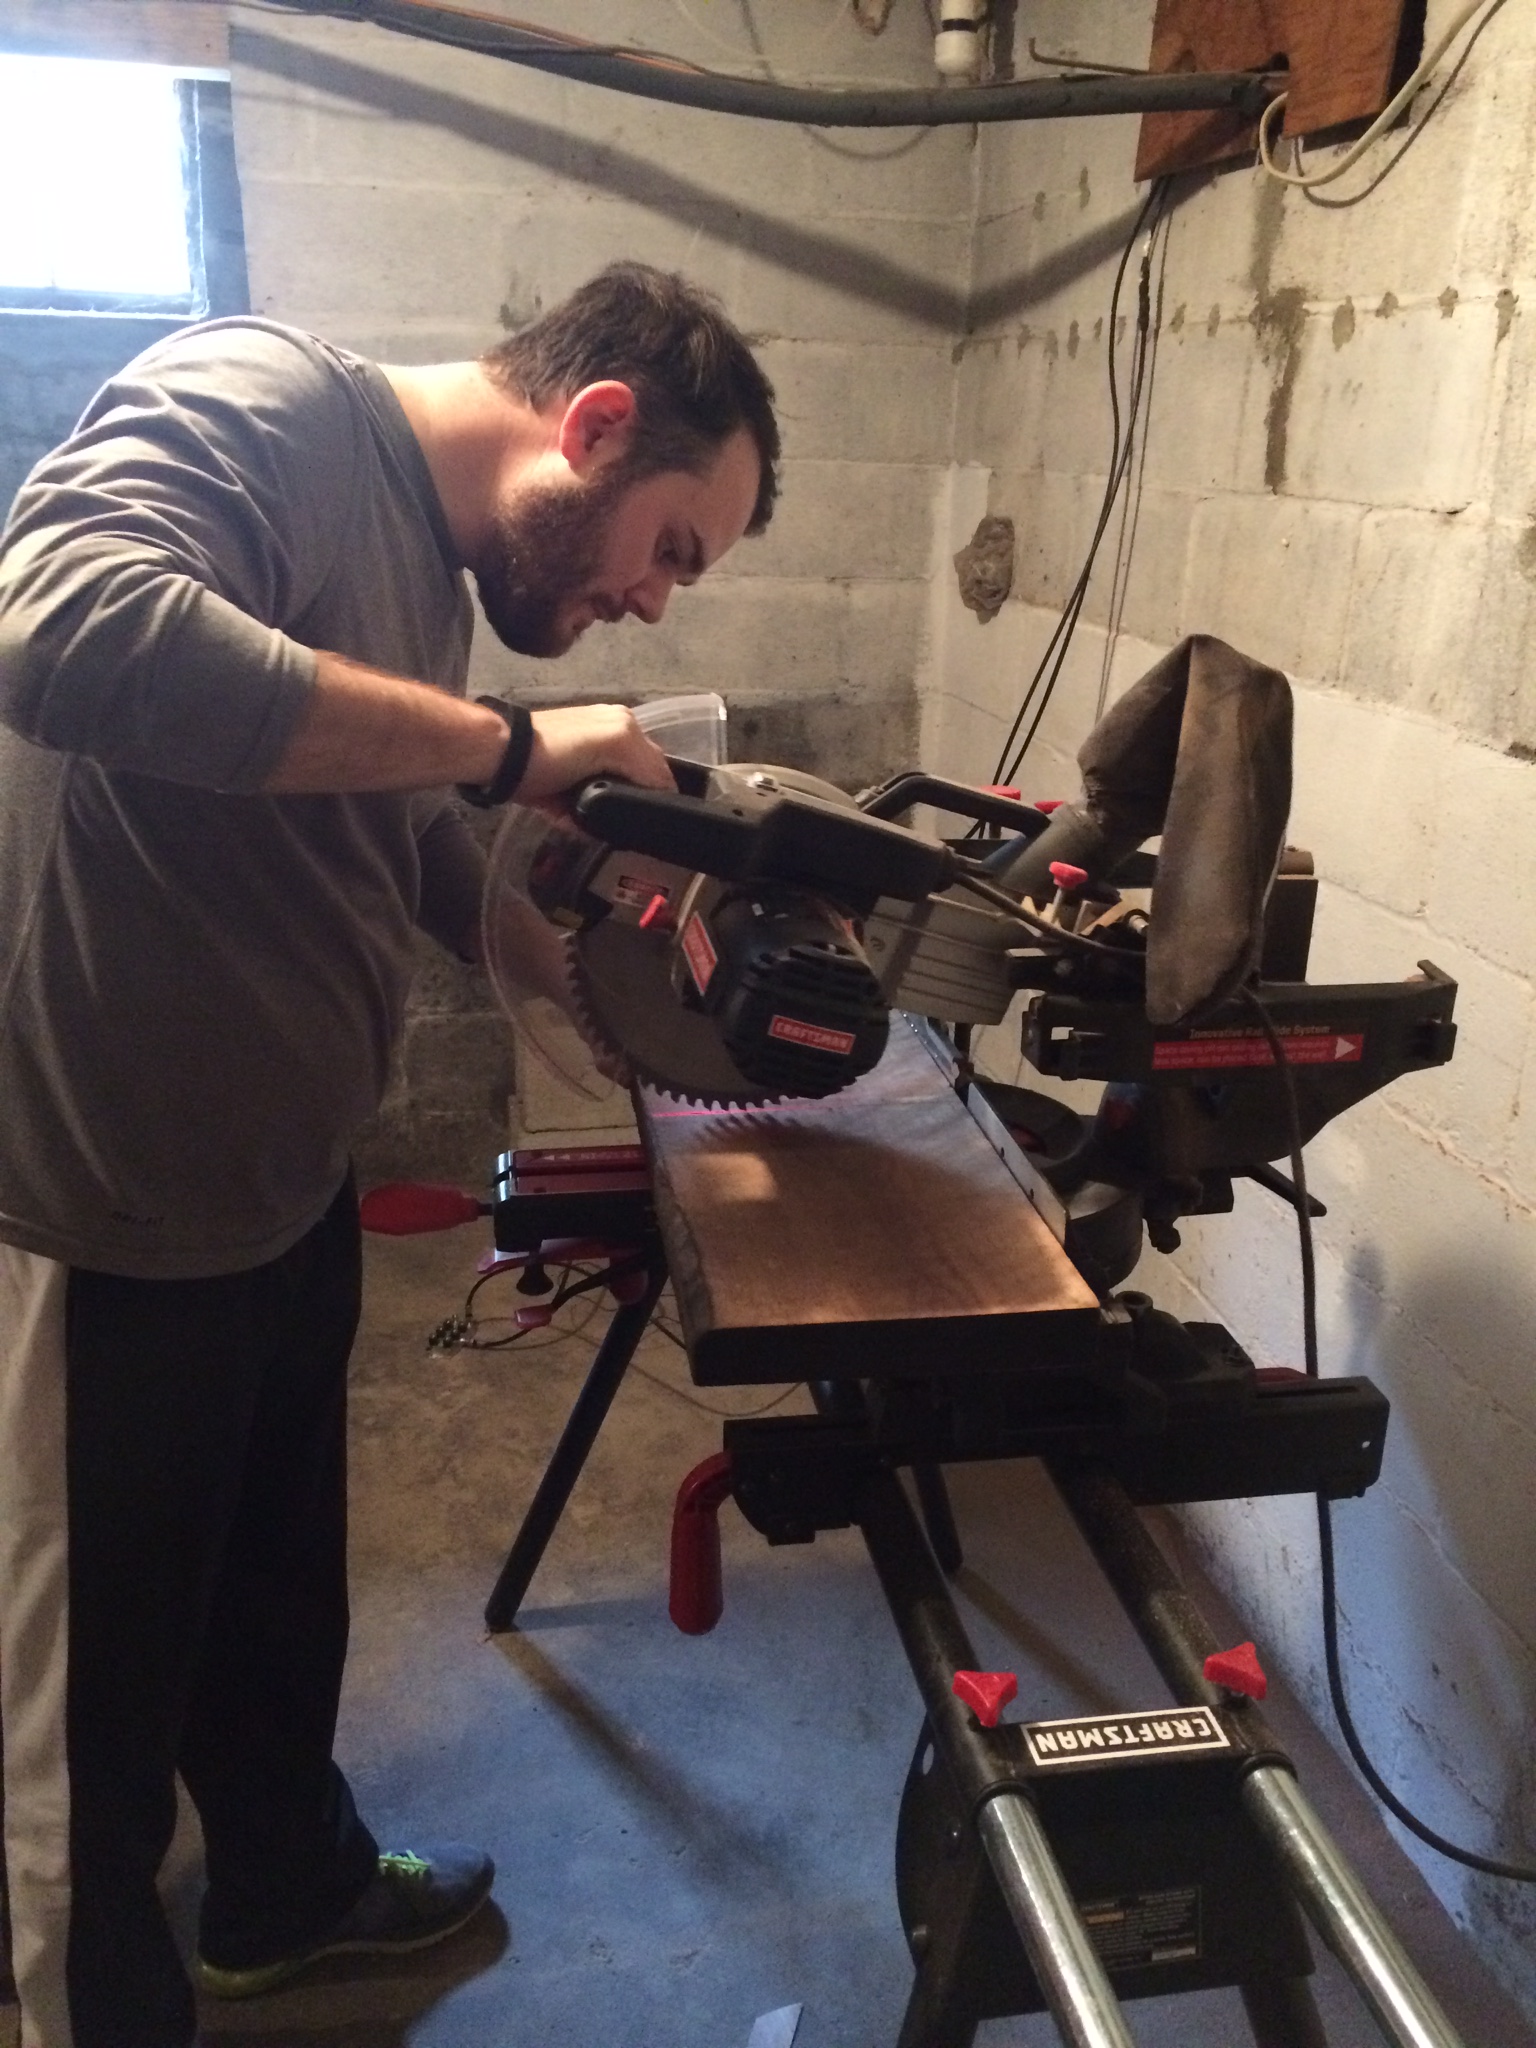
After some careful measuring, we decided we had just enough wood to make a shelf on each side of the entry as well as some cleats to mount the shelves. We thought about using some fancy brackets, but I liked the simplicity of the wood cleats best. Tyler handled the cutting while I sanded and polyurethane'd each piece.
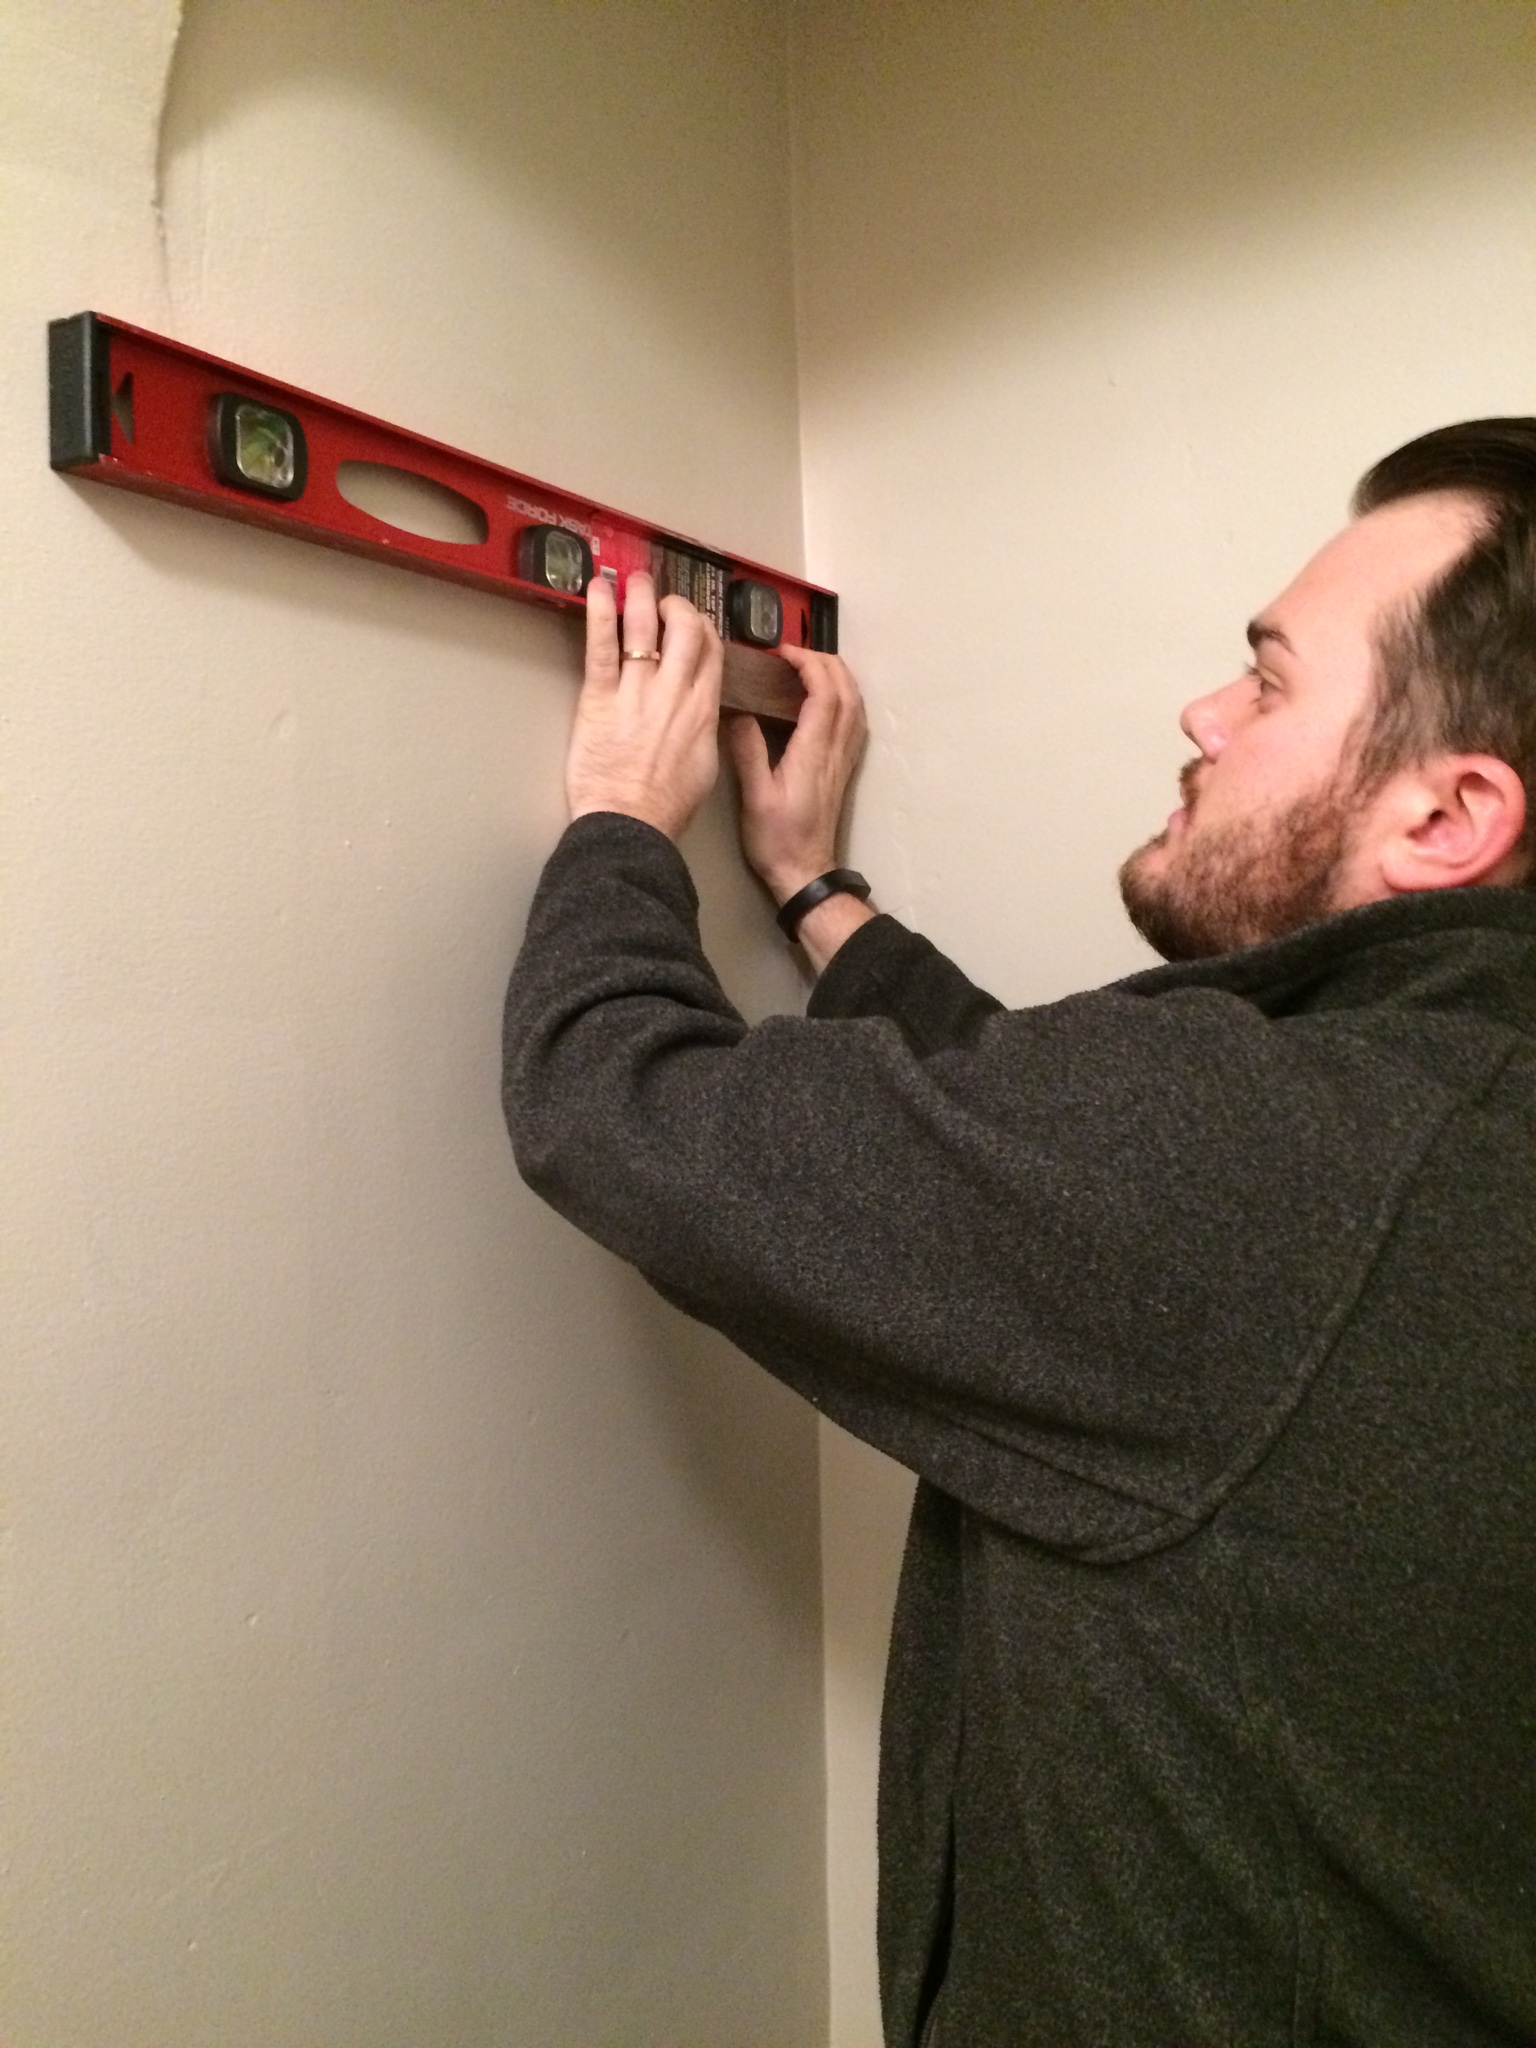
Once everything dried, we measured once again, made sure everything was level, and screwed in our new shelves!
Up next were the hooks. I actually bought these hooks on Ebay way back when we completed our mudroom. These weren't nearly as expensive or as old as the ones from France, but they were reclaimed out of an old building and had the nice brass finish I like. We spaced all four evenly along the wall.
At this point, the west side of the wall was pretty much in tact so we followed the same procedures and installed a desk-level piece on the east side. After all was said and done, we ended up with this!
It's been really nice to have a place to hang coats and bags for guests as they come through the door, and the bench has proved to be quite useful this winter as we lace up our walking boots. I'm sure we'll change little things over time, but the overall functionality is a huge improvement.

