Eat-In Kitchen Nook
The eat-in kitchen nook is done. DONE! Yippee!! Let me tell you... this kitchen renovation project has been going on for months. (I'll probably do a recap of the entire kitchen renovation in the coming weeks.) It's amazing how some simple plans can suddenly turn into a year long project, but I'm thrilled with the end result. Let's take a look.
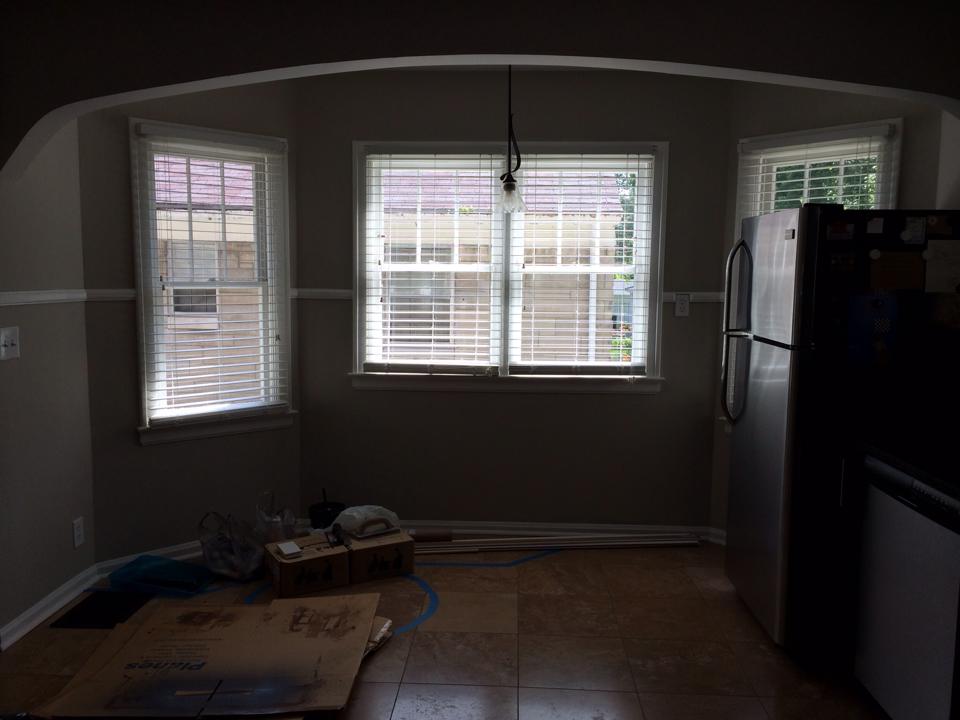
I don't have any good before photos, but this will give you an idea of what the nook looked like when we moved in.
On a positive note, we were working with a blank slate. The negative? Well we had a lot to figure out. I knew I wanted some built-in seating because I like to have as much storage space as possible in my kitchen. Appliances and clutter sitting on counter tops just doesn't jive well with me. I also knew I wanted a table -- wood, not too big, not too small, metal legs but not too bulky, rectangular or maybe round-ish top, not too dark or ornate, can't stick out past entry to dining room. Basically, we were going to have to DIY something.
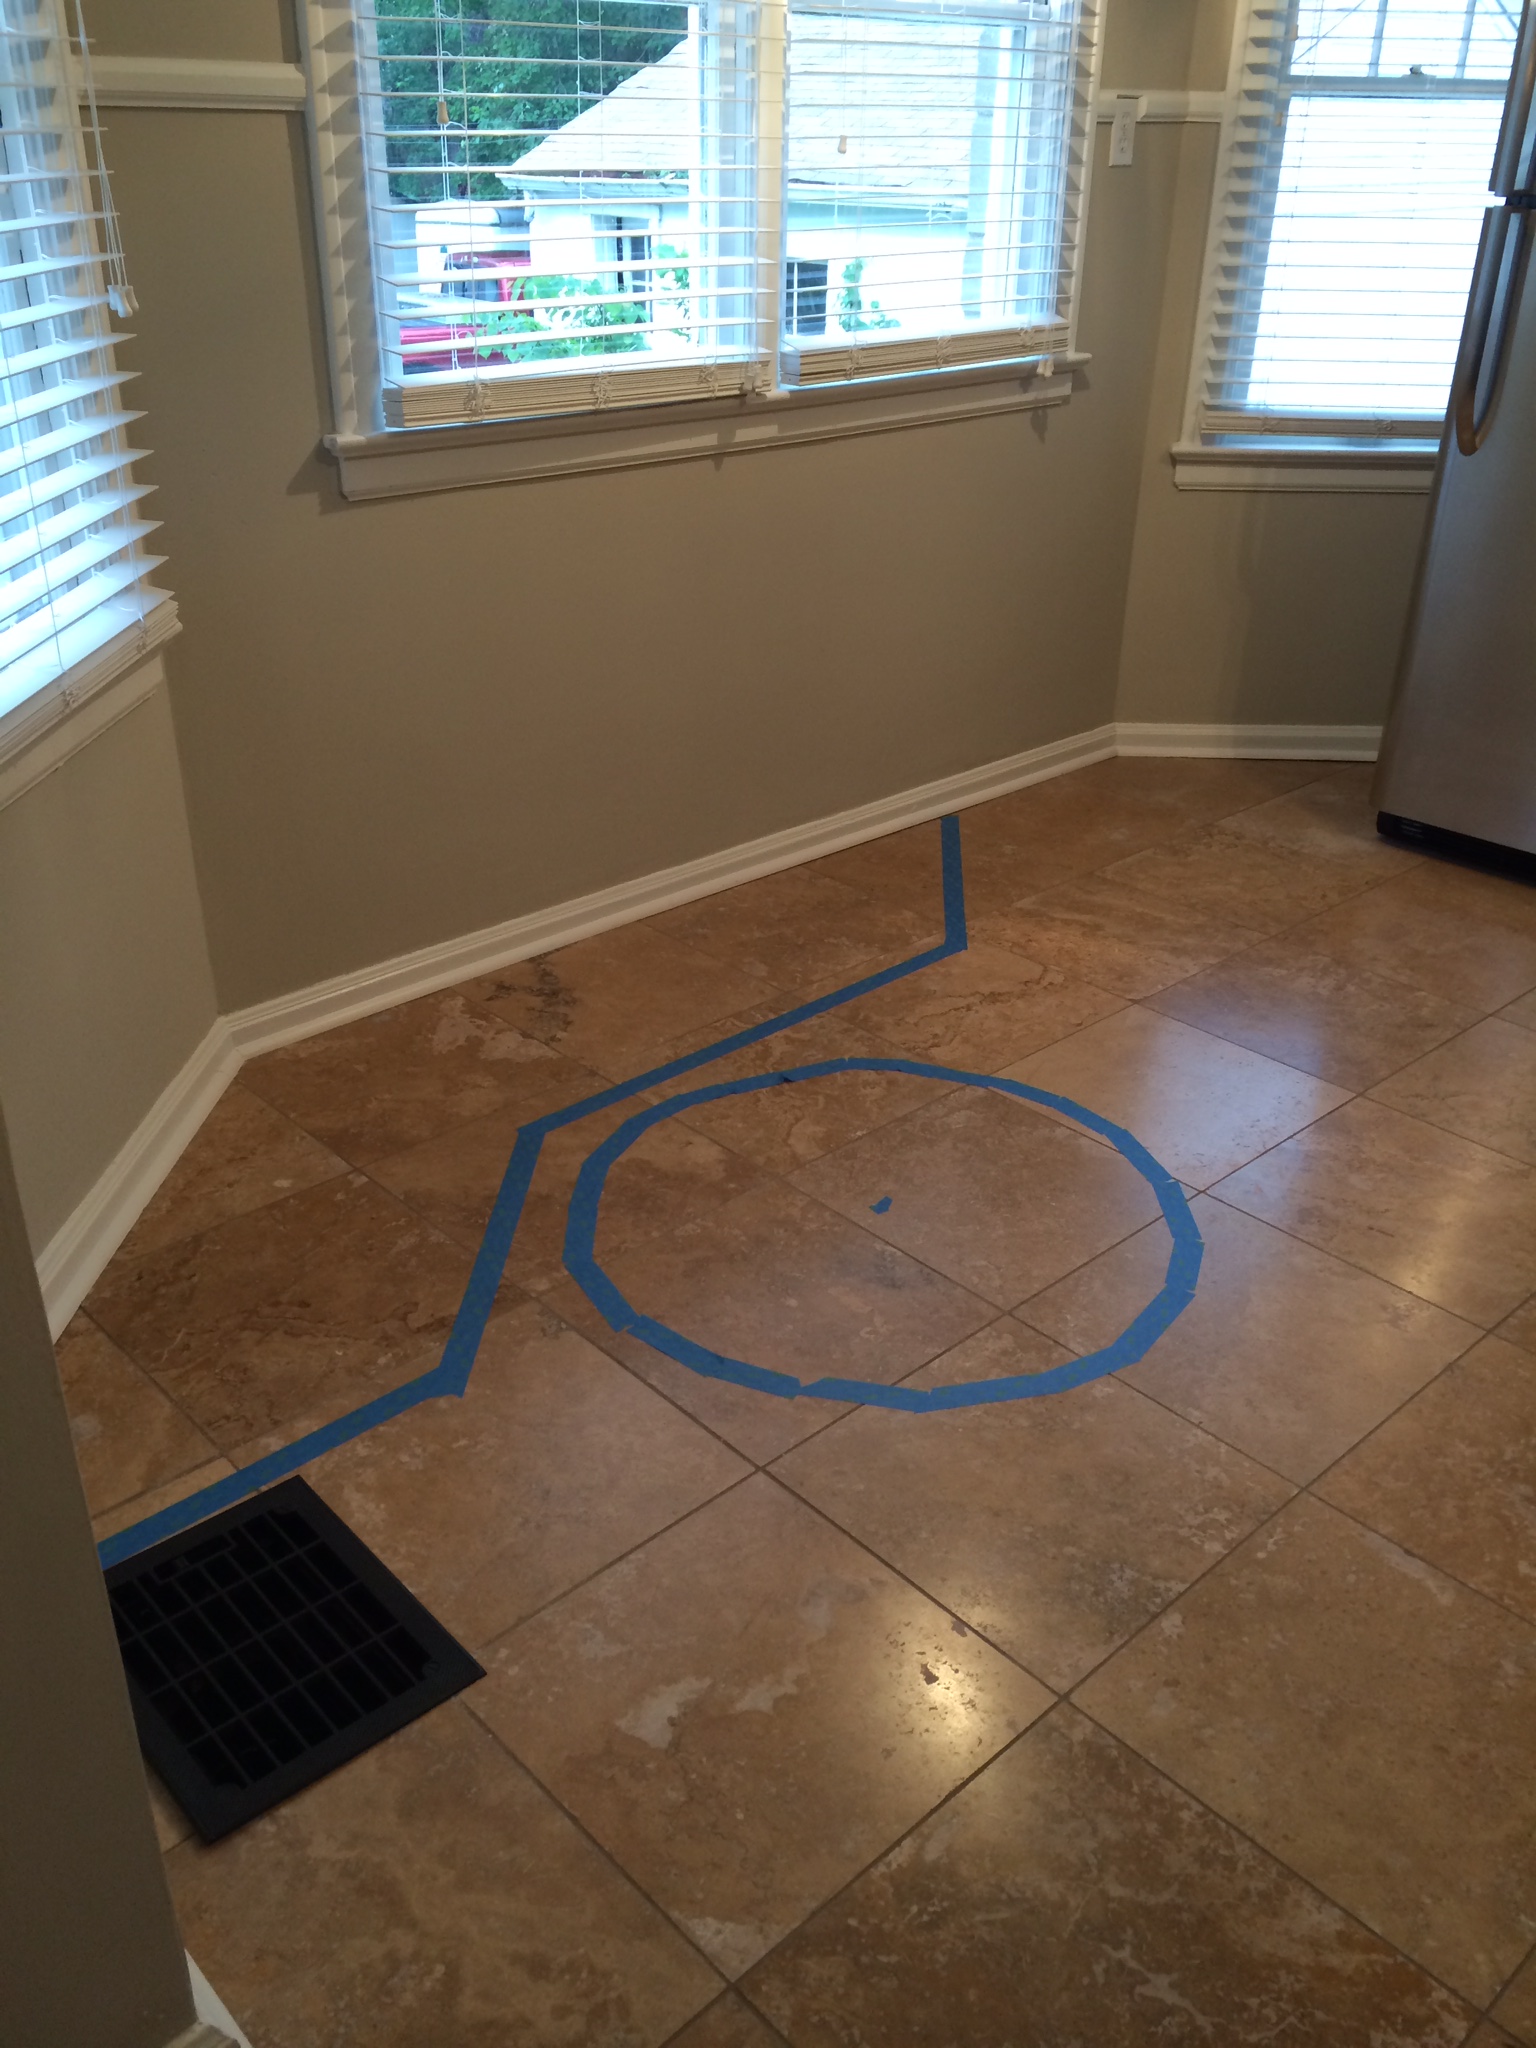
First things first. We decided to tackle the built-in seating. We did a bit of research on design and style and decided something very simple yet modern would be best. I had the bright idea to map out the design plans with painters tape... aaaannnnnddddd it ended up looking like a crime scene in our kitchen. Tyler thought it was stupid, but it was a great way for me to visually account for storage space and refrigerator clearance.
Speaking of the refrigerator.... the people that purchased that thing must not have been thinking too clearly. Can you see the door handle? It's on the left which means it swings open TOWARDS the kitchen - not away. WHO WOULD DO THAT?!?! You might think, well yeah Kelsey, but you can just switch the swing of the door. Well yes, some refrigerators do that. Actually, MOST do that. Not this one. Nope, we're stuck with a door that swings to the right instead of the left. Awesome. I must admit, though, after nearly two years in the house, I'm kind of used to it. It's definitely not the most efficient use of space or flow, but it works.
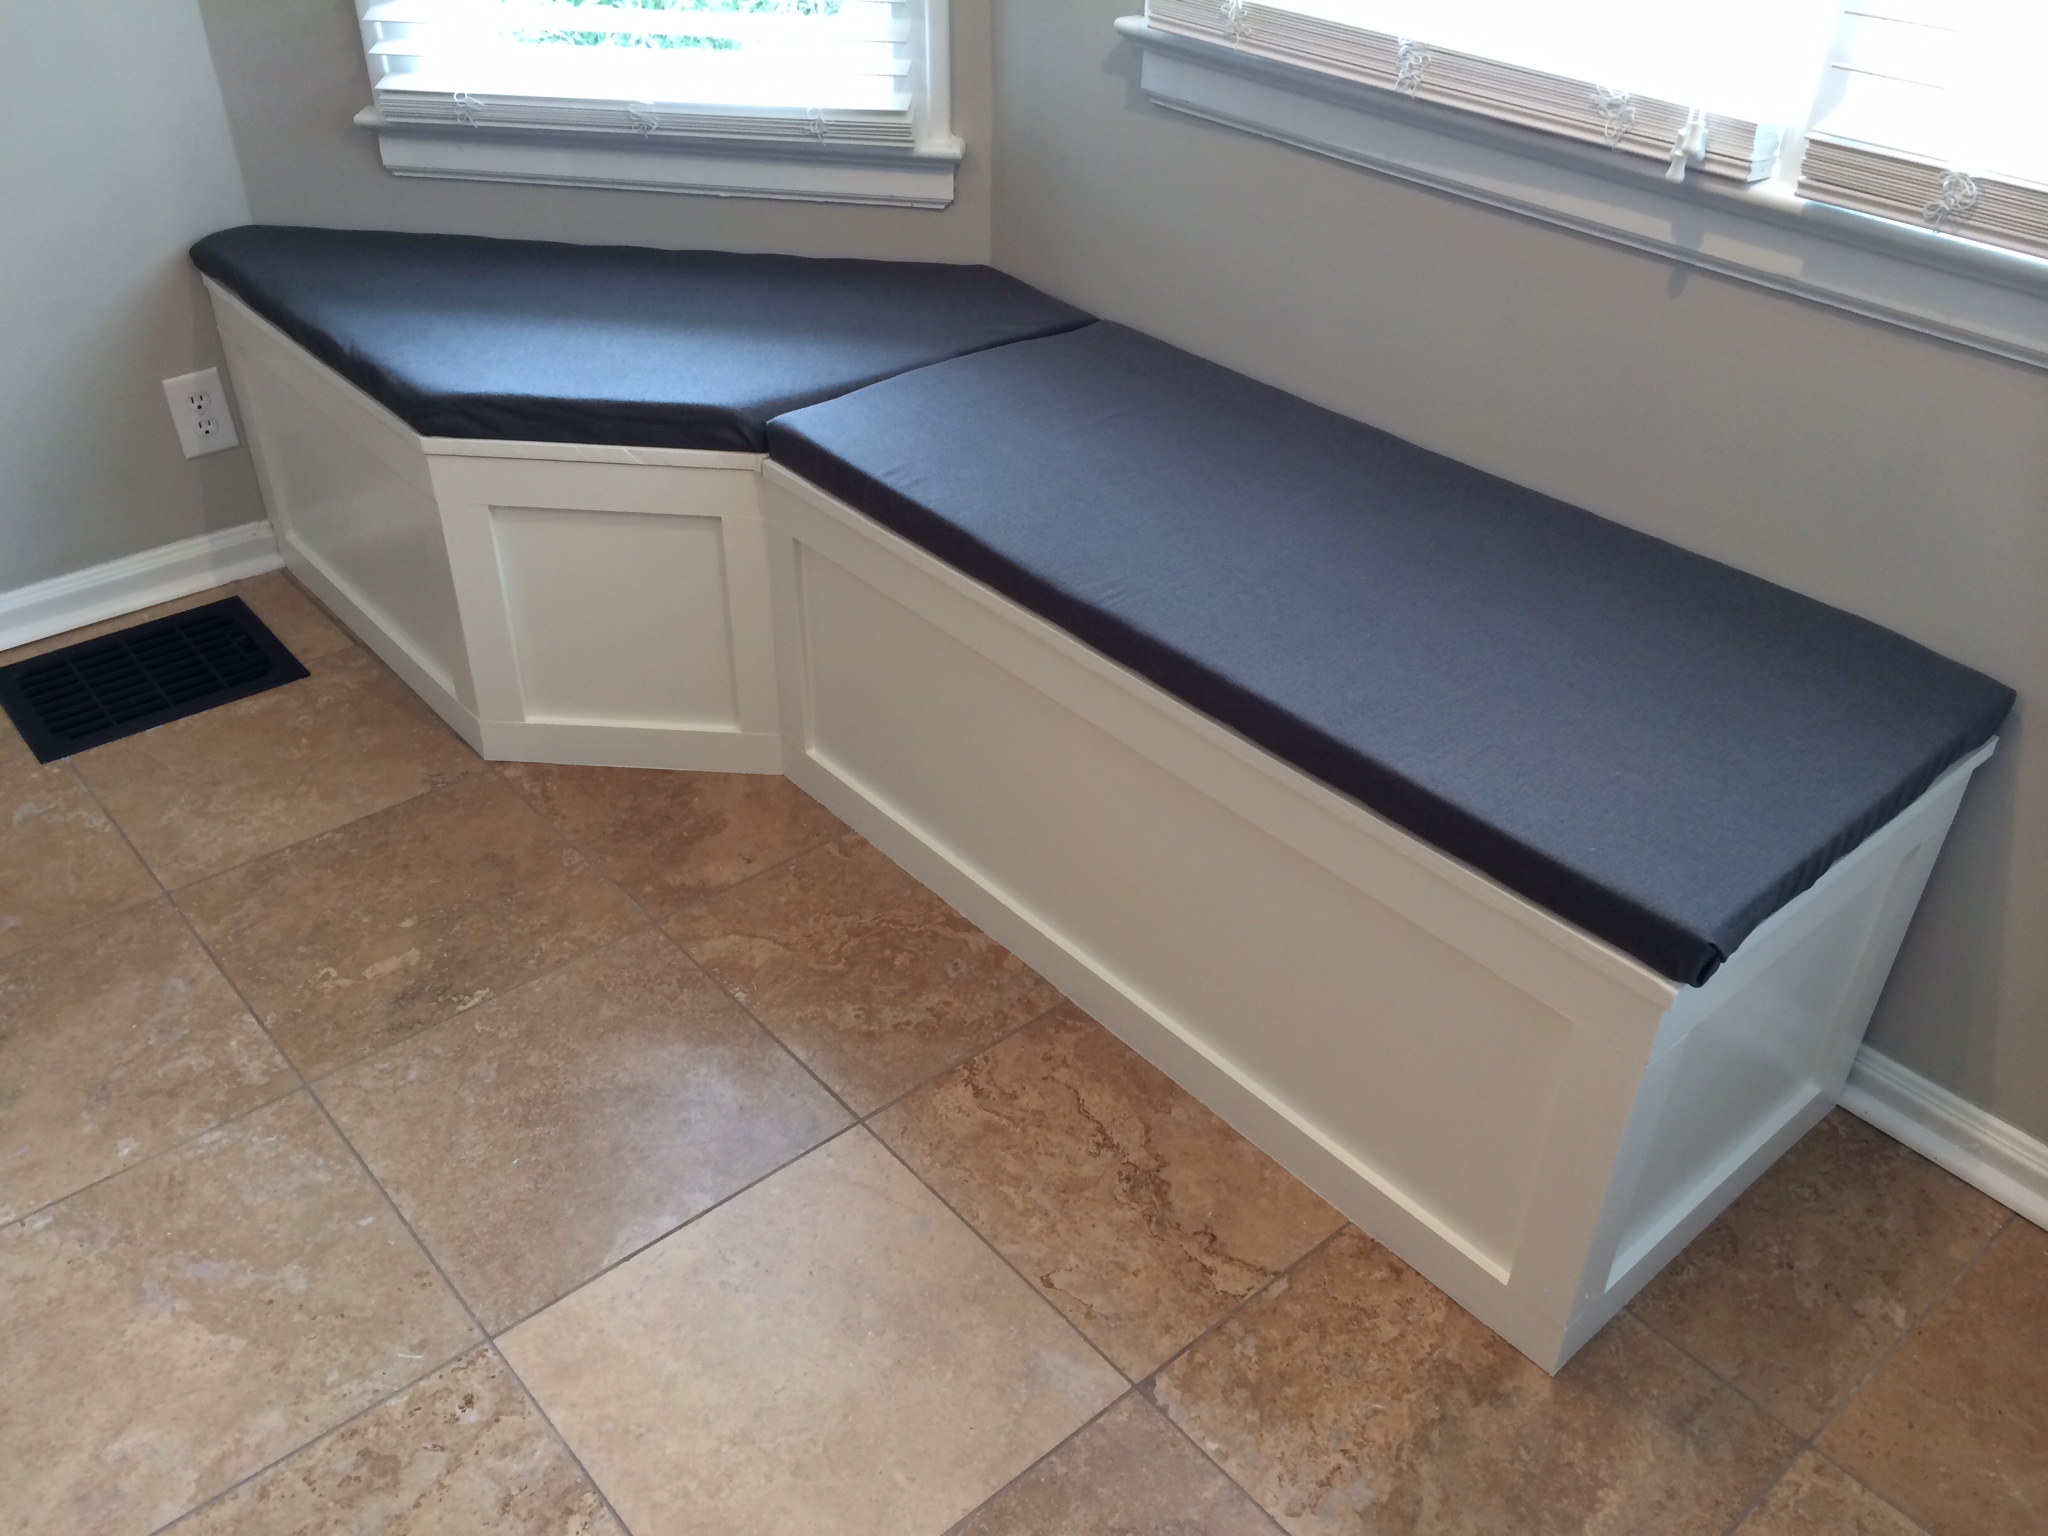
Anyway, back to the nook! Tyler ended up taking charge of the building plans and determined the supplies we would need. He hammered out the base and then cut some MDF to cover the whole thing and attach some trim. It worked out great! The hardest part was definitely the top left corner... that angle was TOUGH! I ended up taping a bunch of pieces of paper together and the laying that on top of our sheet of MDF for Tyler to cut. Definitely not the most precise approach, but it worked - sort of. We had to make several "adjustments" but finally got it to fit.
I then primed and painted the whole thing and made a cushion for the top.
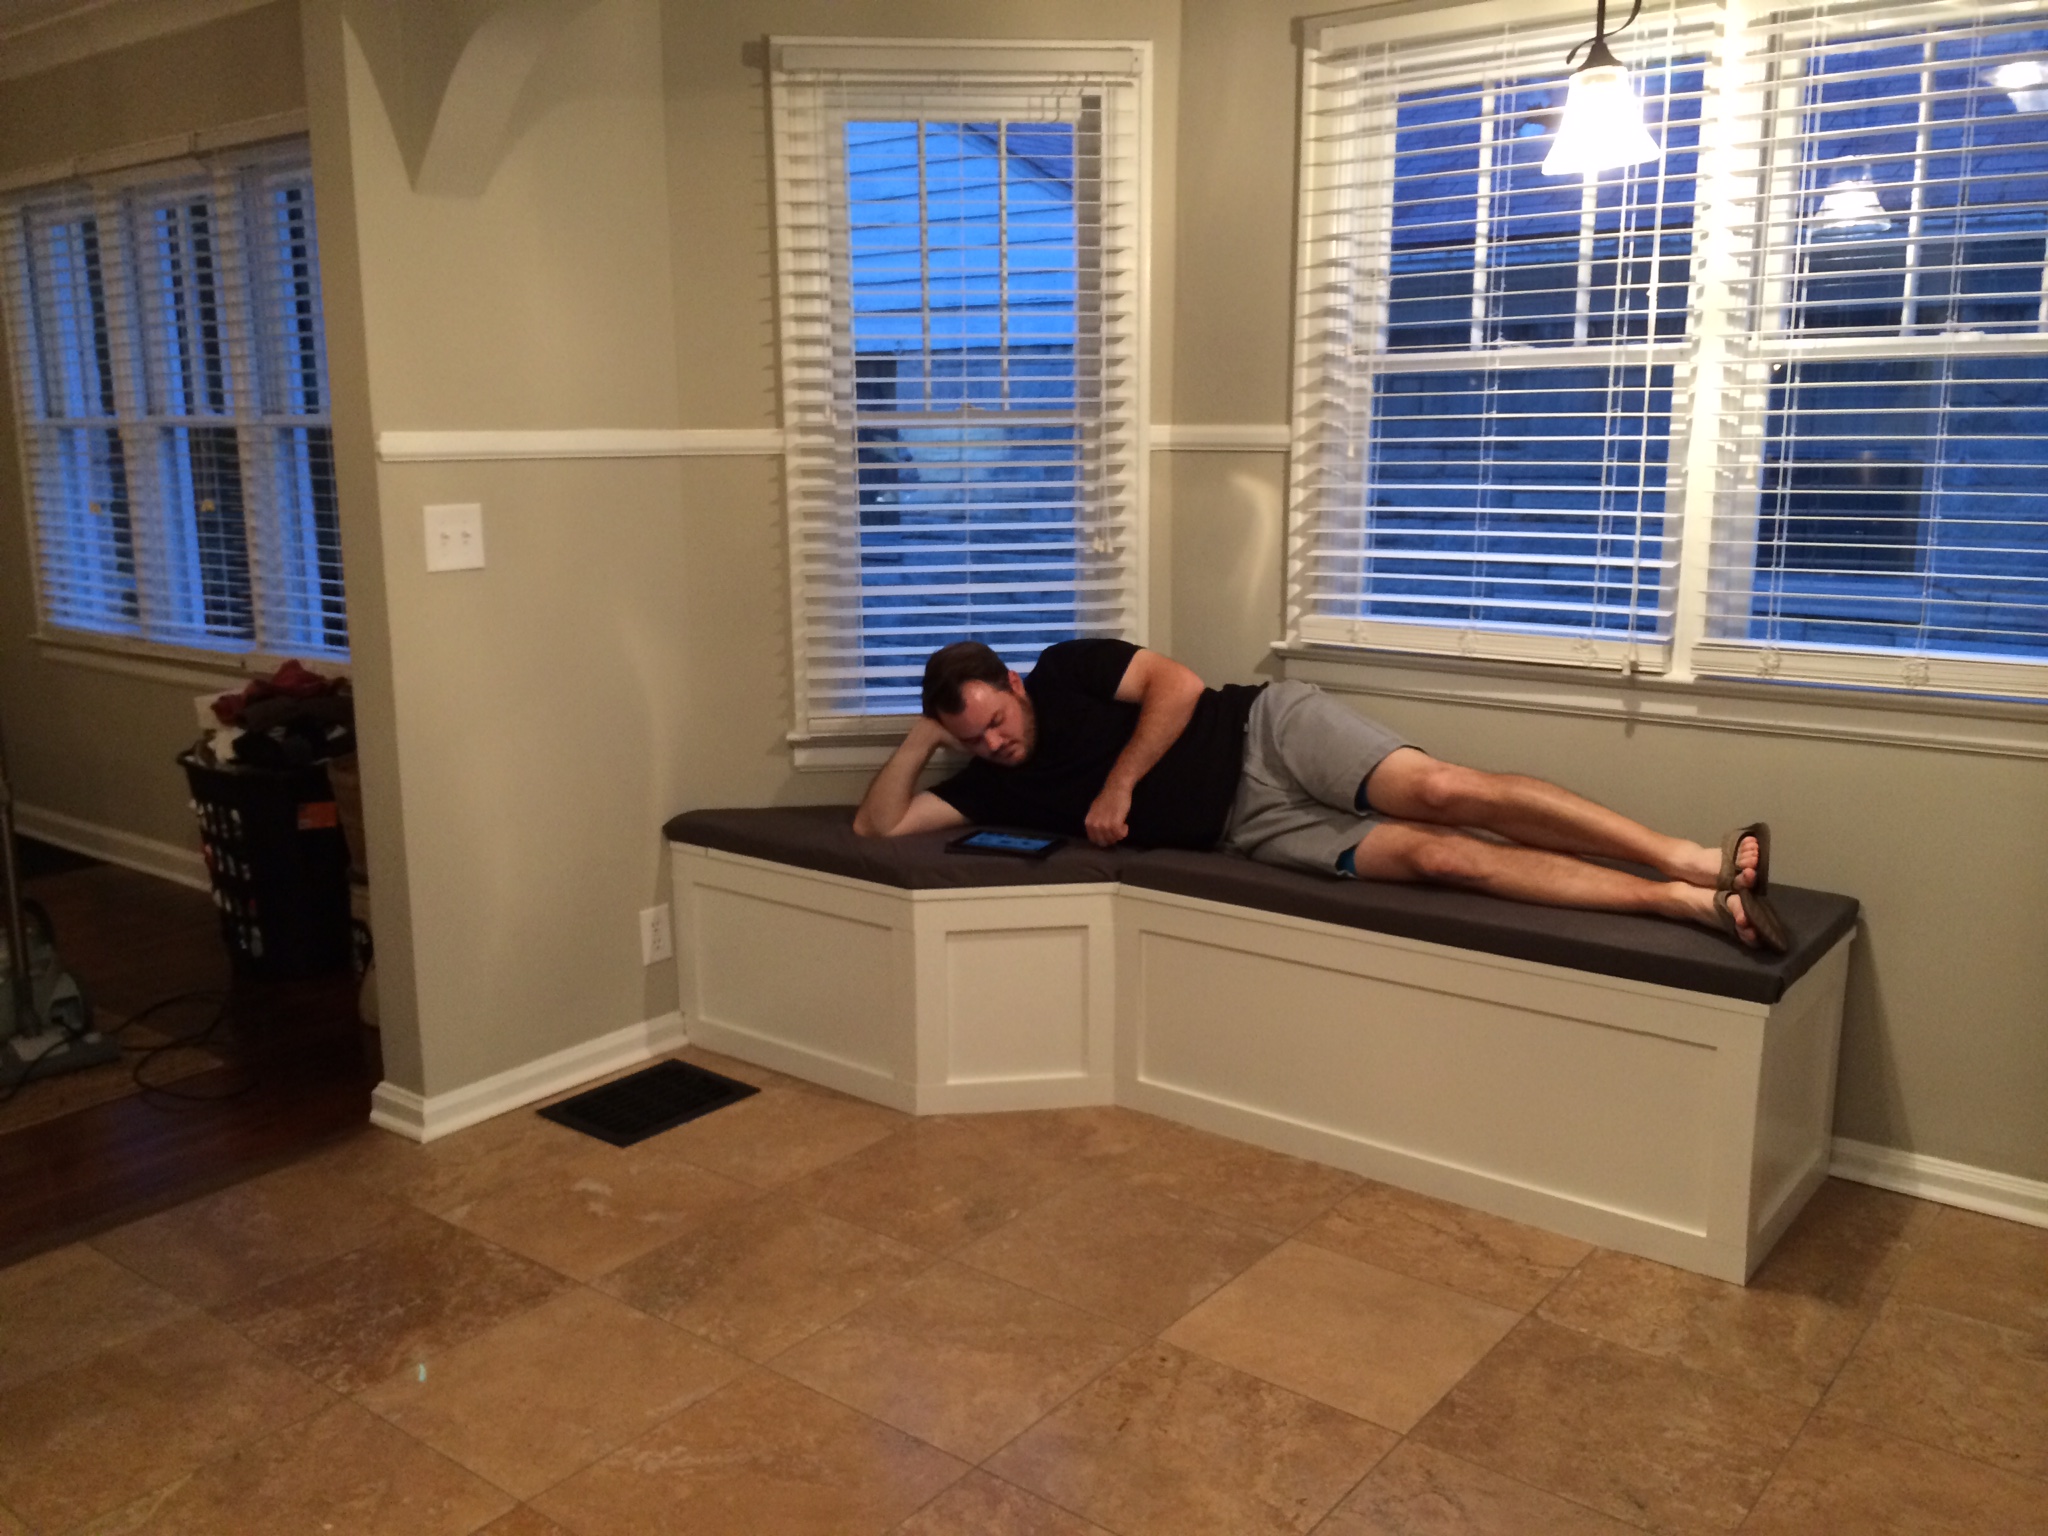
It's actually pretty comfy! Tyler liked testing it out while I was cooking dinner...
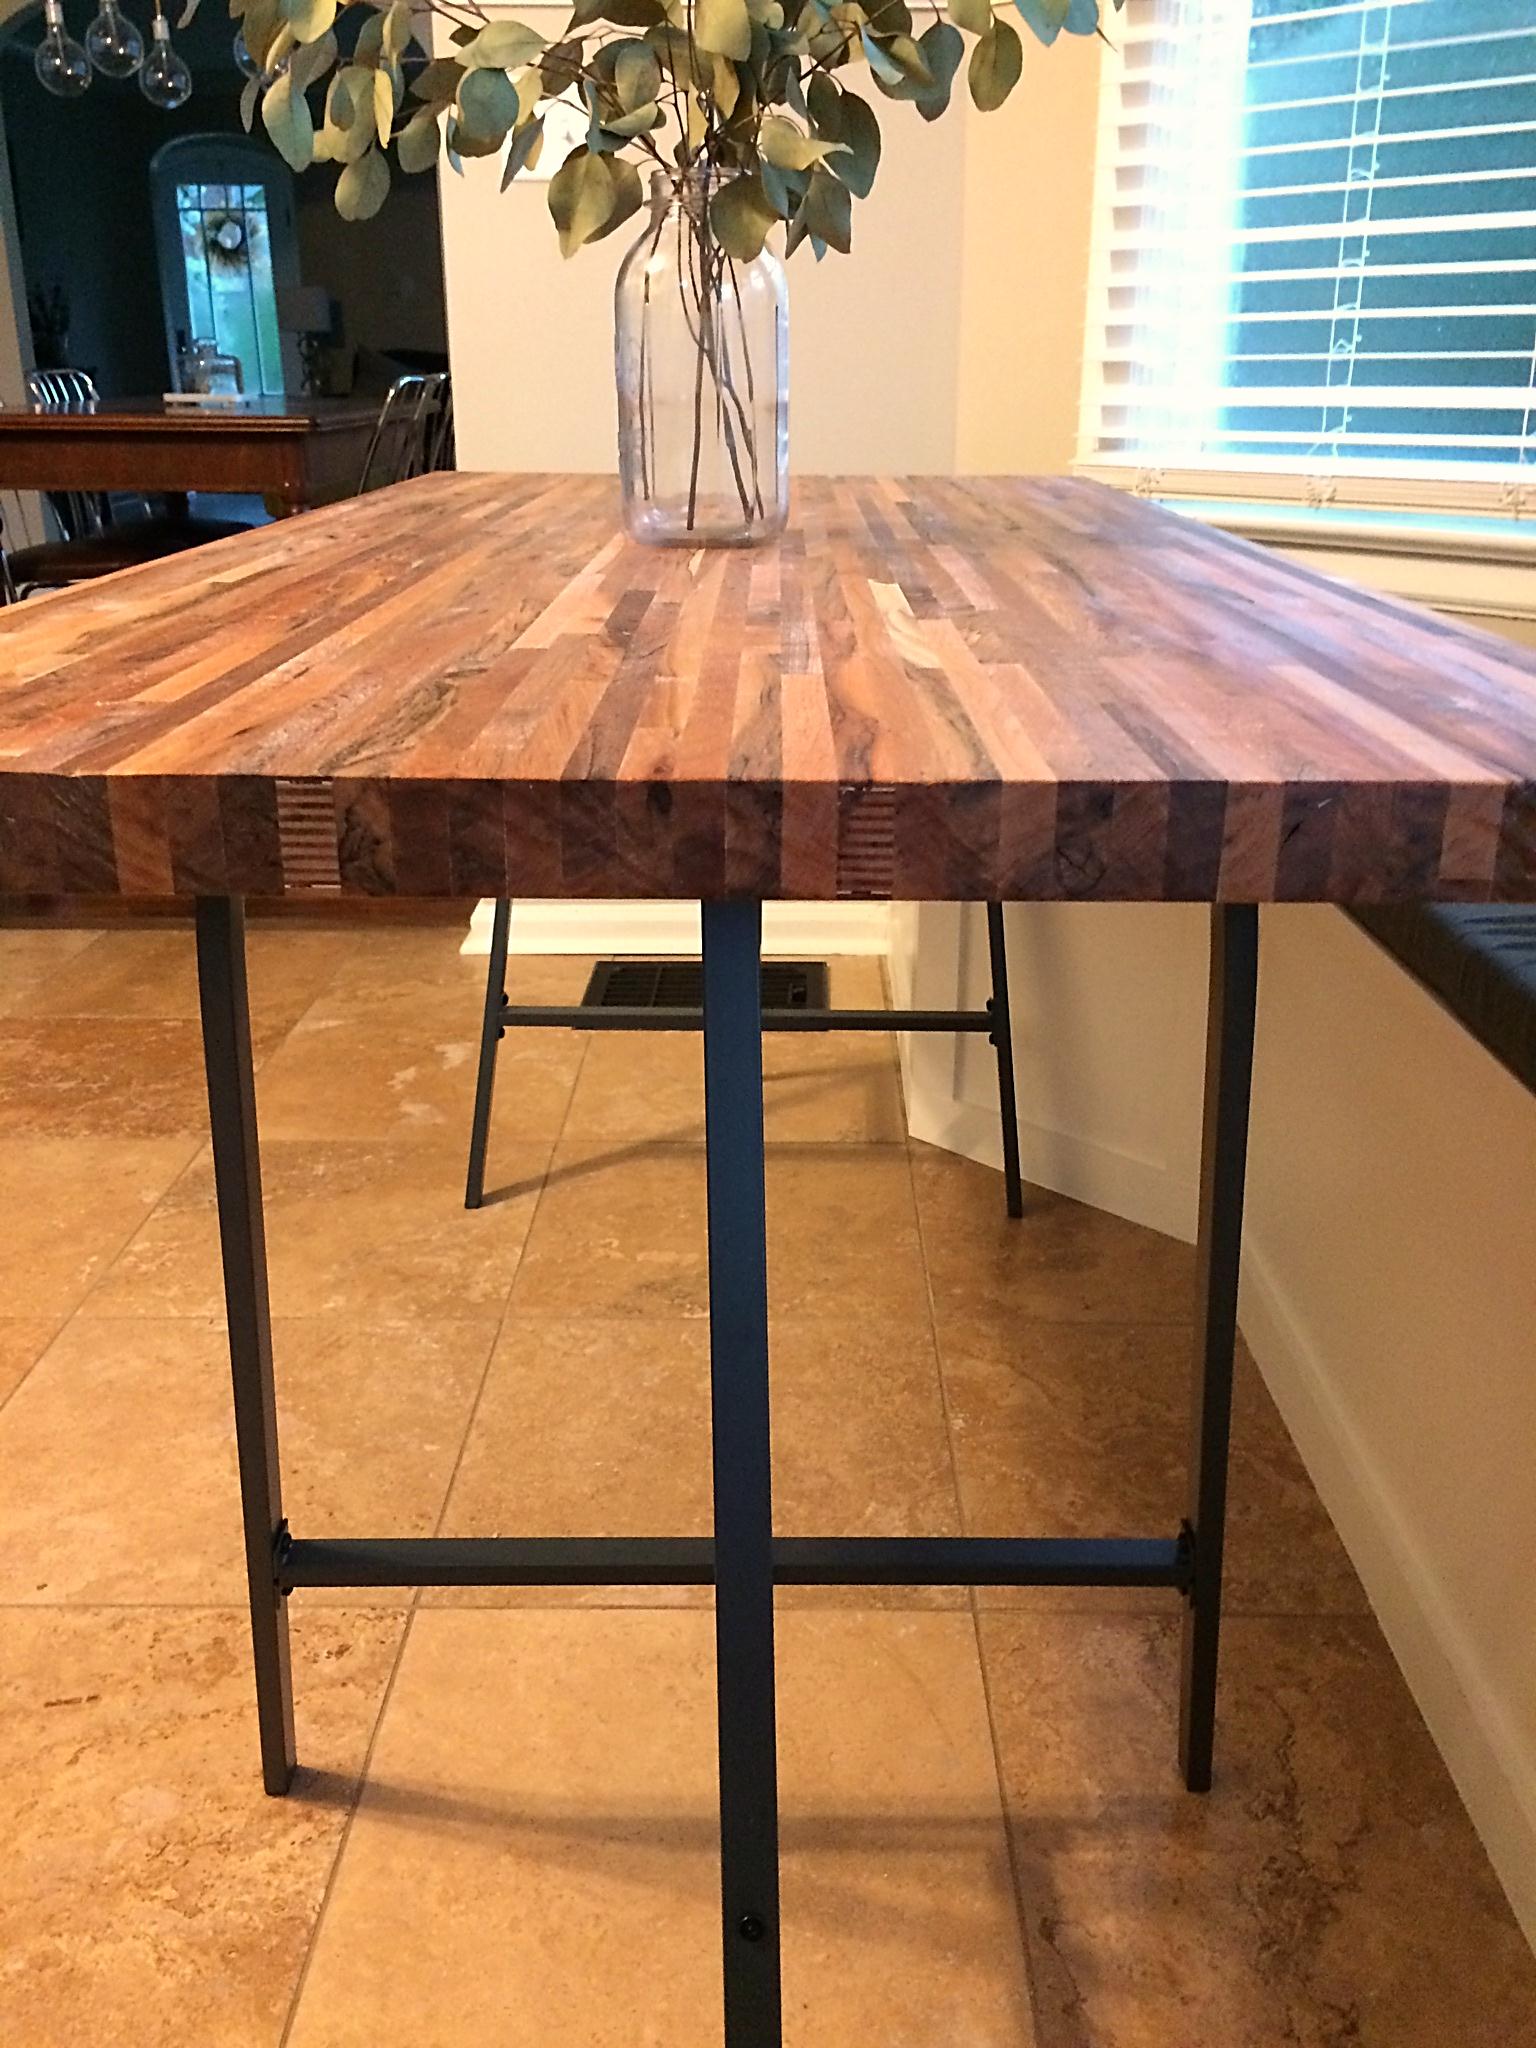
Next up? The table. We went around and around with ideas for this one. Something old? Something new? New top but old base? Reclaimed wood? Metal? So many options! I finally decided to determine what was most important - food safe and durable. What about butcher block? People use it for counter tops, so surely it would be good enough for a table top/prep area for us. We found a great deal on a piece at IKEA but ended up empty handed after a trip all the way down to Cincinnati - out of stock. We then did some research on butcher block in the Indianapolis area and landed on Lumber Liquidators. We headed over on Labor Day weekend and found out they had several options PLUS 10% off for the holiday. SCORE! We ordered the builder-grade kitchen island slab and waited a few weeks for it to be delivered.
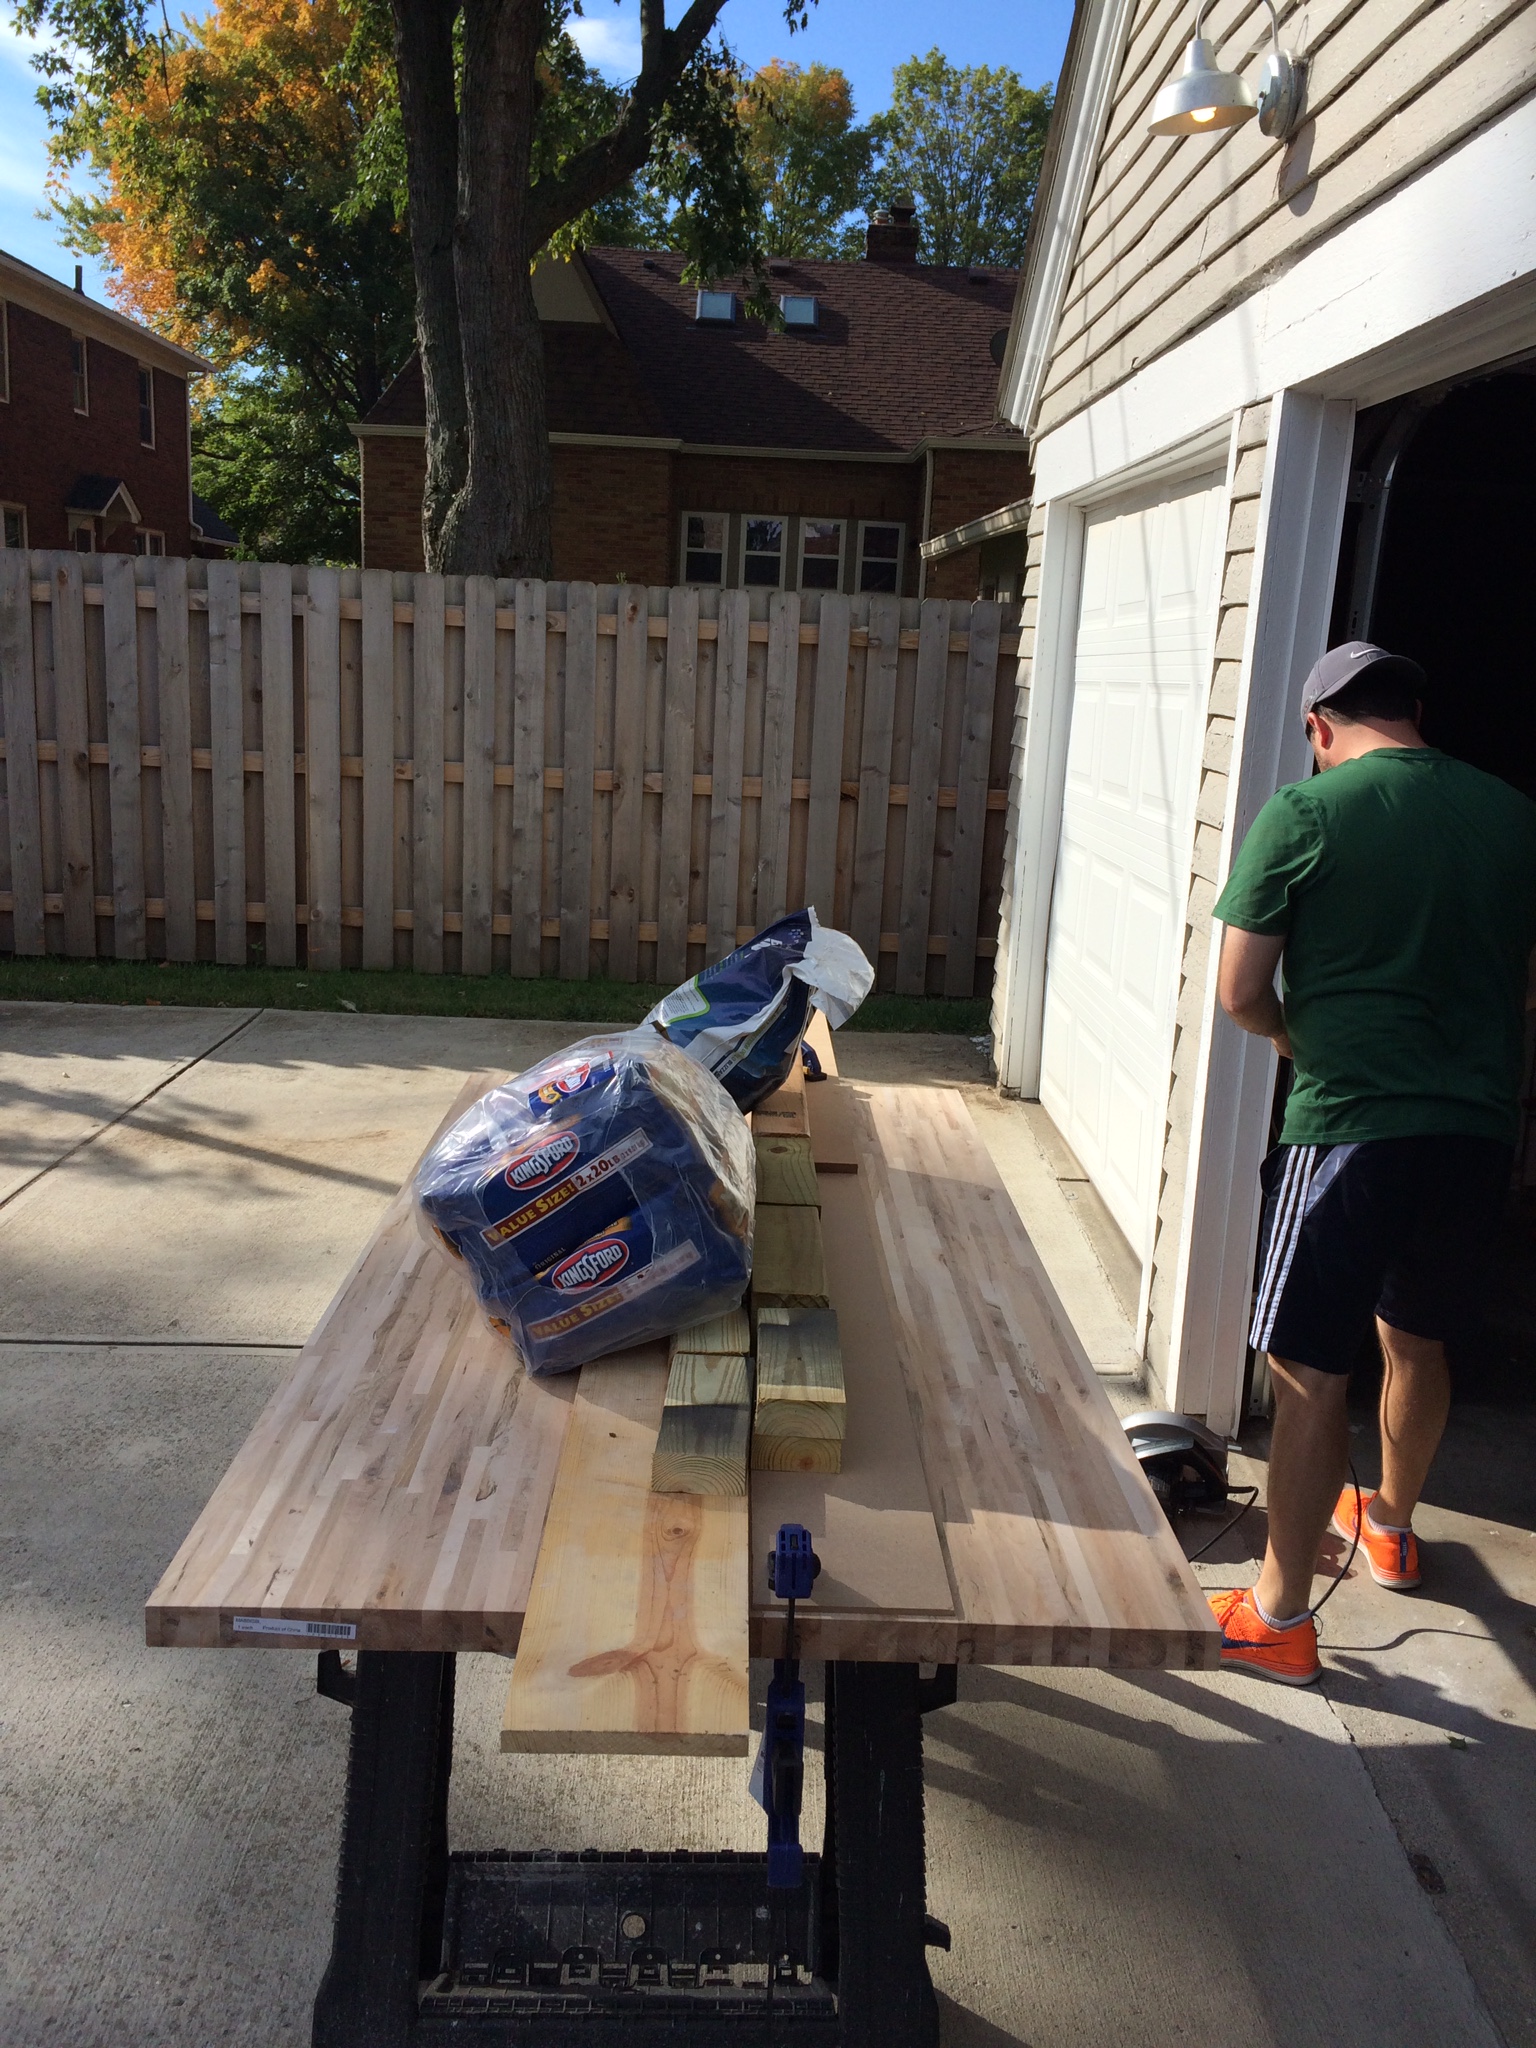
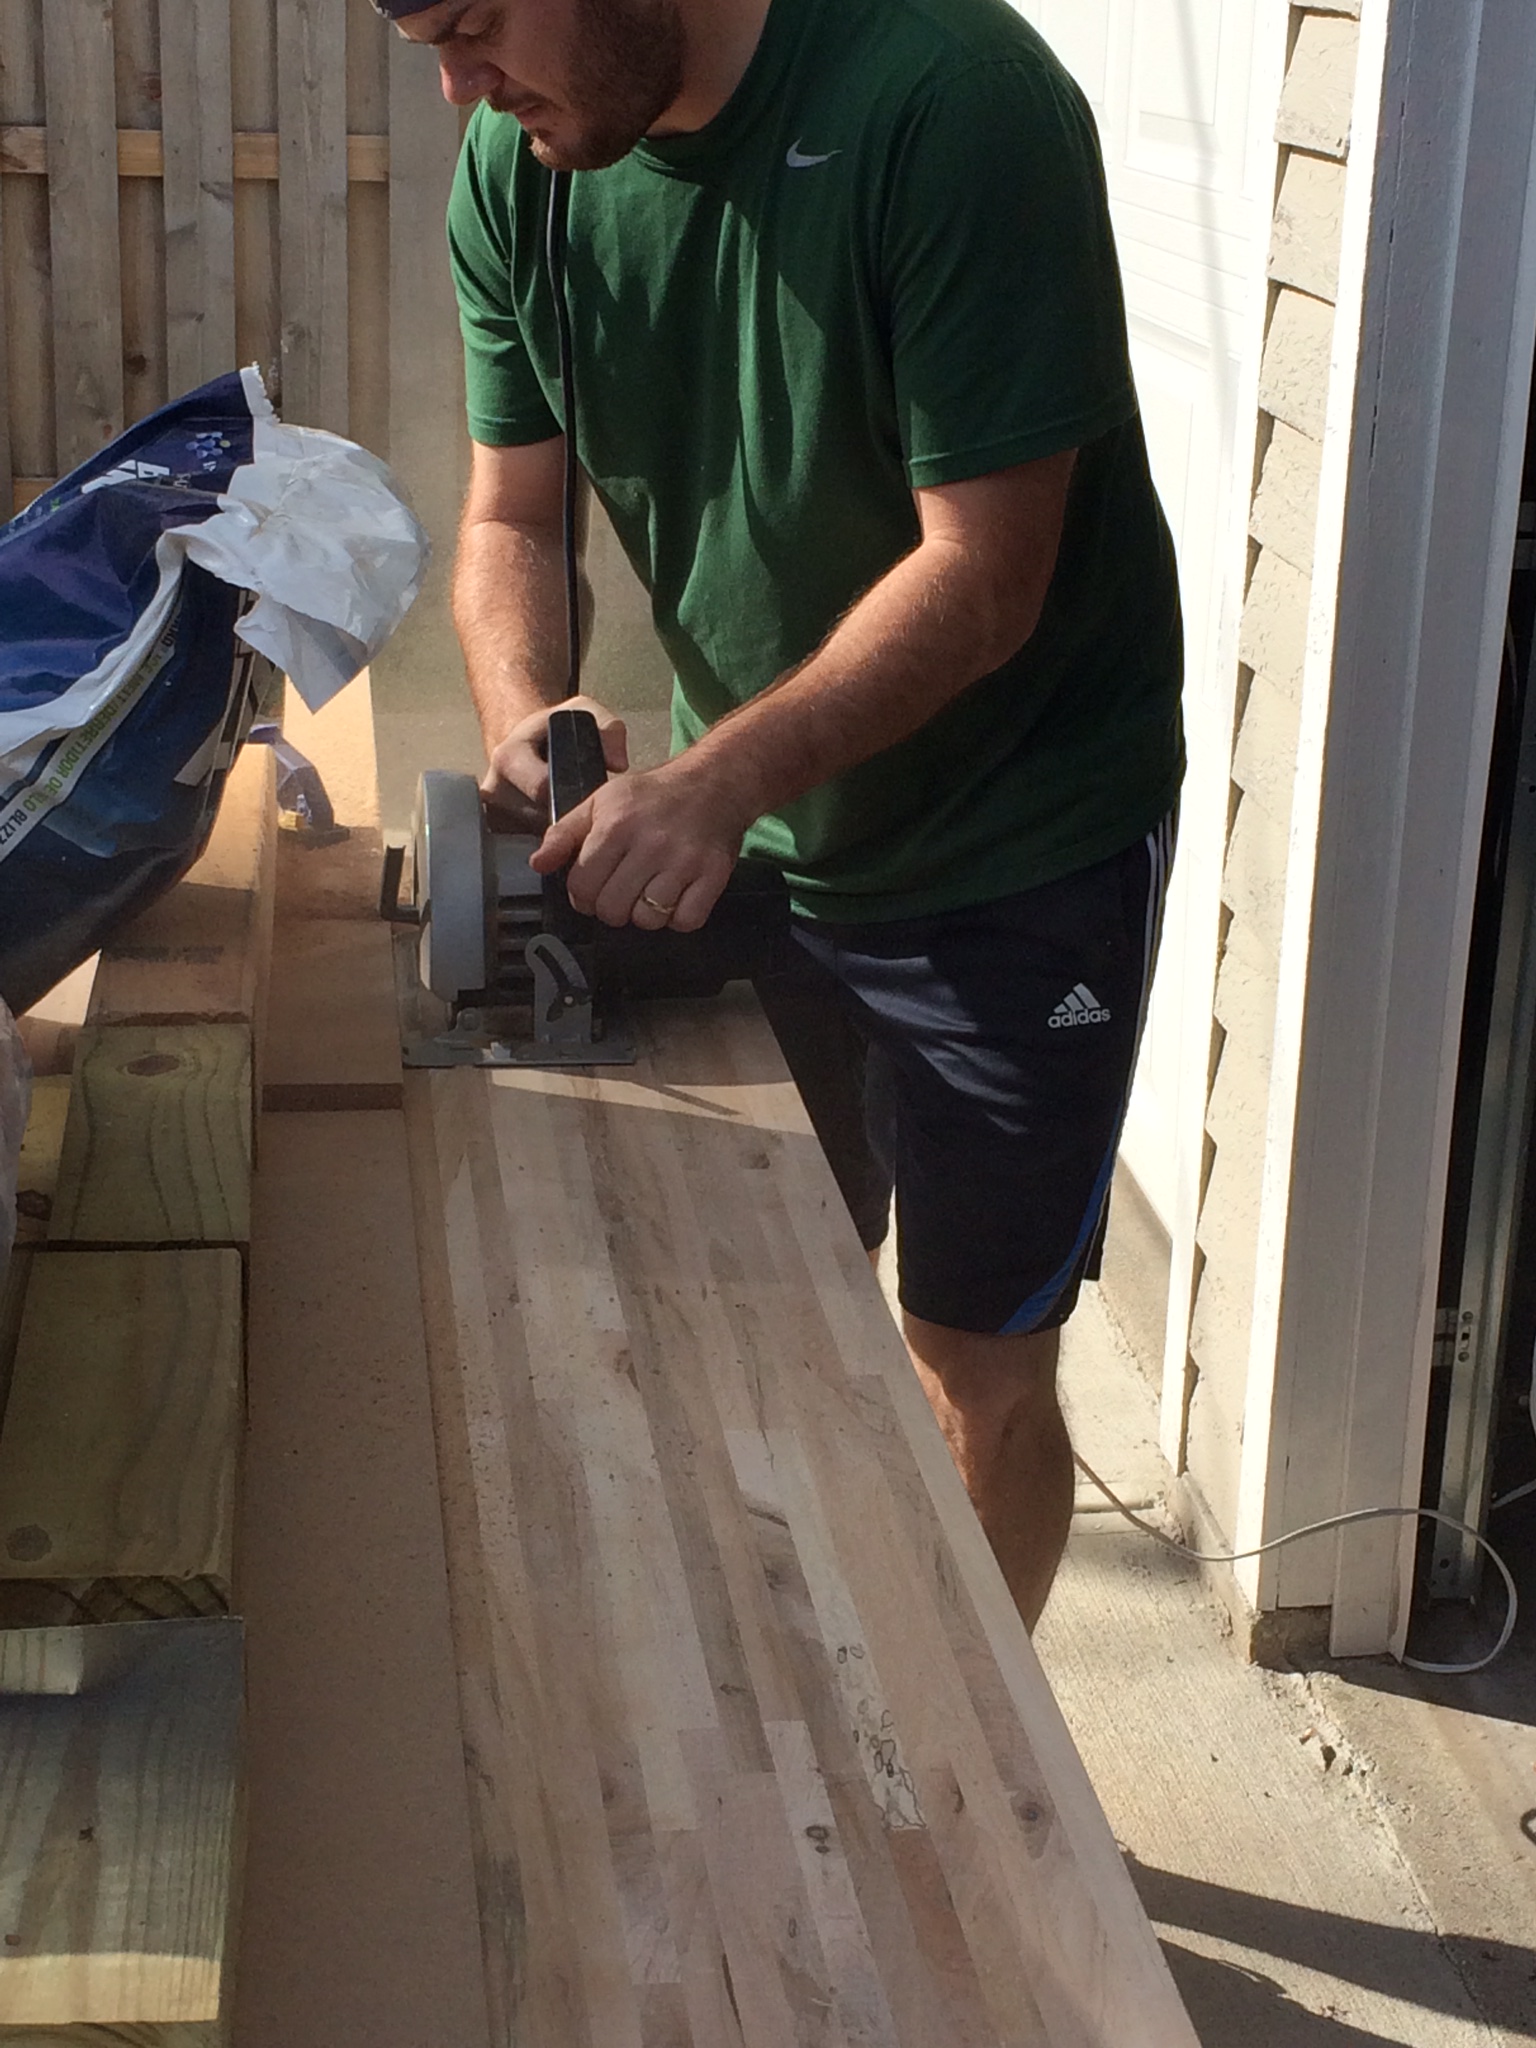
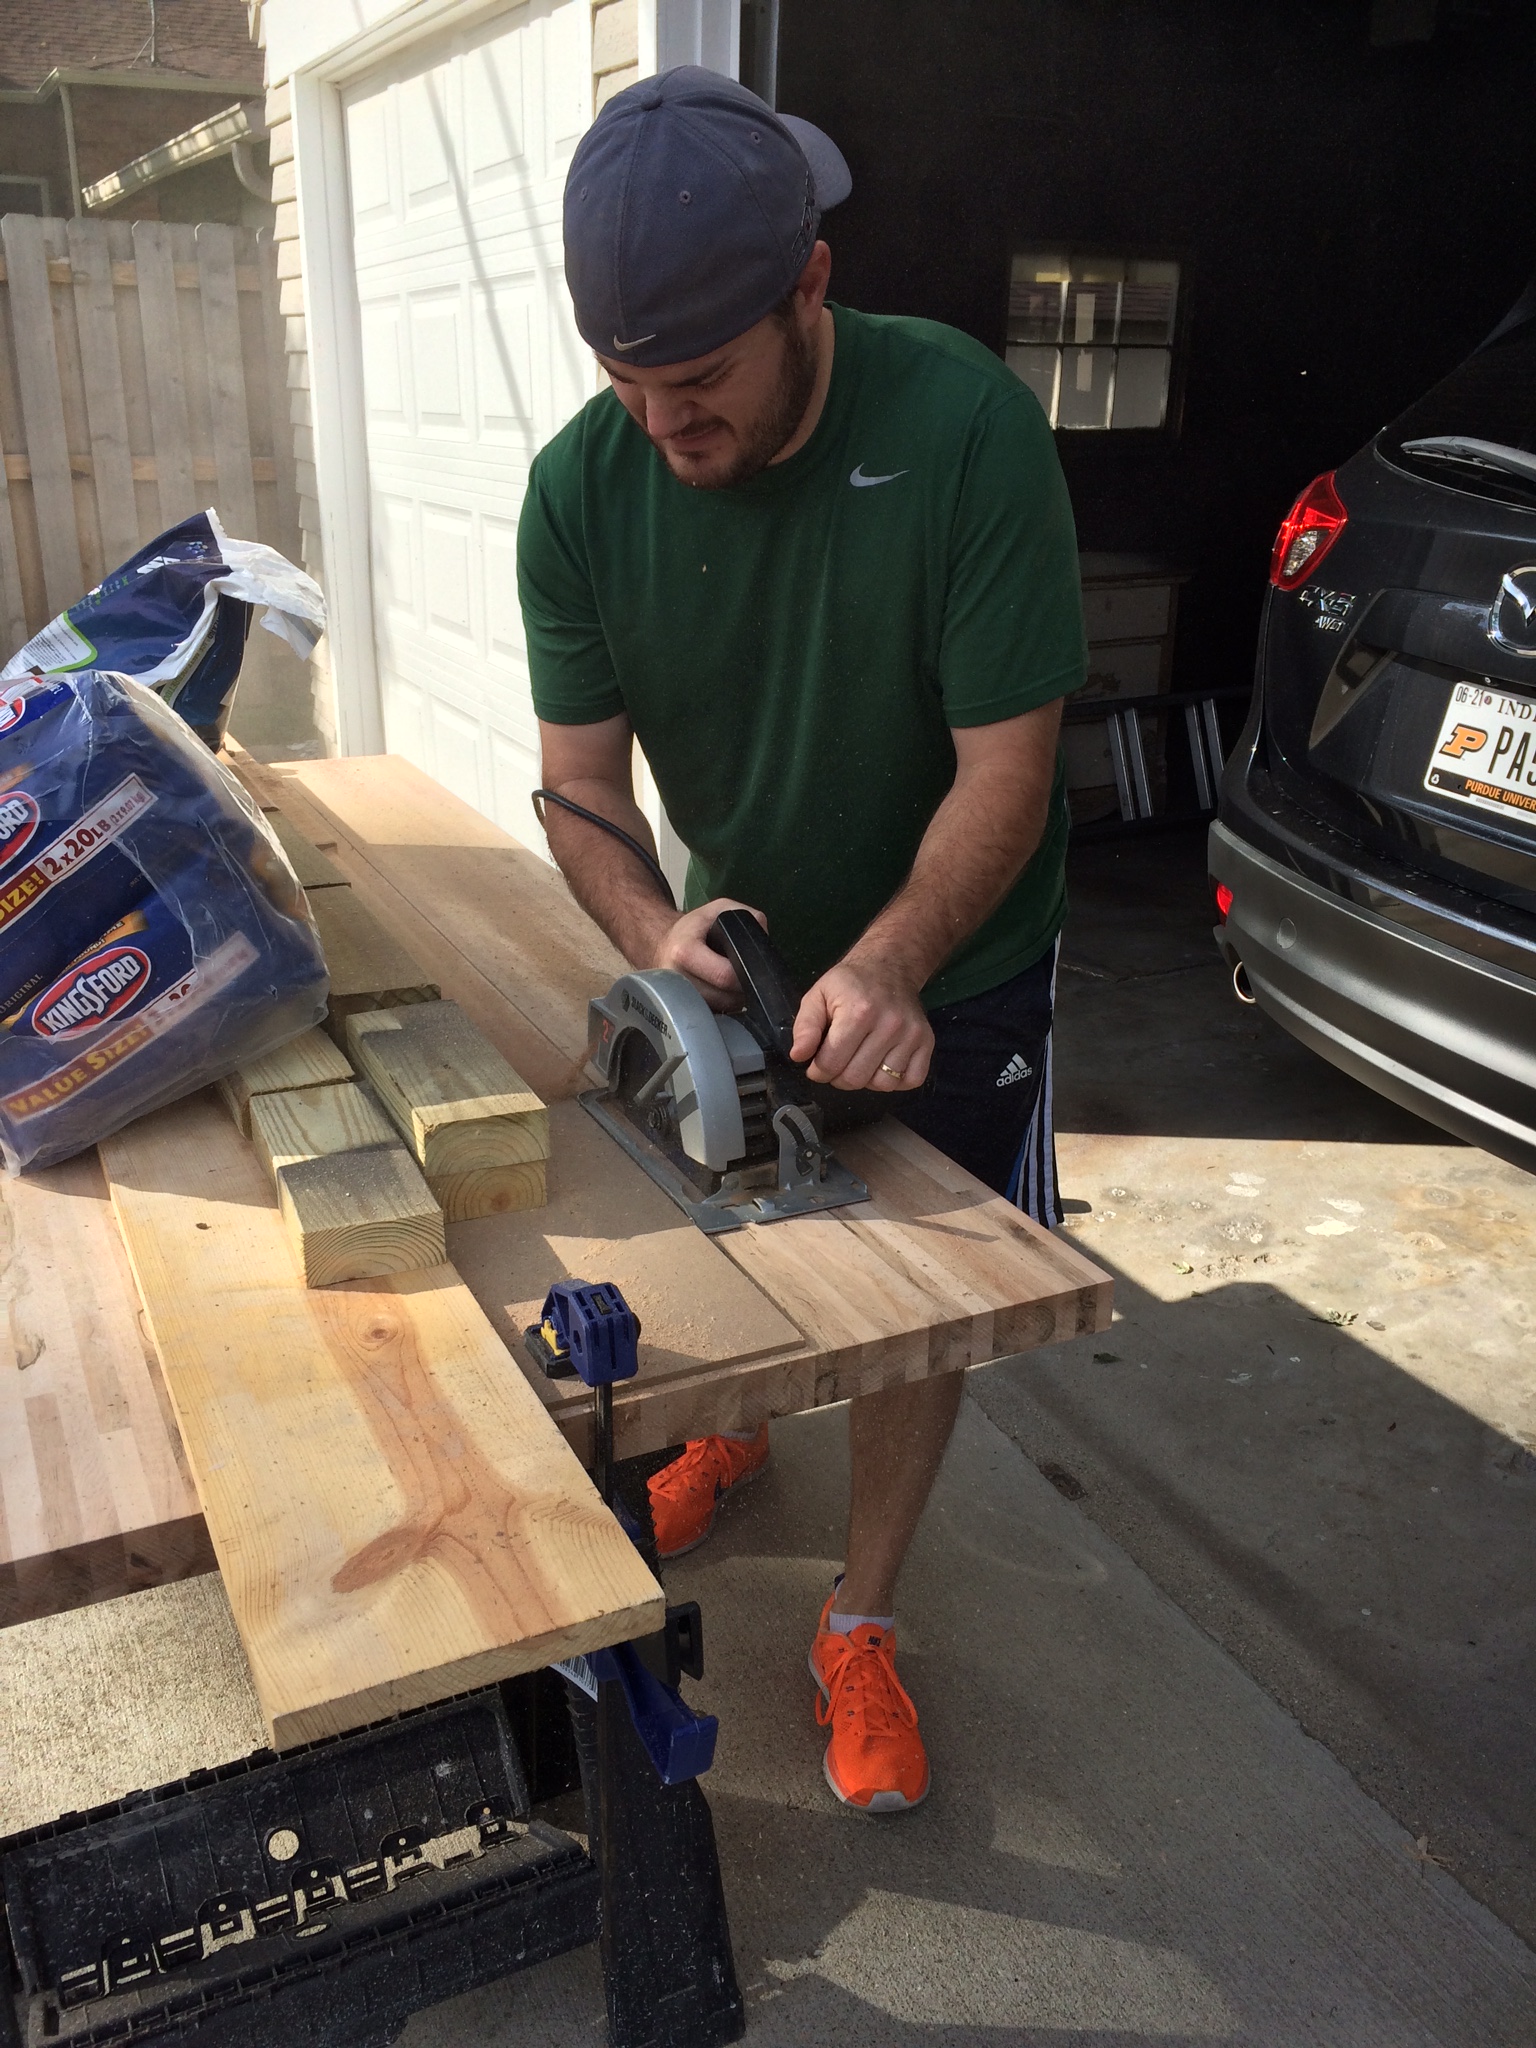
Once the butcher block arrived, we finalized our measurements and Tyler cut the thing to size. His "safety" methods are still questionable...
**Side Note: You might want to think about where the wood is going to fall prior to this point.... The top of your feet/toes doesn't feel so good. Just ask Tyler. :)
So the top is cut and looking good. What about legs? After months of searching, we finally found THESE legs at IKEA.
Metal and a little industrial without being bulky. We attempted to purchase them during that same trip to IKEA, but they were out of stock, too. Fabulous. Apparently the white are no longer being sold at all. We did a bit more research and finally decided to order the gray legs online and give it a shot. $10/leg plus $10 for shipping? I've wasted $30 on a lot less.
Once they arrived in the mail, we had to do a bit of assembly...
And ta-da!
Not too shabby! Except for that hideous light fixture... Yikes. Do you see it peeking out up there? Eek. Prior to the seating and table finding a home in the nook, we had countless guests hit their head on that stupid thing. It was literally one of the ugliest light pendants I've ever seen. I found a light on clearance at West Elm well over a year ago with every intention of replacing it, but we decided to hold off until we finished everything else. Well lucky for me, the time had finally come!
Out with the old...
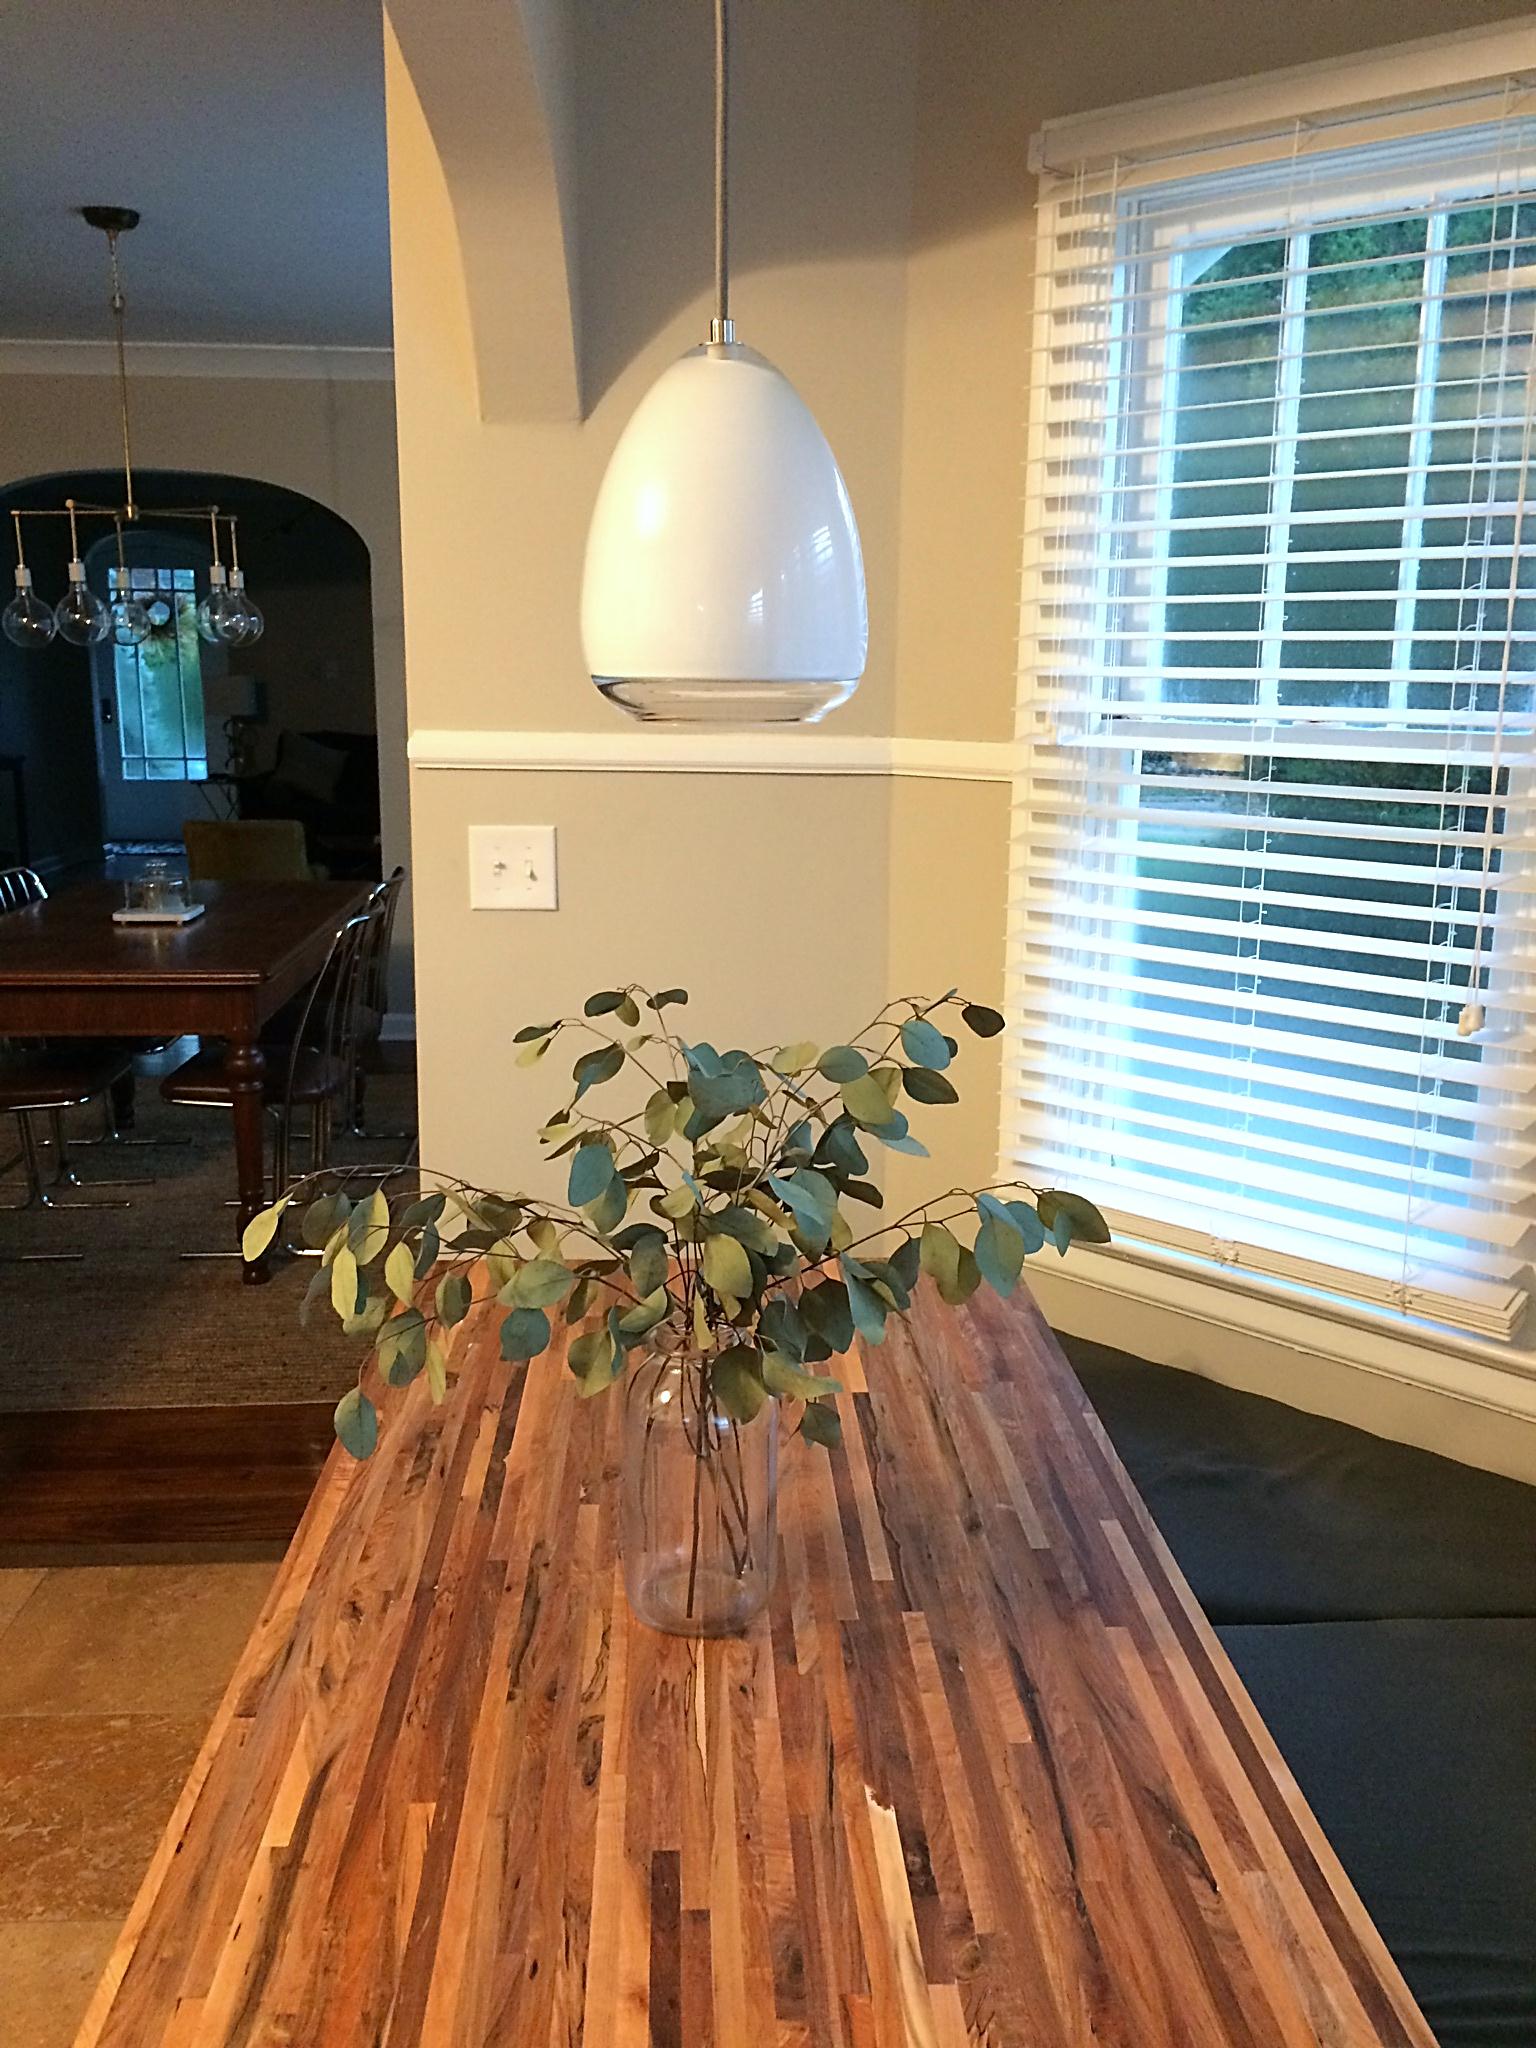
In with the new!

