DIY | House Numbers
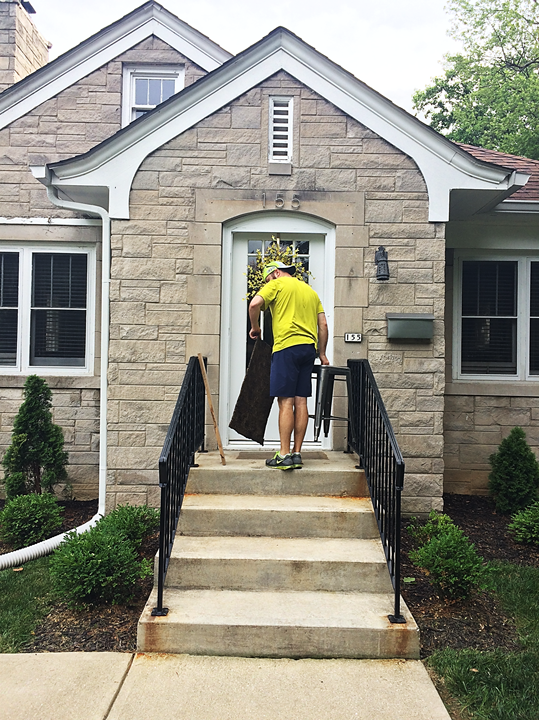
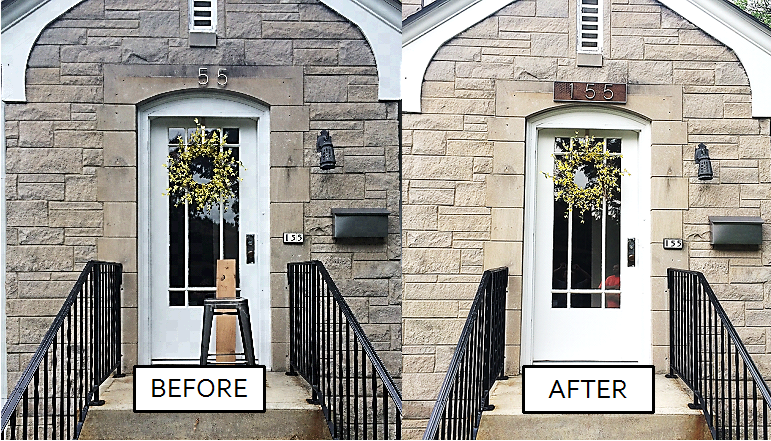
When Tyler and I moved into our house 2.5 years ago, one of the very first projects we tackled was hanging a mailbox and adding modern house numbers. Winter was upon us at the time, so drilling holes into limestone and affixing numbers with adhesive wasn't the best idea. Somehow, the numbers have remained in tact, but they were never very secure. On top of that, it was VERY difficult to see stainless steel numbers against limestone. This is pretty much what we've been working with....
As you can see (or not), the numbers were visible, but they definitely didn't jump right out at you. The teeny-tiny numbers in black and white to the left of the mailbox were probably easier to read. (I'm fairly certain those numbers are original to the home, so I've always been hesitant to take them down.)
Tyler and I have been brainstorming ideas for quite some time now, and we finally decided that we liked our existing numbers, we just wanted them to stand out. We also wanted to impact the limestone as little as possible, so painting or installing an elaborate background wasn't going to be an option. Since we had already drilled holes once, the ideal scenario would be to install something in those preexisting holes.
Since we seem to have plenty of spare wood hanging around the house these days, we decided to hold something up and see what it mounting the numbers to the wood would look like.
The color wasn't ideal, but the look was definitely what we were shooting for - modern but still in line with the era of the home. We decided to give it a try!
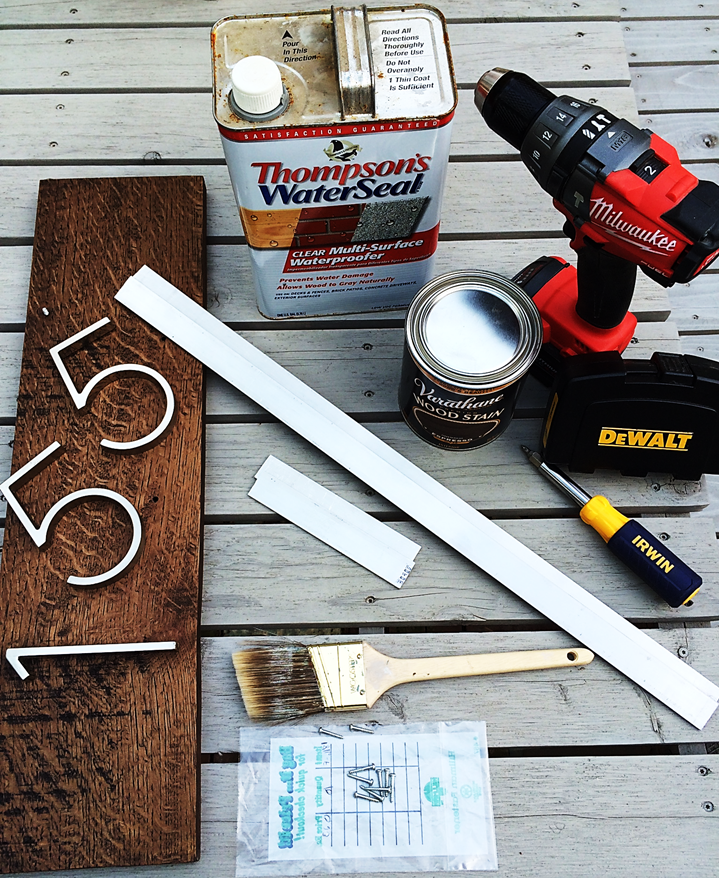
Supplies
(1) 4/4 quarter x 6" x 24" Quartersawn White Oak
(1) 1" x 8' Aluminum Flat Bar - $13.98
House Numbers - $5.98/number
Wood stain in espresso - $9.99
(2) Keyhole Brackets - $2.19
(10) Screws - $0.20/screw
Thompson's WaterSeal - $11.48
Old paint brush or rag
Sand paper
Drill & Drill Bits
(2) Small anchors
How-To
Determine spacing and pre-drill holes. We placed each number 6" apart, so we had a number at 6", 12" and 18" - making our total board length 24". Once everything was pre-drilled, we gave the board a light sanding and applied three coats of espresso stain. Since our wood was quartersawn white oak from Frank Miller Lumber, we were able to bring out the beautiful grain patterns with the darker stain.
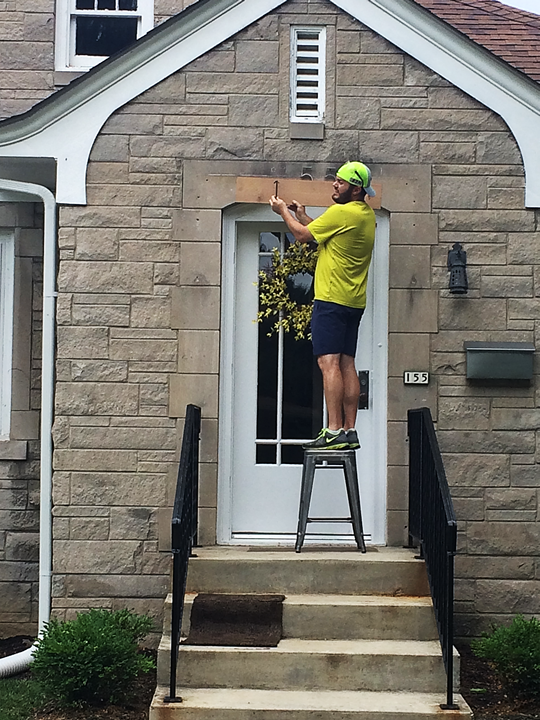
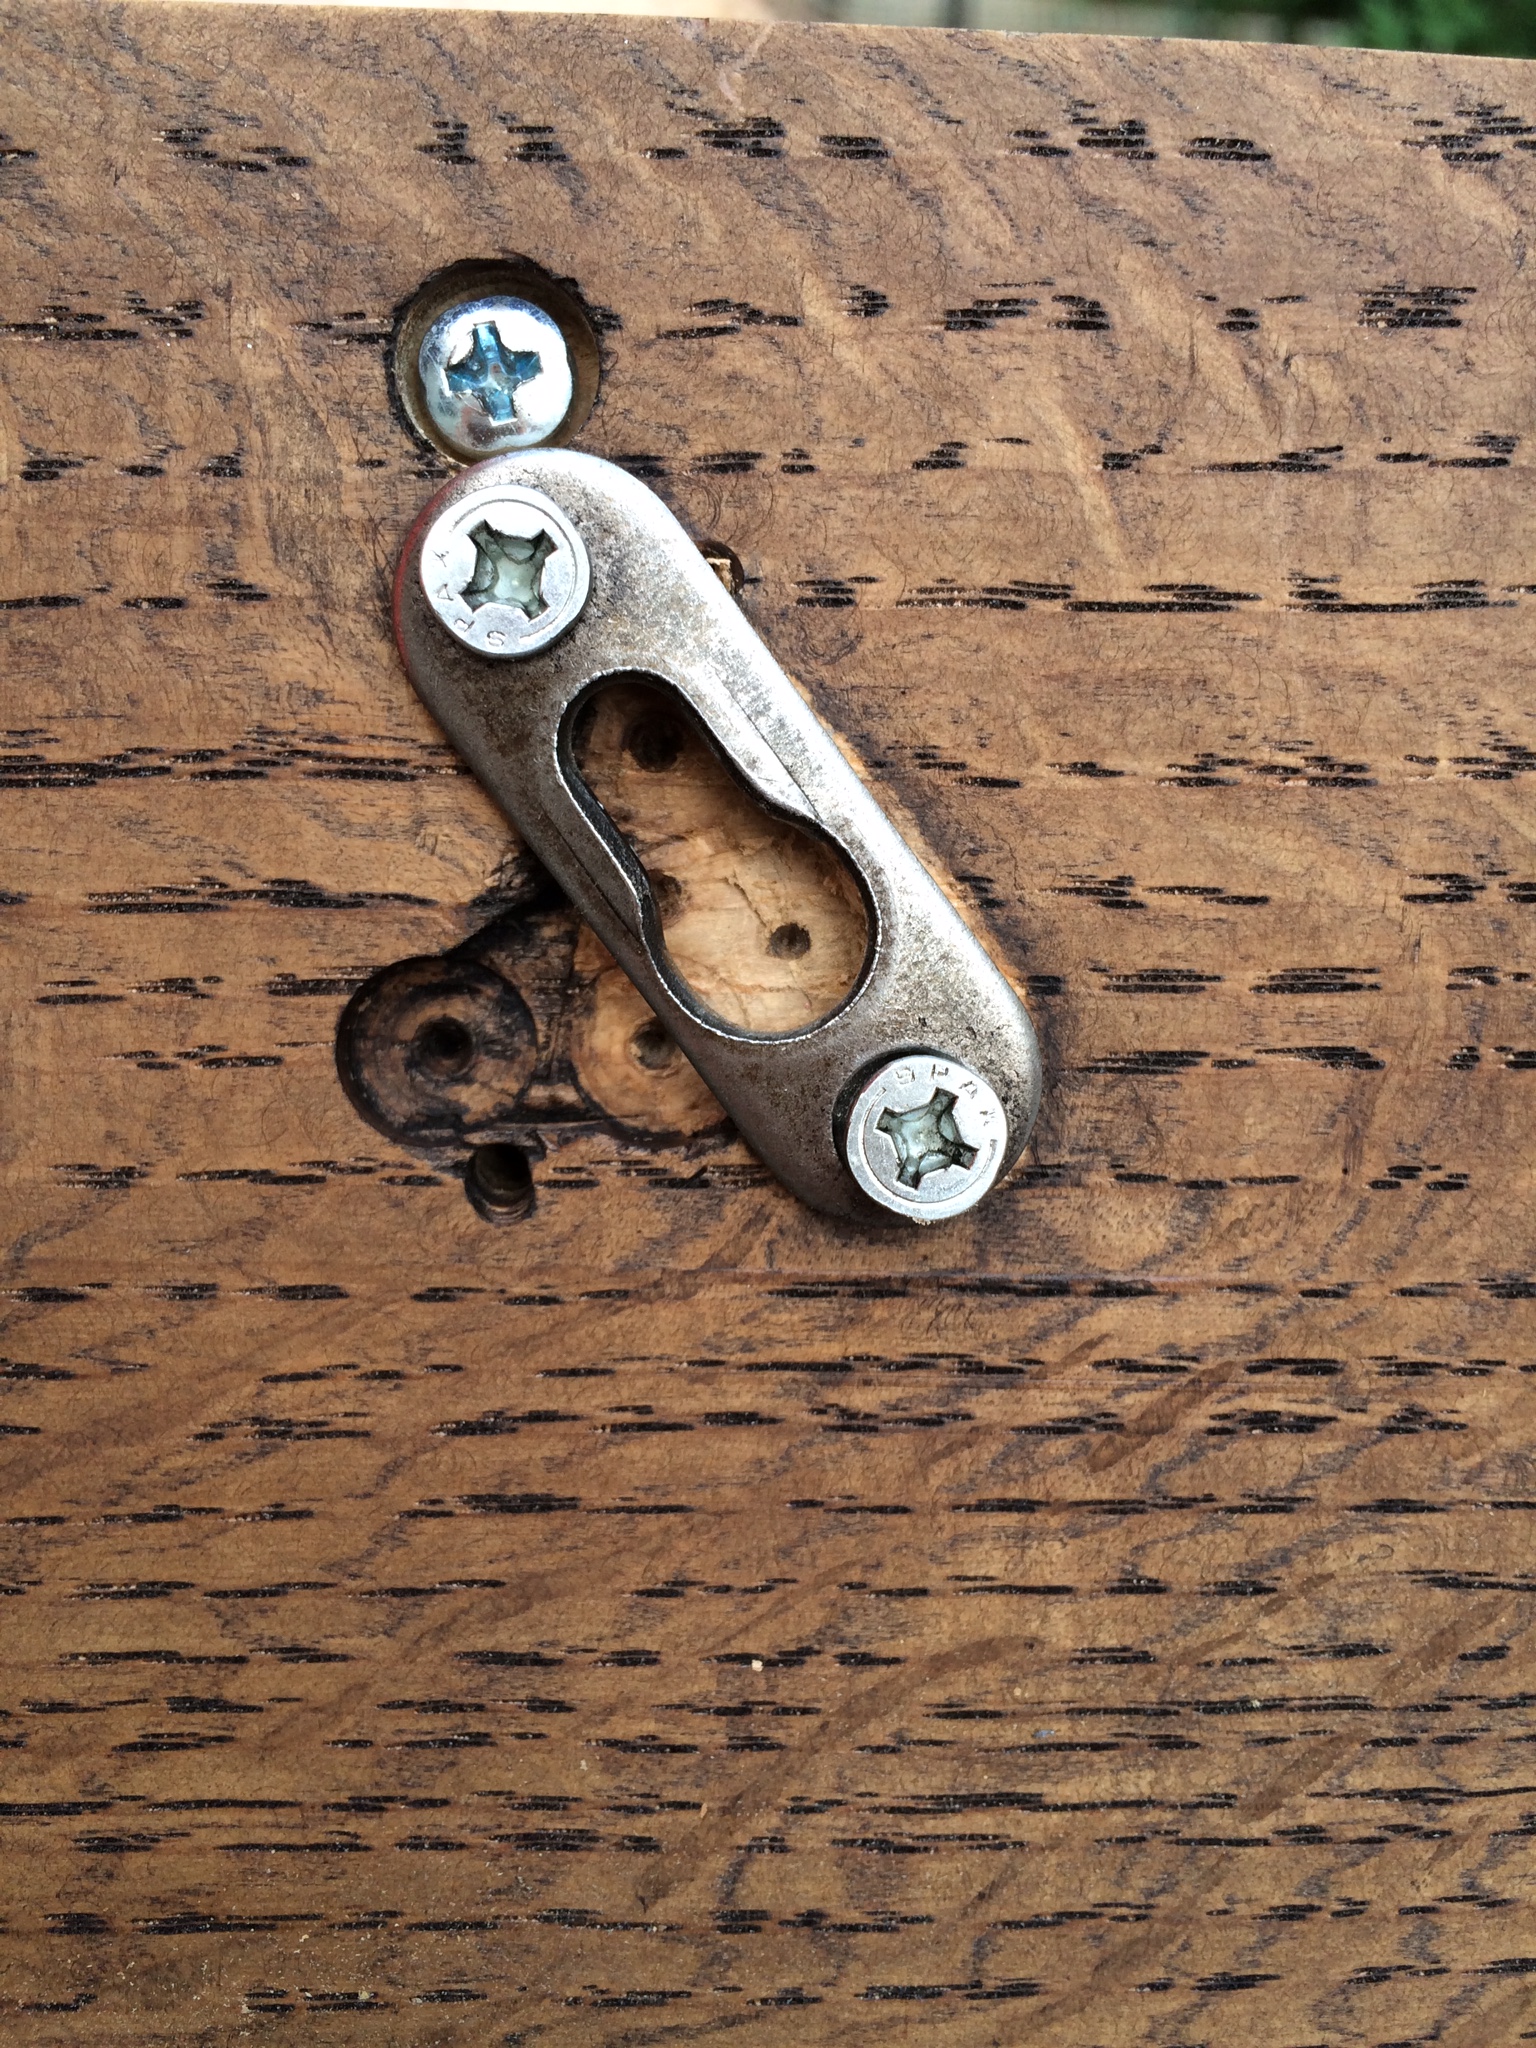
Since we didn't want to create any additional holes in the limestone, we decided to mount our board using existing holes. In order to do so, we ran into a little snag - we wanted to keep everything centered, but the screws holding the numbers to the board and the screws that would mount the board to the limestone were in the exact same spot. Plus, I didn't really want to see the mounting screws from the front. To fix the problem, we decided to attached keyhole brackets so our mounting hardware would be hidden. This allowed us to use our existing holes and simply slide our board over the screws. Tyler used a Forstner Bit to counter-sink the holes so the entire thing would sit flush against the house.
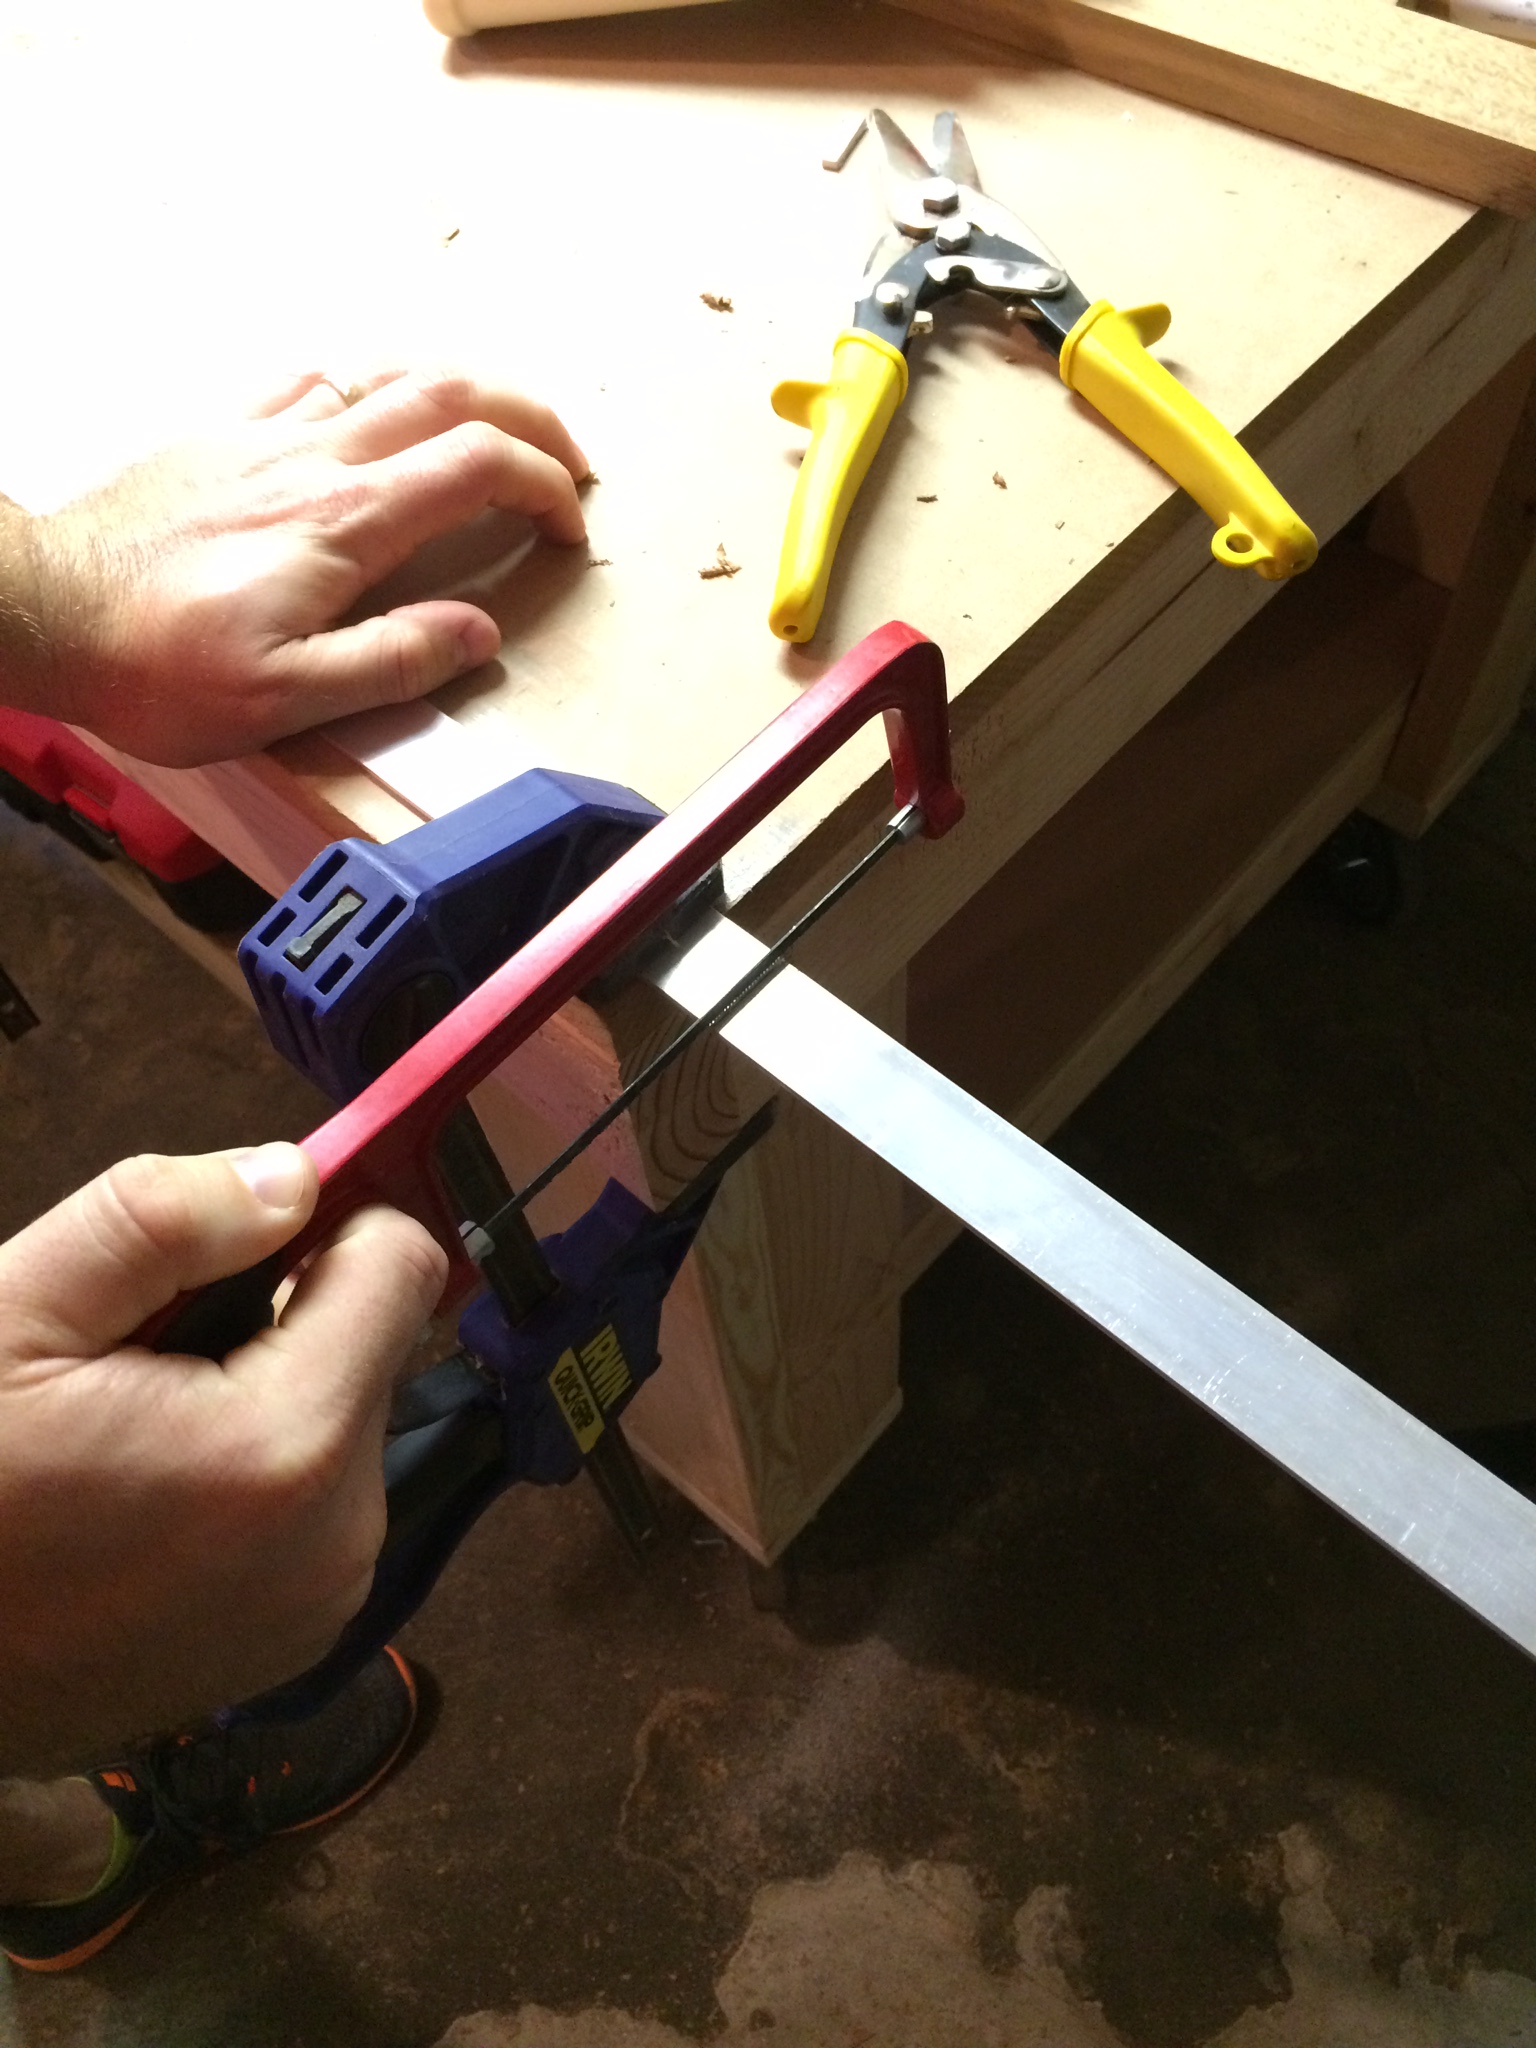
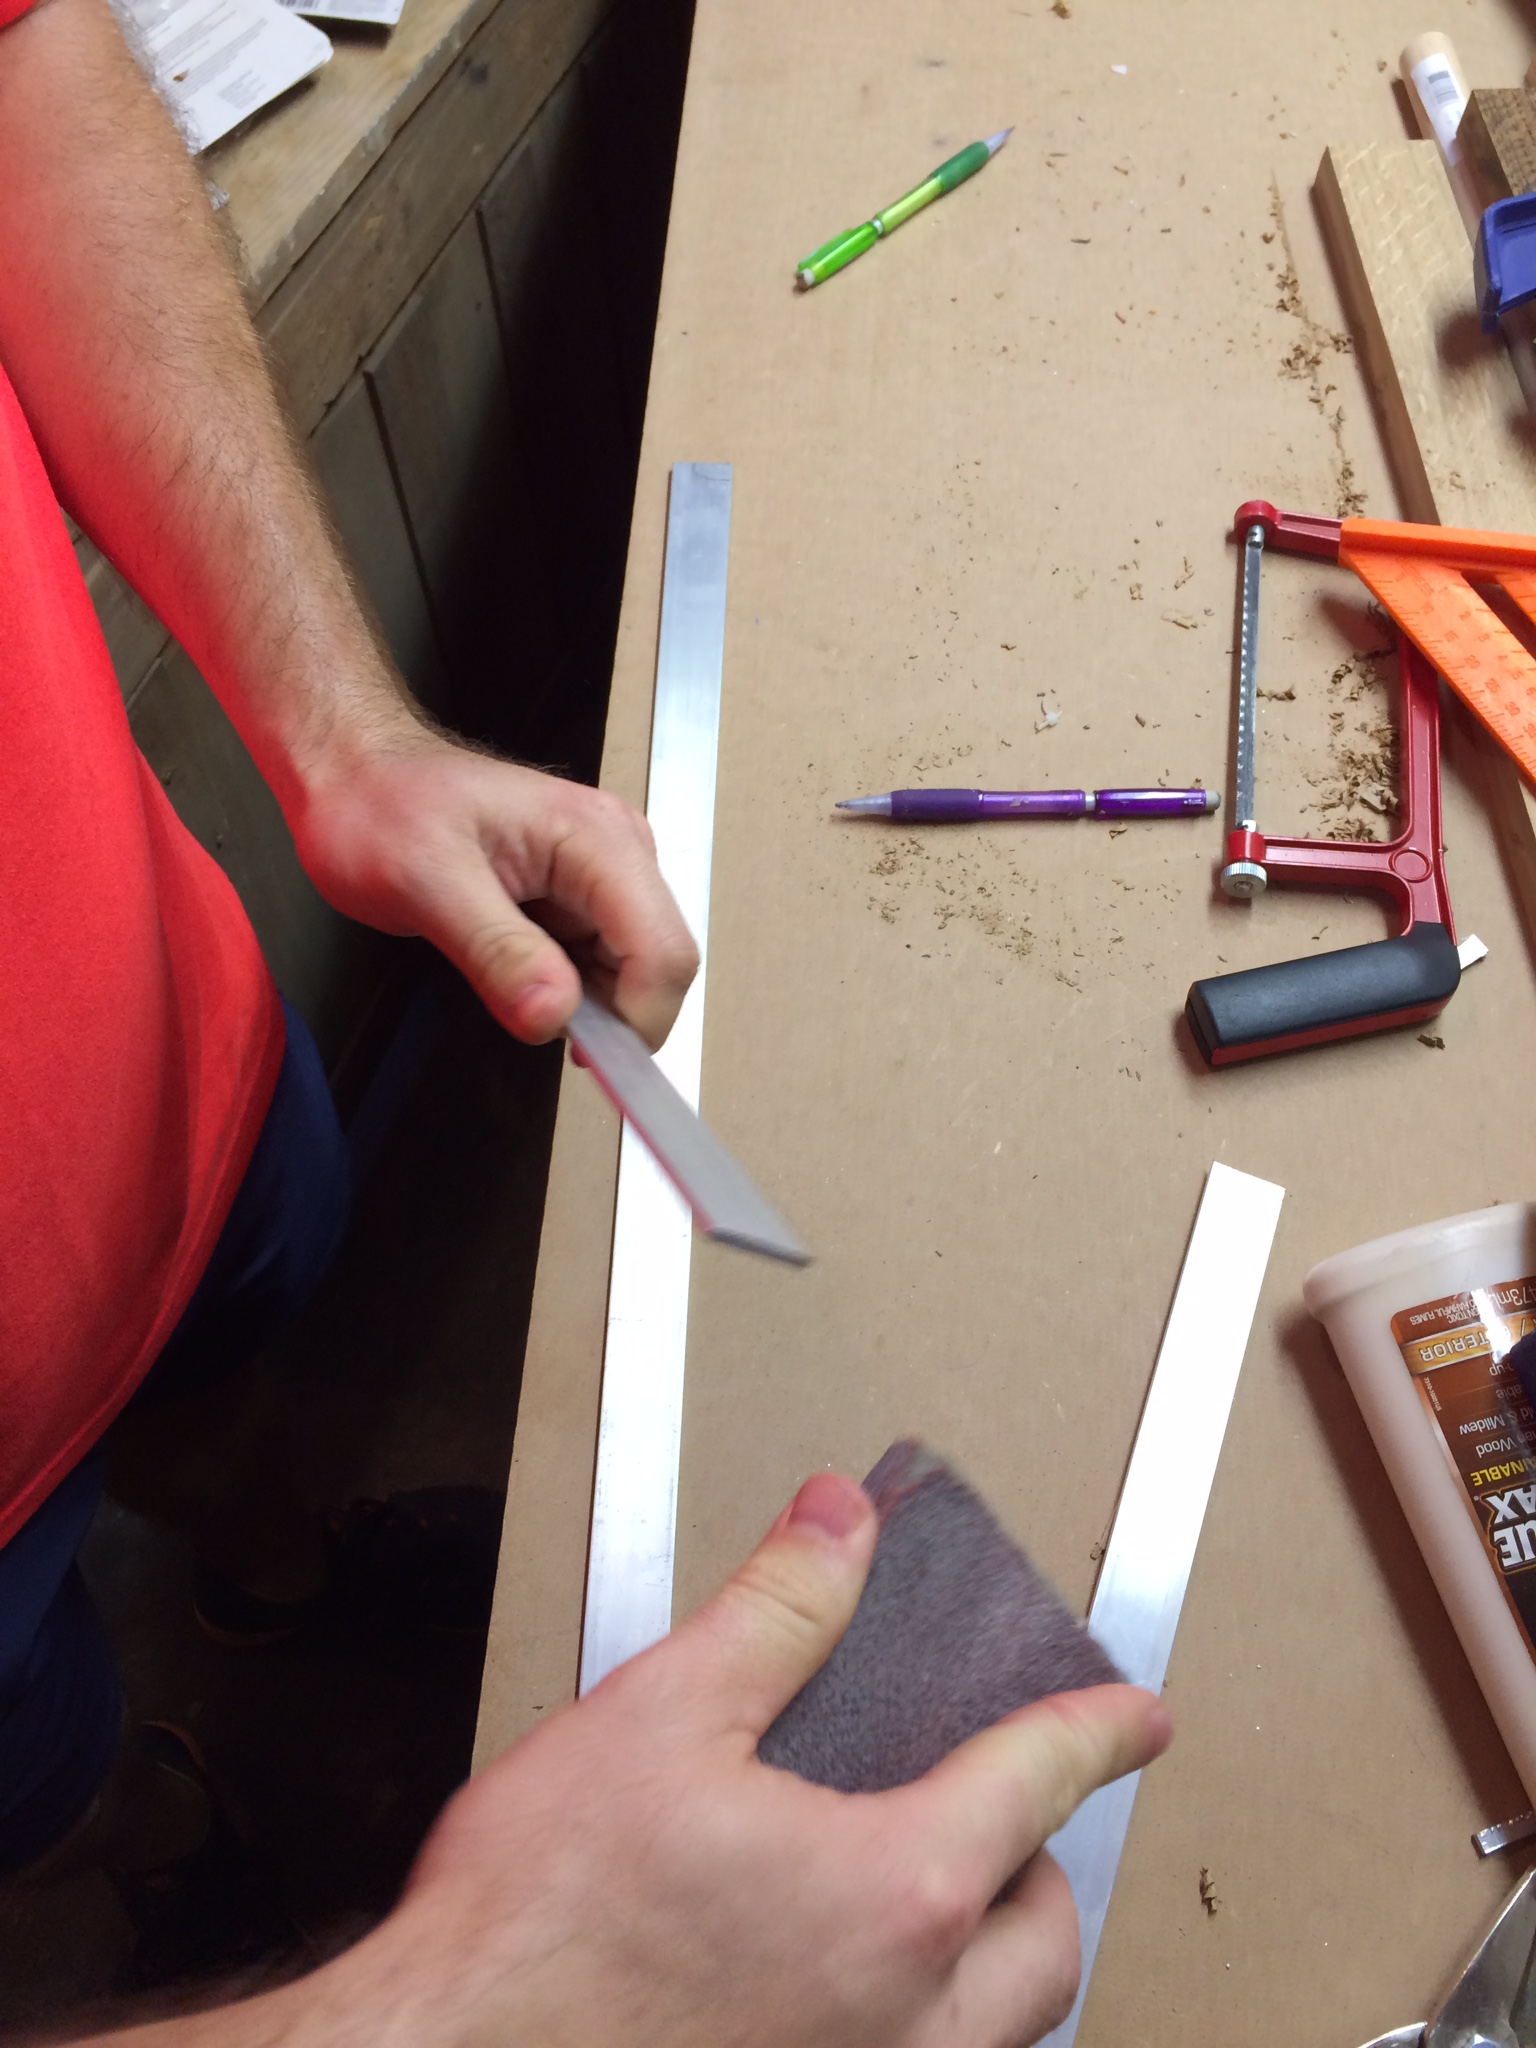
Next up, we wanted to step-up the whole project a bit by adding a nice metal trim to the board. This helped tie the piece together and make it stand out just a bit more once mounted to the house. Tyler cut each piece to length - making sure the top and bottom pieces were slightly longer than the length of the board. This allowed the side pieces to fit snuggly underneath those overhangs. Make sure to sand the edges of the metal a bit - it's very sharp!
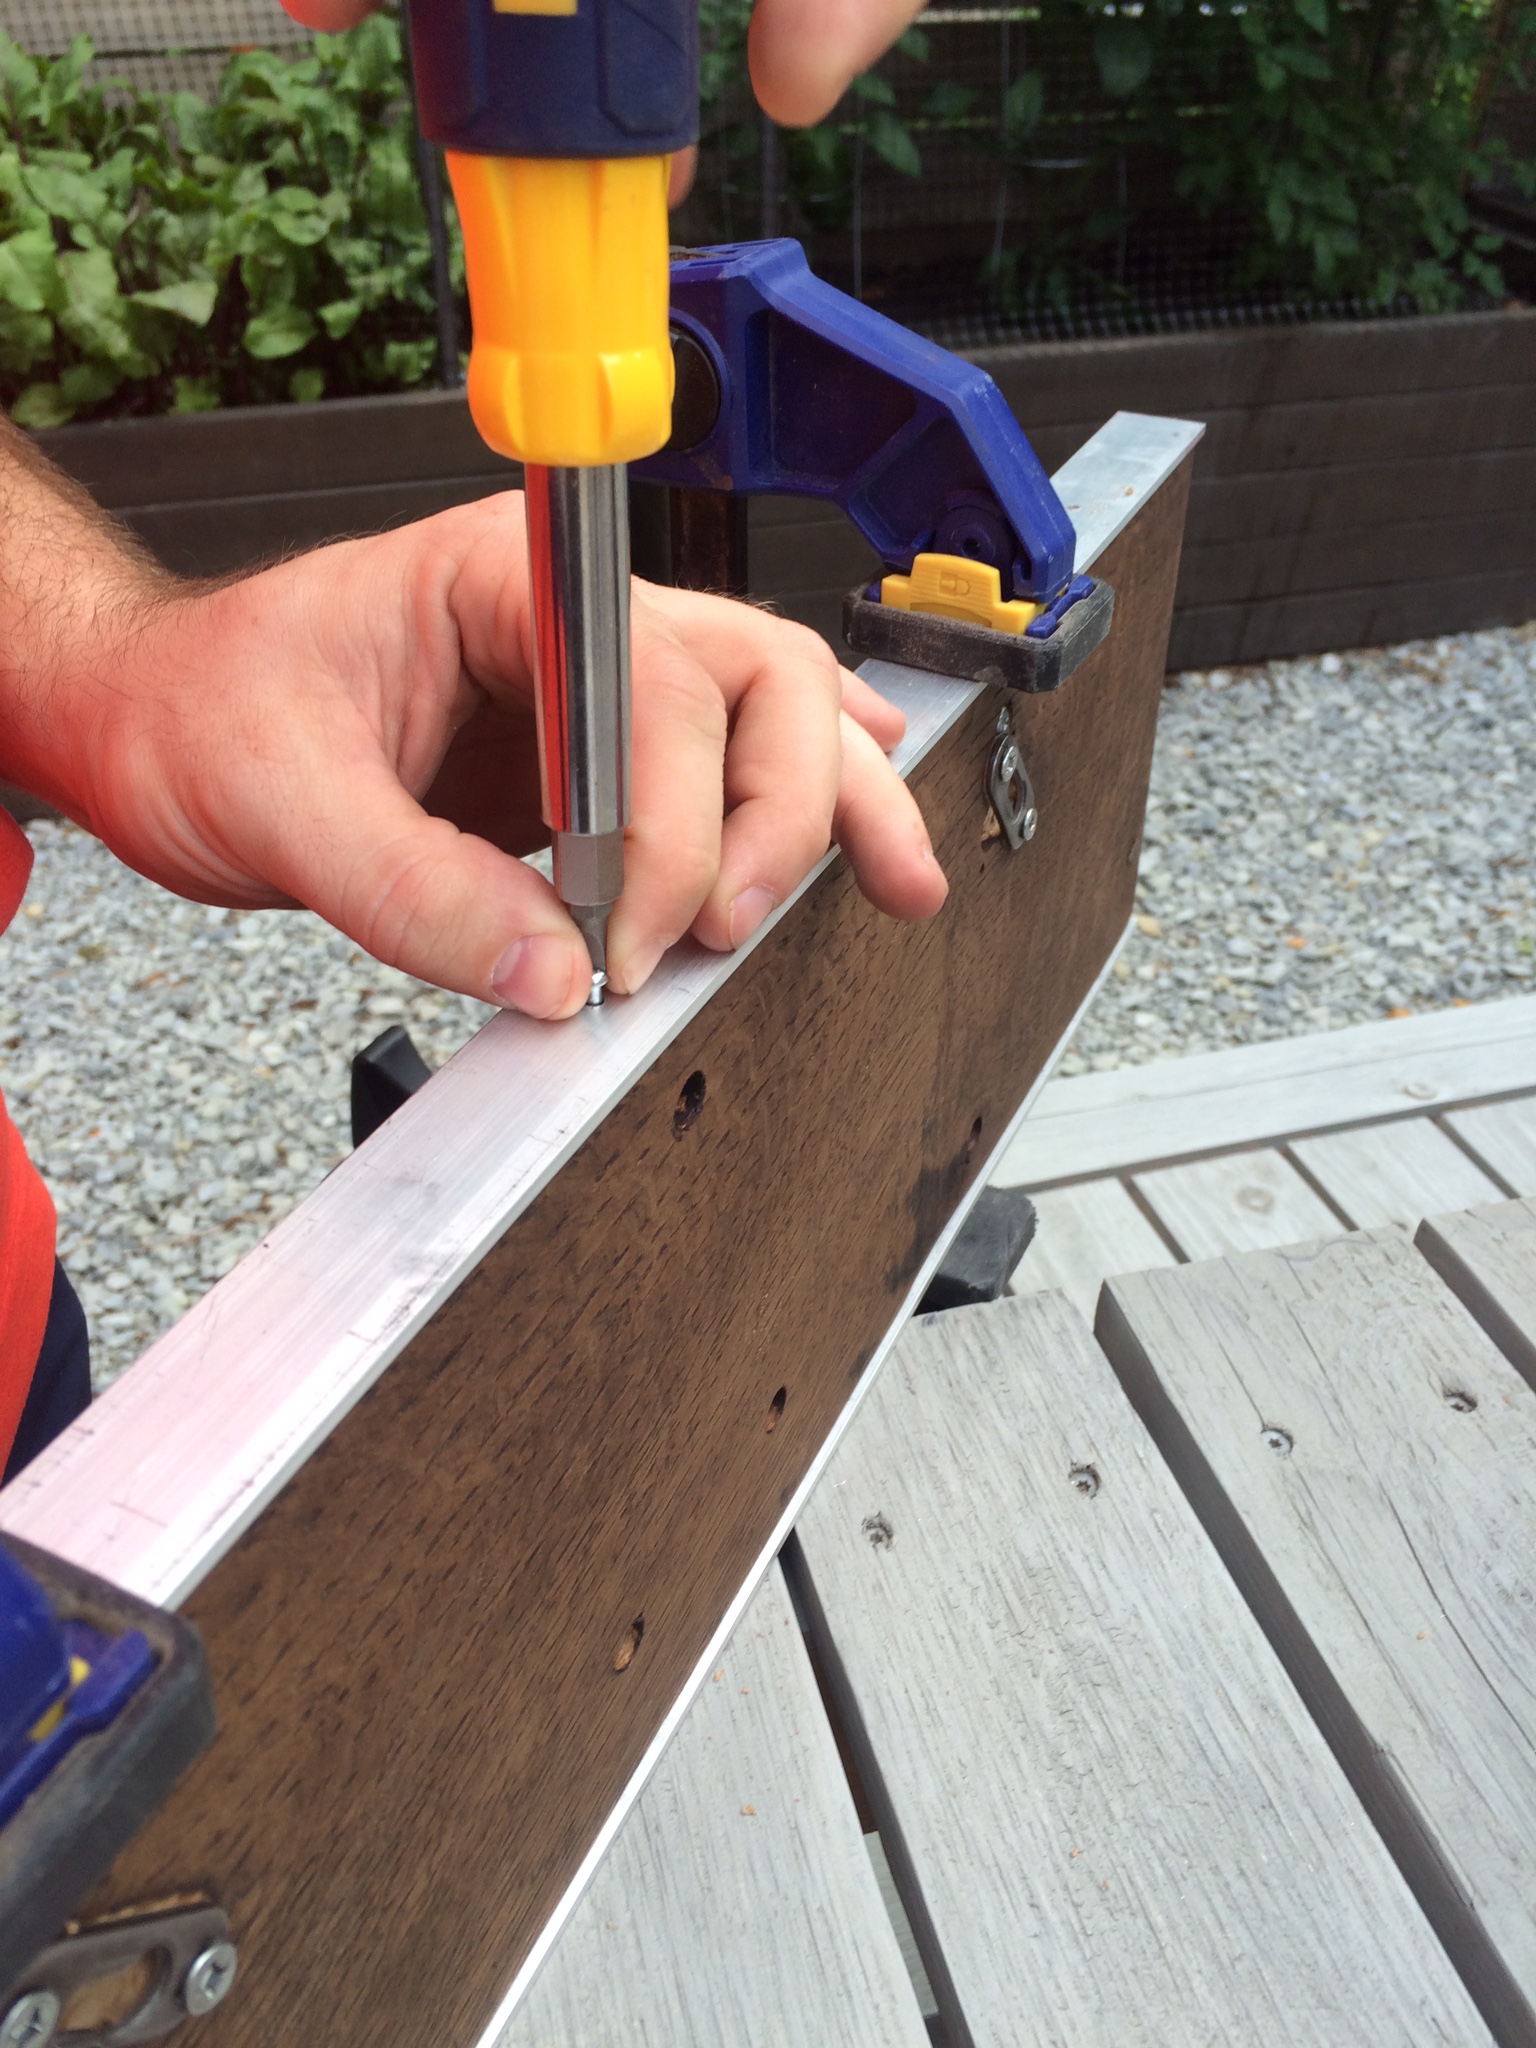
To attach, Tyler pre-drilled holes and then used a screw driver to attach the screws.
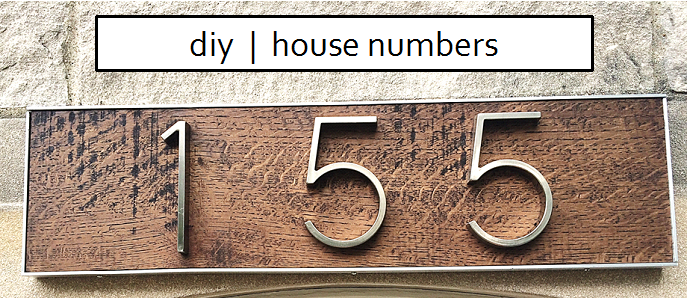
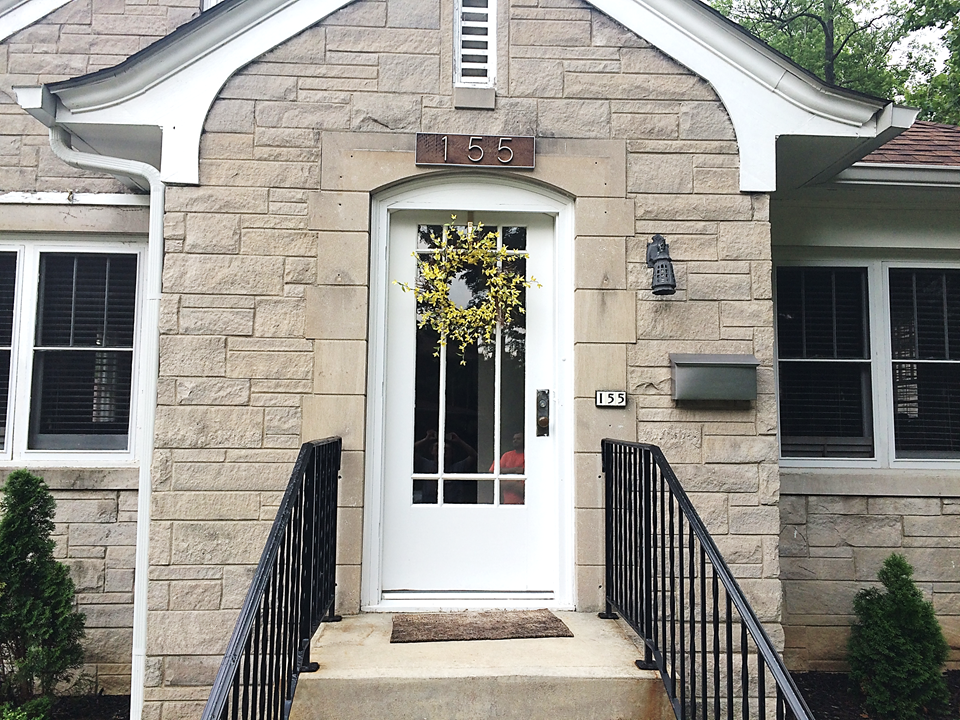
Finally, we applied Thompson's WaterSeal to the entire thing. Once that dried, we attached our numbers, hung the board, and stood back to admire our handy work!
Here's a little before and after for reference.
I'm really happy with the way it turned out!
