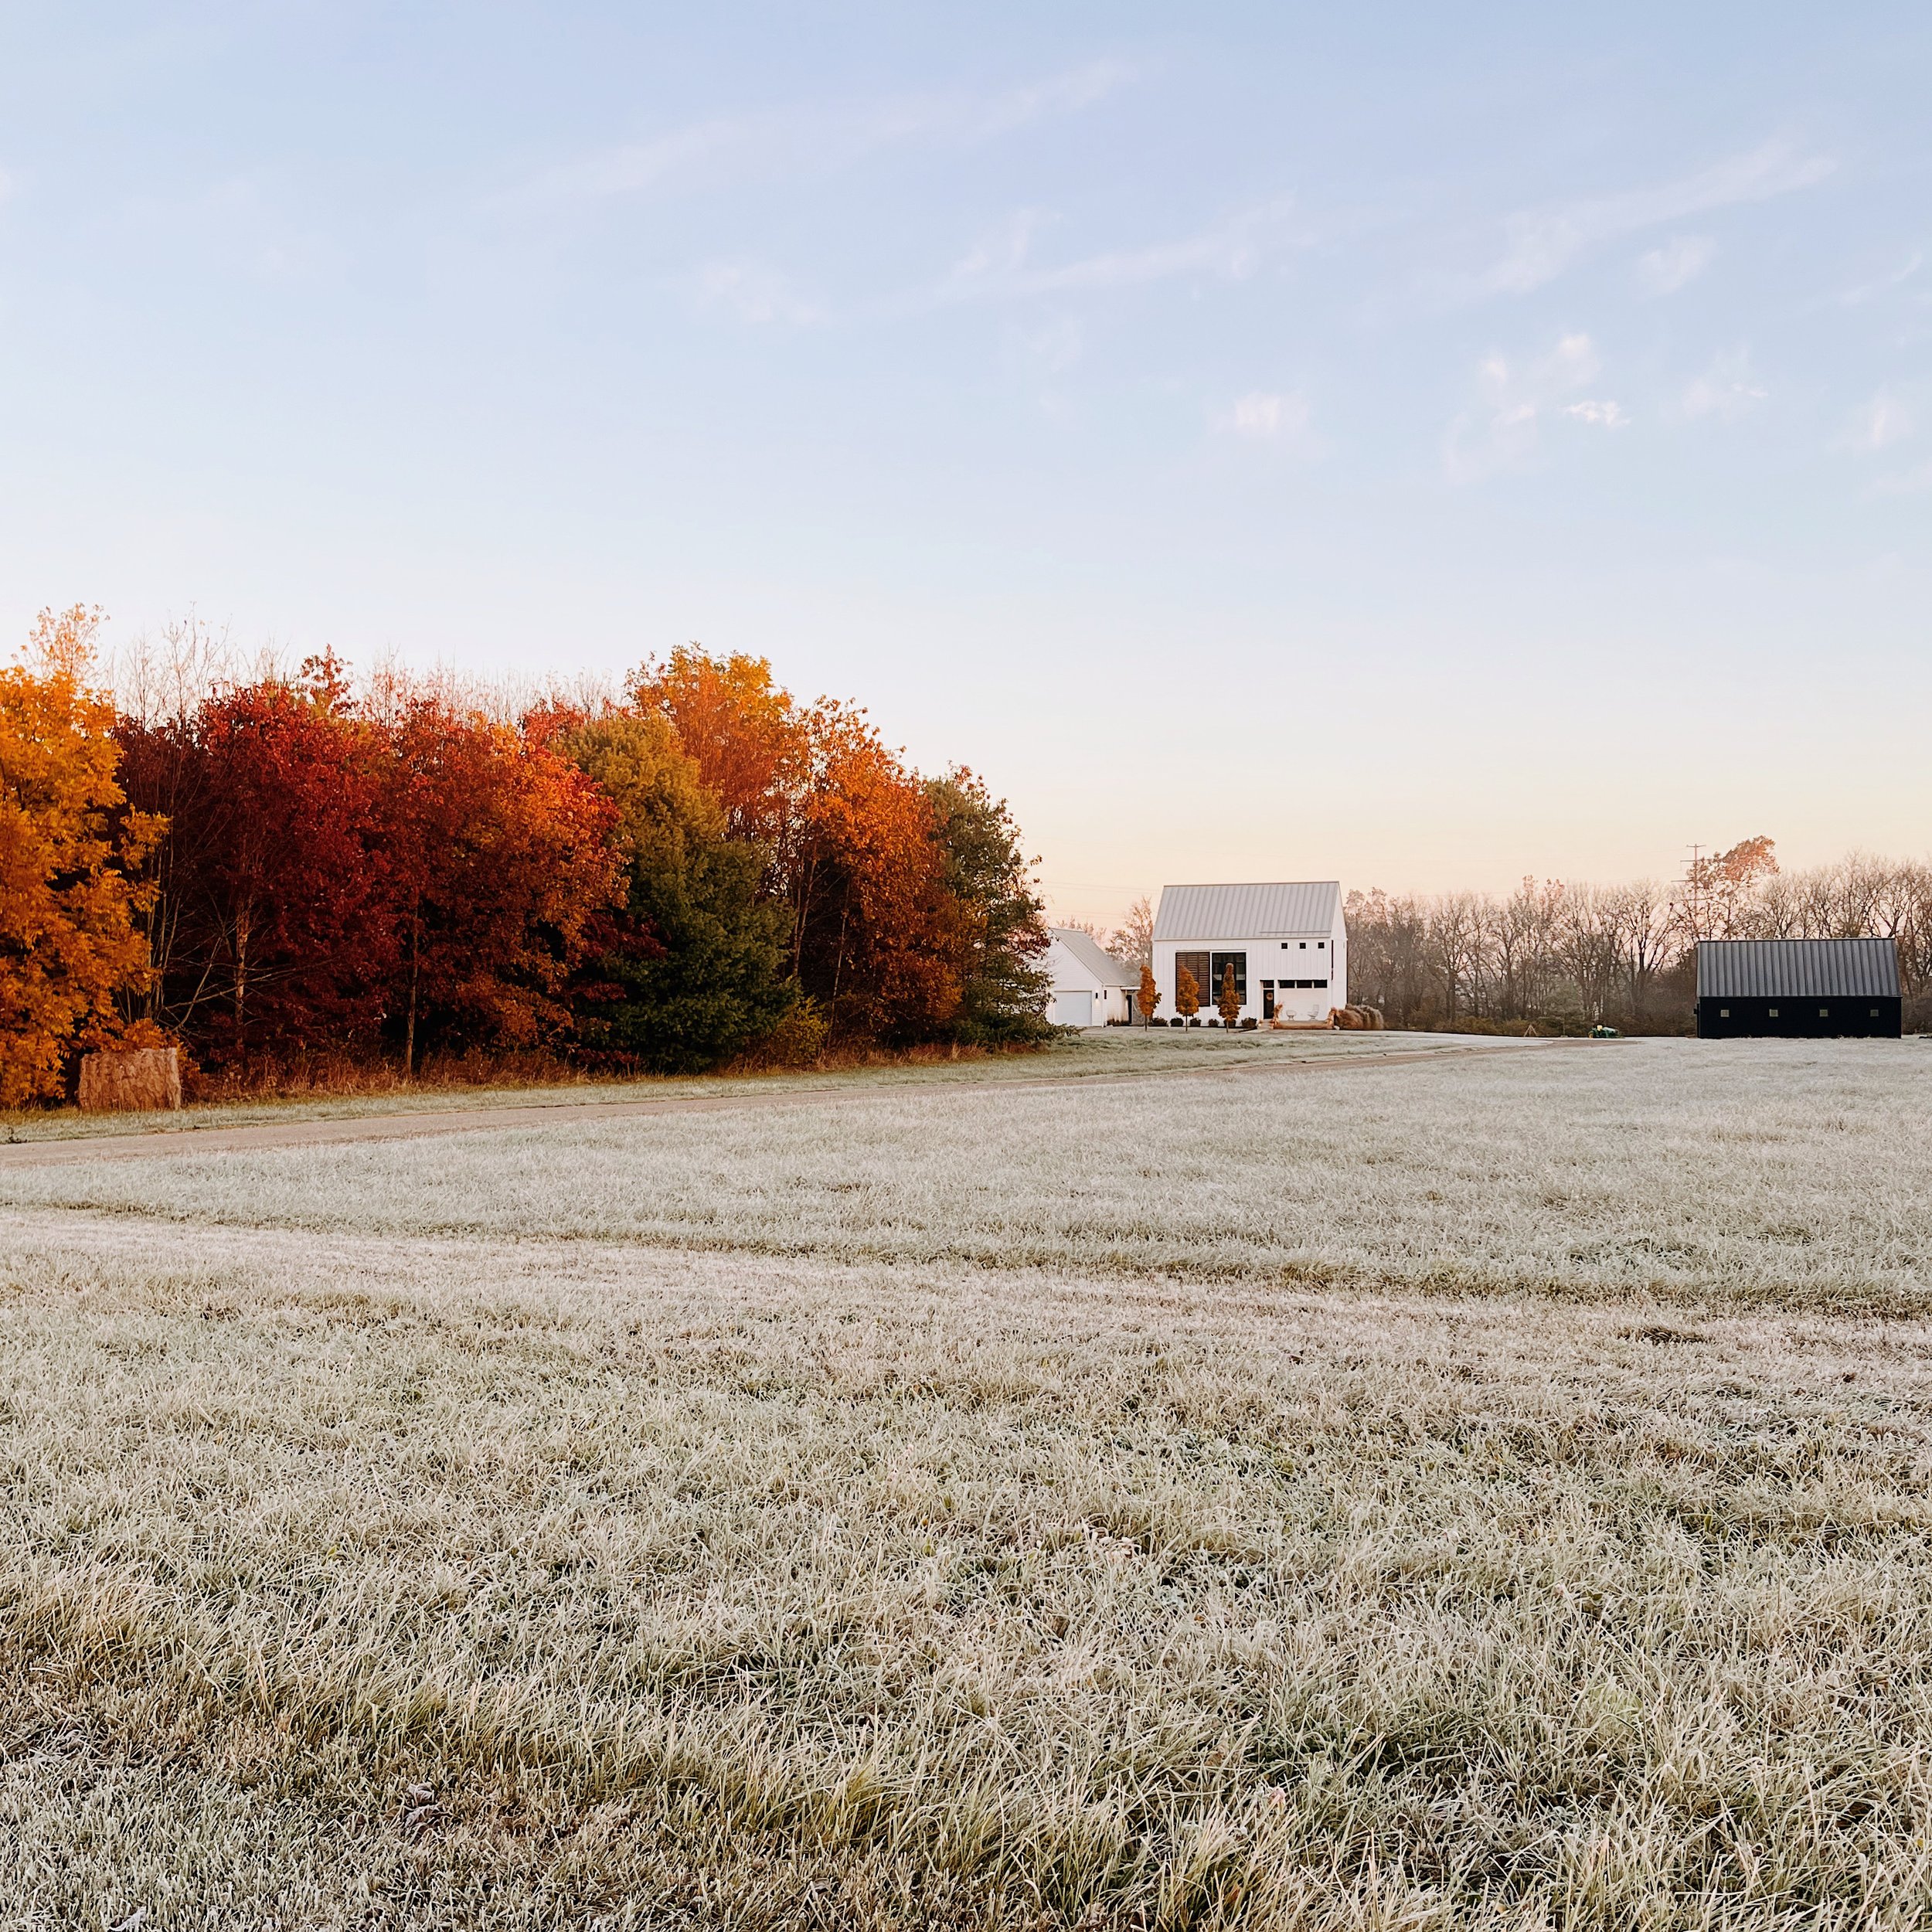
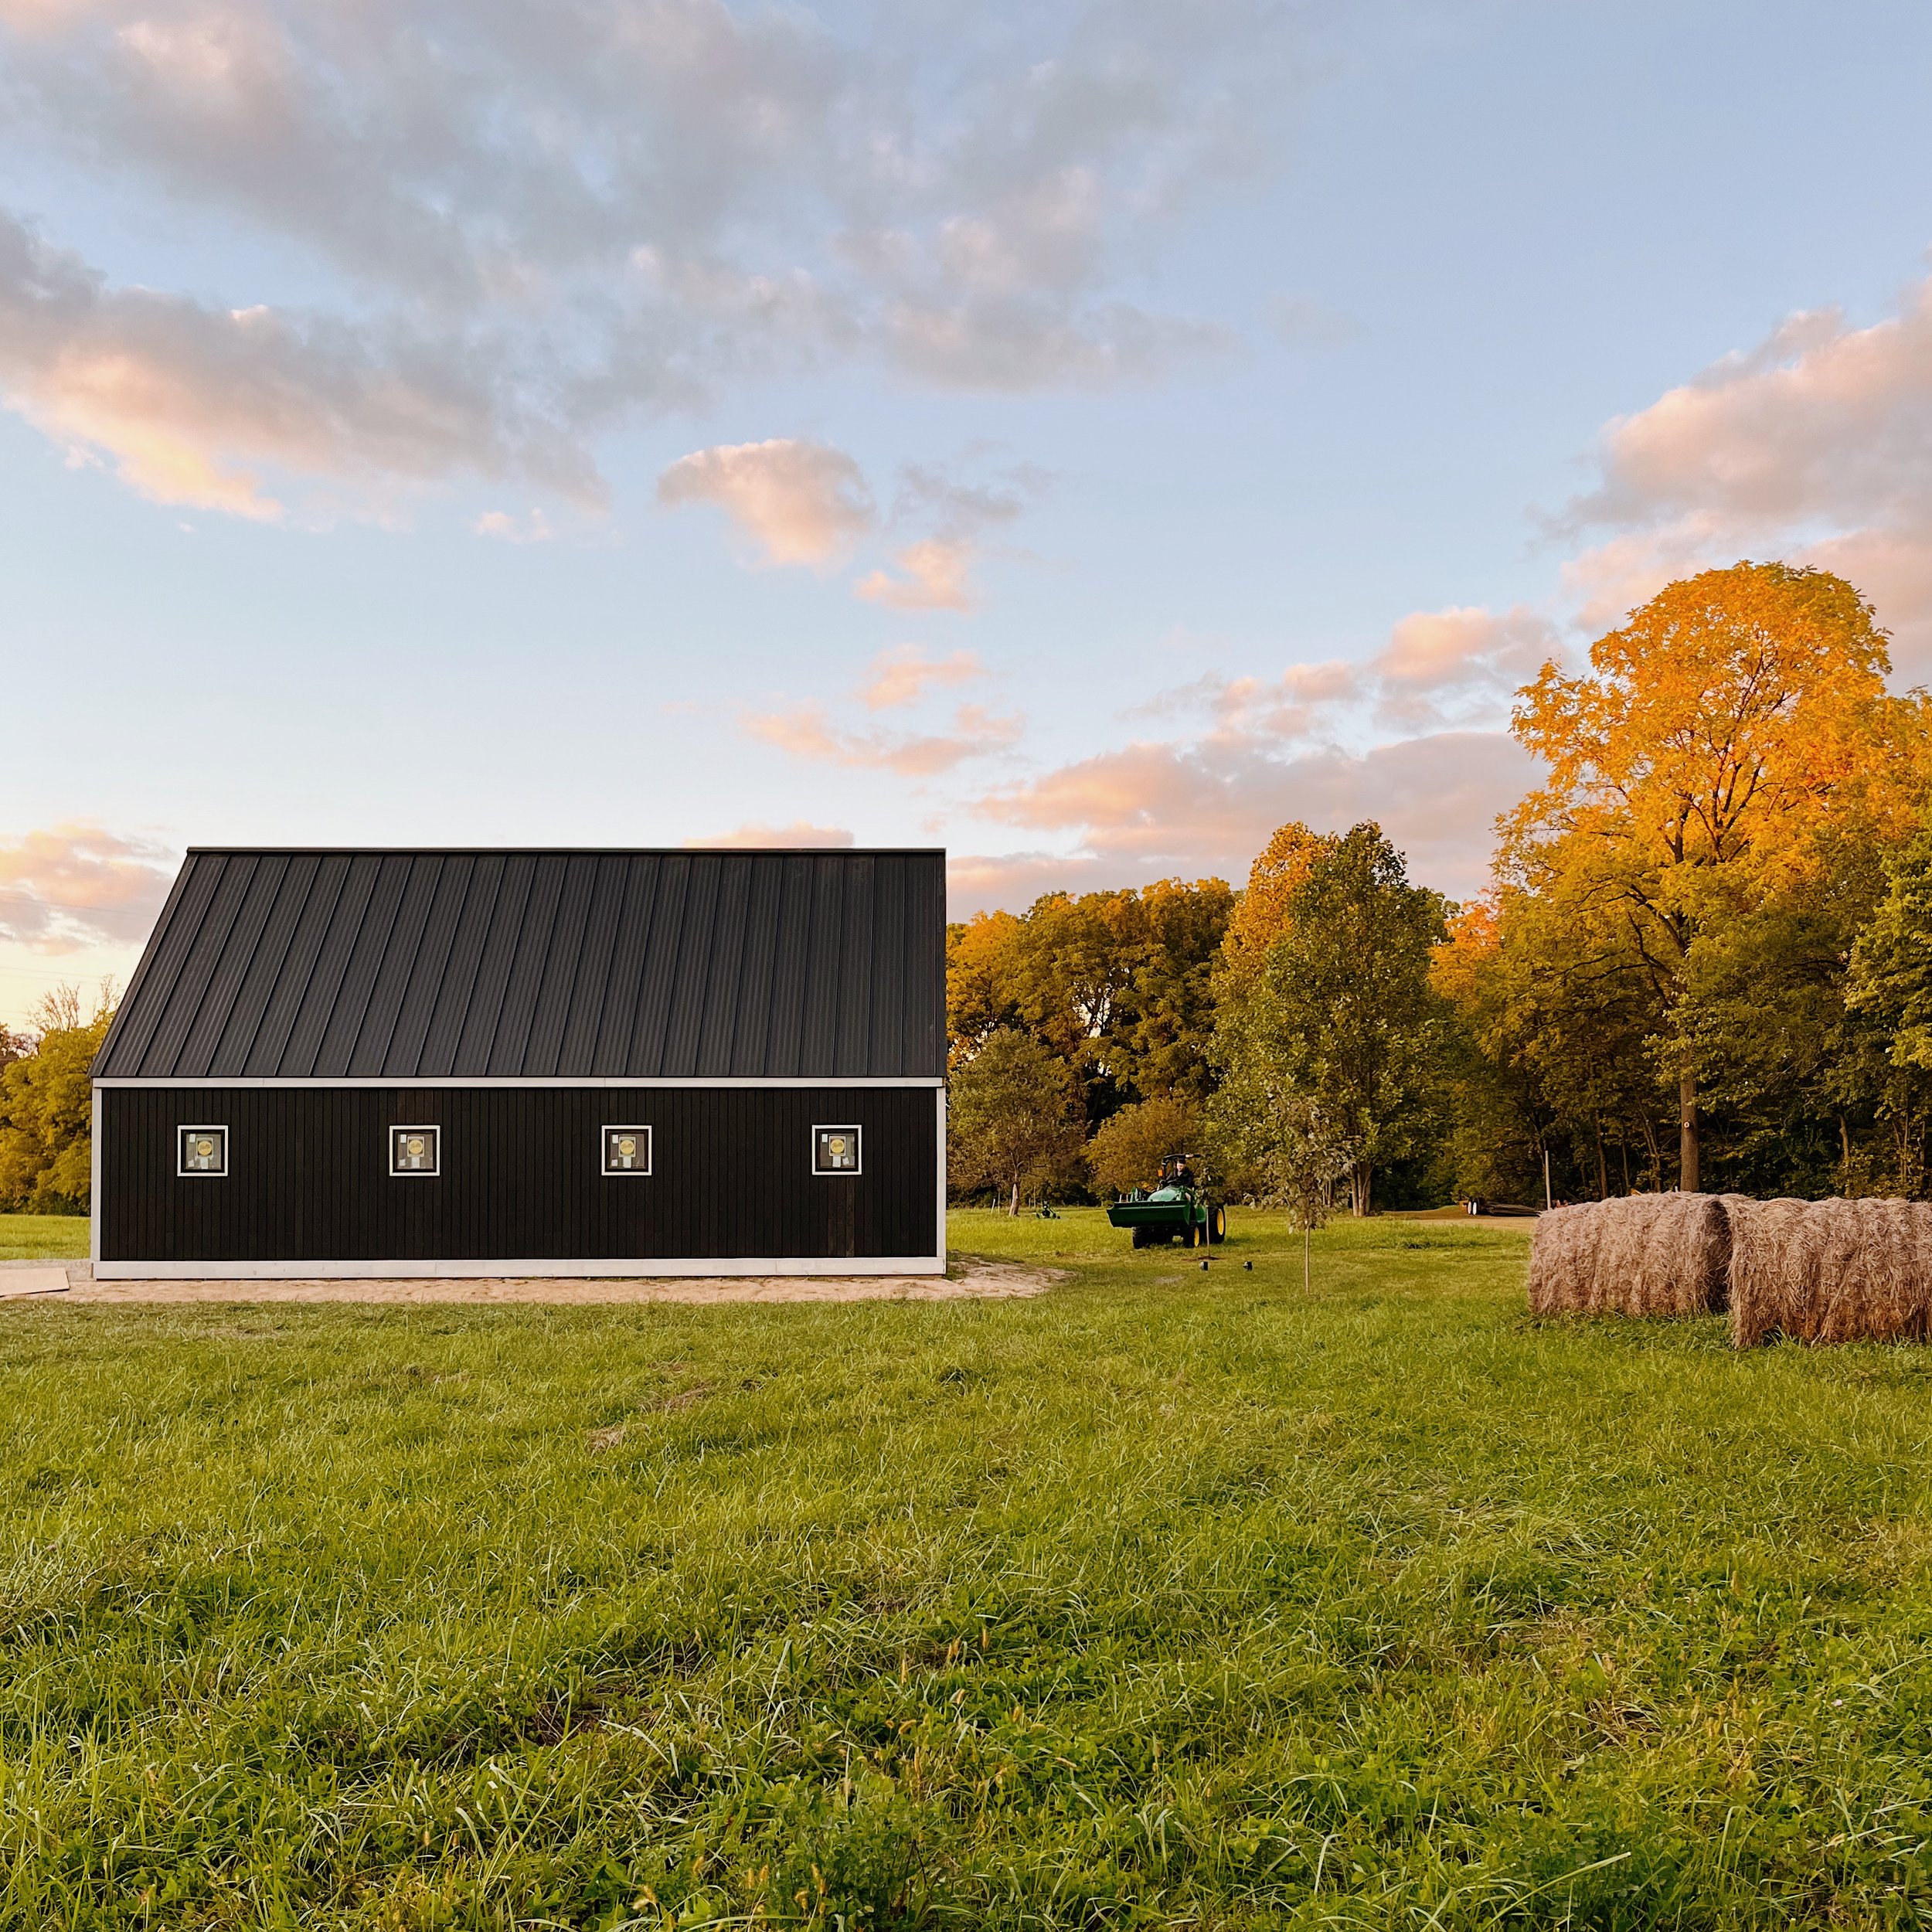
The Simple Barn
We’ve been dreaming of building a barn ever since we embarked on our house build back in 2016. We always knew we would likely need the storage space (there’s a lot of big stuff required to take care of 8.5 acres; even more than we ever imagined), but we simply didn’t have the funds to do so during our initial build. We wanted to pay cash and not take out any loans, so we’ve been saving and dreaming ever since. The iterations for this space have been many. We actually started discussions with our original architect and builder over two years ago; putting the project on hold time and time again due to rising costs and timing (pandemic, babies, work, LIFE!). But we finally did it! And she’s a beauty.

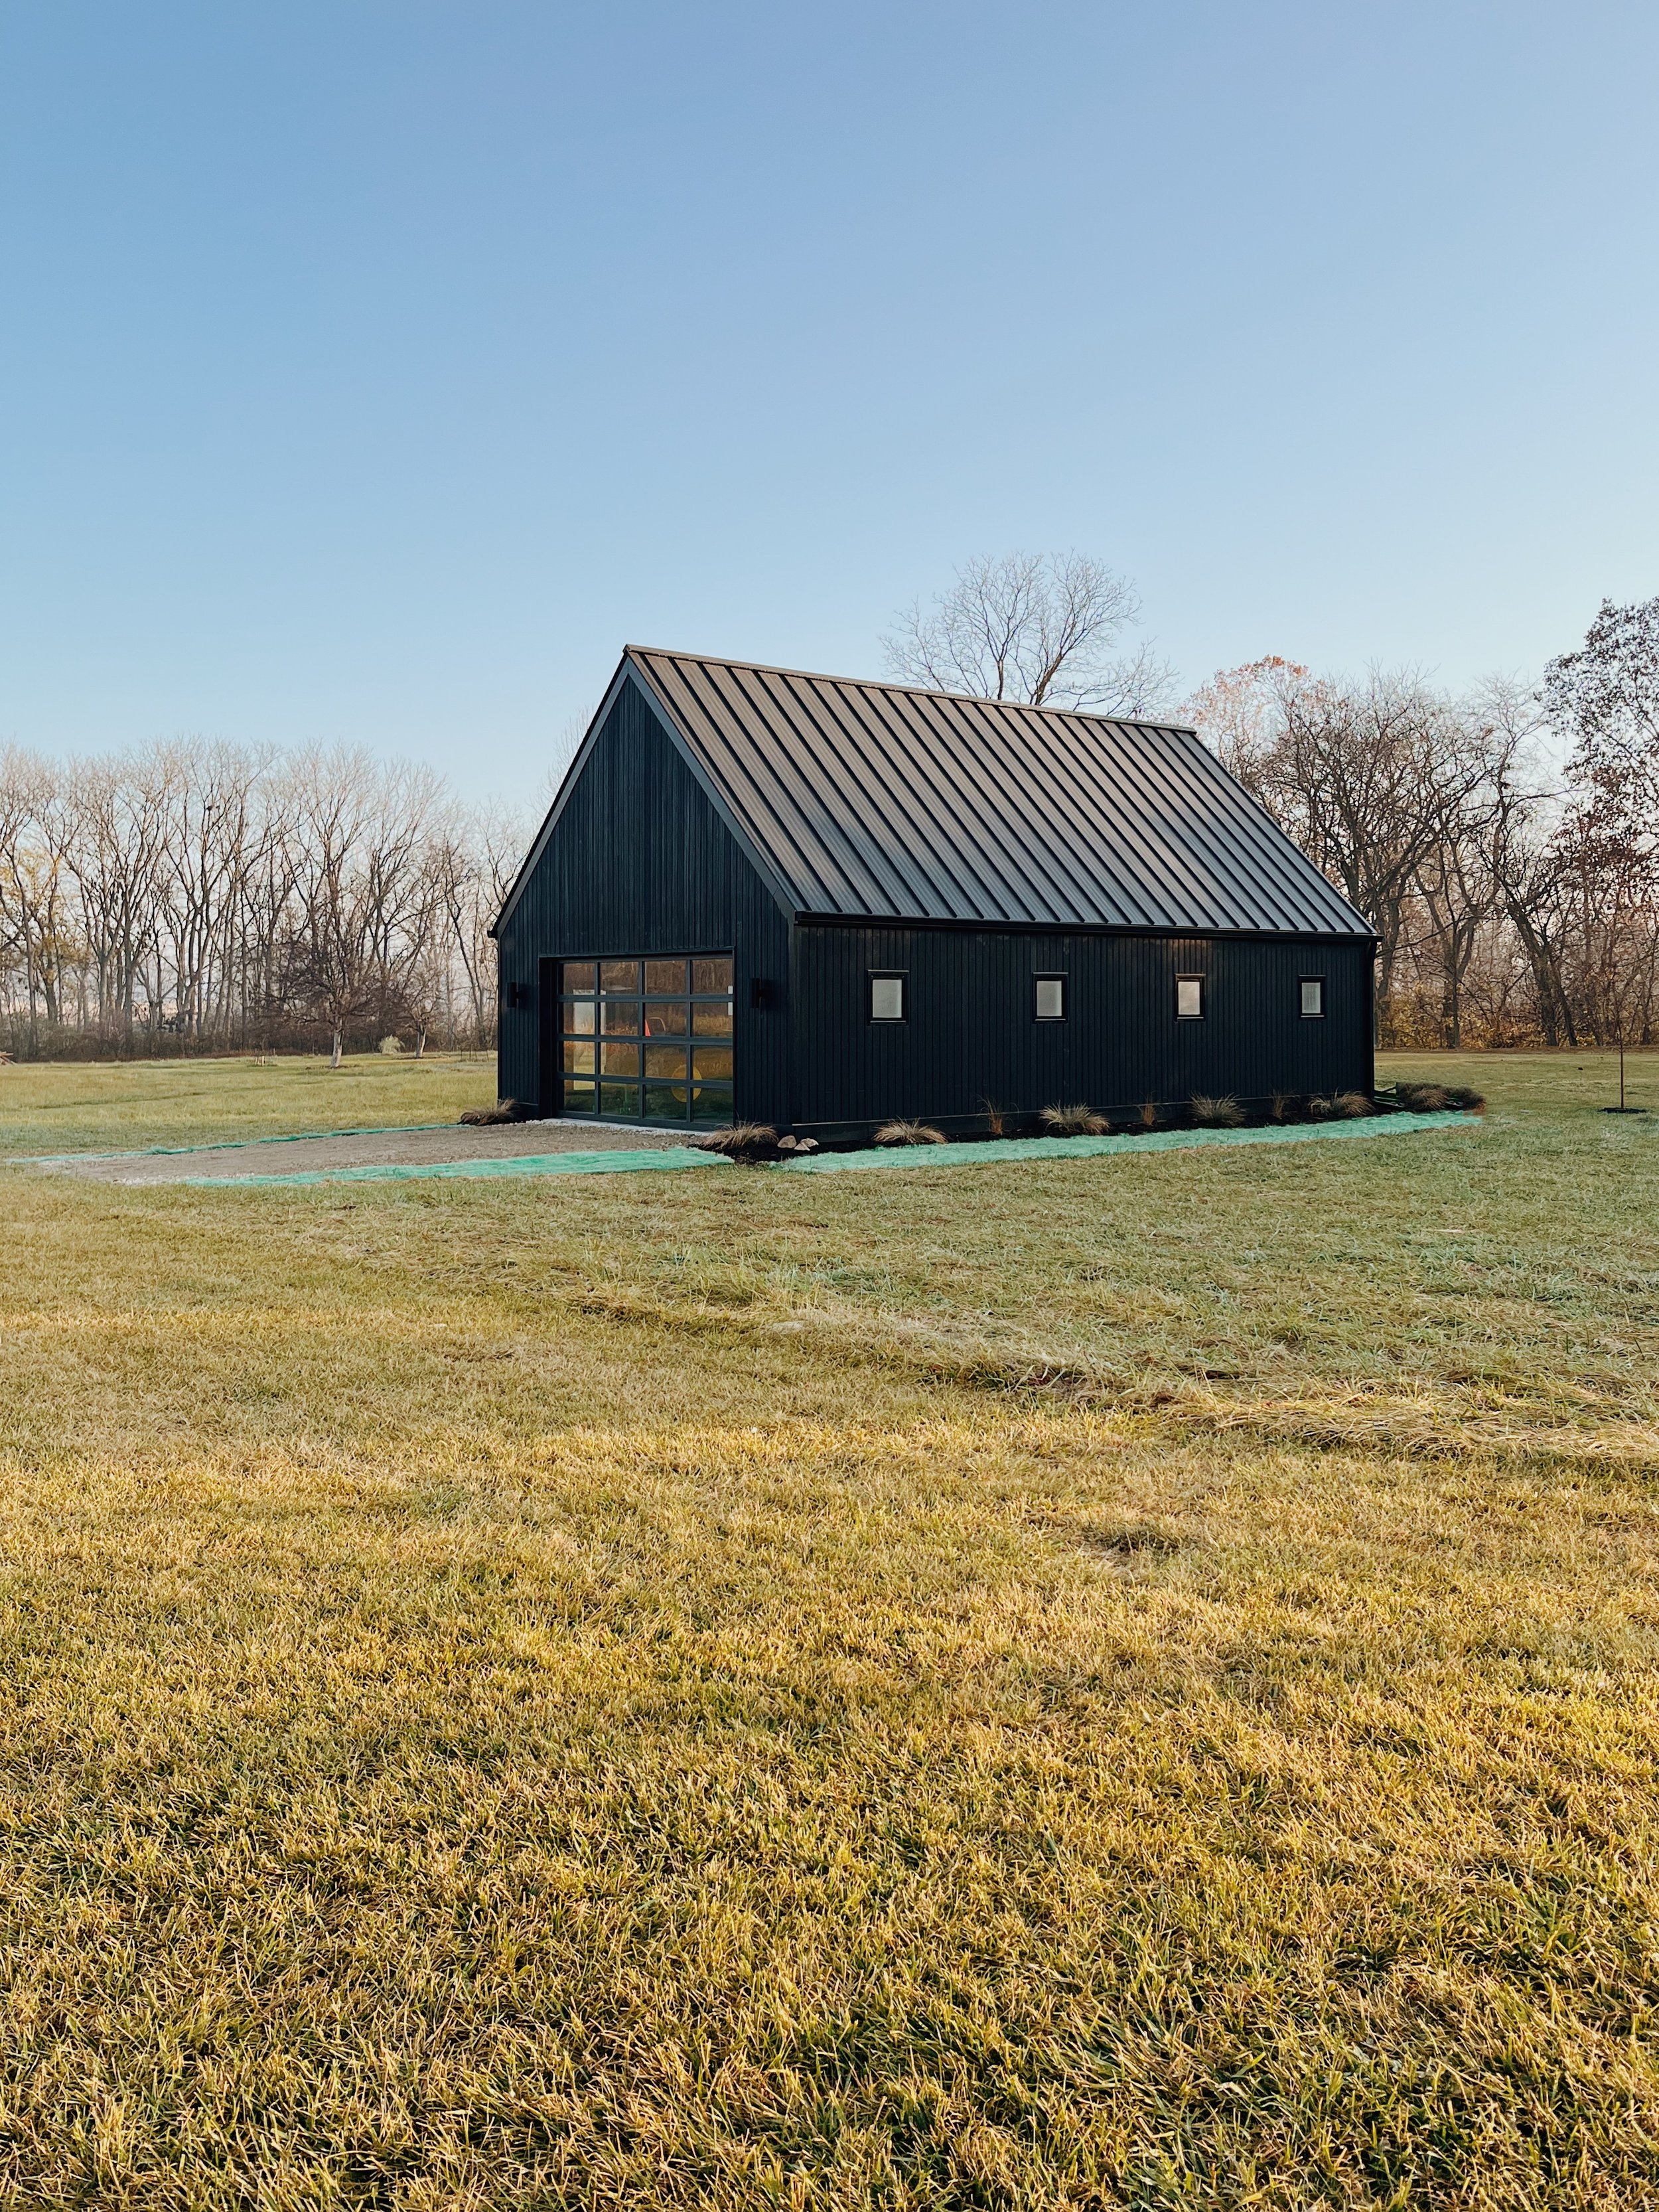
We wanted a space that was simple, functional, efficient, beautiful, not too crazy expensive, and that looked like it always belonged. It needed to compliment our home and land without taking precedence. The design iterations were countless, and we ultimately set everything aside to go back to basics. We scraped everything and ended up using our original garage plans but tweaked them slightly to work for this space. Simple was the objective. Here’s a summary of what we modified:
Bigger. Our existing garage is 24’Wx28’L. We kept the width the same but extended the length of the barn to 40’L.
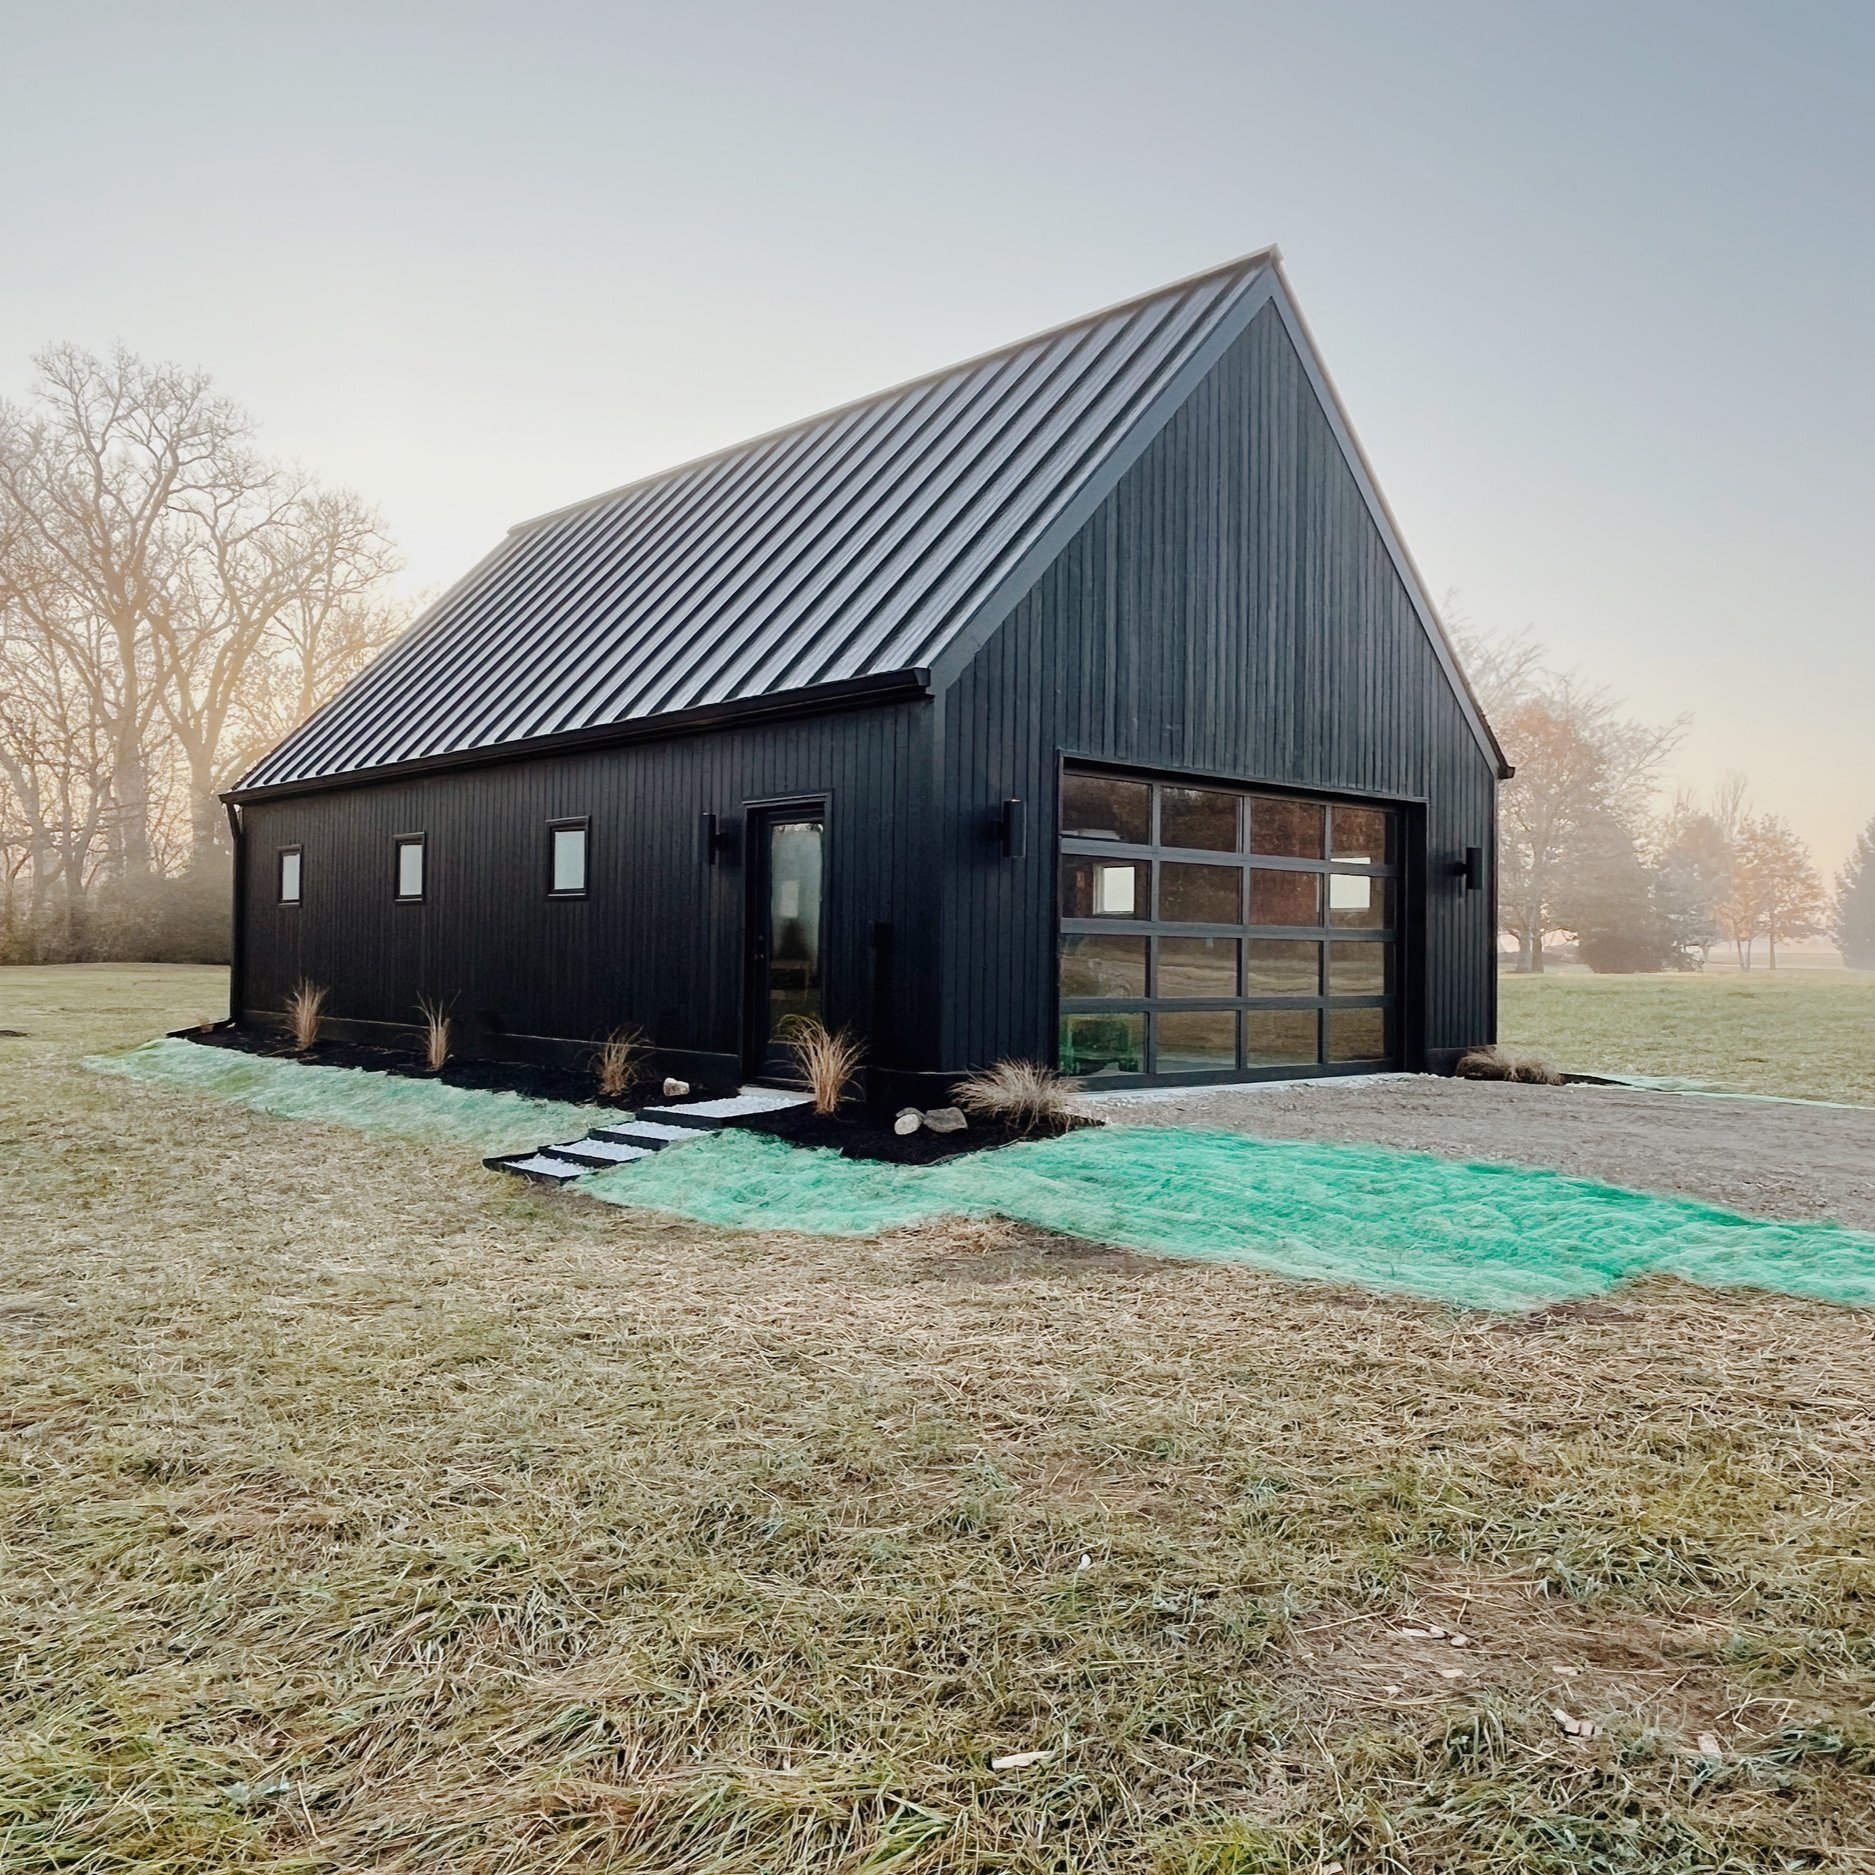
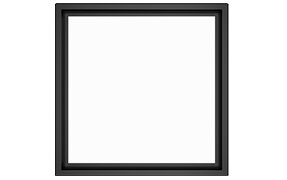
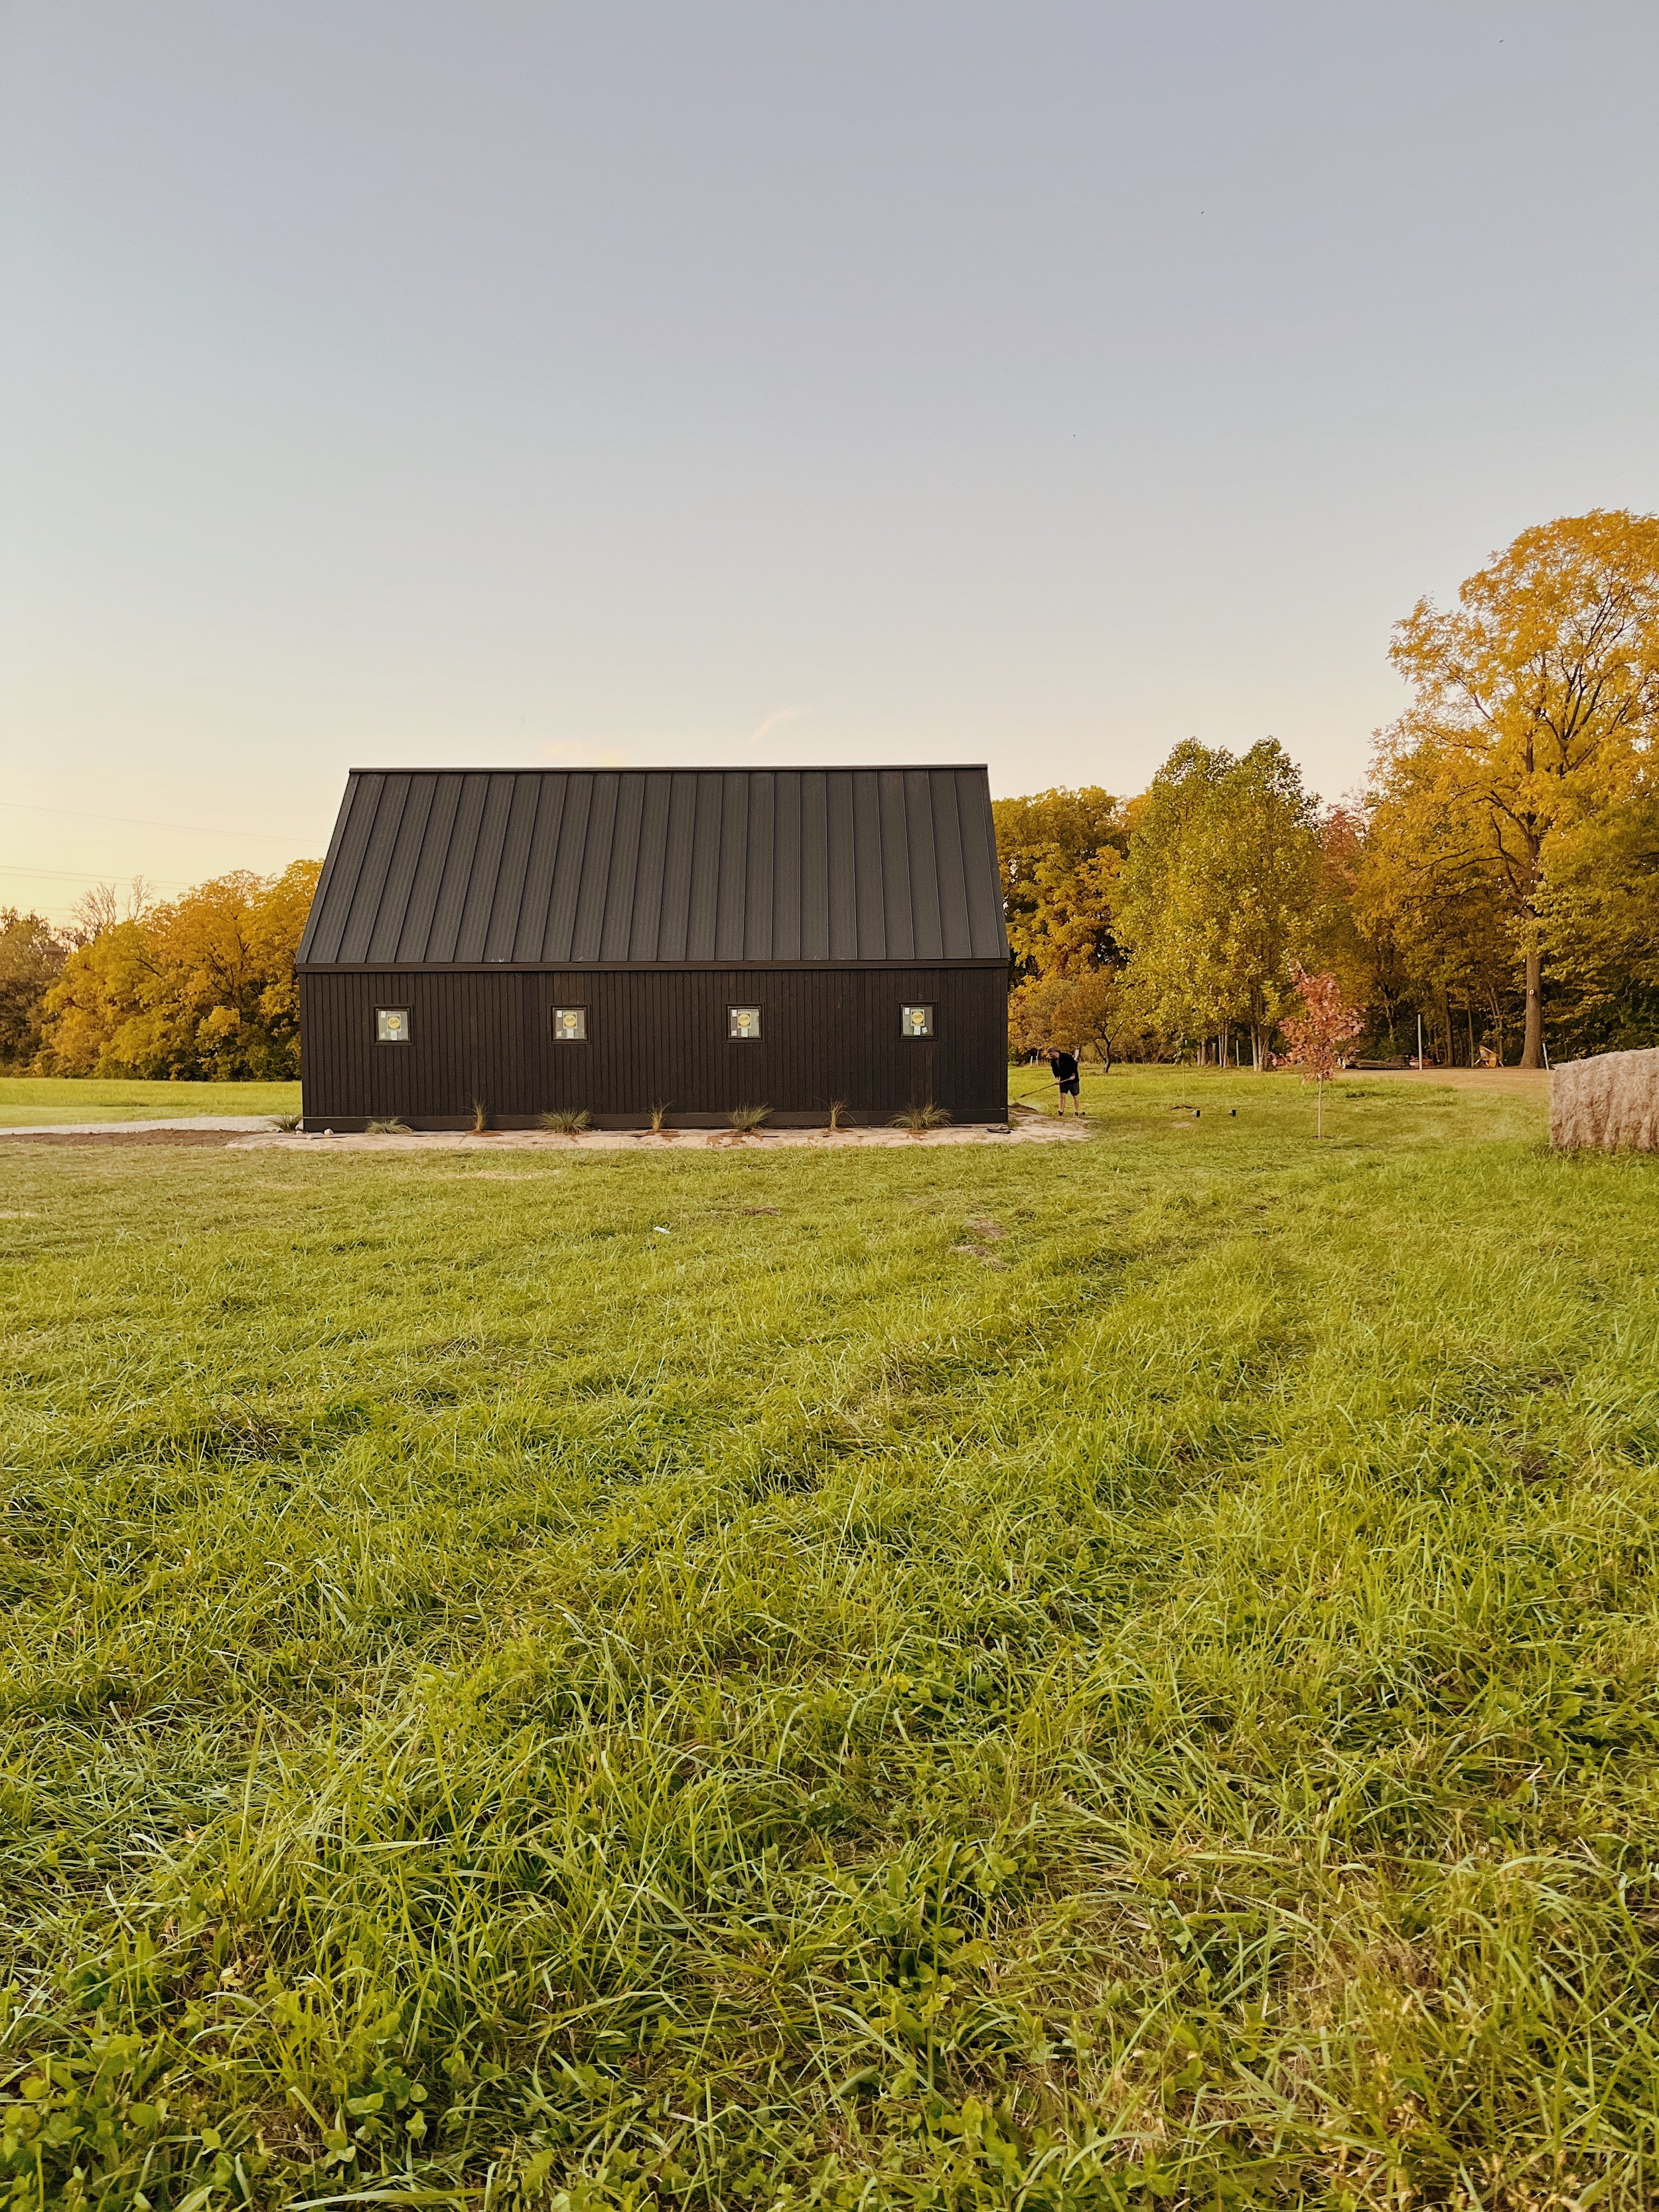
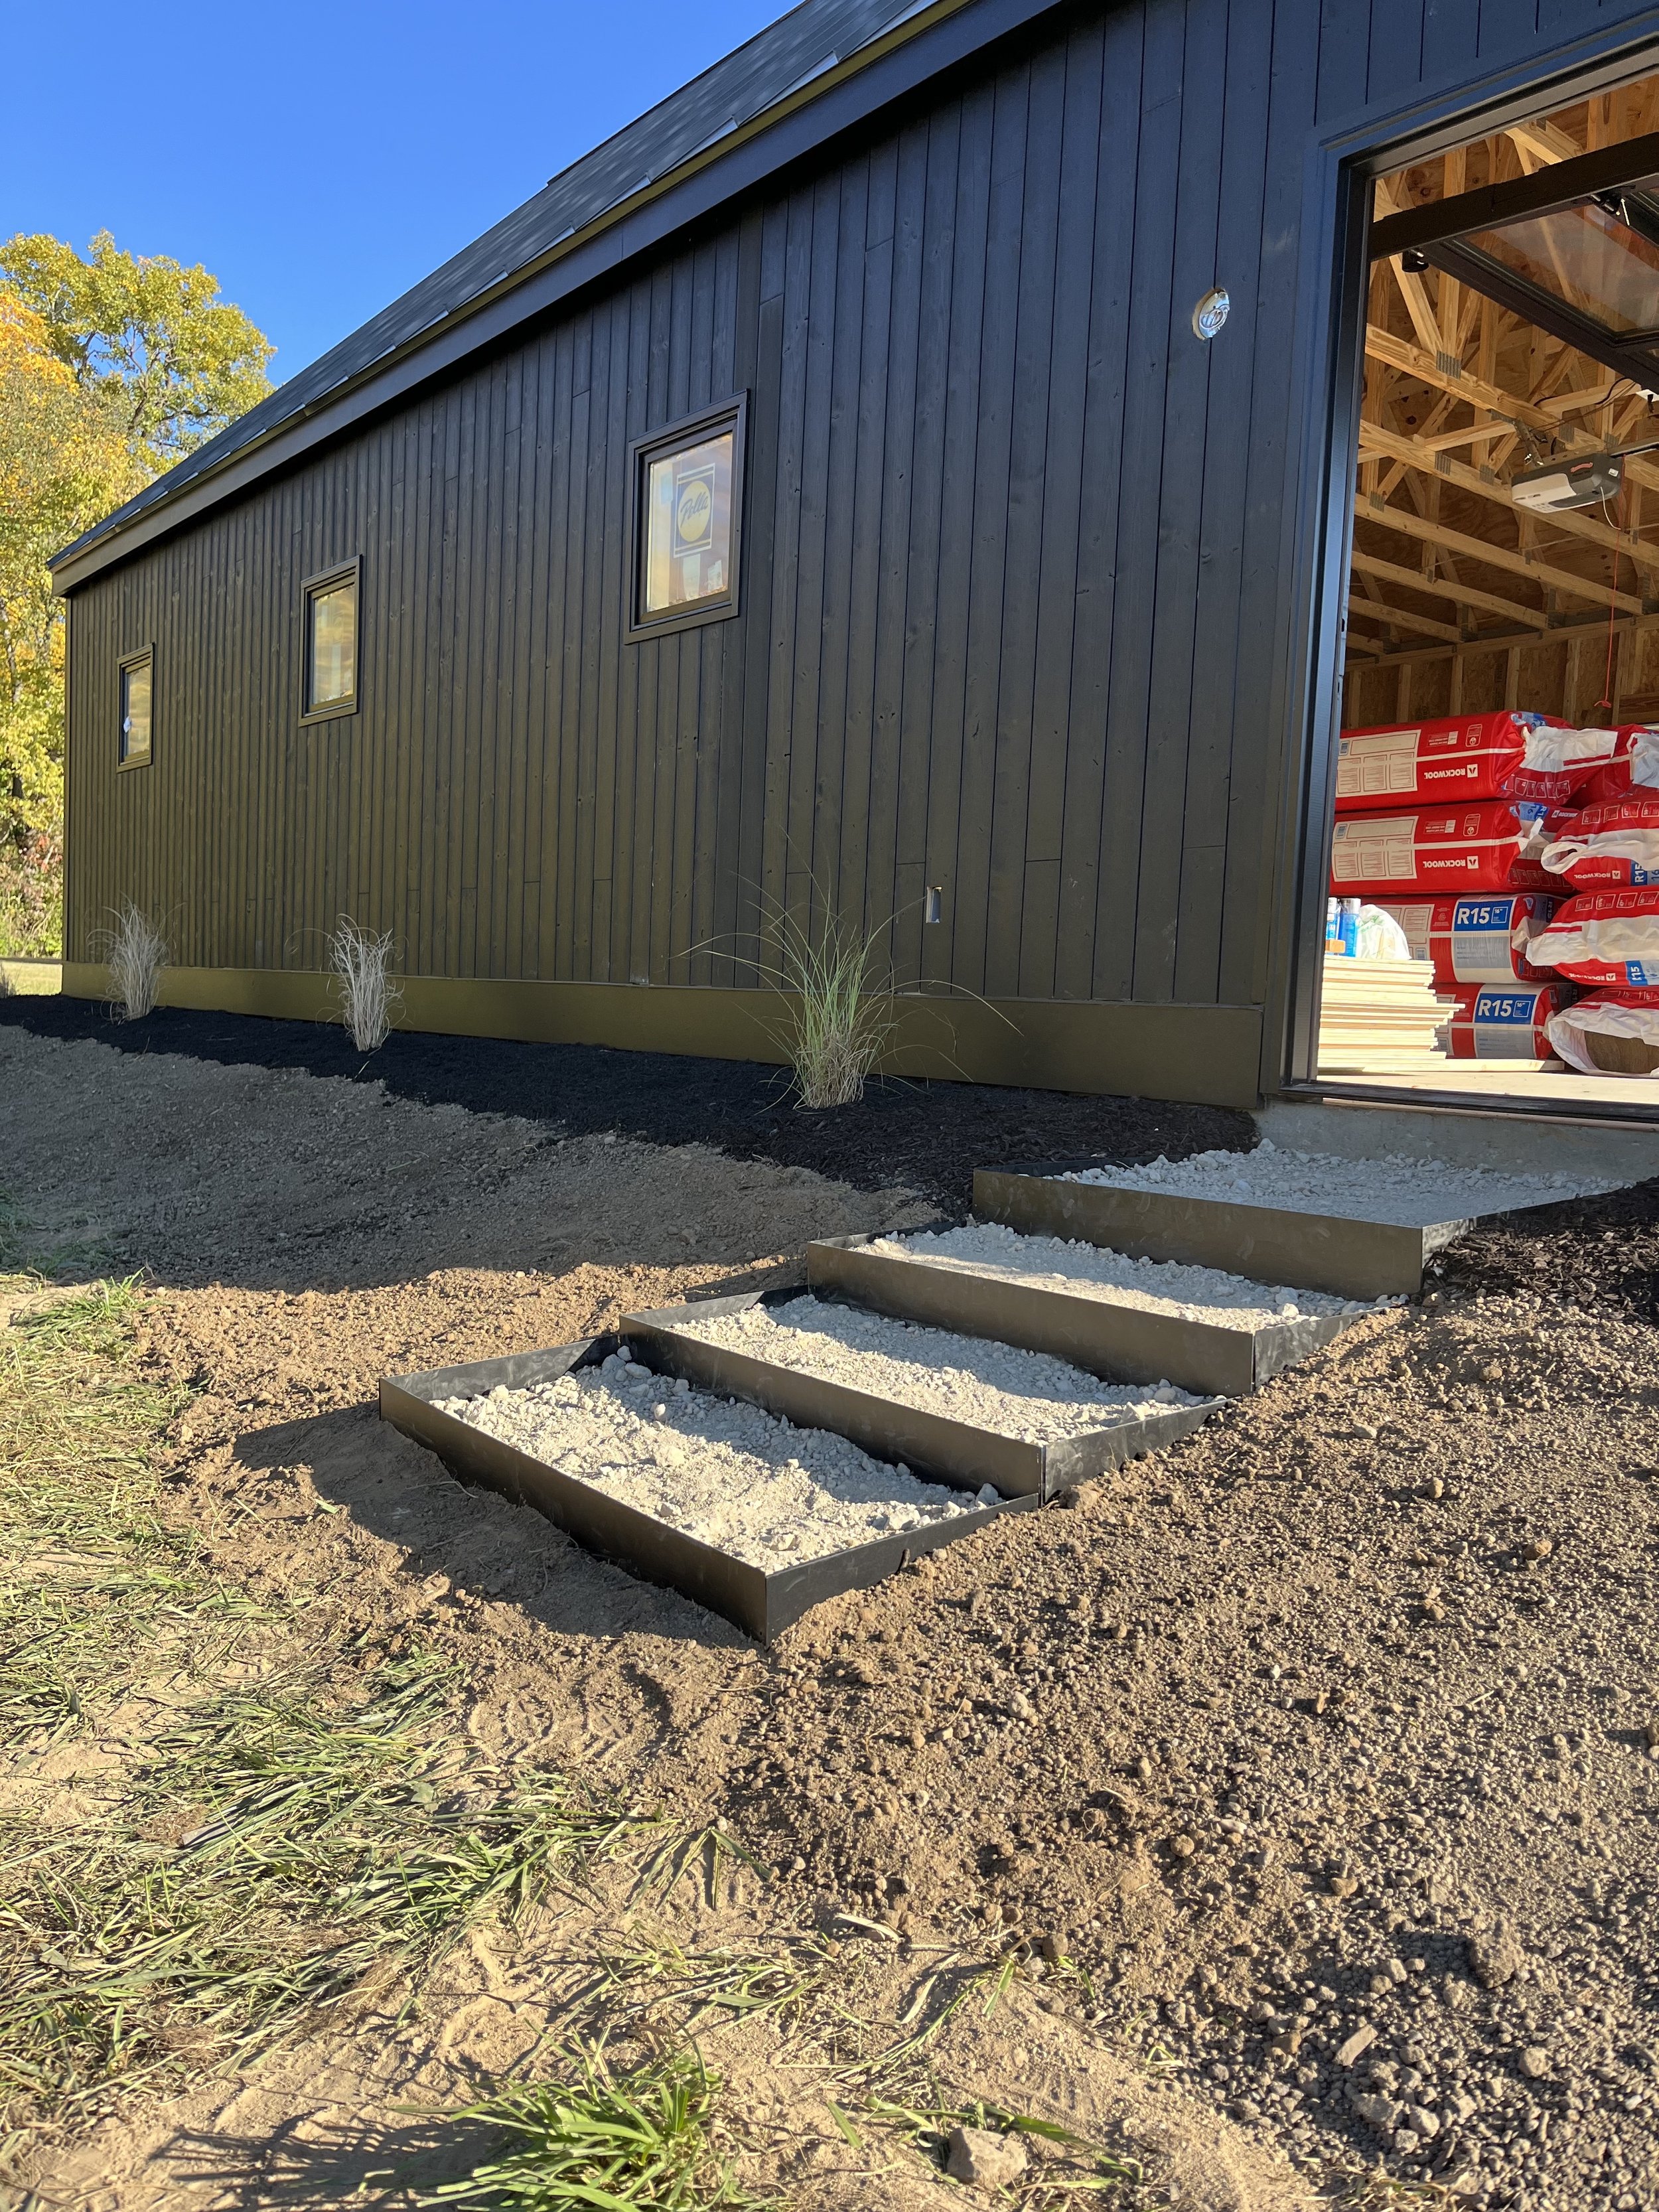
More windows. We used the same 24” square windows but did four on the south side and three on the north side plus a glass entry door.
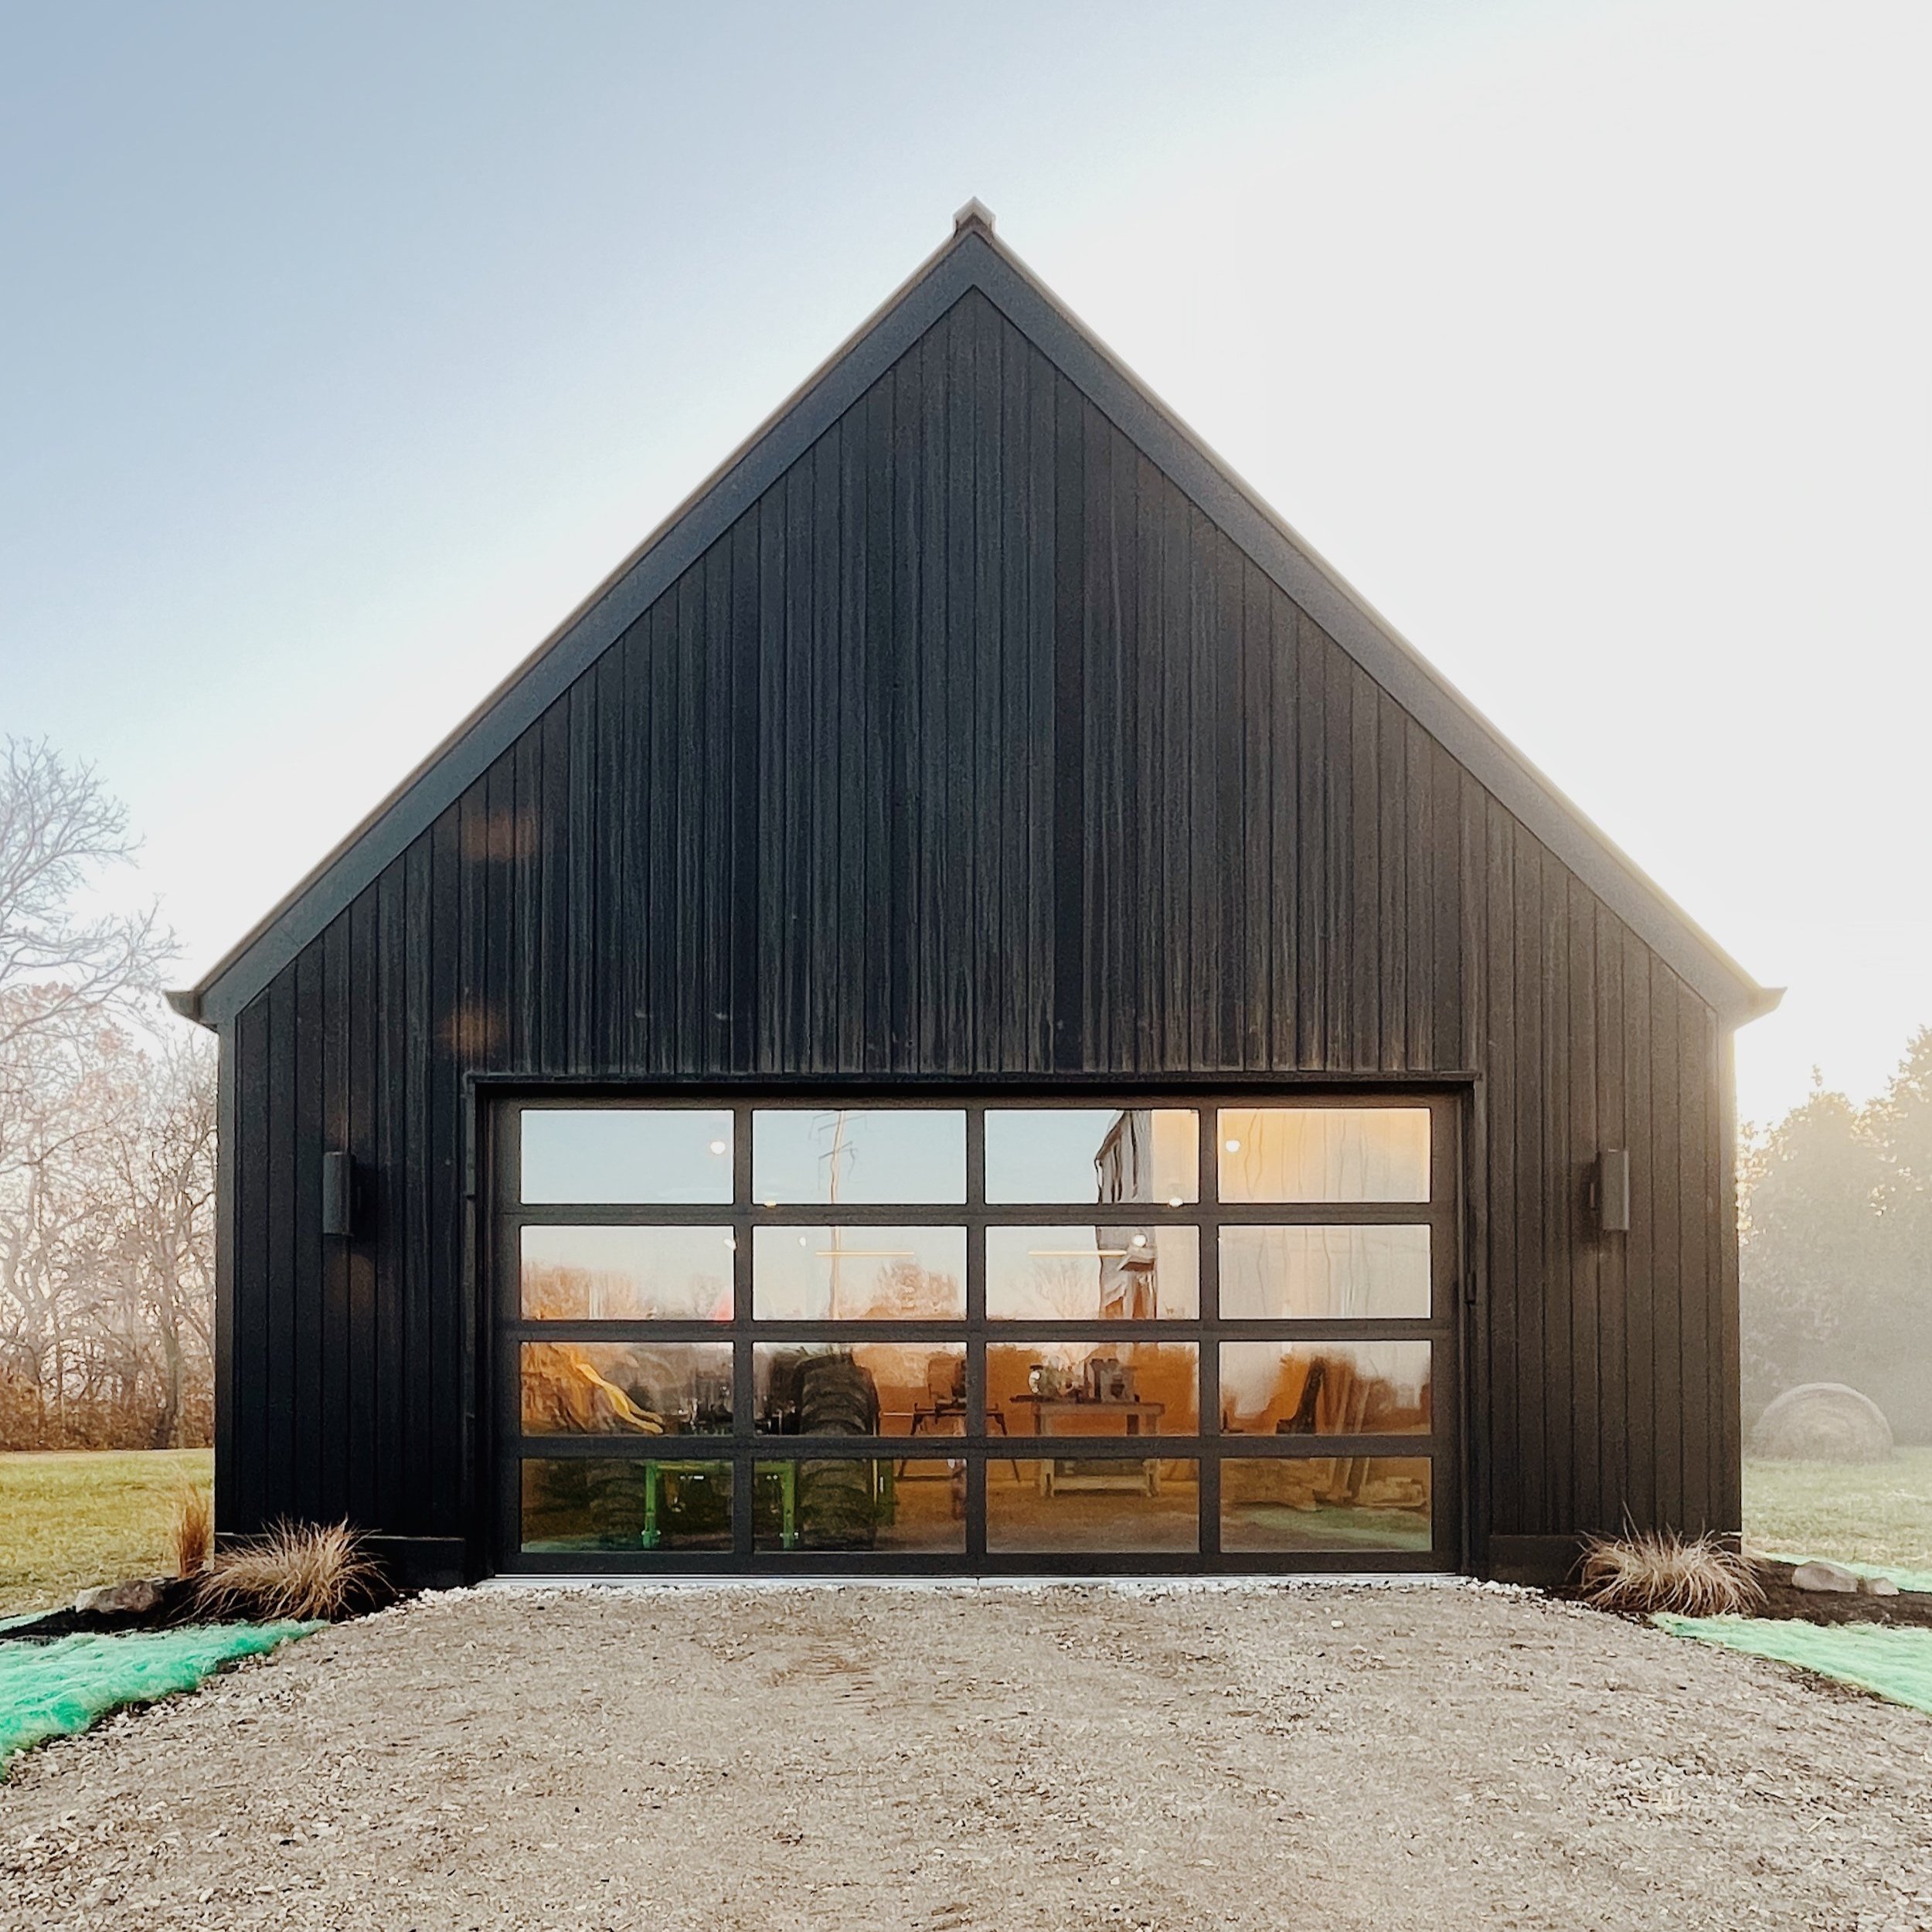
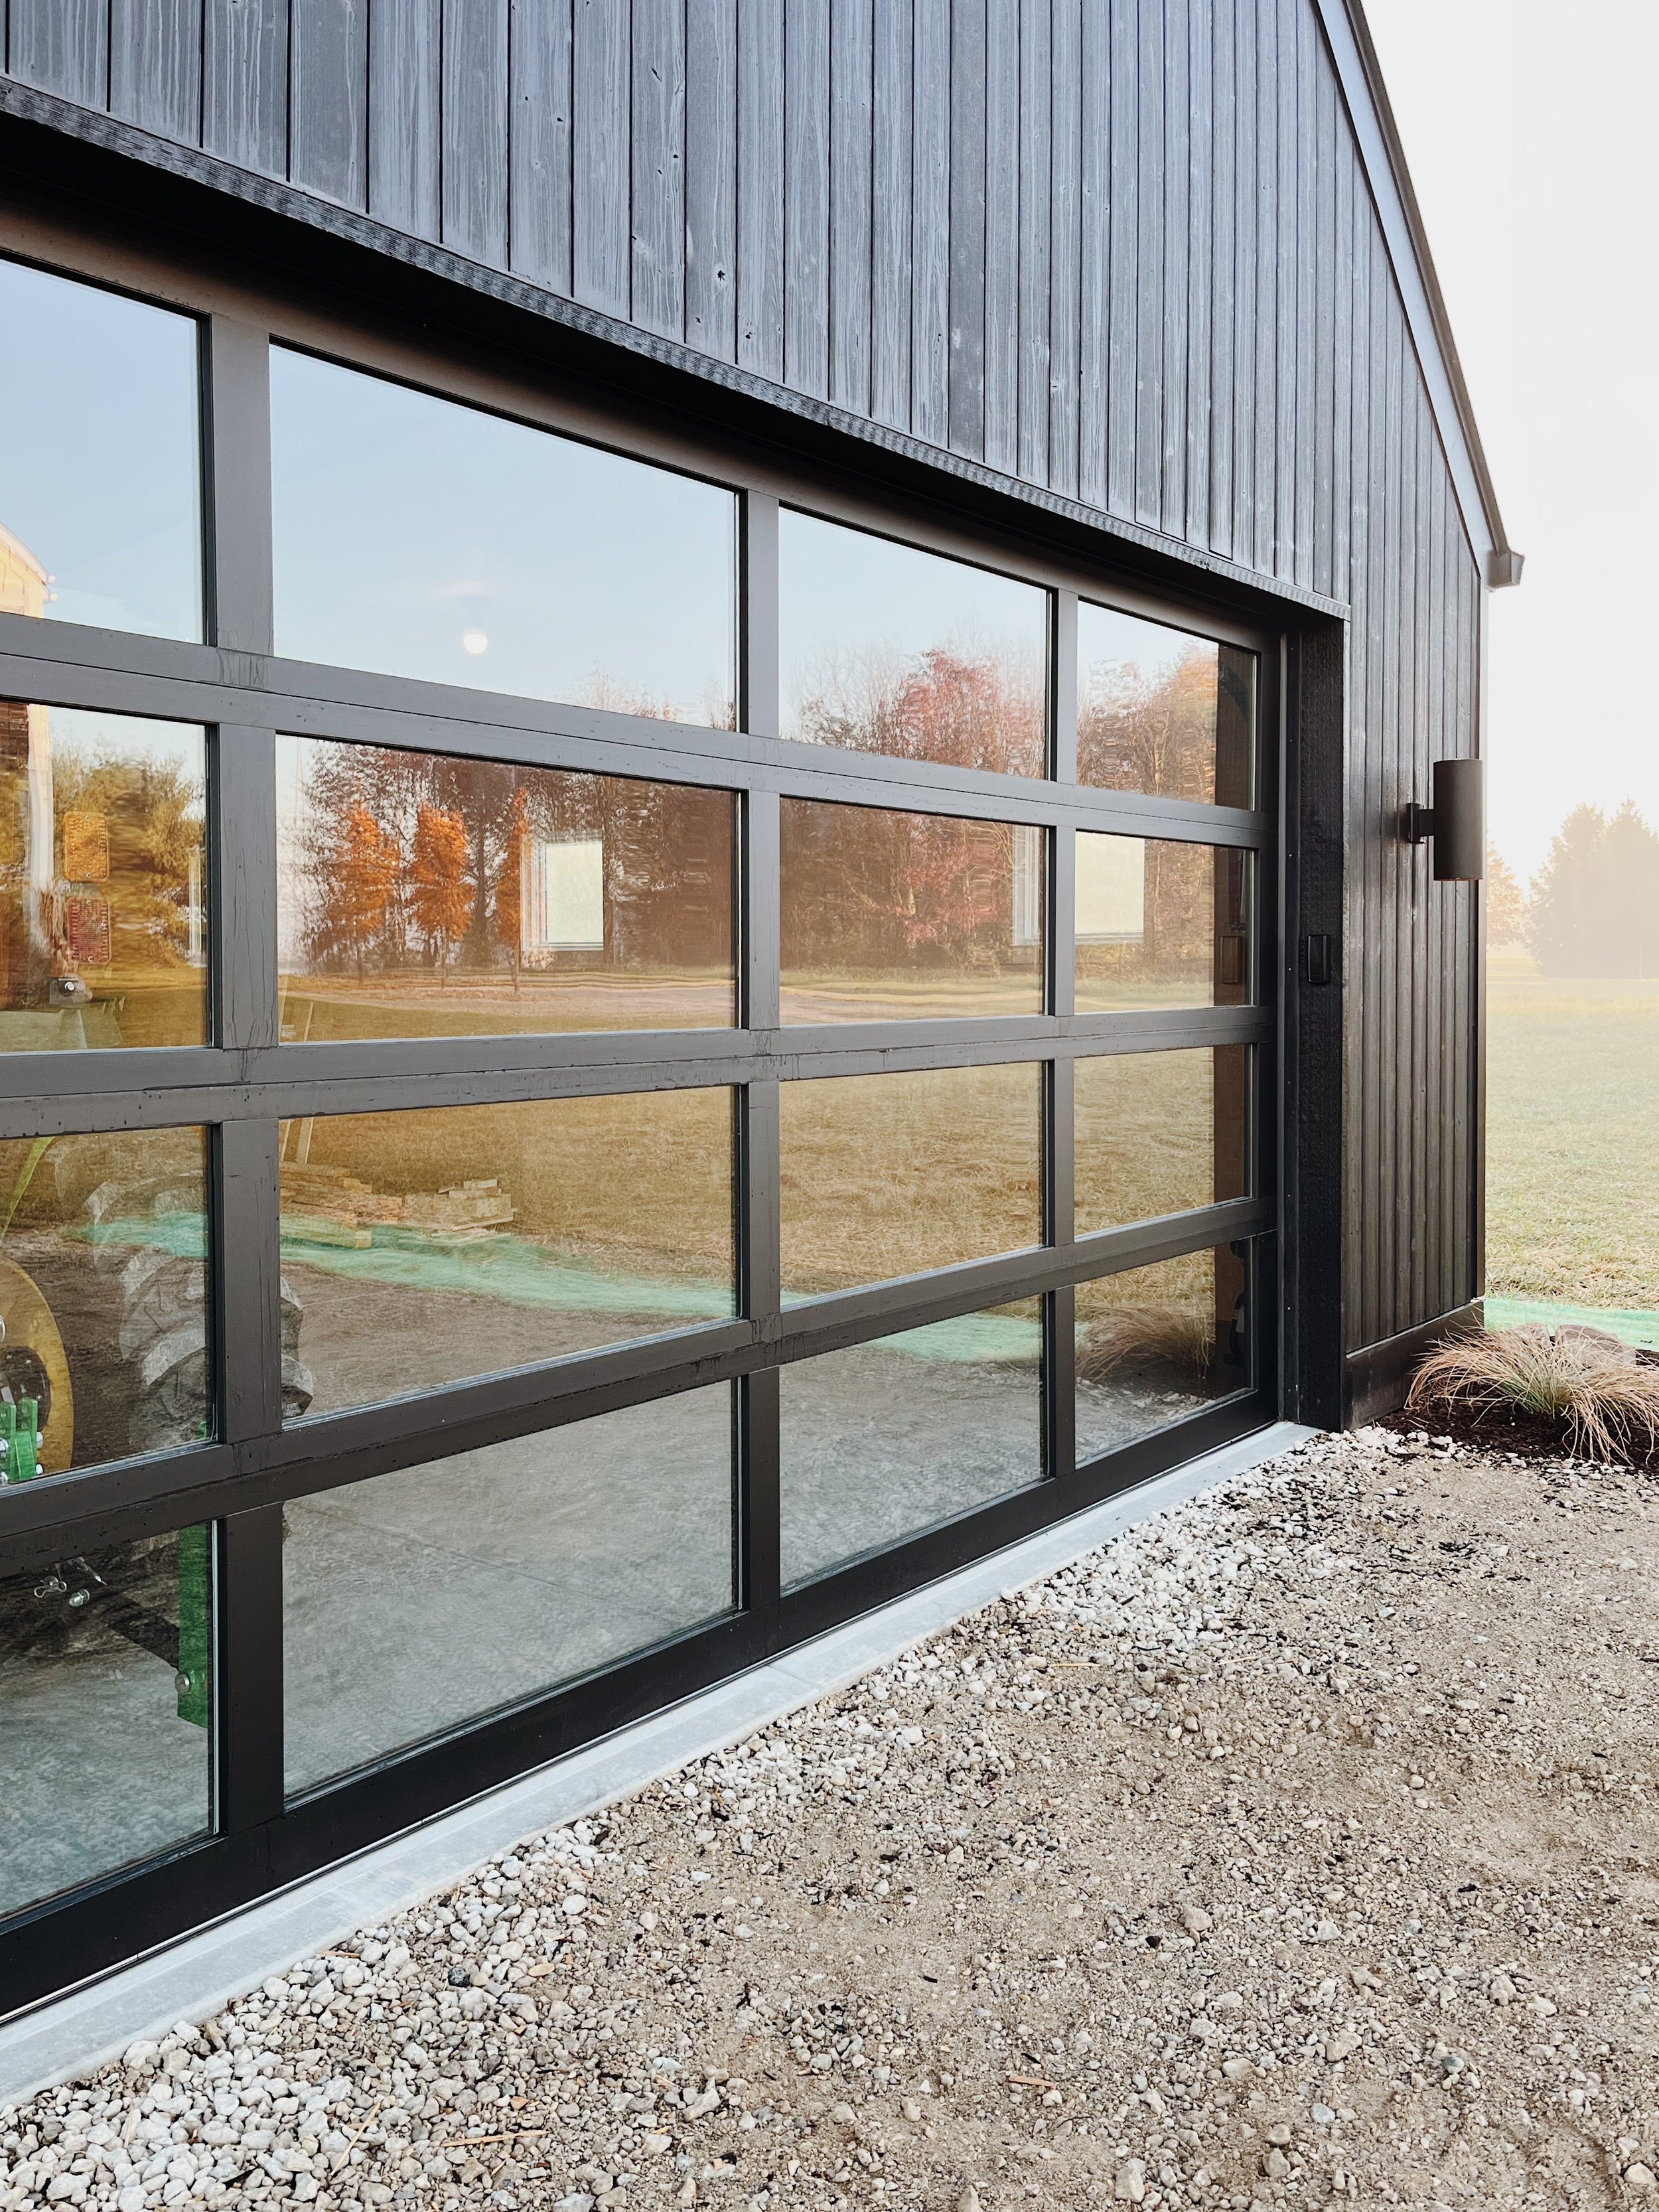
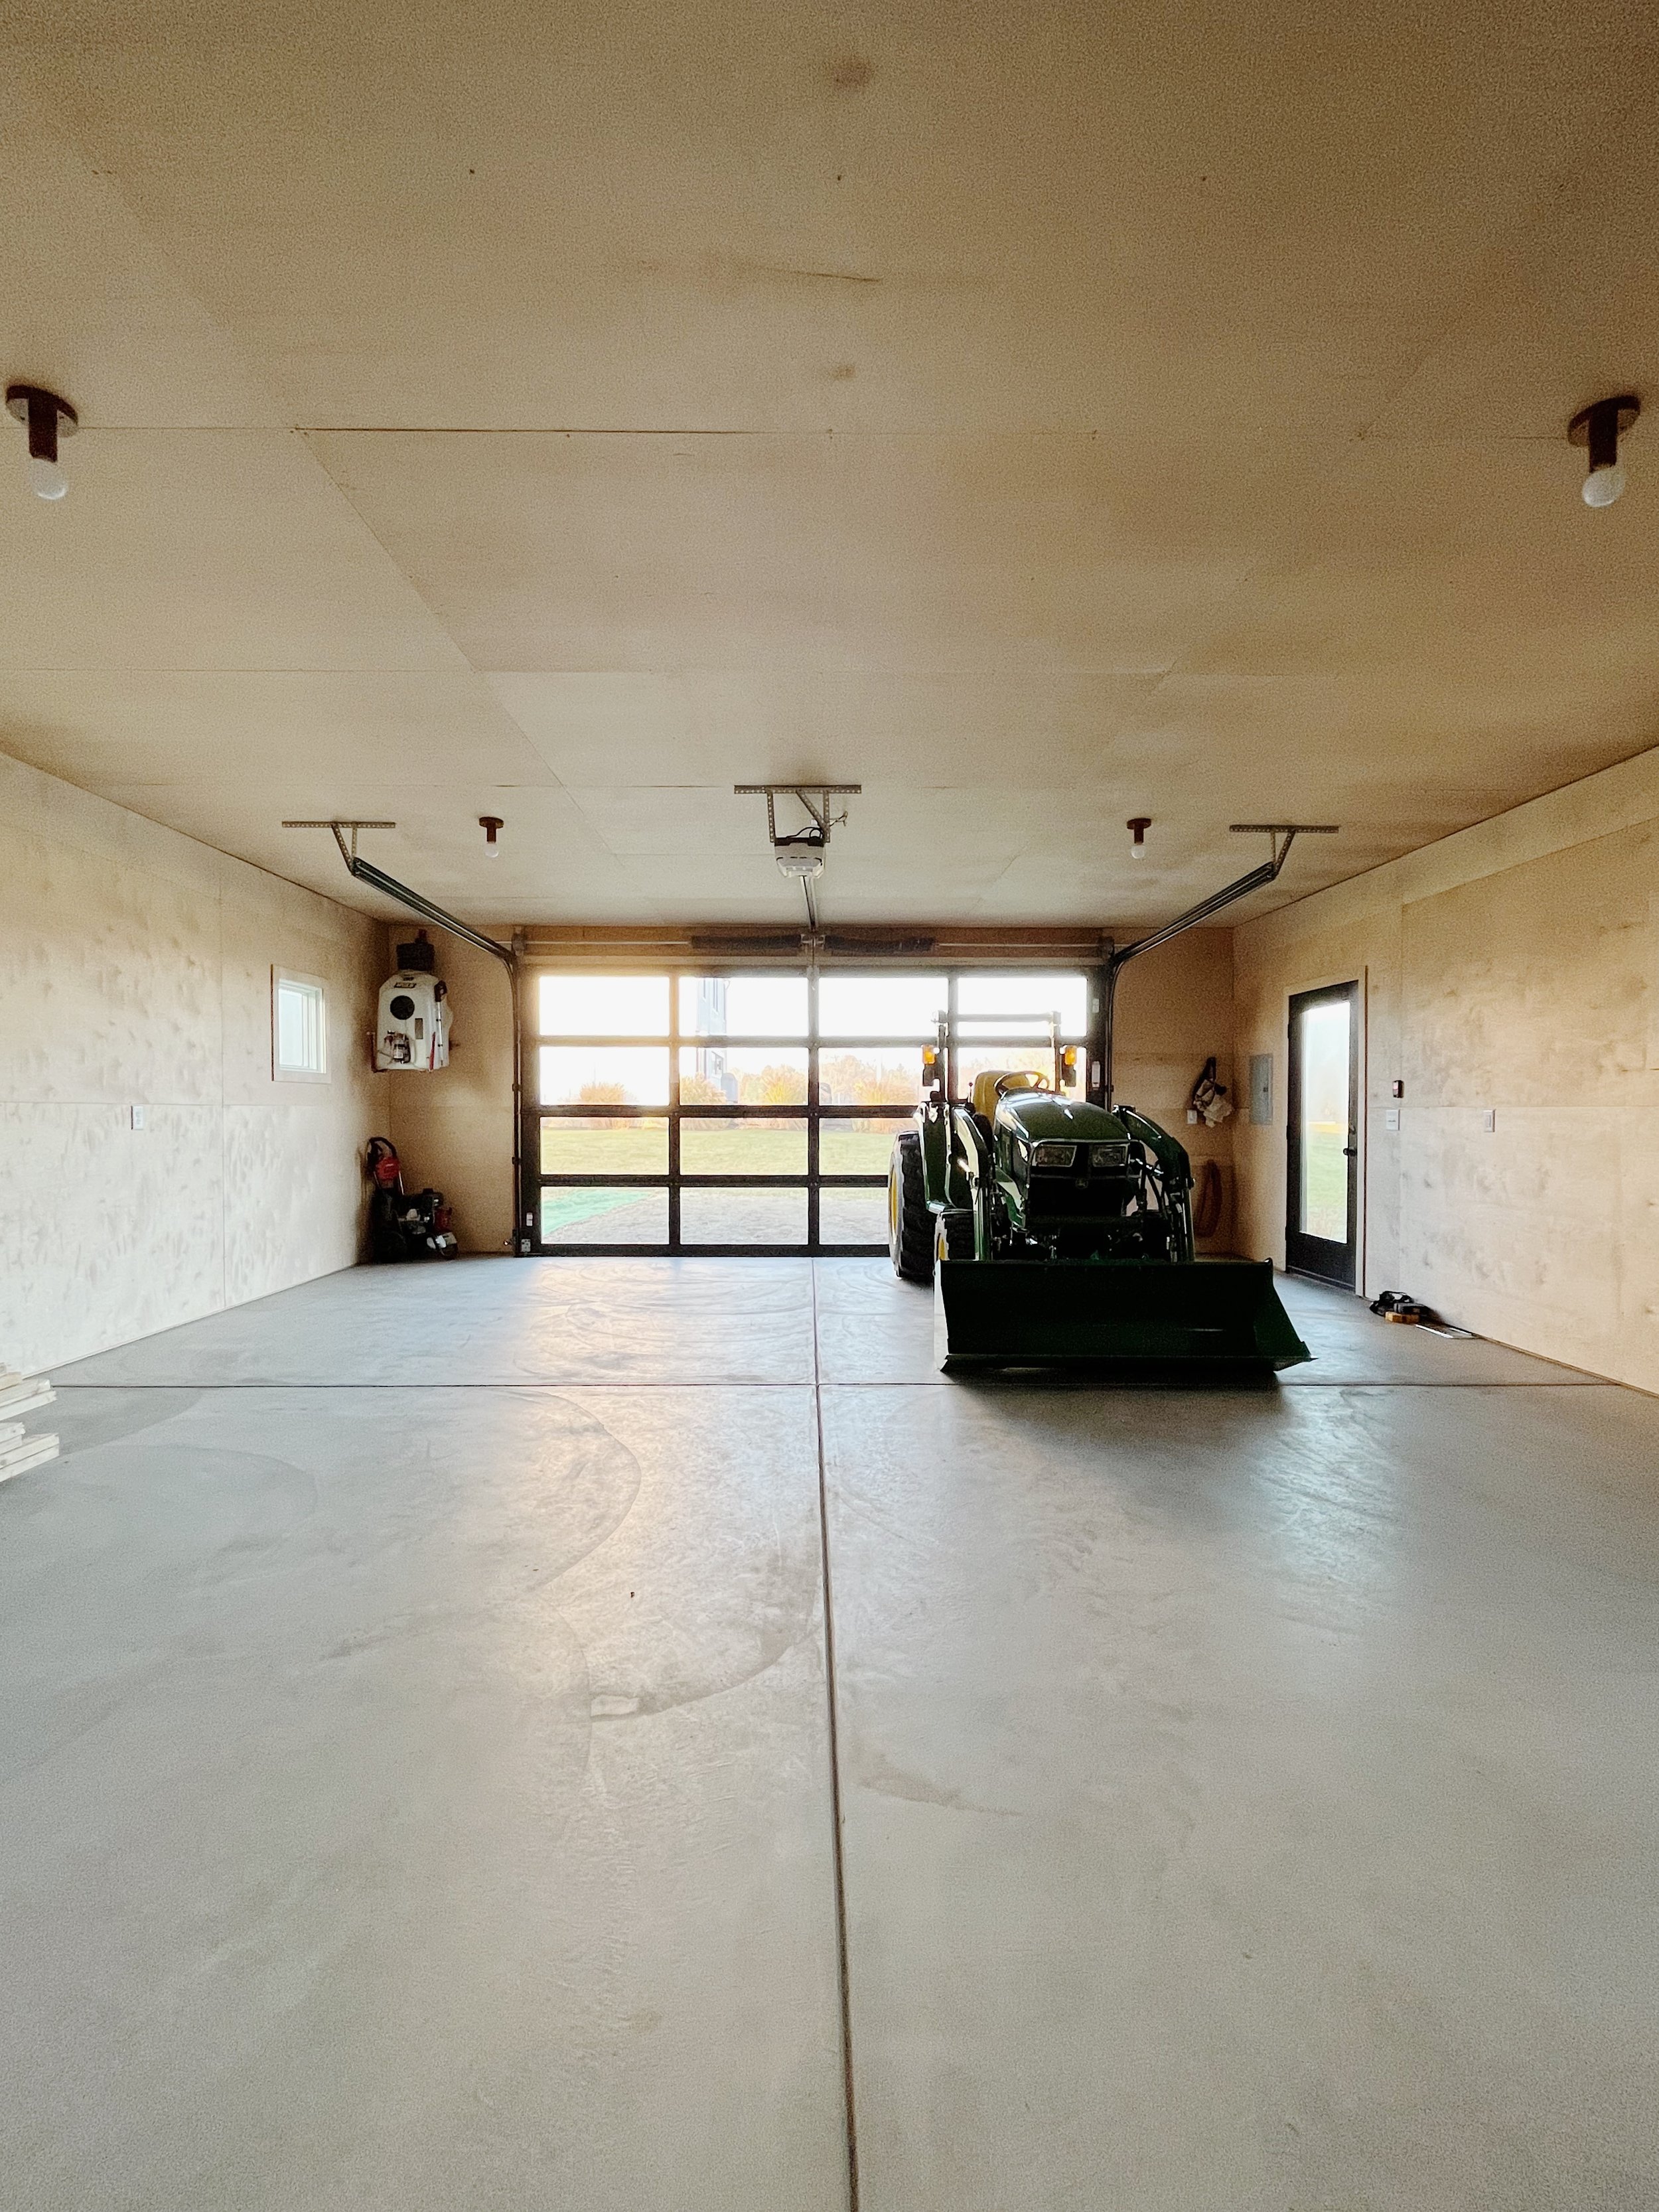
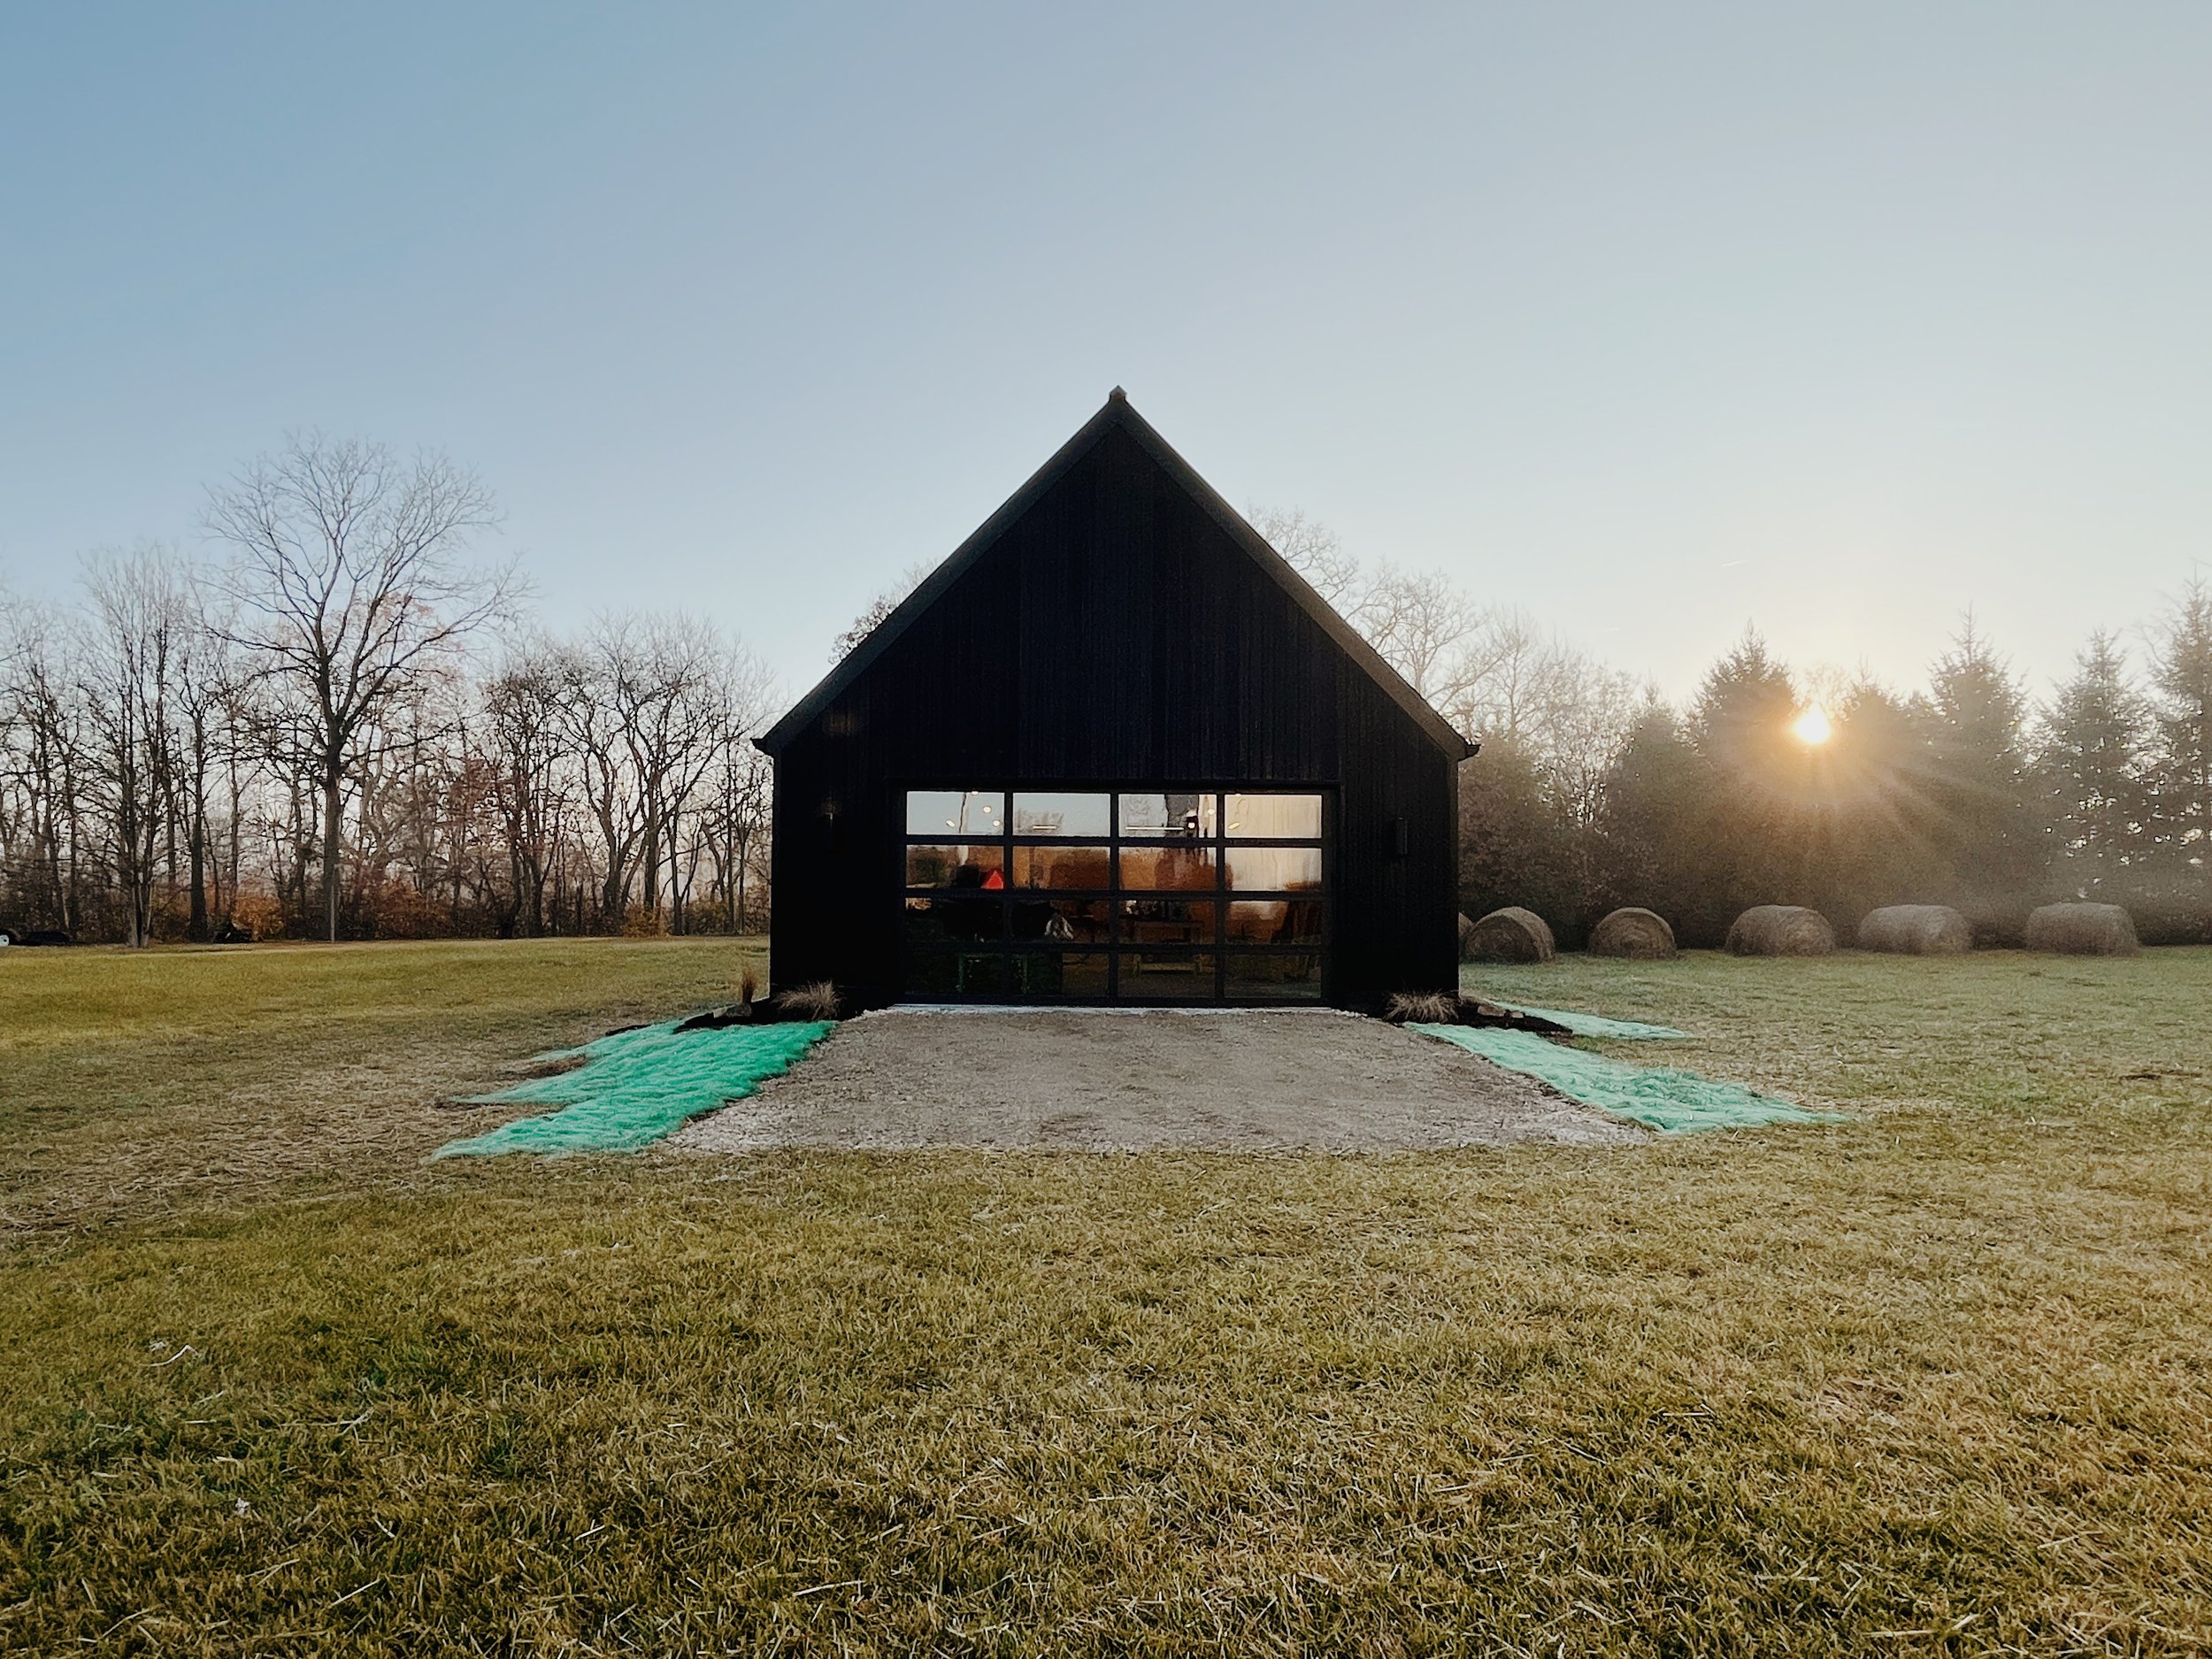
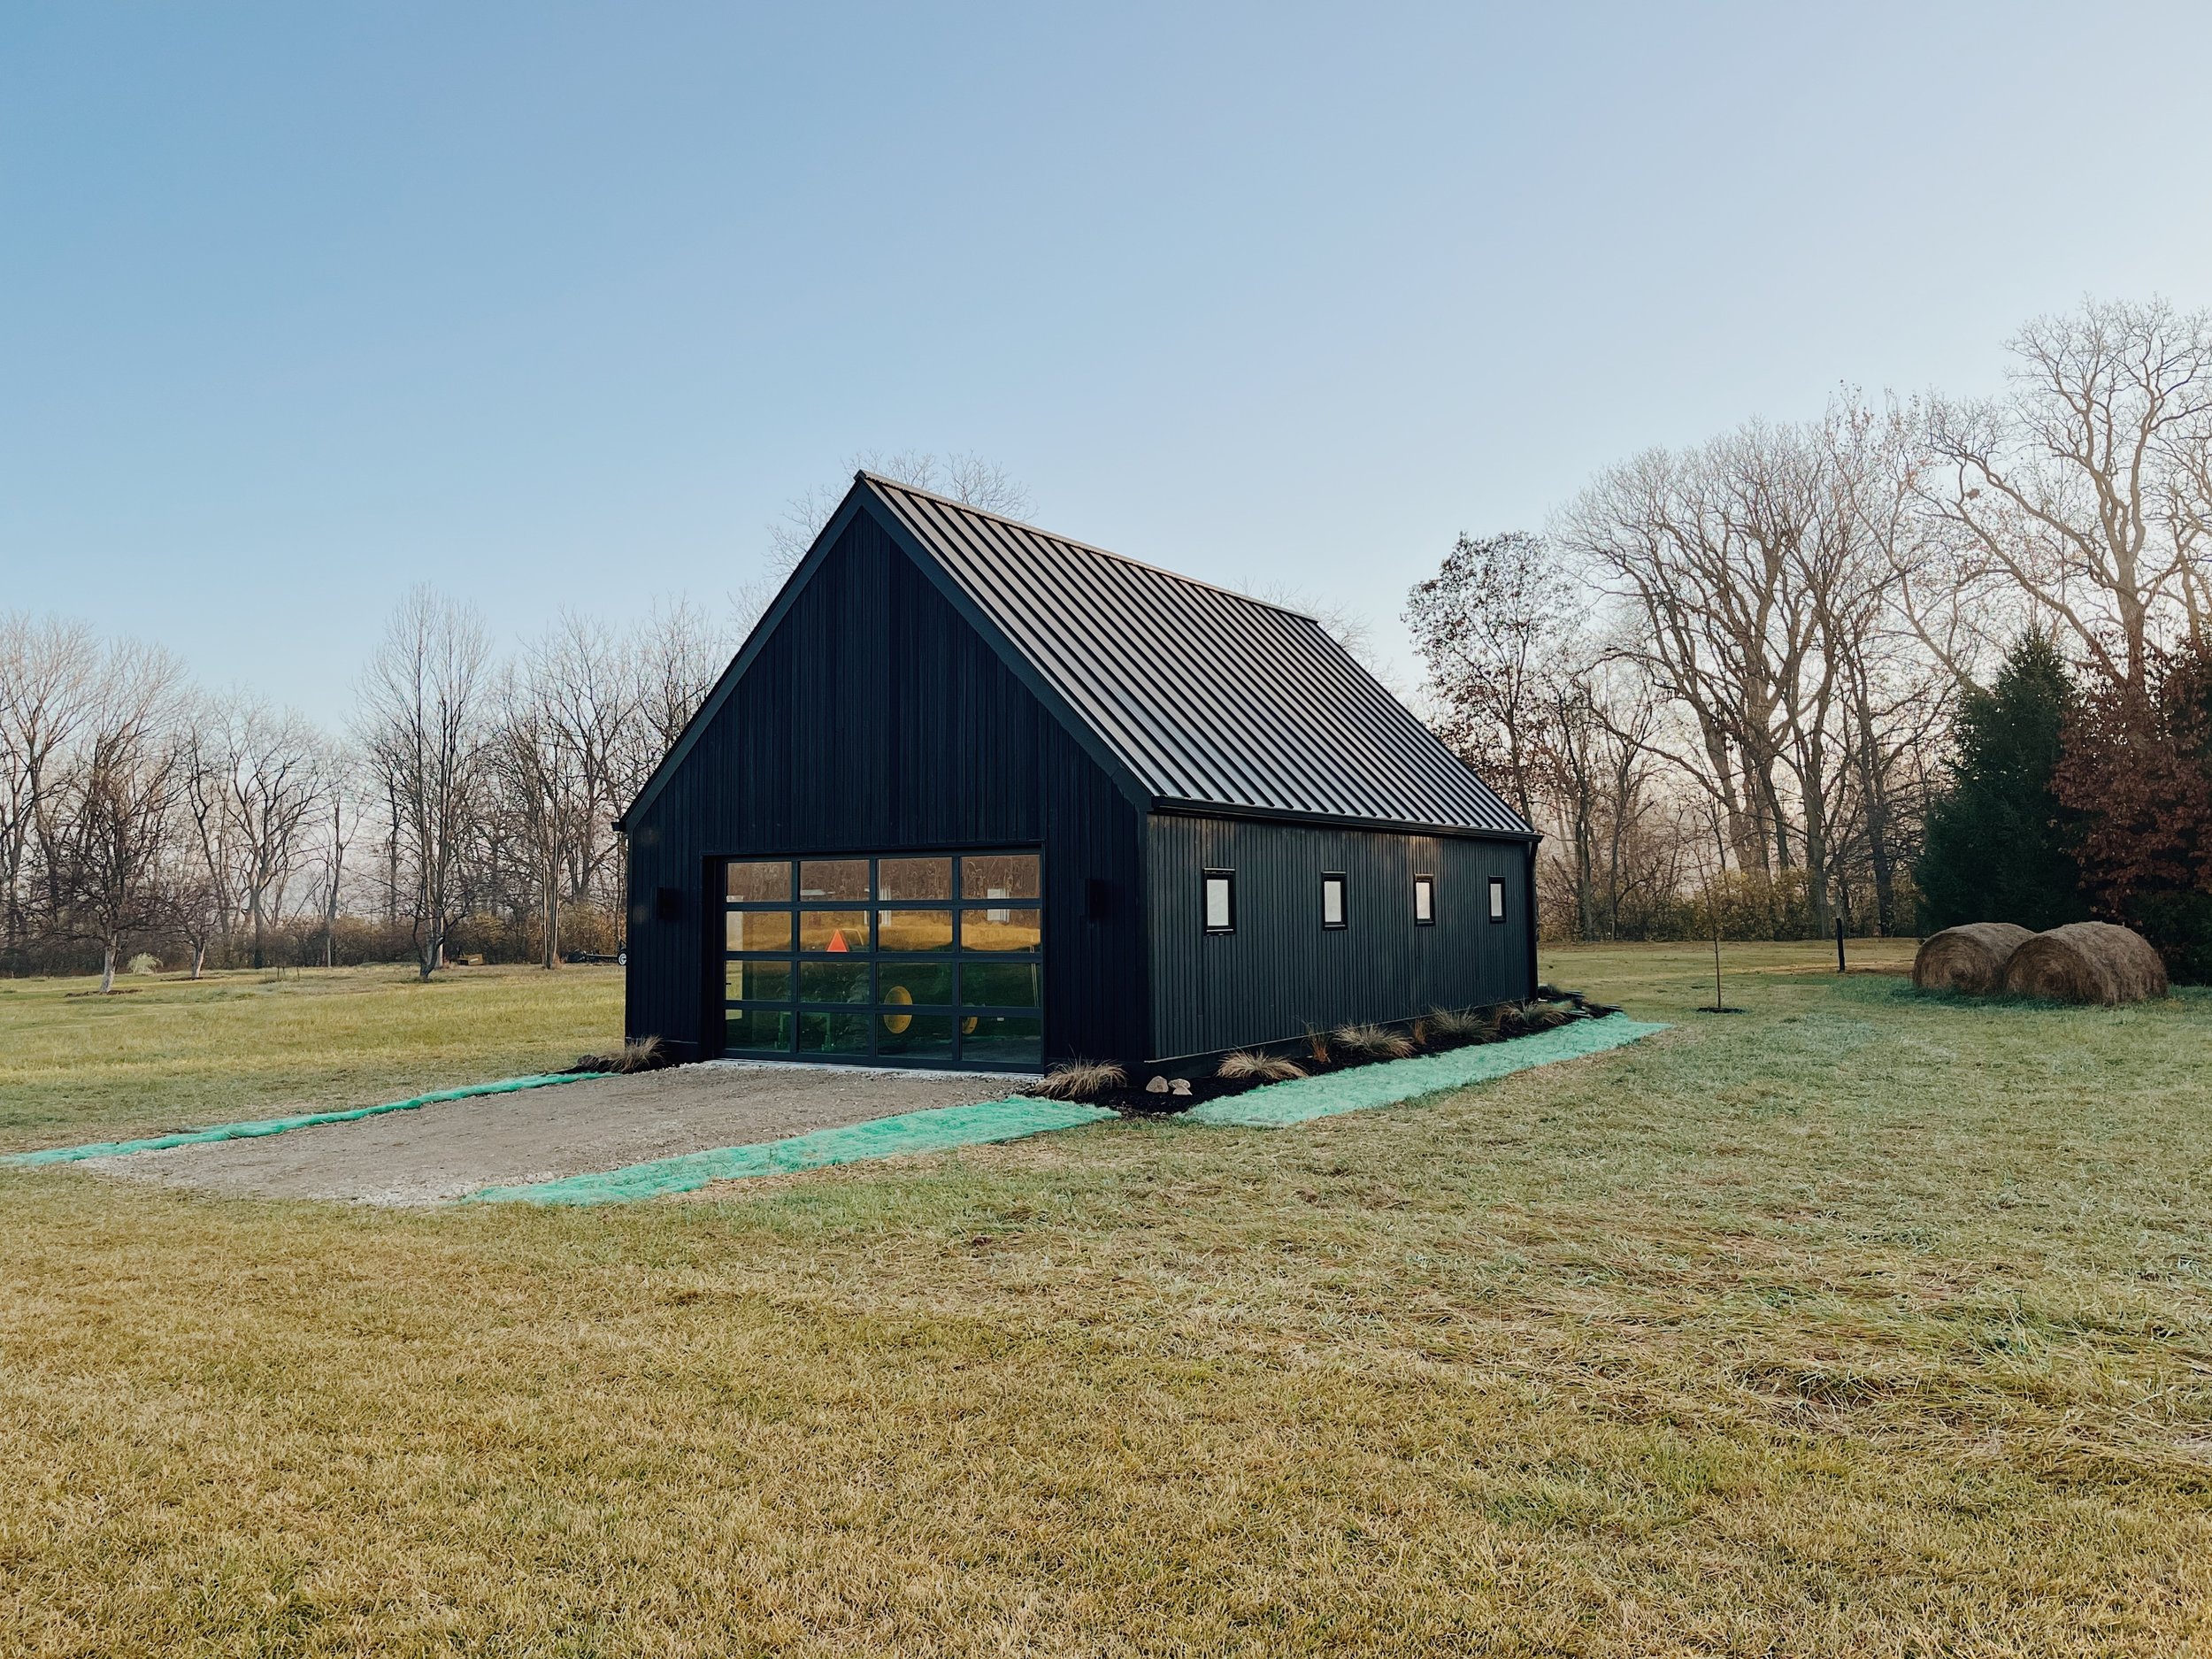
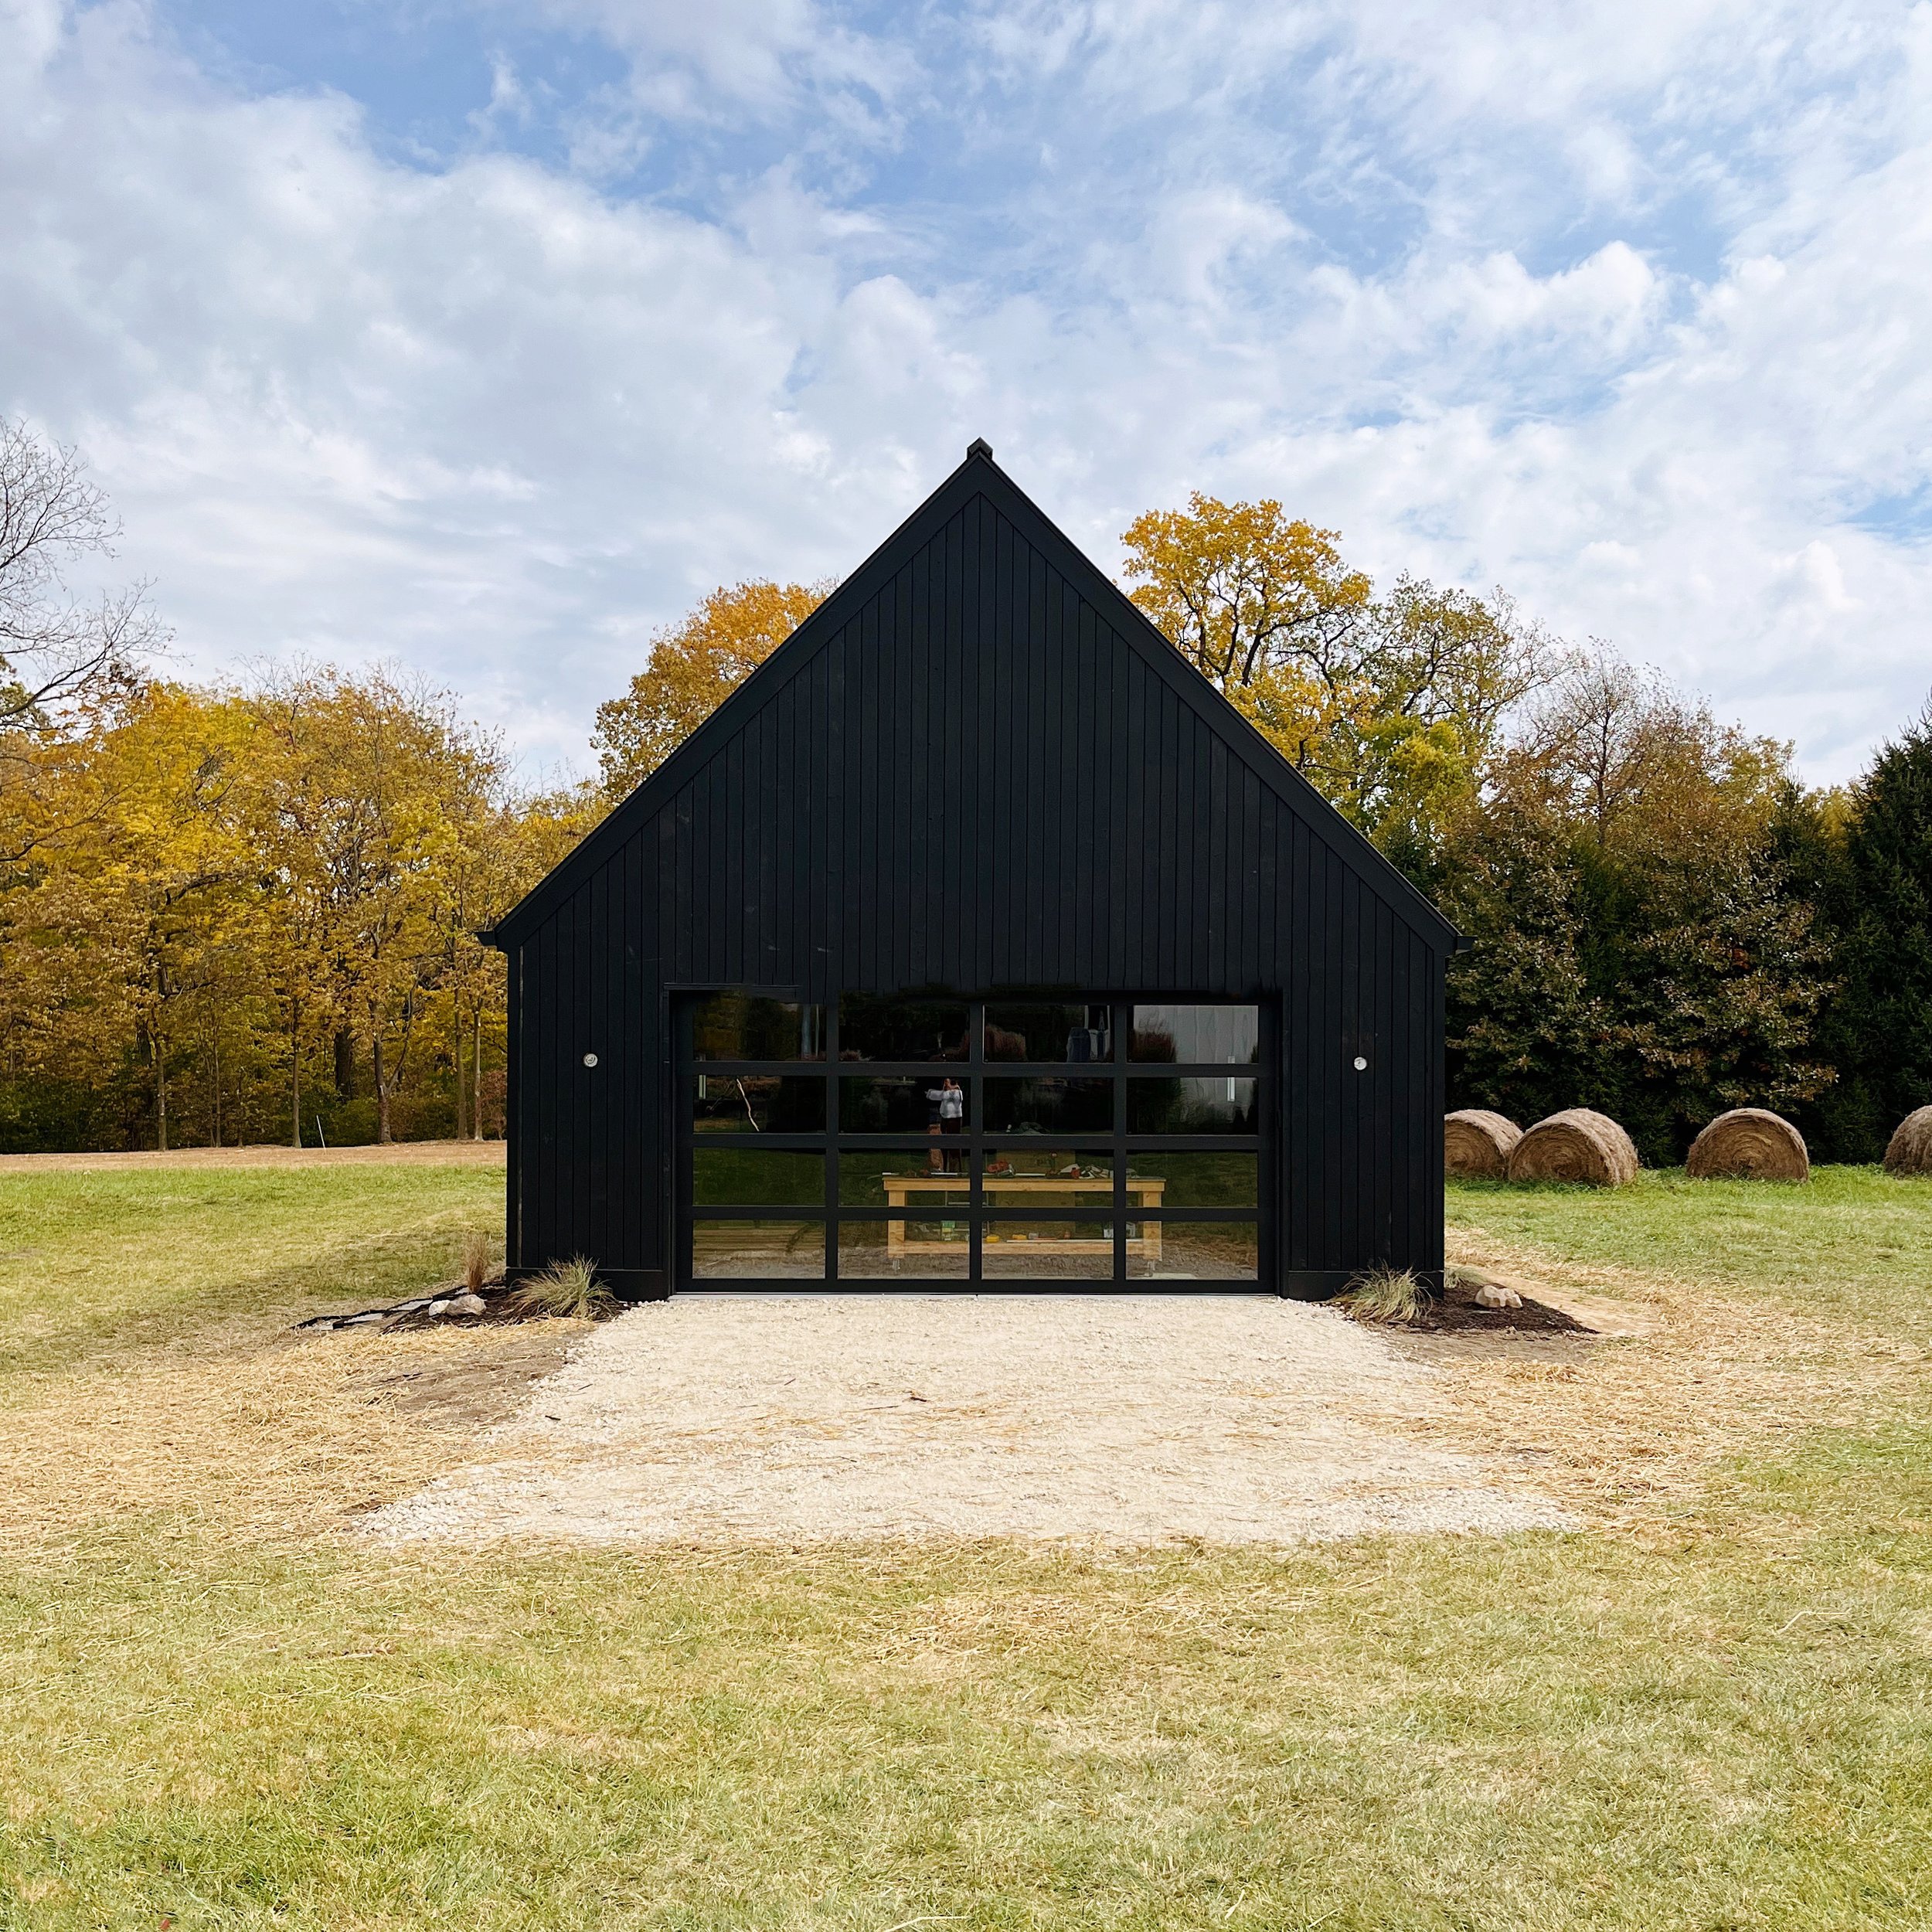
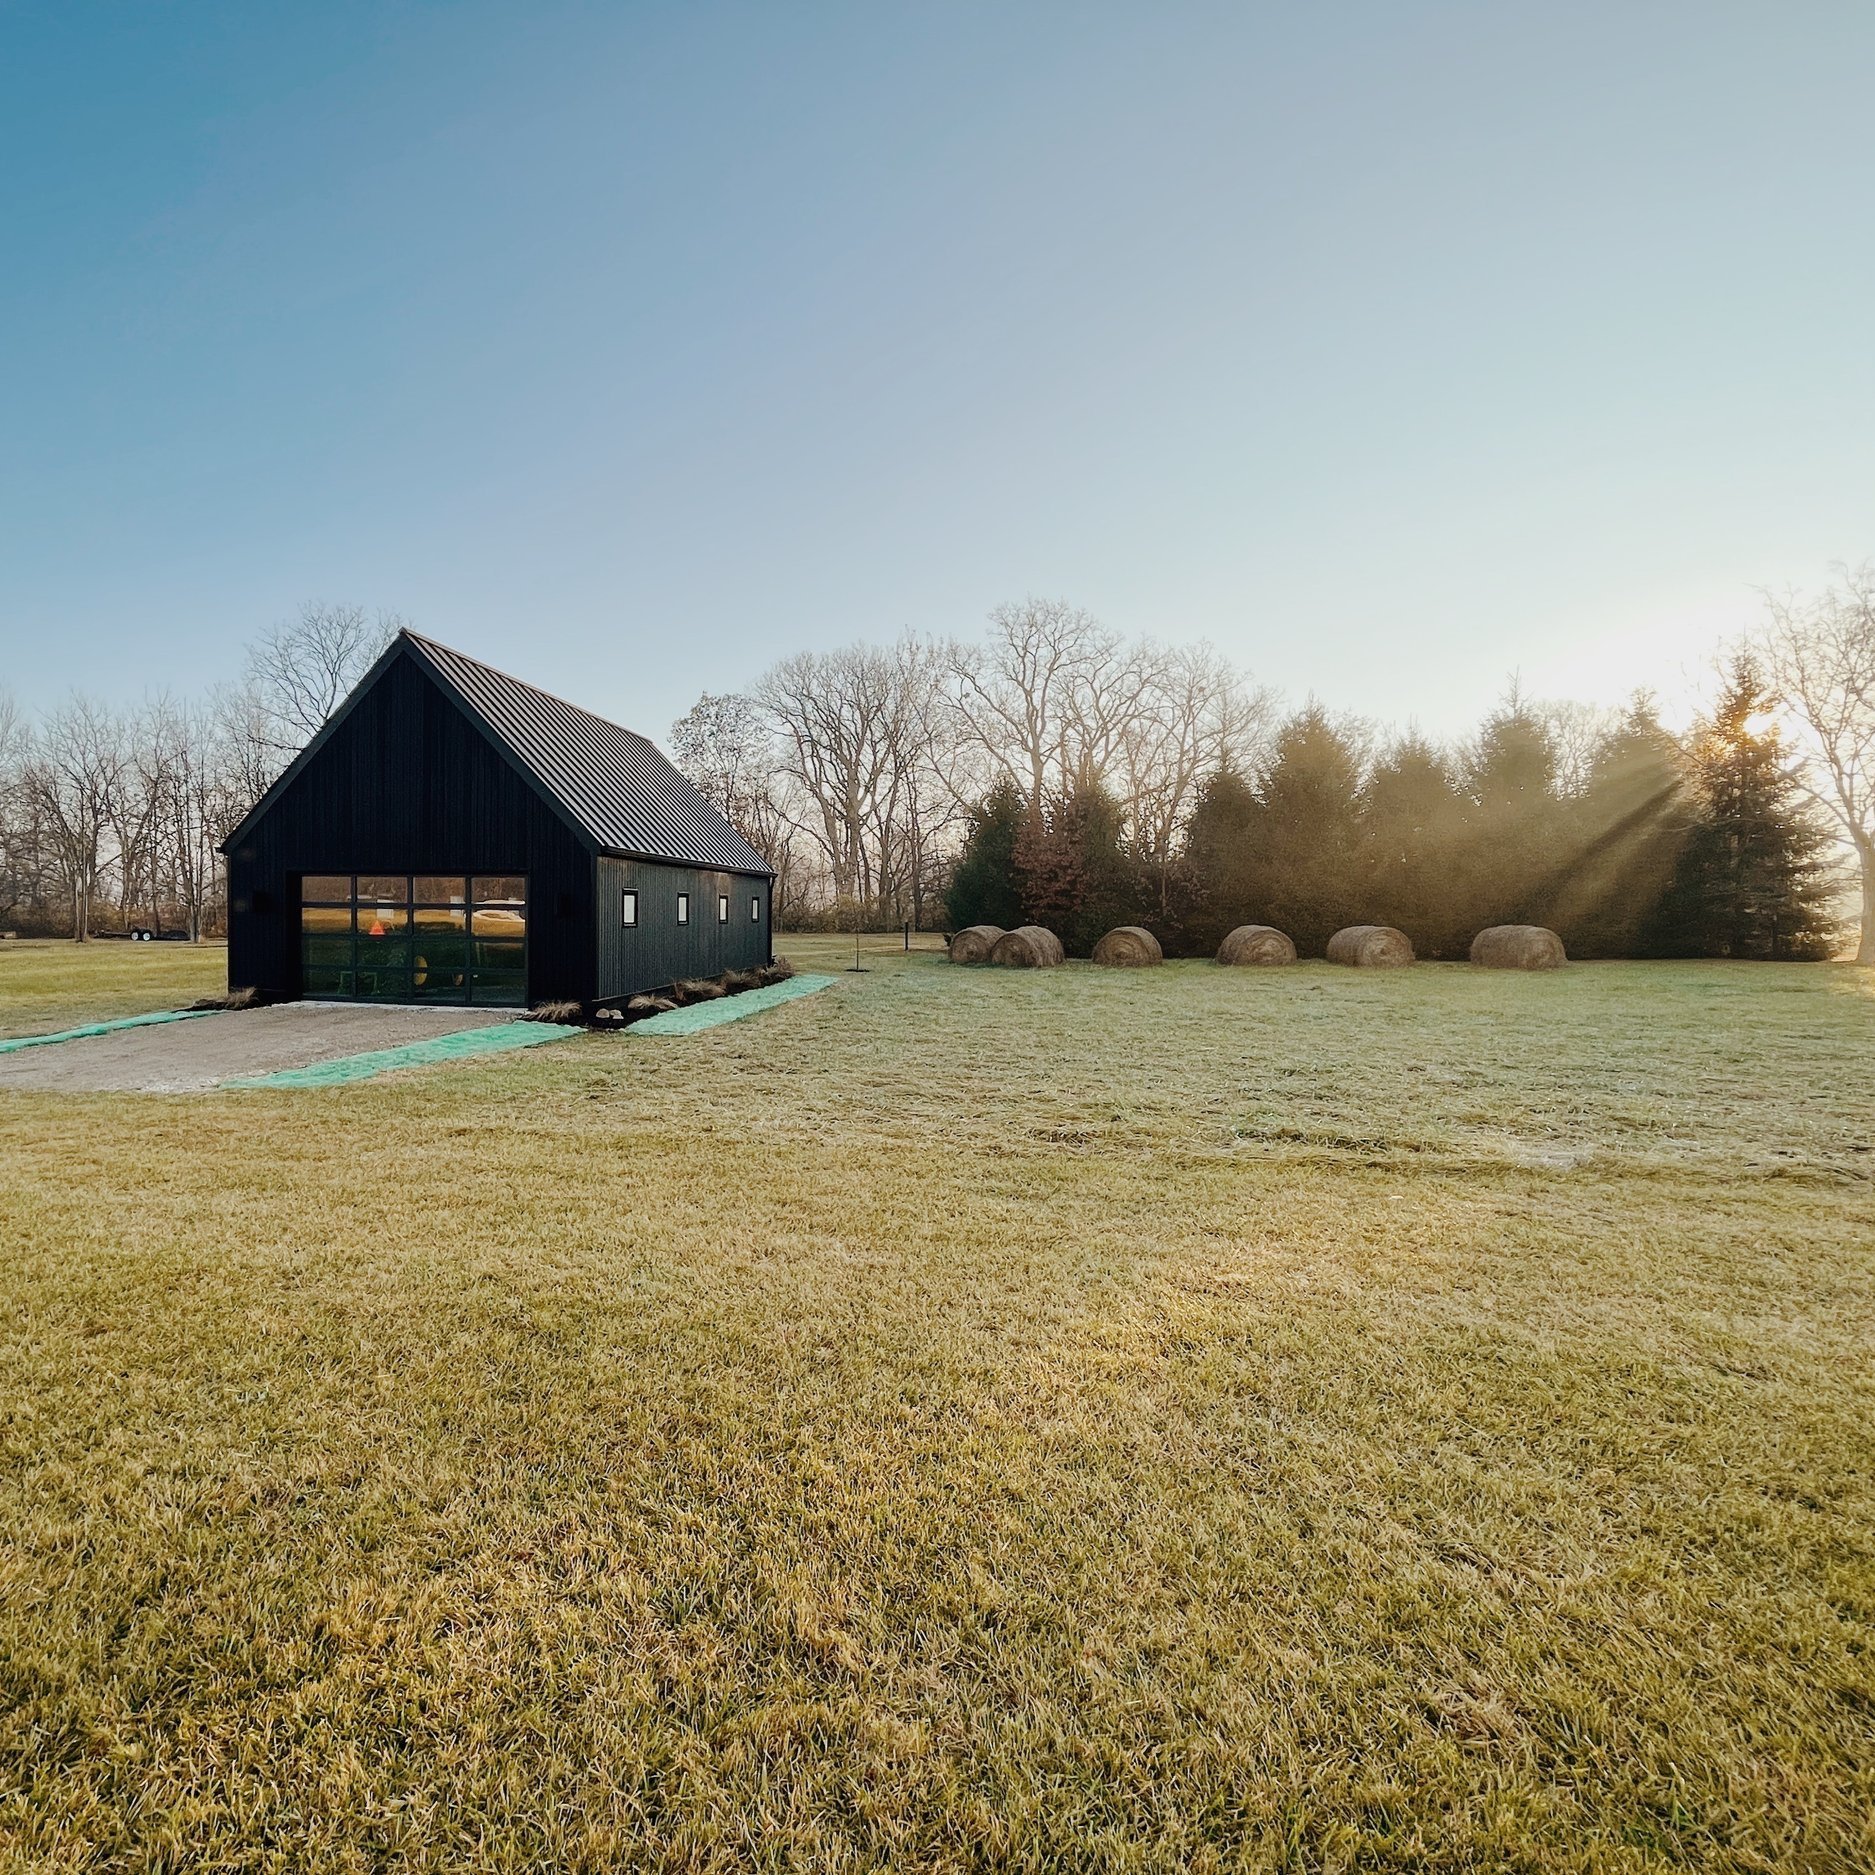
Single garage door. Instead of two garage doors, we did one big statement garage door. It’s a show stopper! It also let’s in so much beautiful natural light all day long, which makes the space feel extra special.

That’s it! I mean we, of course, modified the cladding/colors of the barn as well, but from a structural standpoint, those are the only differences between the garage and barn. Using our original drawings saved us some serious money on architectural fees while providing a very simple framework that we knew would compliment and coordinate with our existing designs.

We worked with our original home builder, Dan Porzel of Cedar Street Builders, and we can’t recommend him highly enough. Dan is incredibly knowledgable about all things construction and energy efficiency, he has relationships with wonderful trades (invaluable!), he is thorough, timely, and (maybe the most important of all) we trust him. Dan helped us bring this entire vision to life, and we couldn’t have done it without him. Marin loves Dan and still asks when he’s coming back on the daily. Ha!

I’ve attempted to provide sources for everything below along with answers to some frequently asked questions. As always, if you have any additional questions, please feel free to reach out.
s o u r c e s
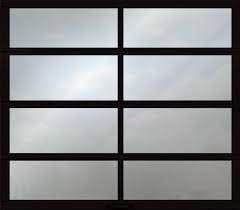


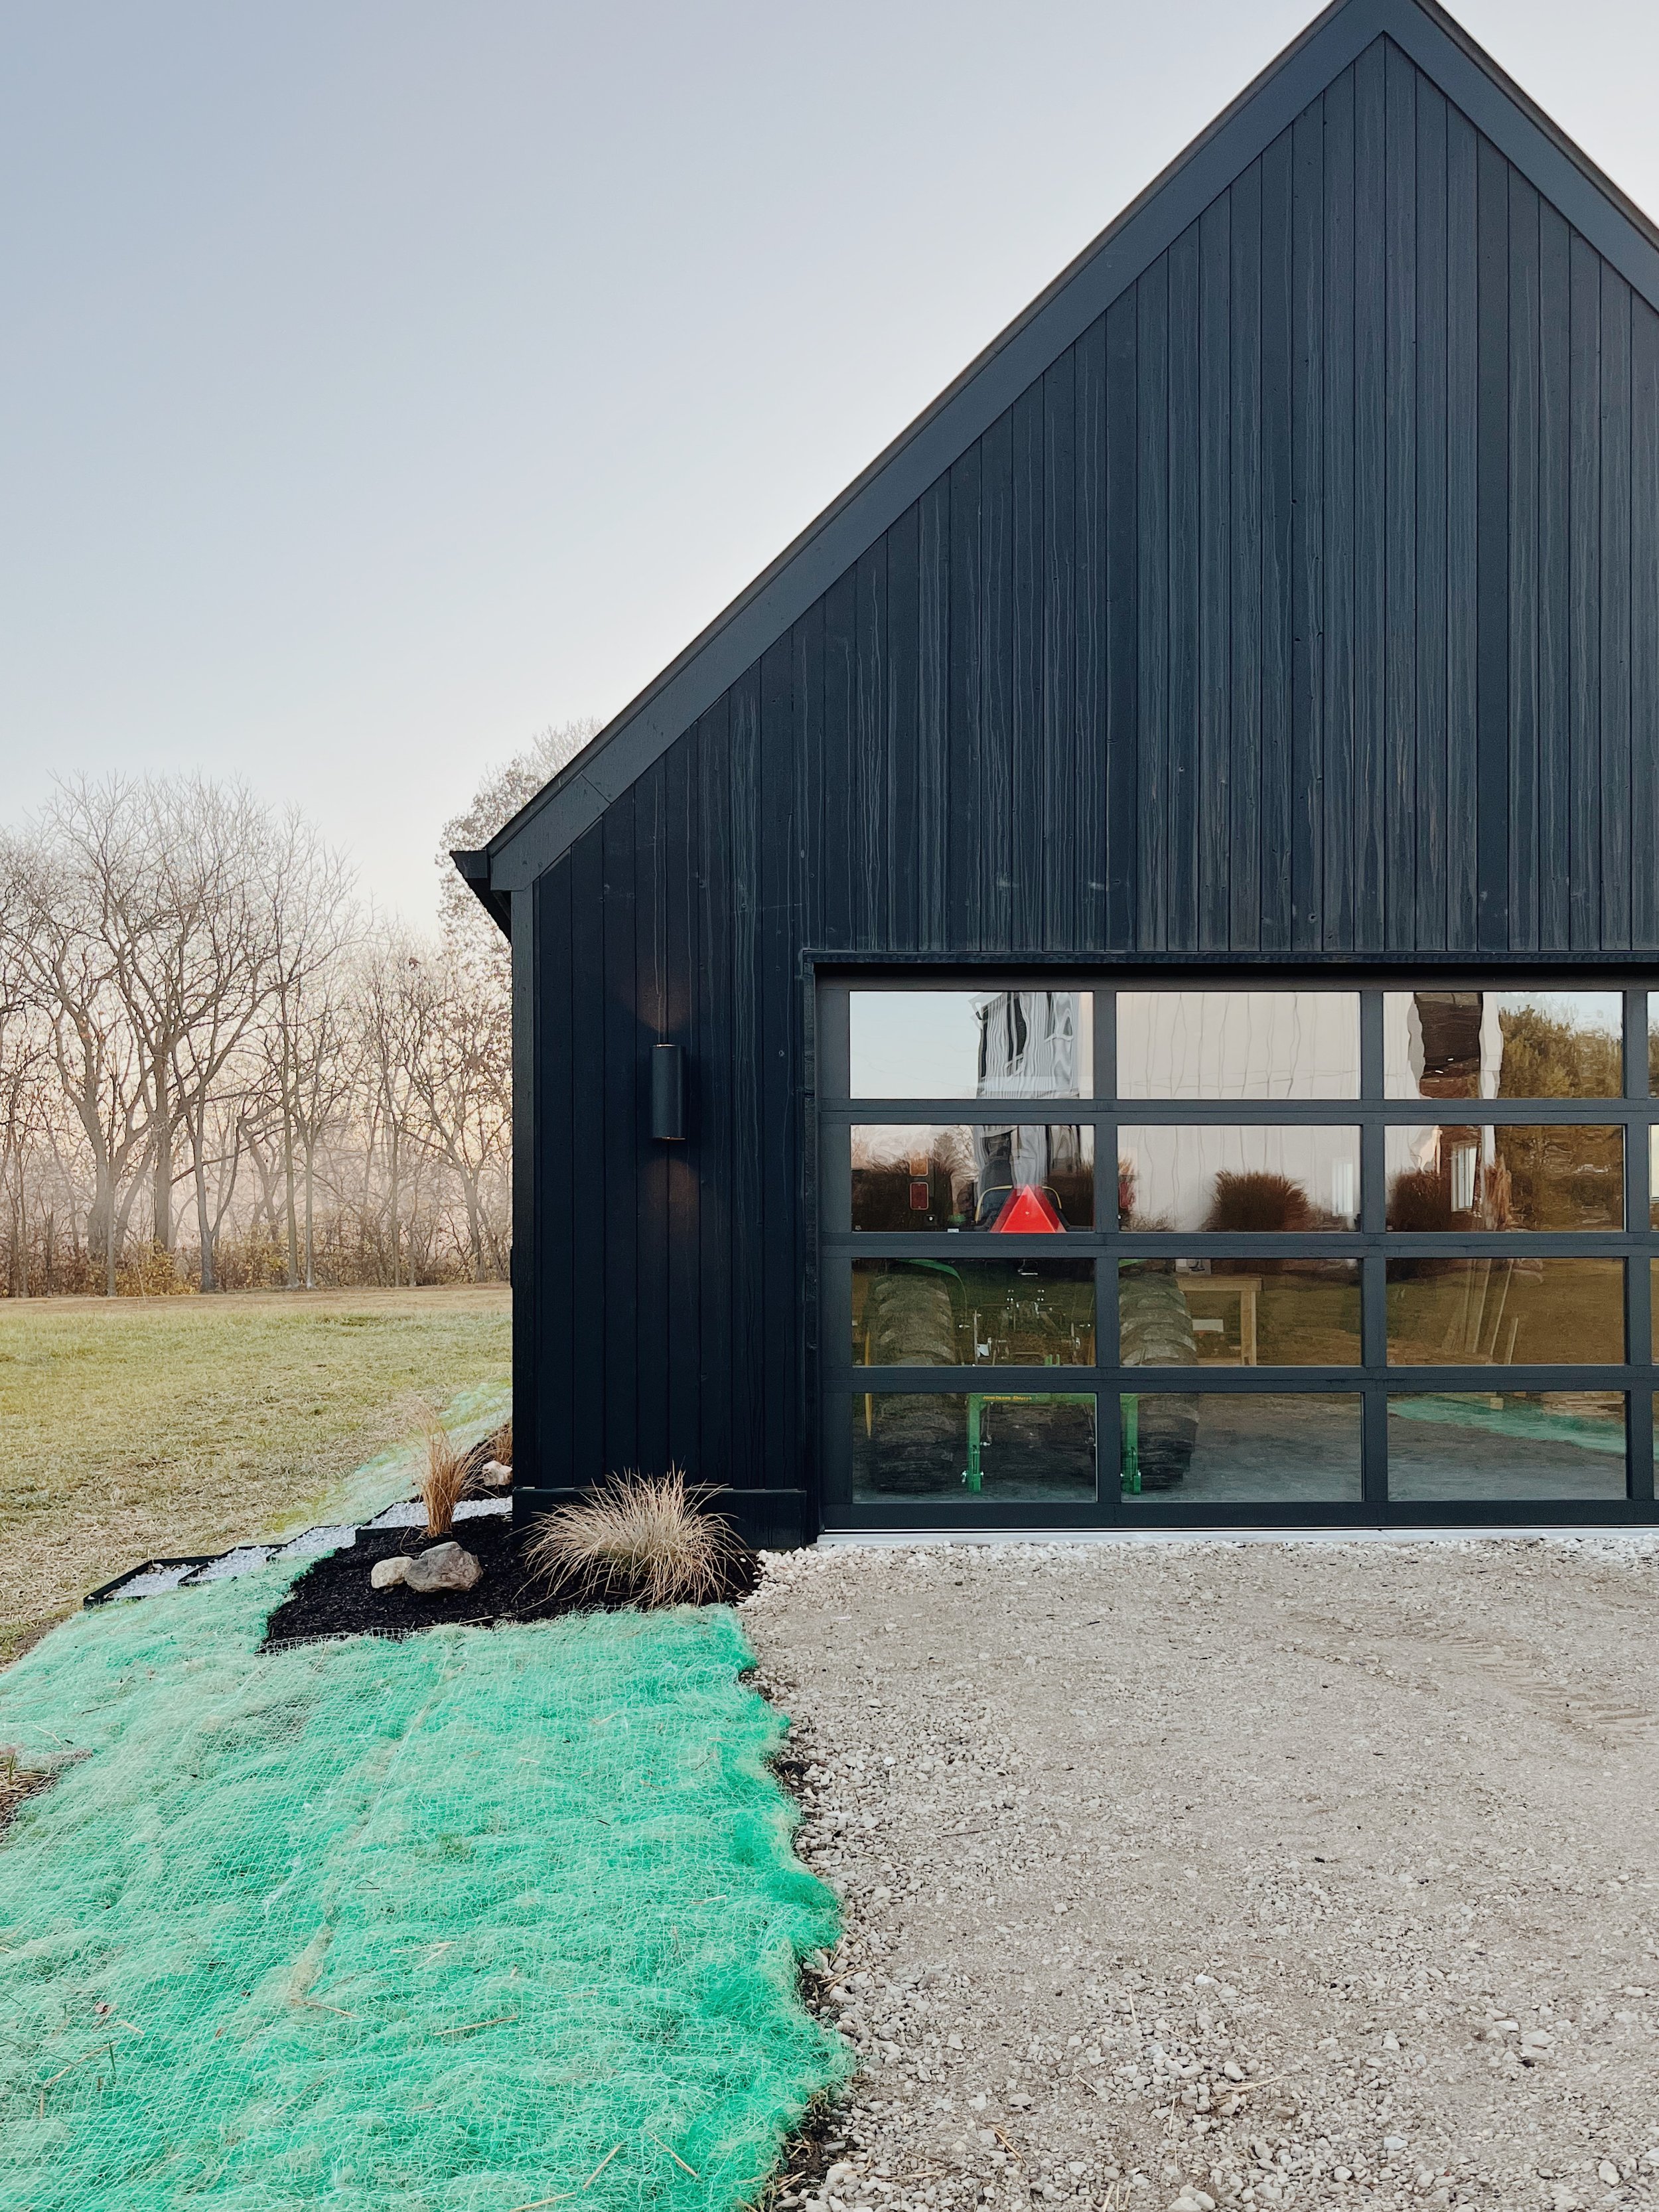
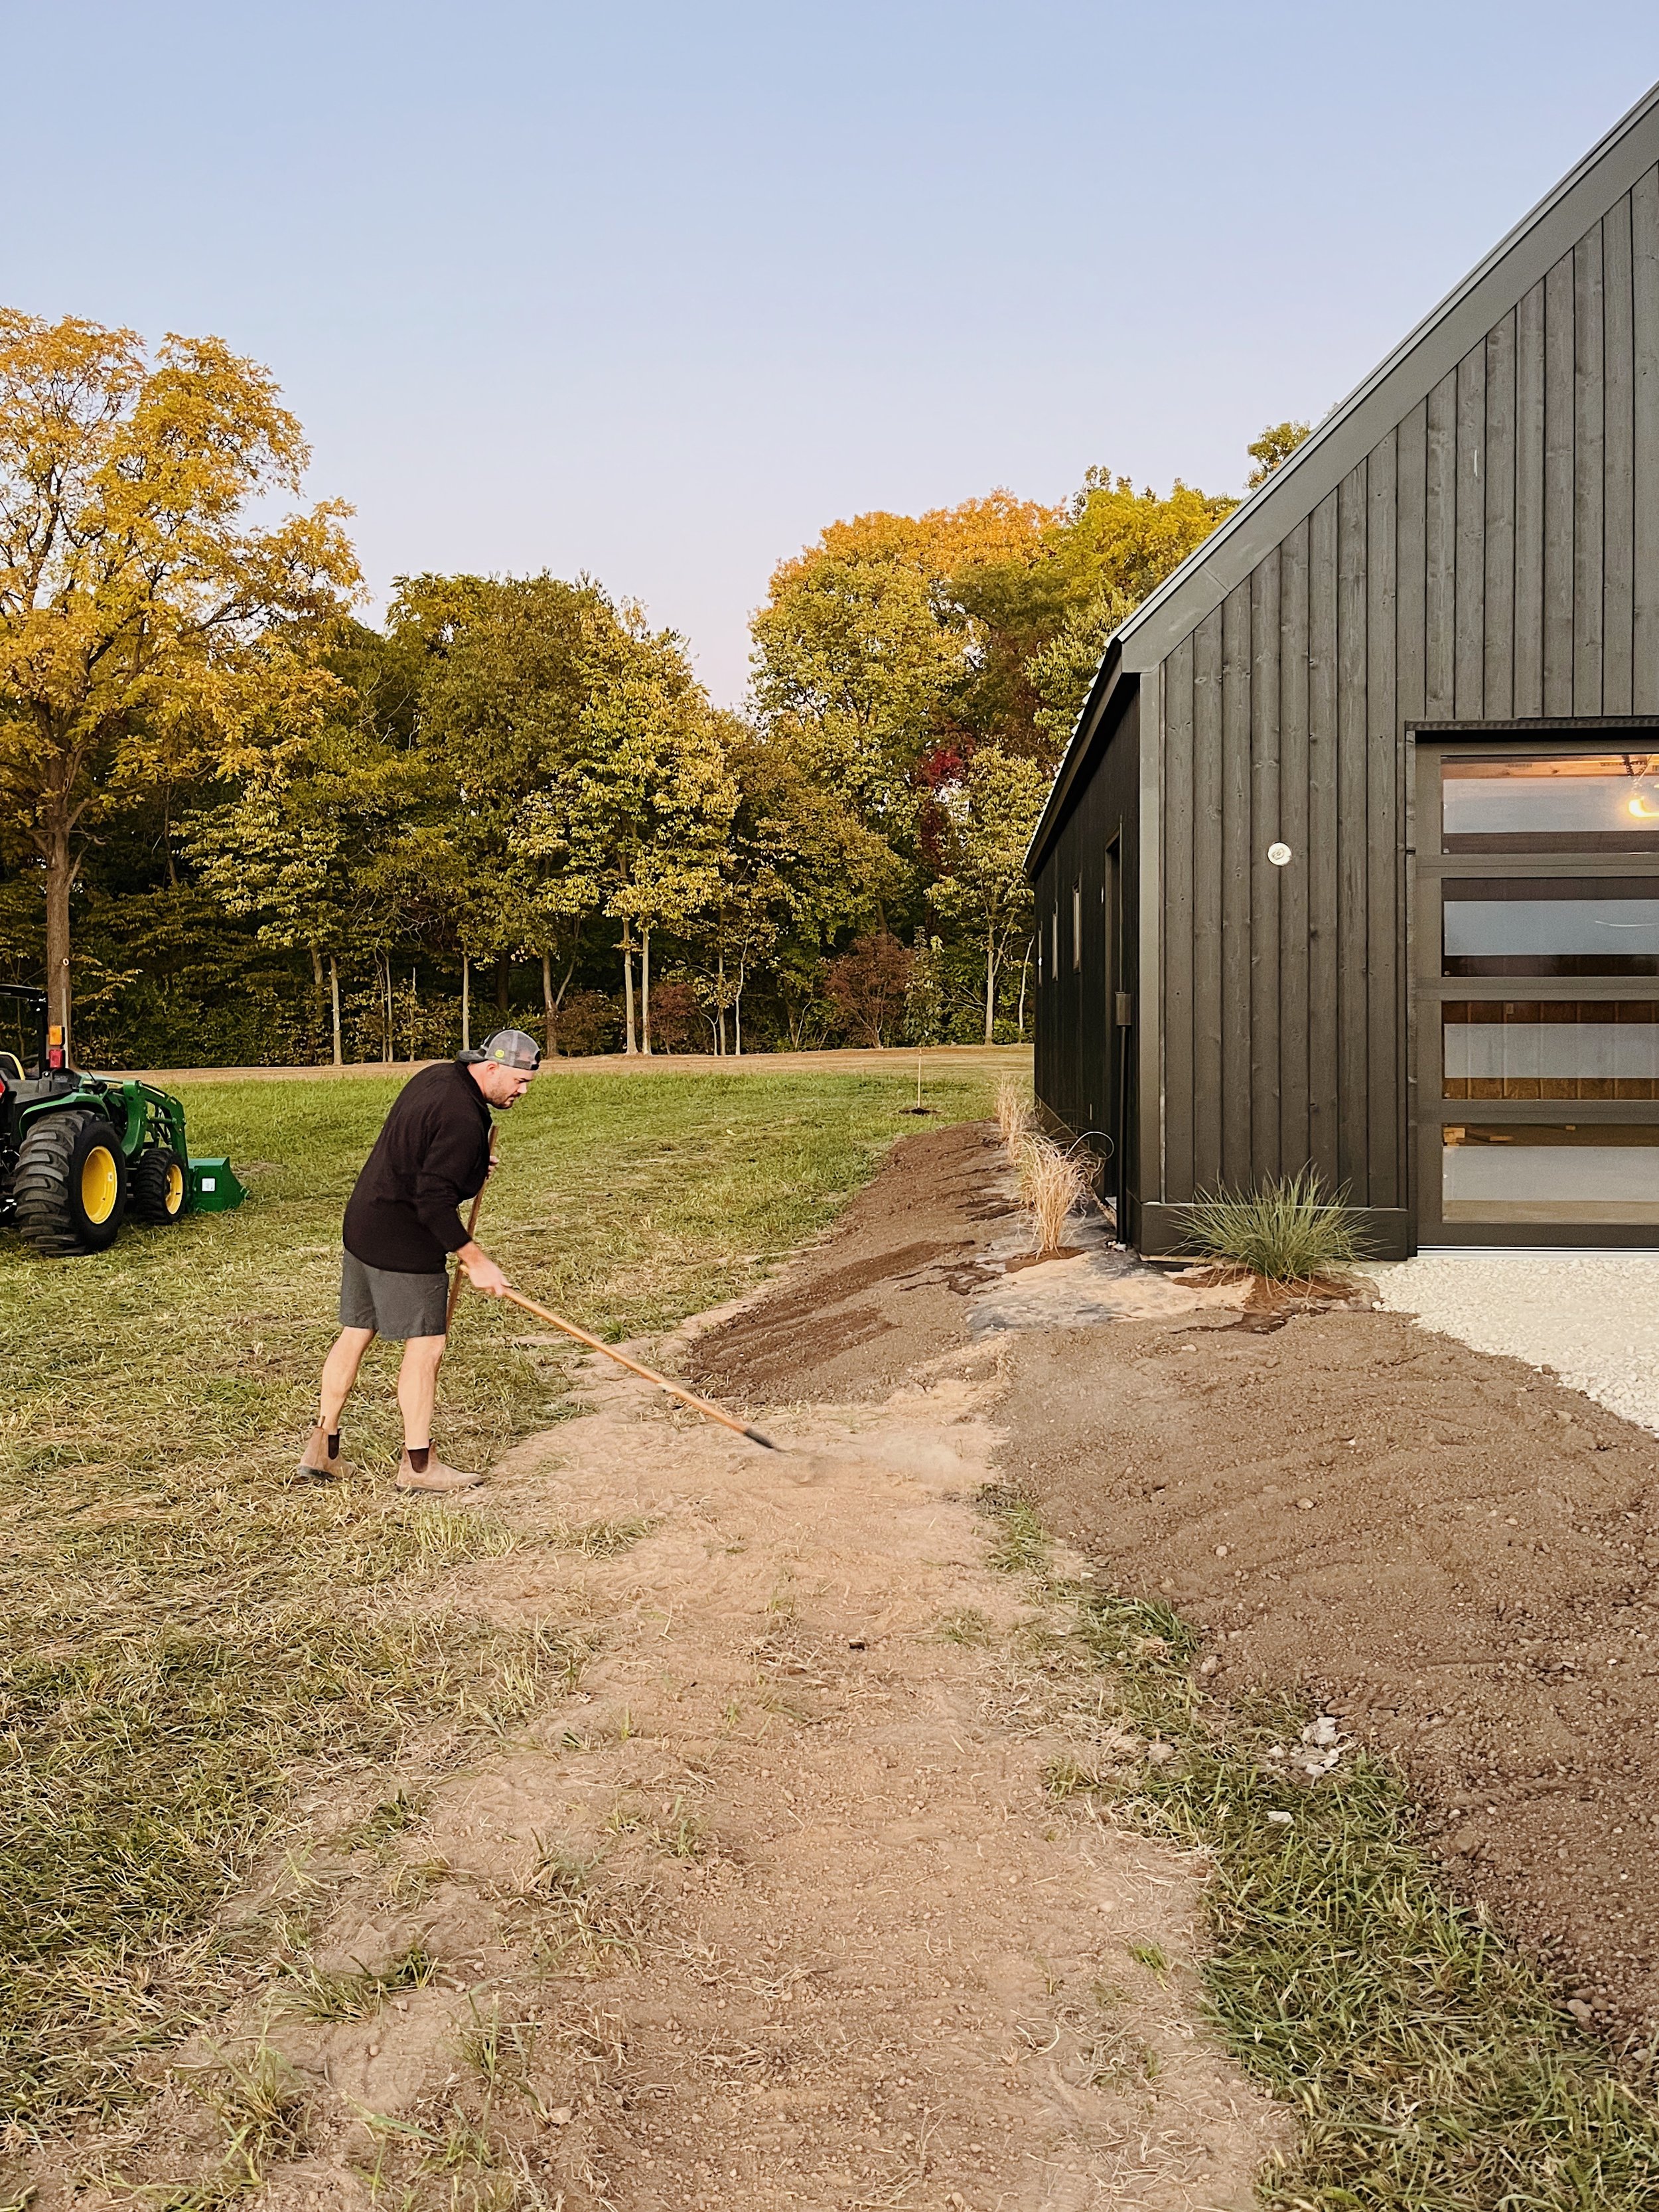
Avante Garage Door - She’s a beauty! And arguably makes the entire design. The garage door is a Clopay Avante AXU with an insulated commercial grade aluminum frame (black anodized finish) and tempered, insulated clear glass. The door hardware and track are powder-coated black. The clear glass allows natural light to enter the space all day long yet provides the weather protection and insulation we needed. It’s beautiful and perfect for this space.
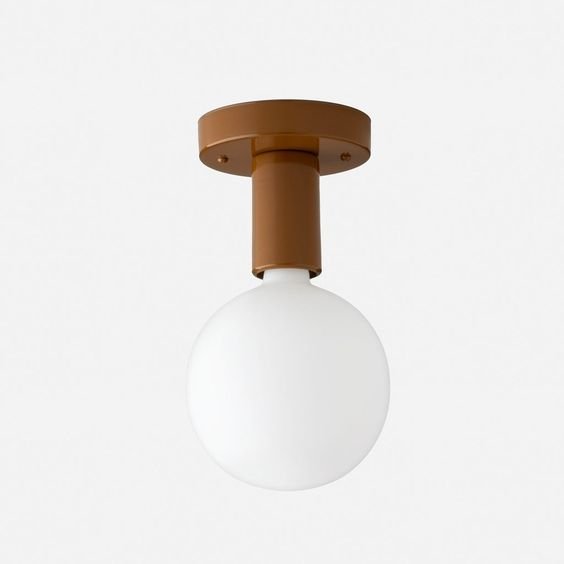
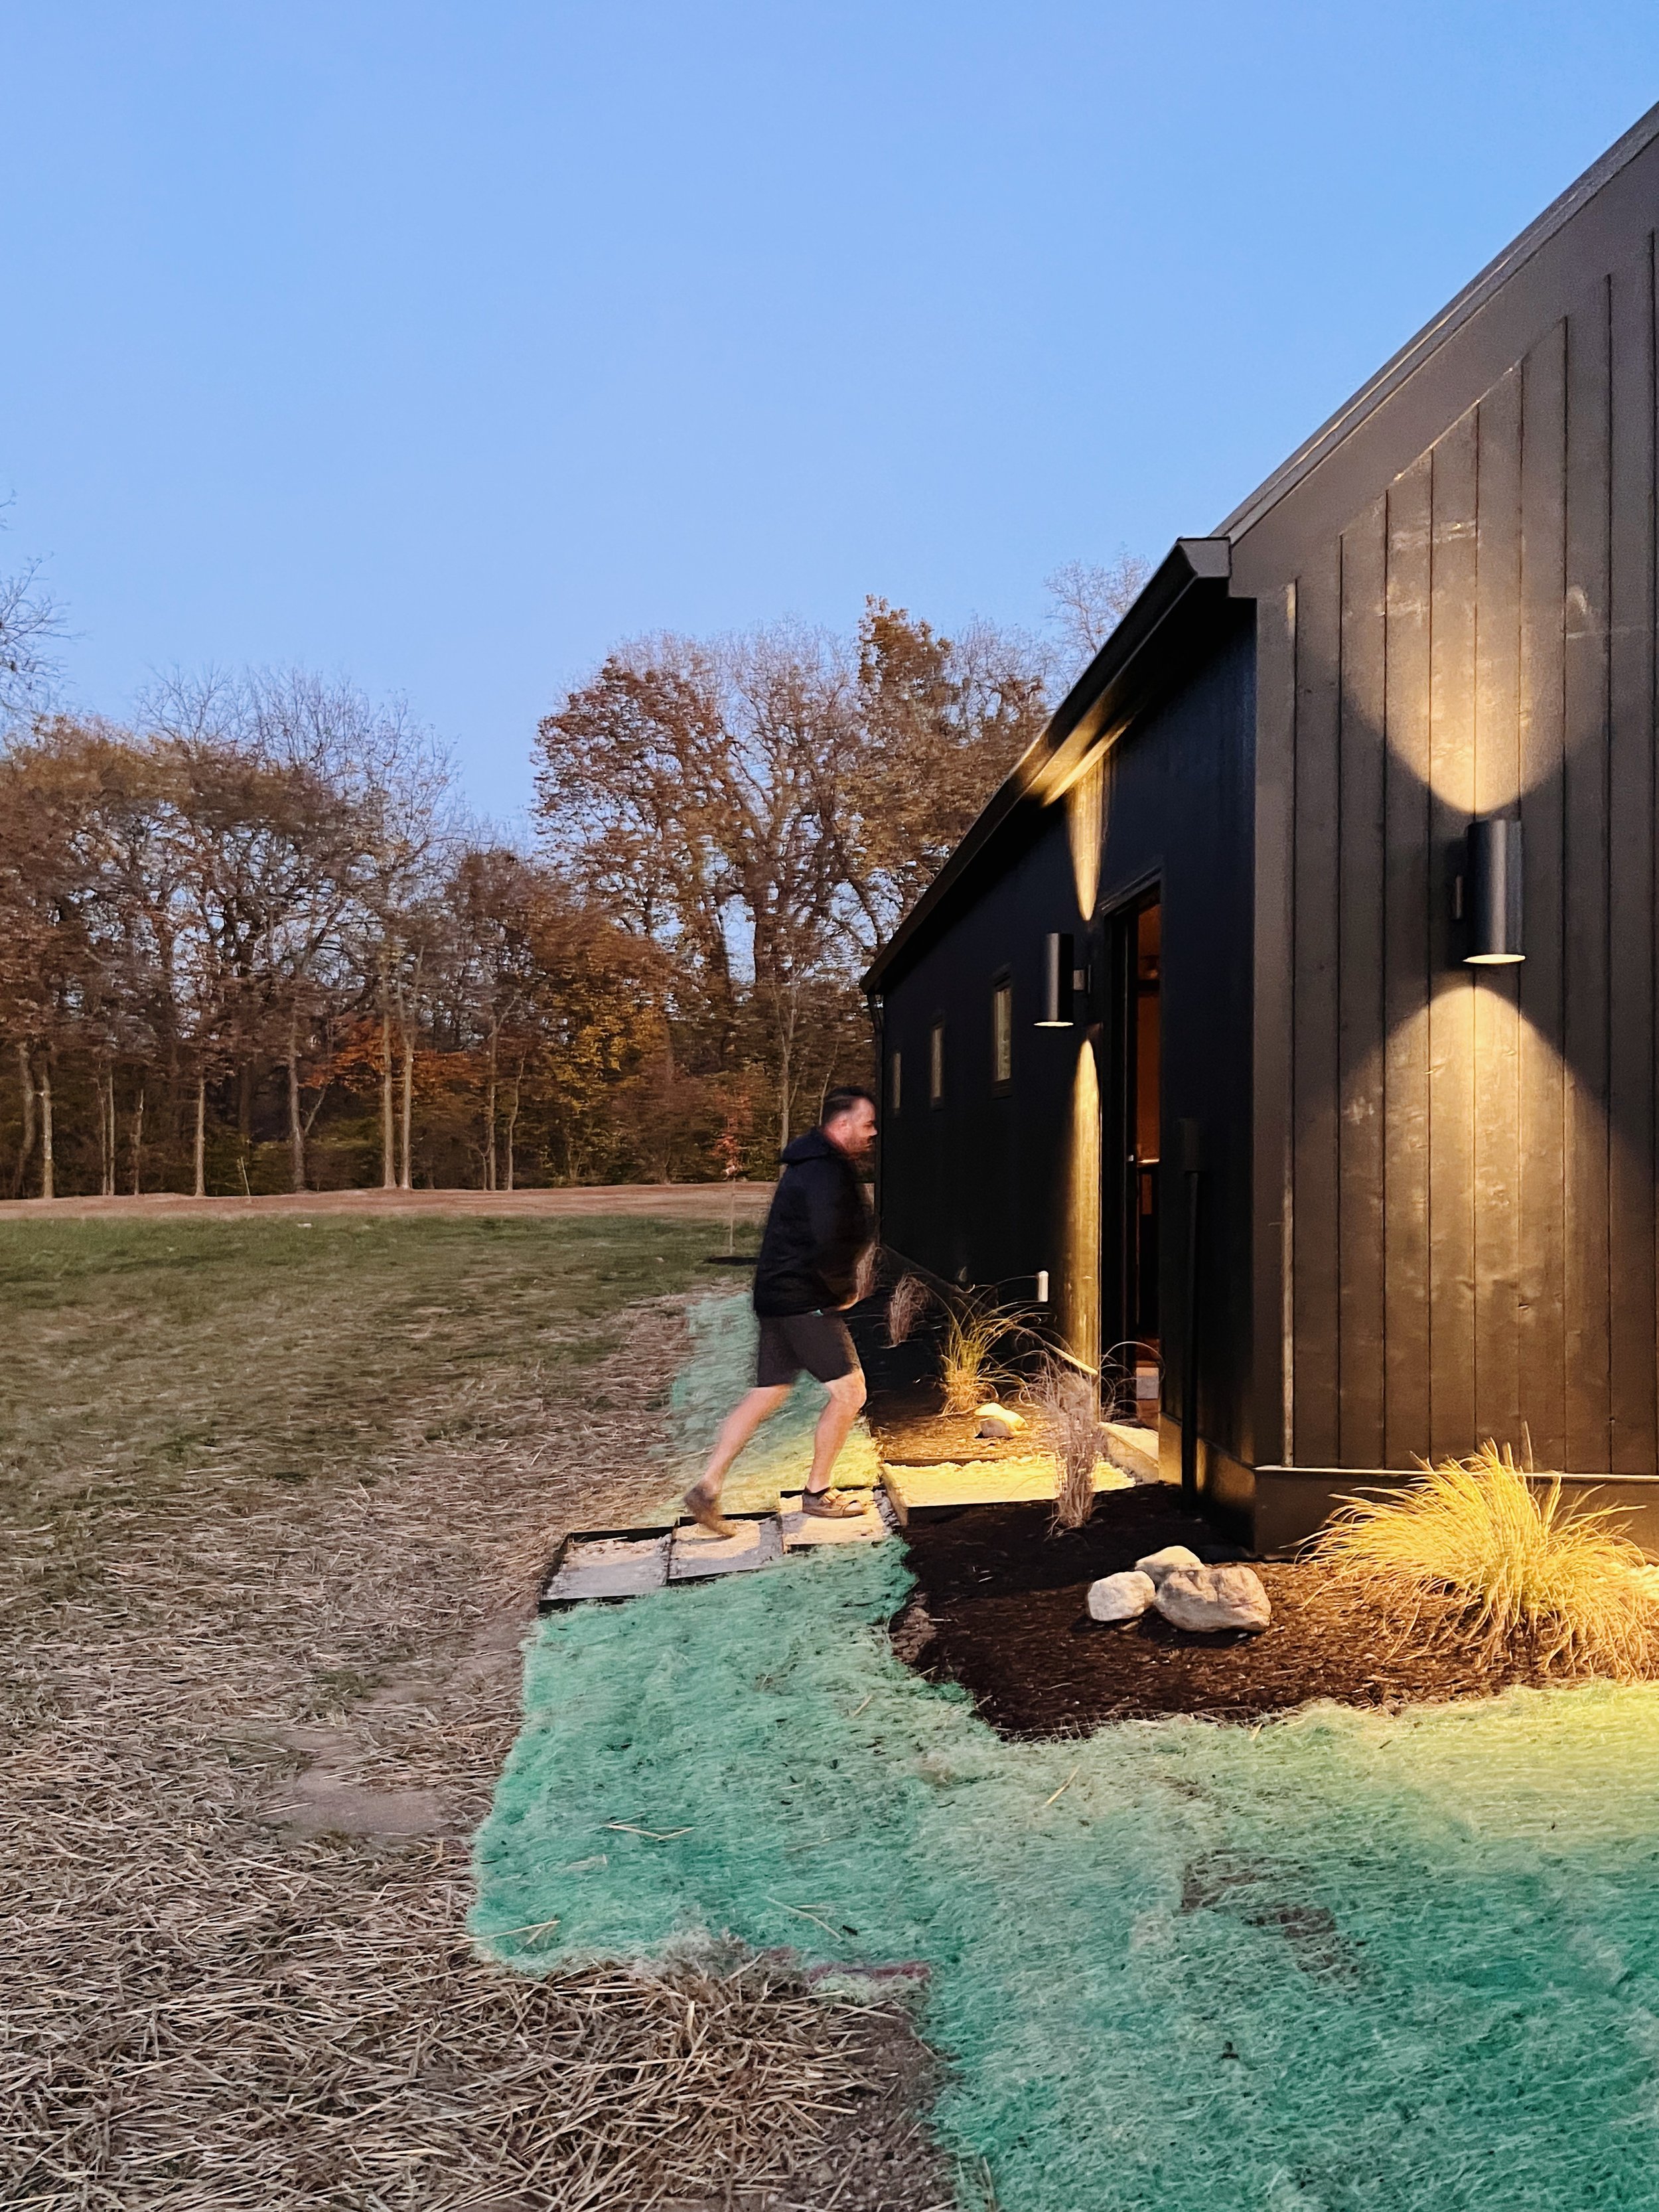
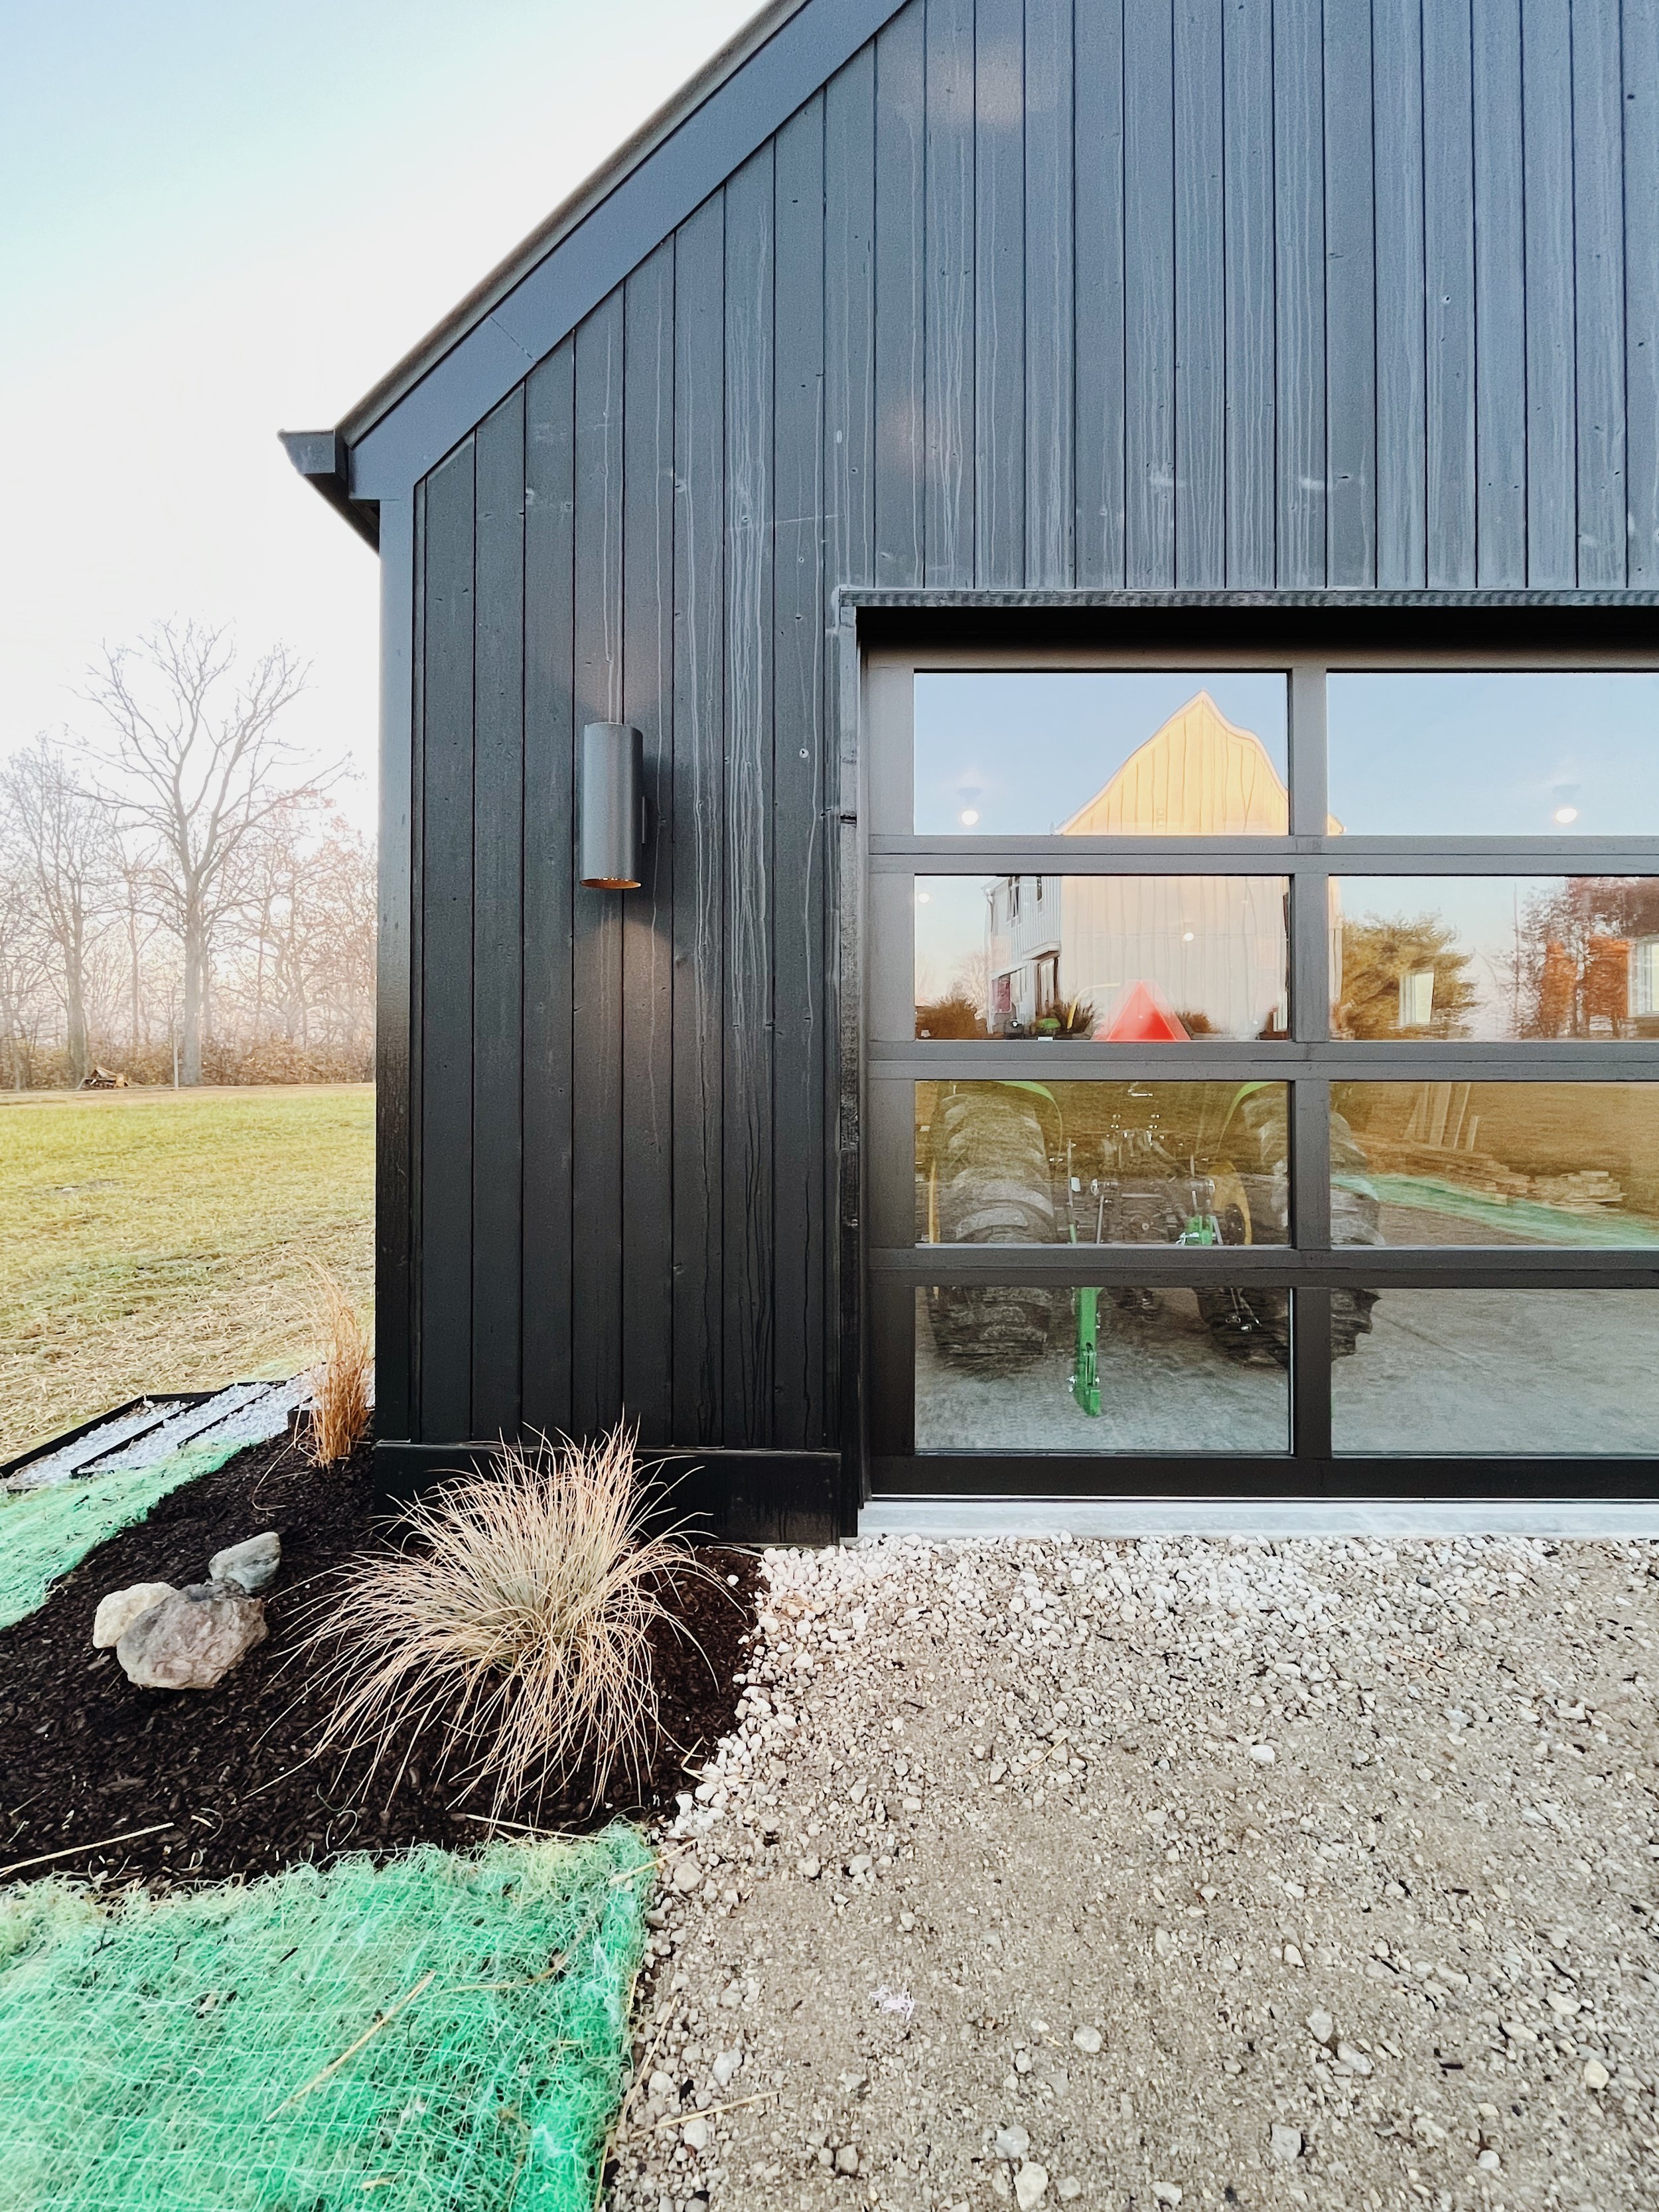
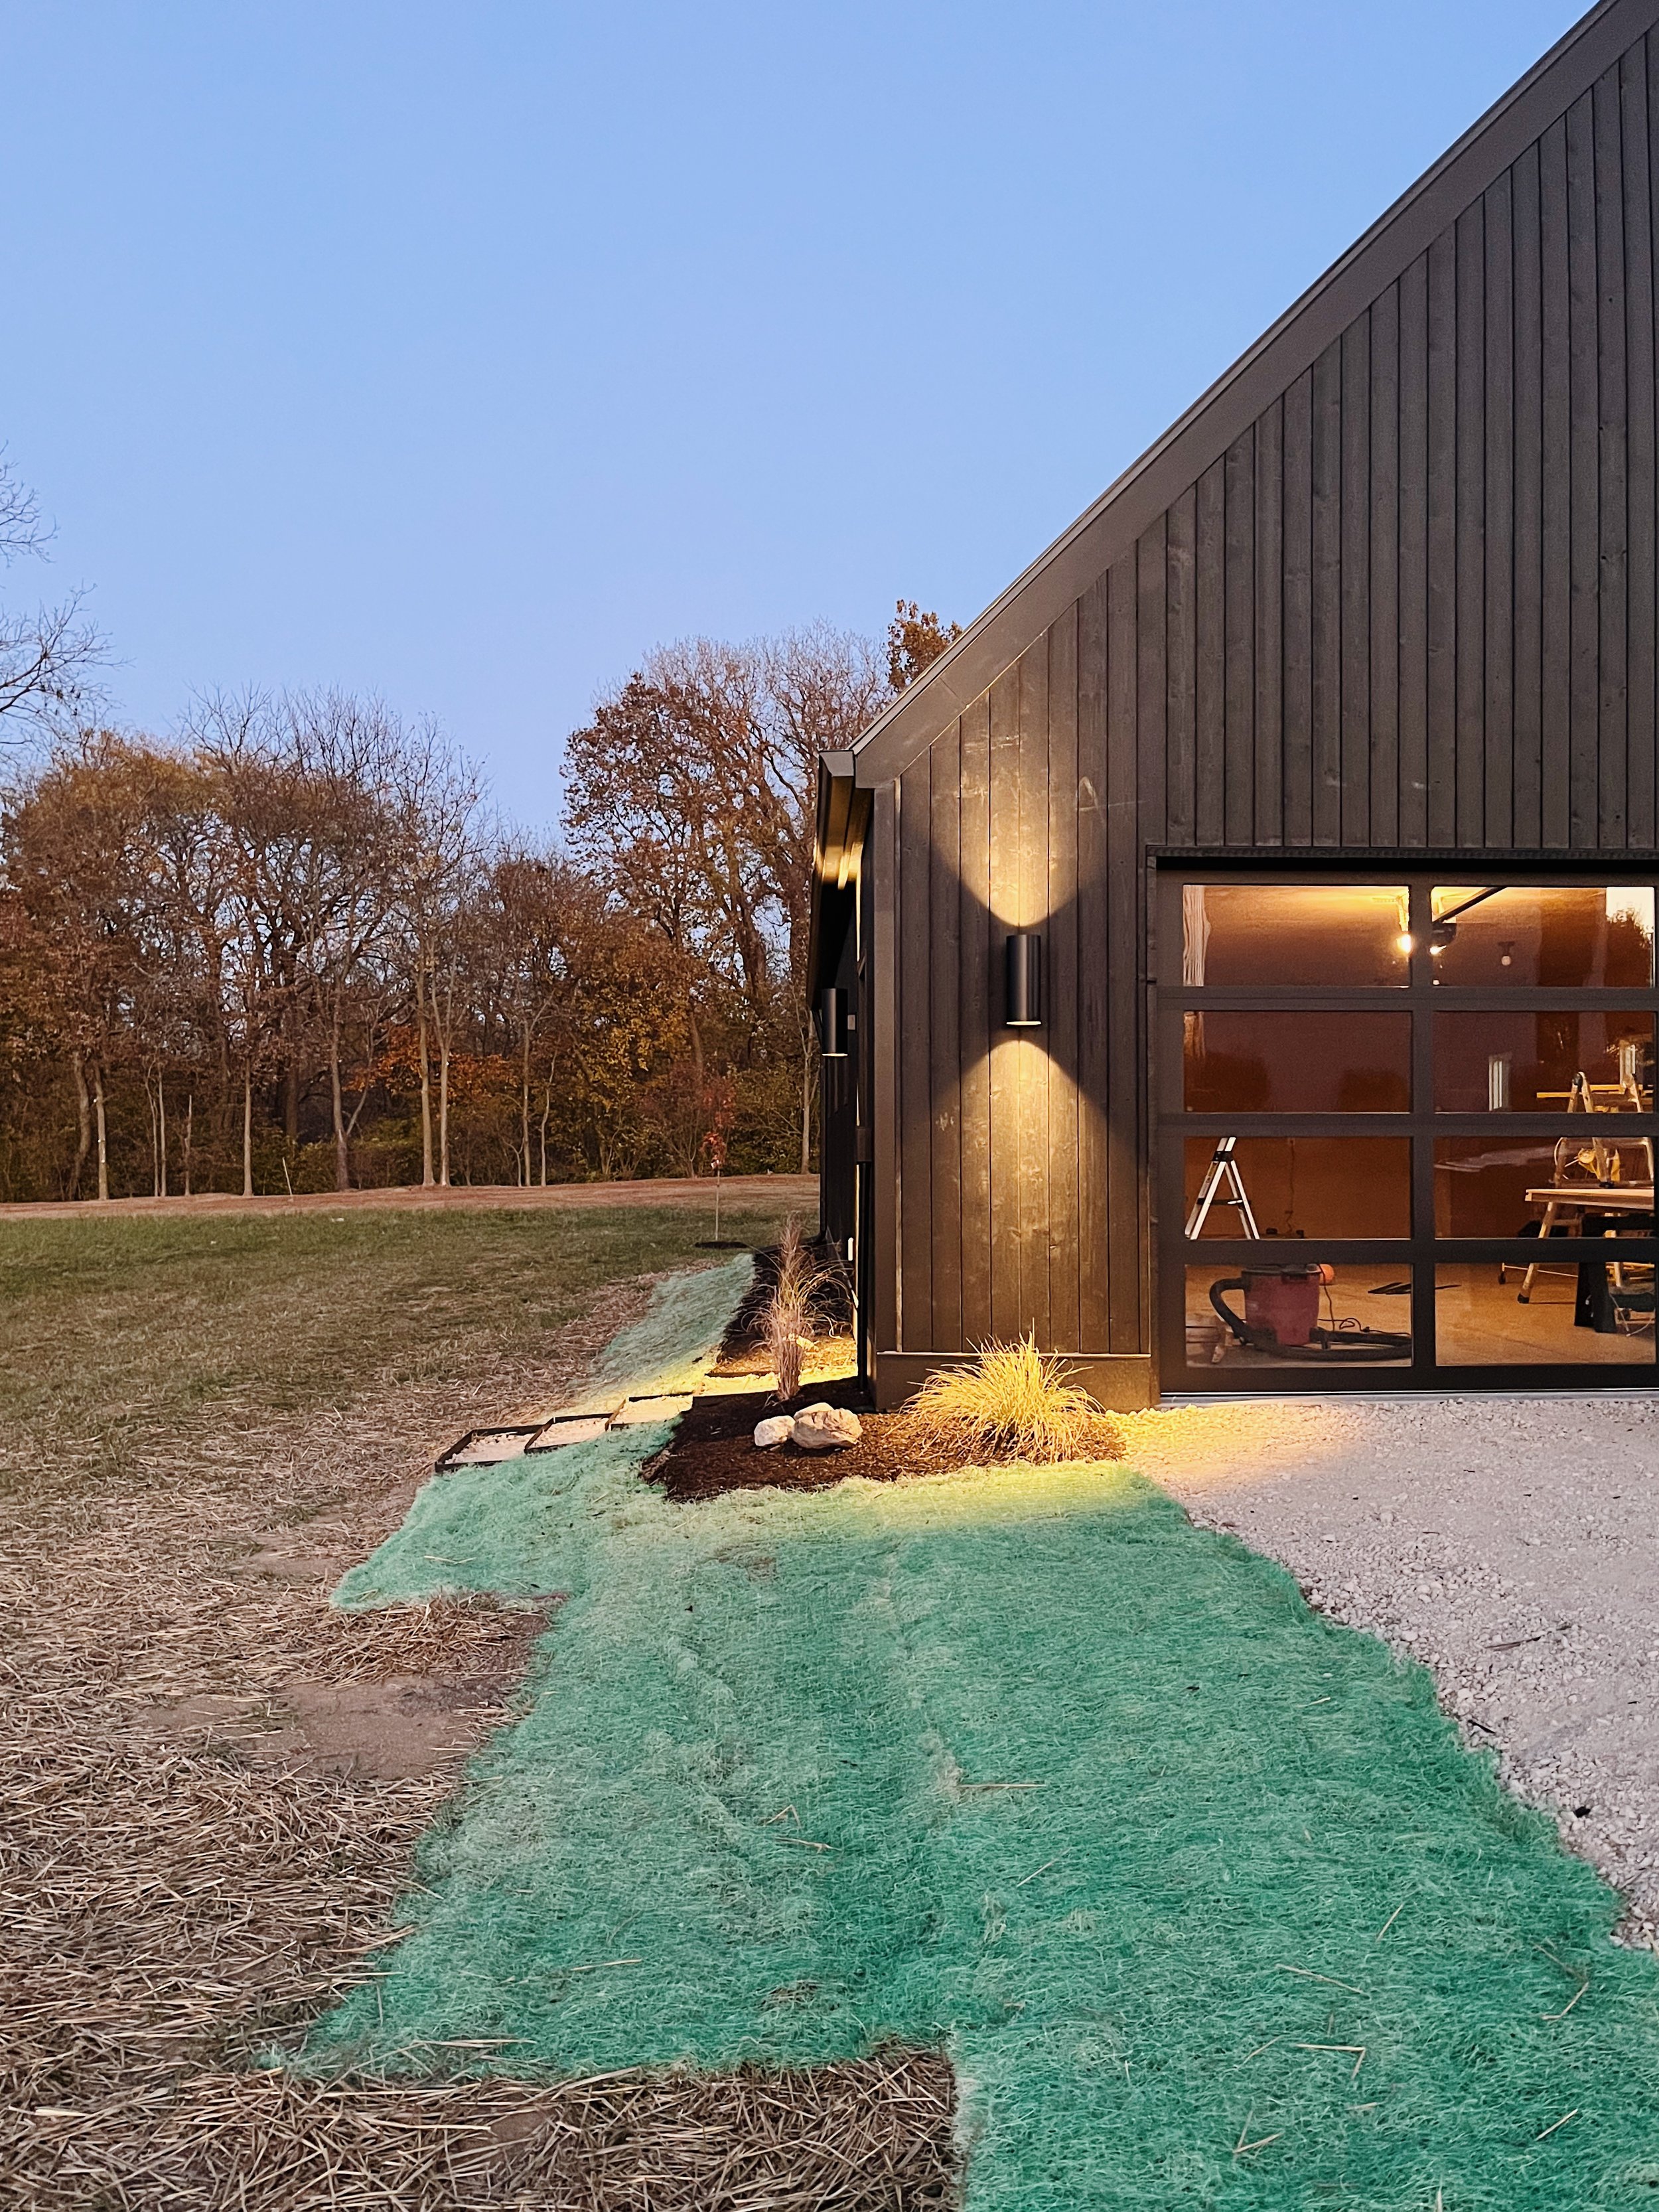
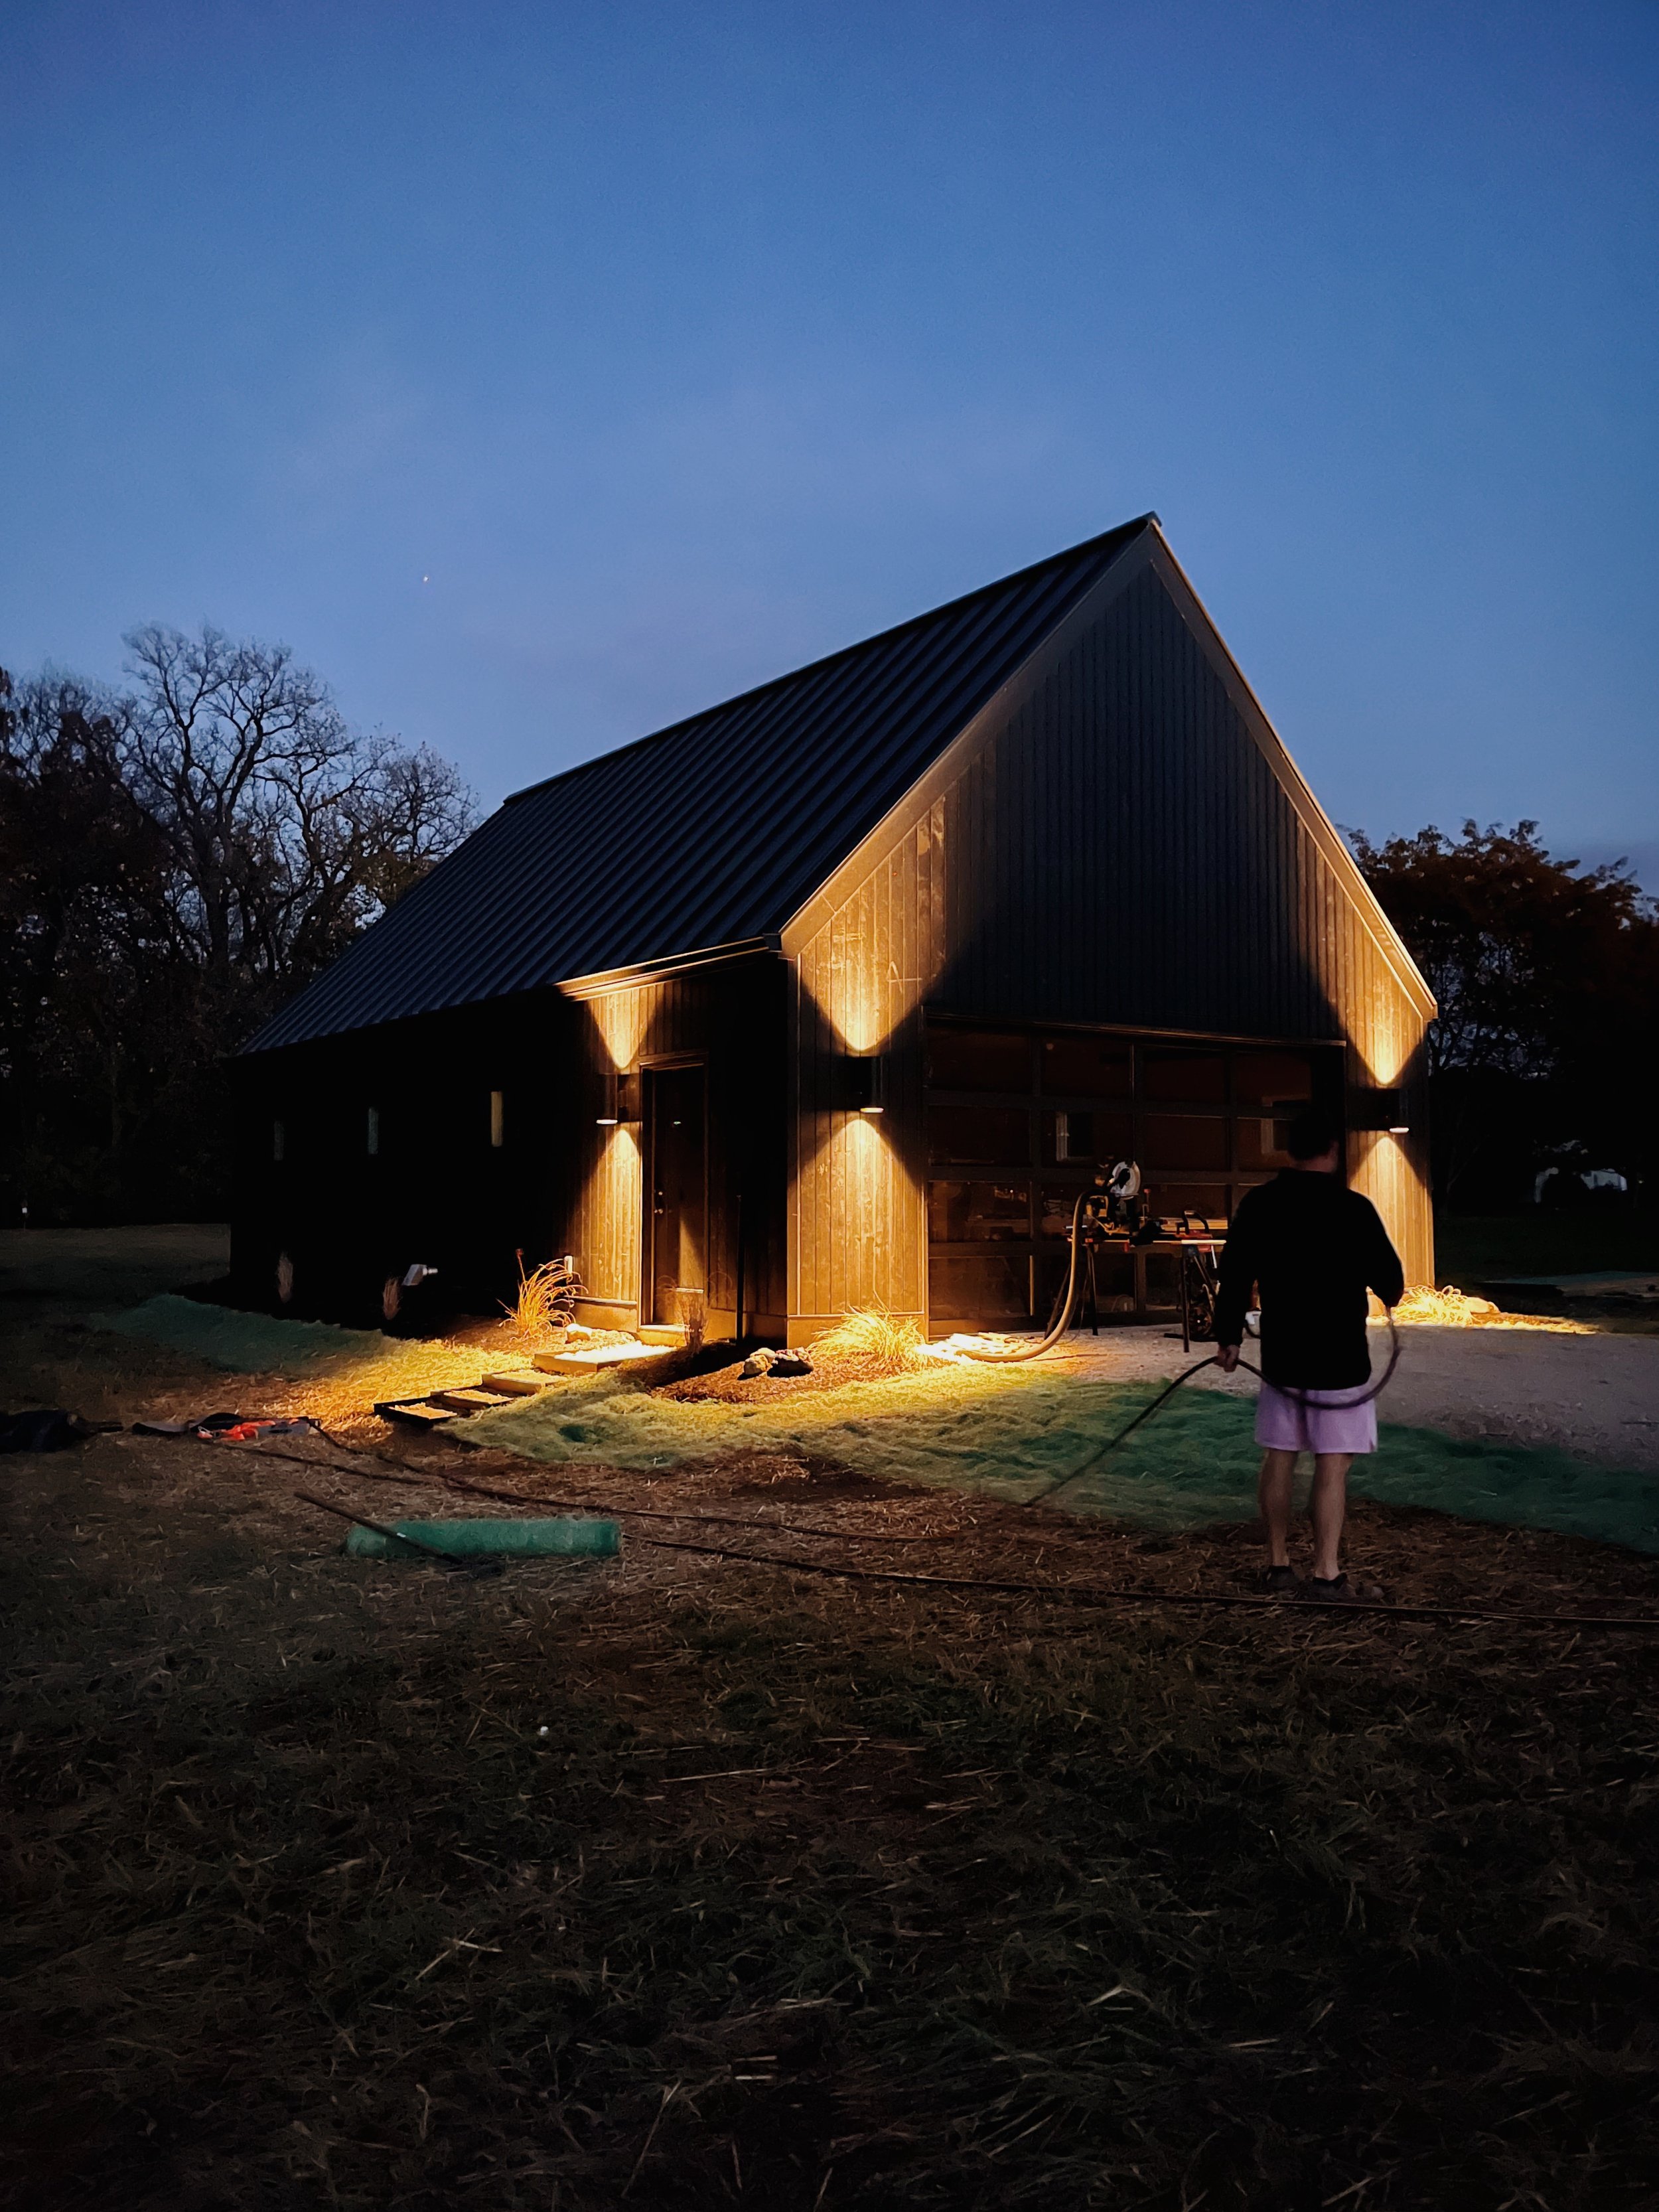
Cylinder Lights - Tyler asked me if I wanted the overhead lights to blend in or stand out. I said both. Ha! And you know what? These lights do exactly that. The butterscotch color is GORGEOUS and blends in so nicely with the plywood paneling while standing out amidst the black. The exposed bulbs let off plenty of light while the design is neither too industrial or farmhouse. They’re simple and perfect.
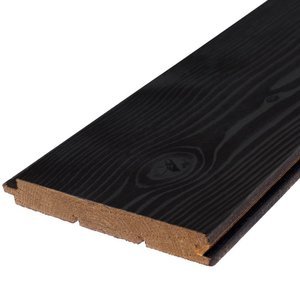
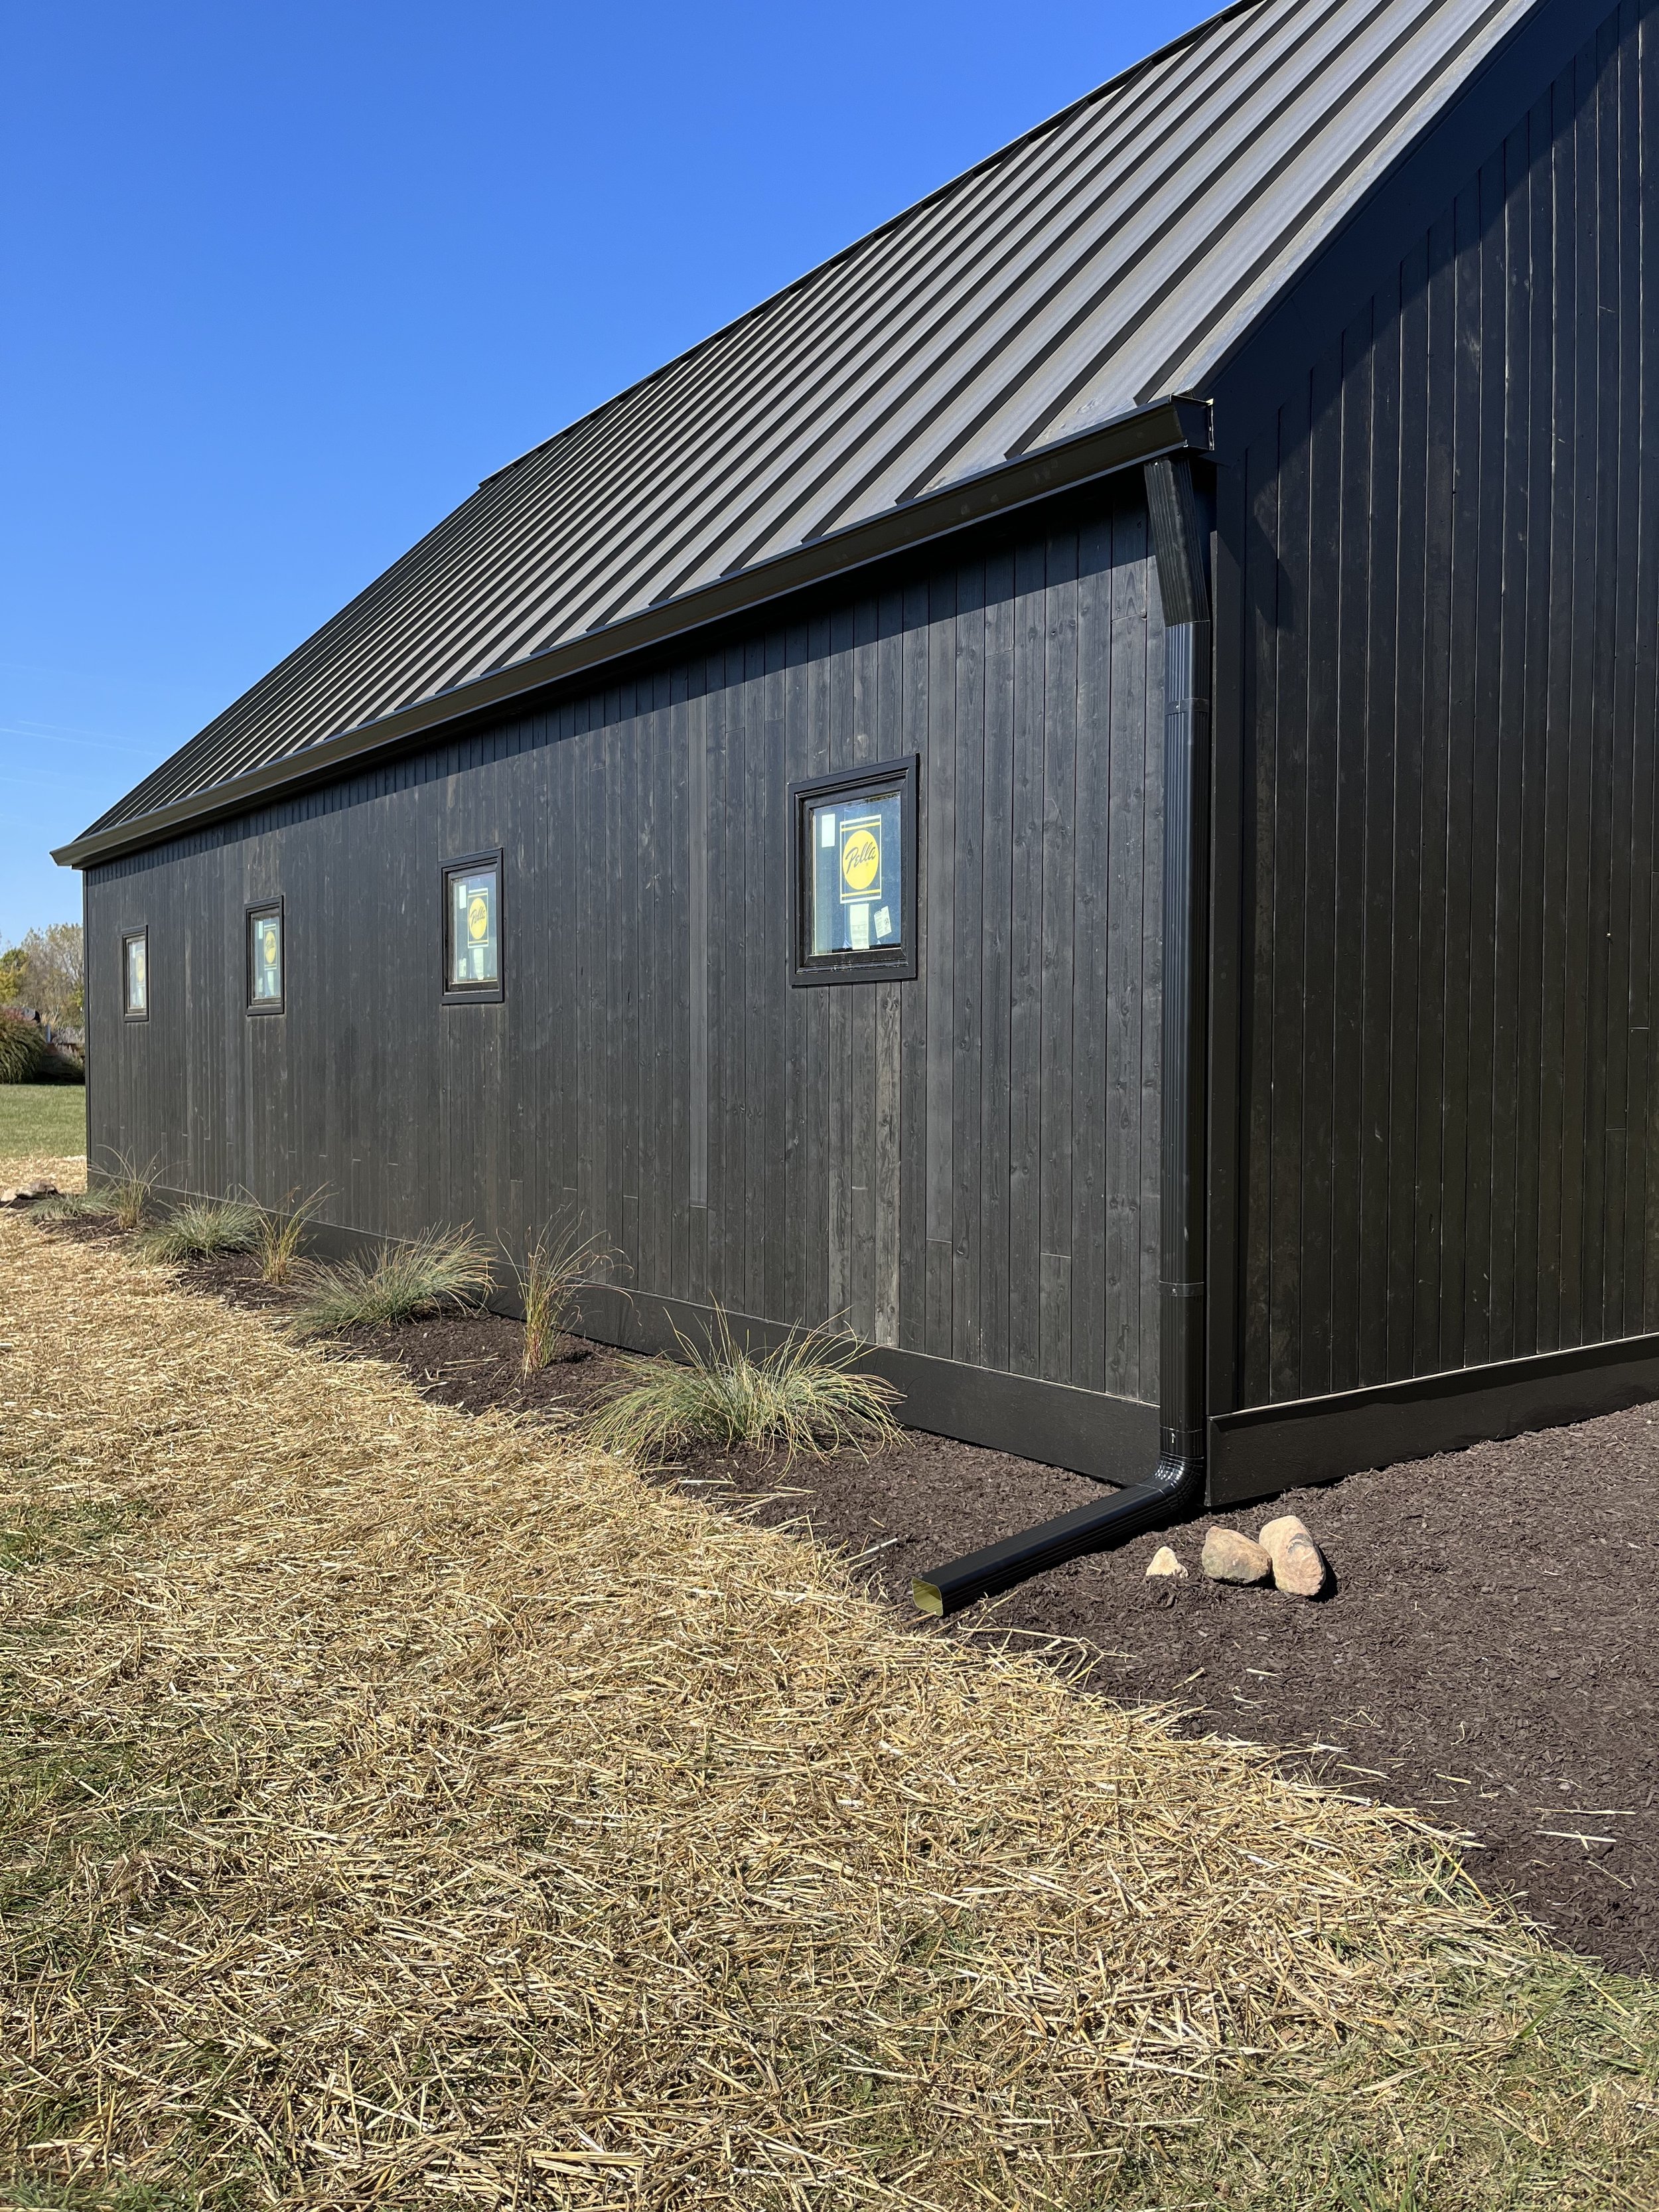
Thermory Spruce Cladding - Our builder, Dan, recommended this product, and we couldn’t be happier with the end result. It’s absolutely BEAUTIFUL; maybe even more so in person. I love that the barn appears black from a distance yet is visibly real wood once standing closer. The natural wood grain is very visible and oh so gorgeous. It mimics the traditional look of shou sugi ban with the added benefits of thermal modification. Thermory uses a flame-free process in which they use heat and steam to enhance the wood, making it incredibly rot resistant and durable. We installed it with a rain screen system (ProTect furring strips) which allows the entire structure to breath and dry out - aka, water is never sitting on the wood.
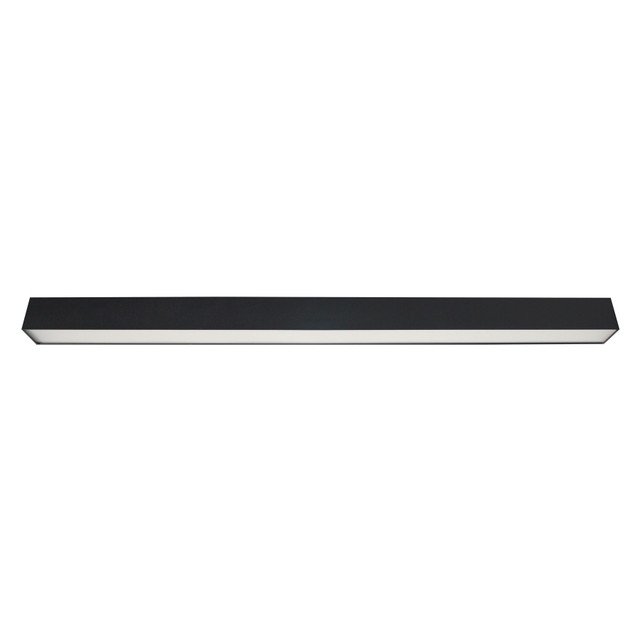
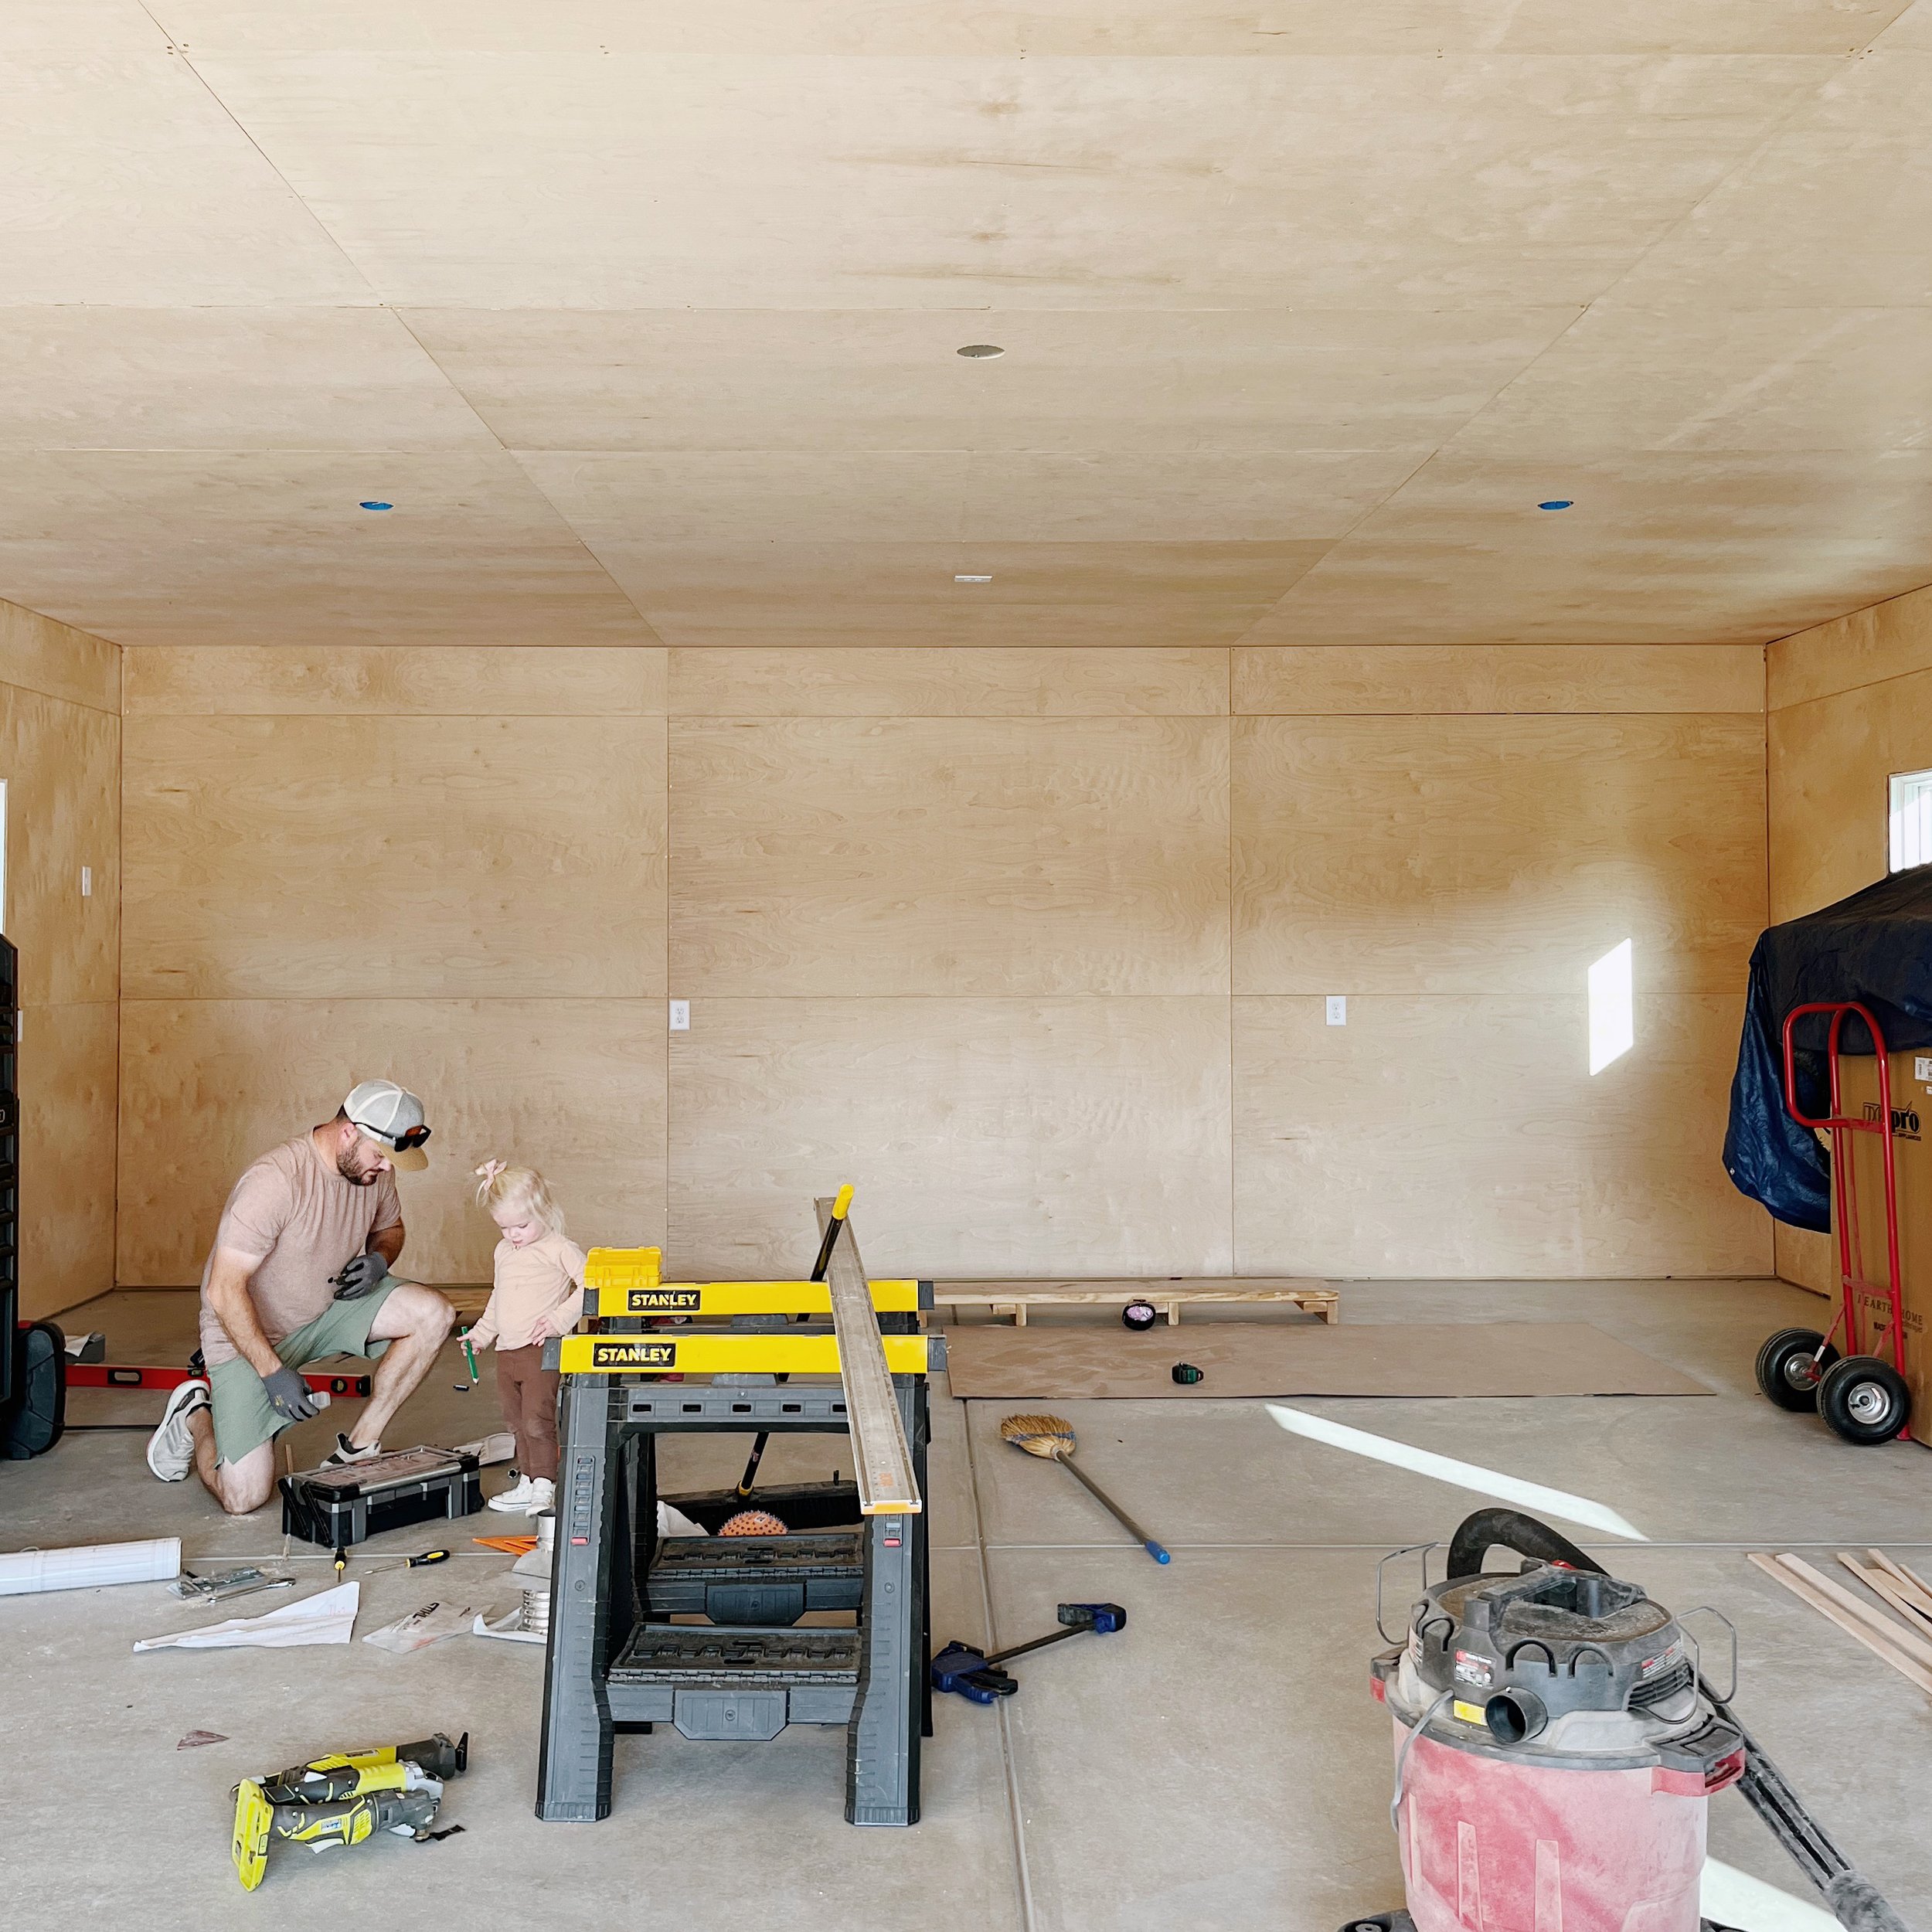
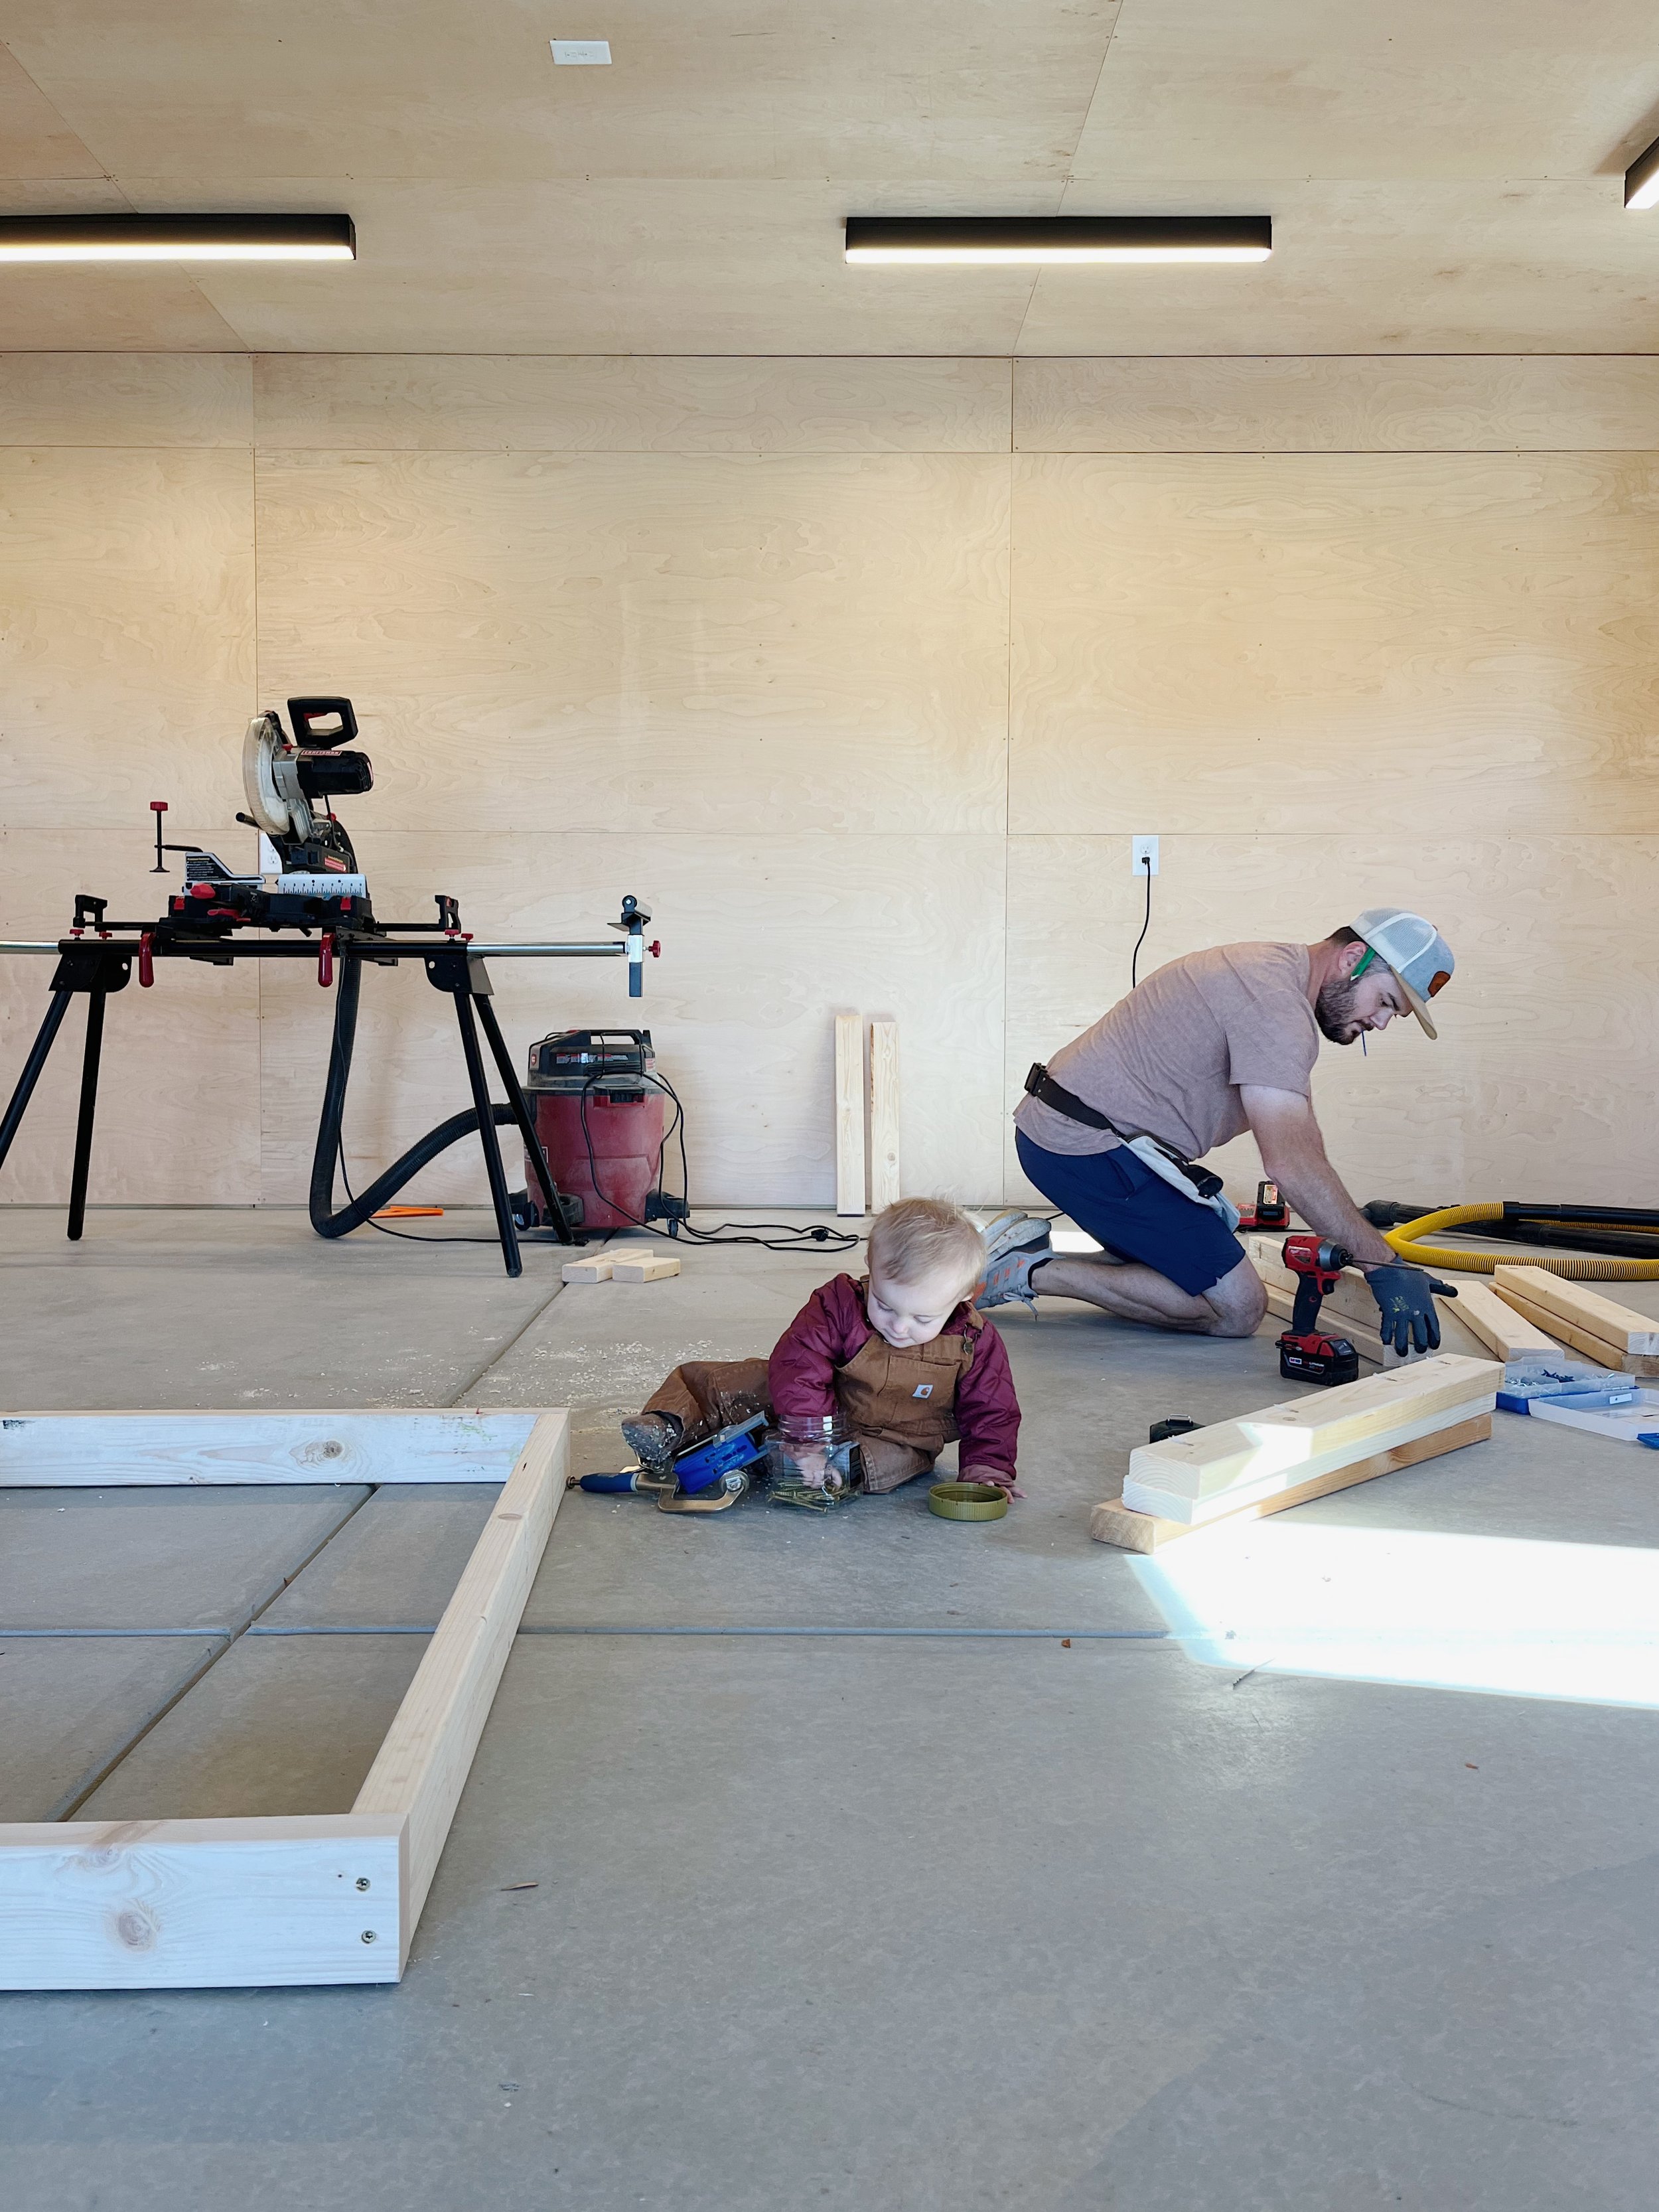
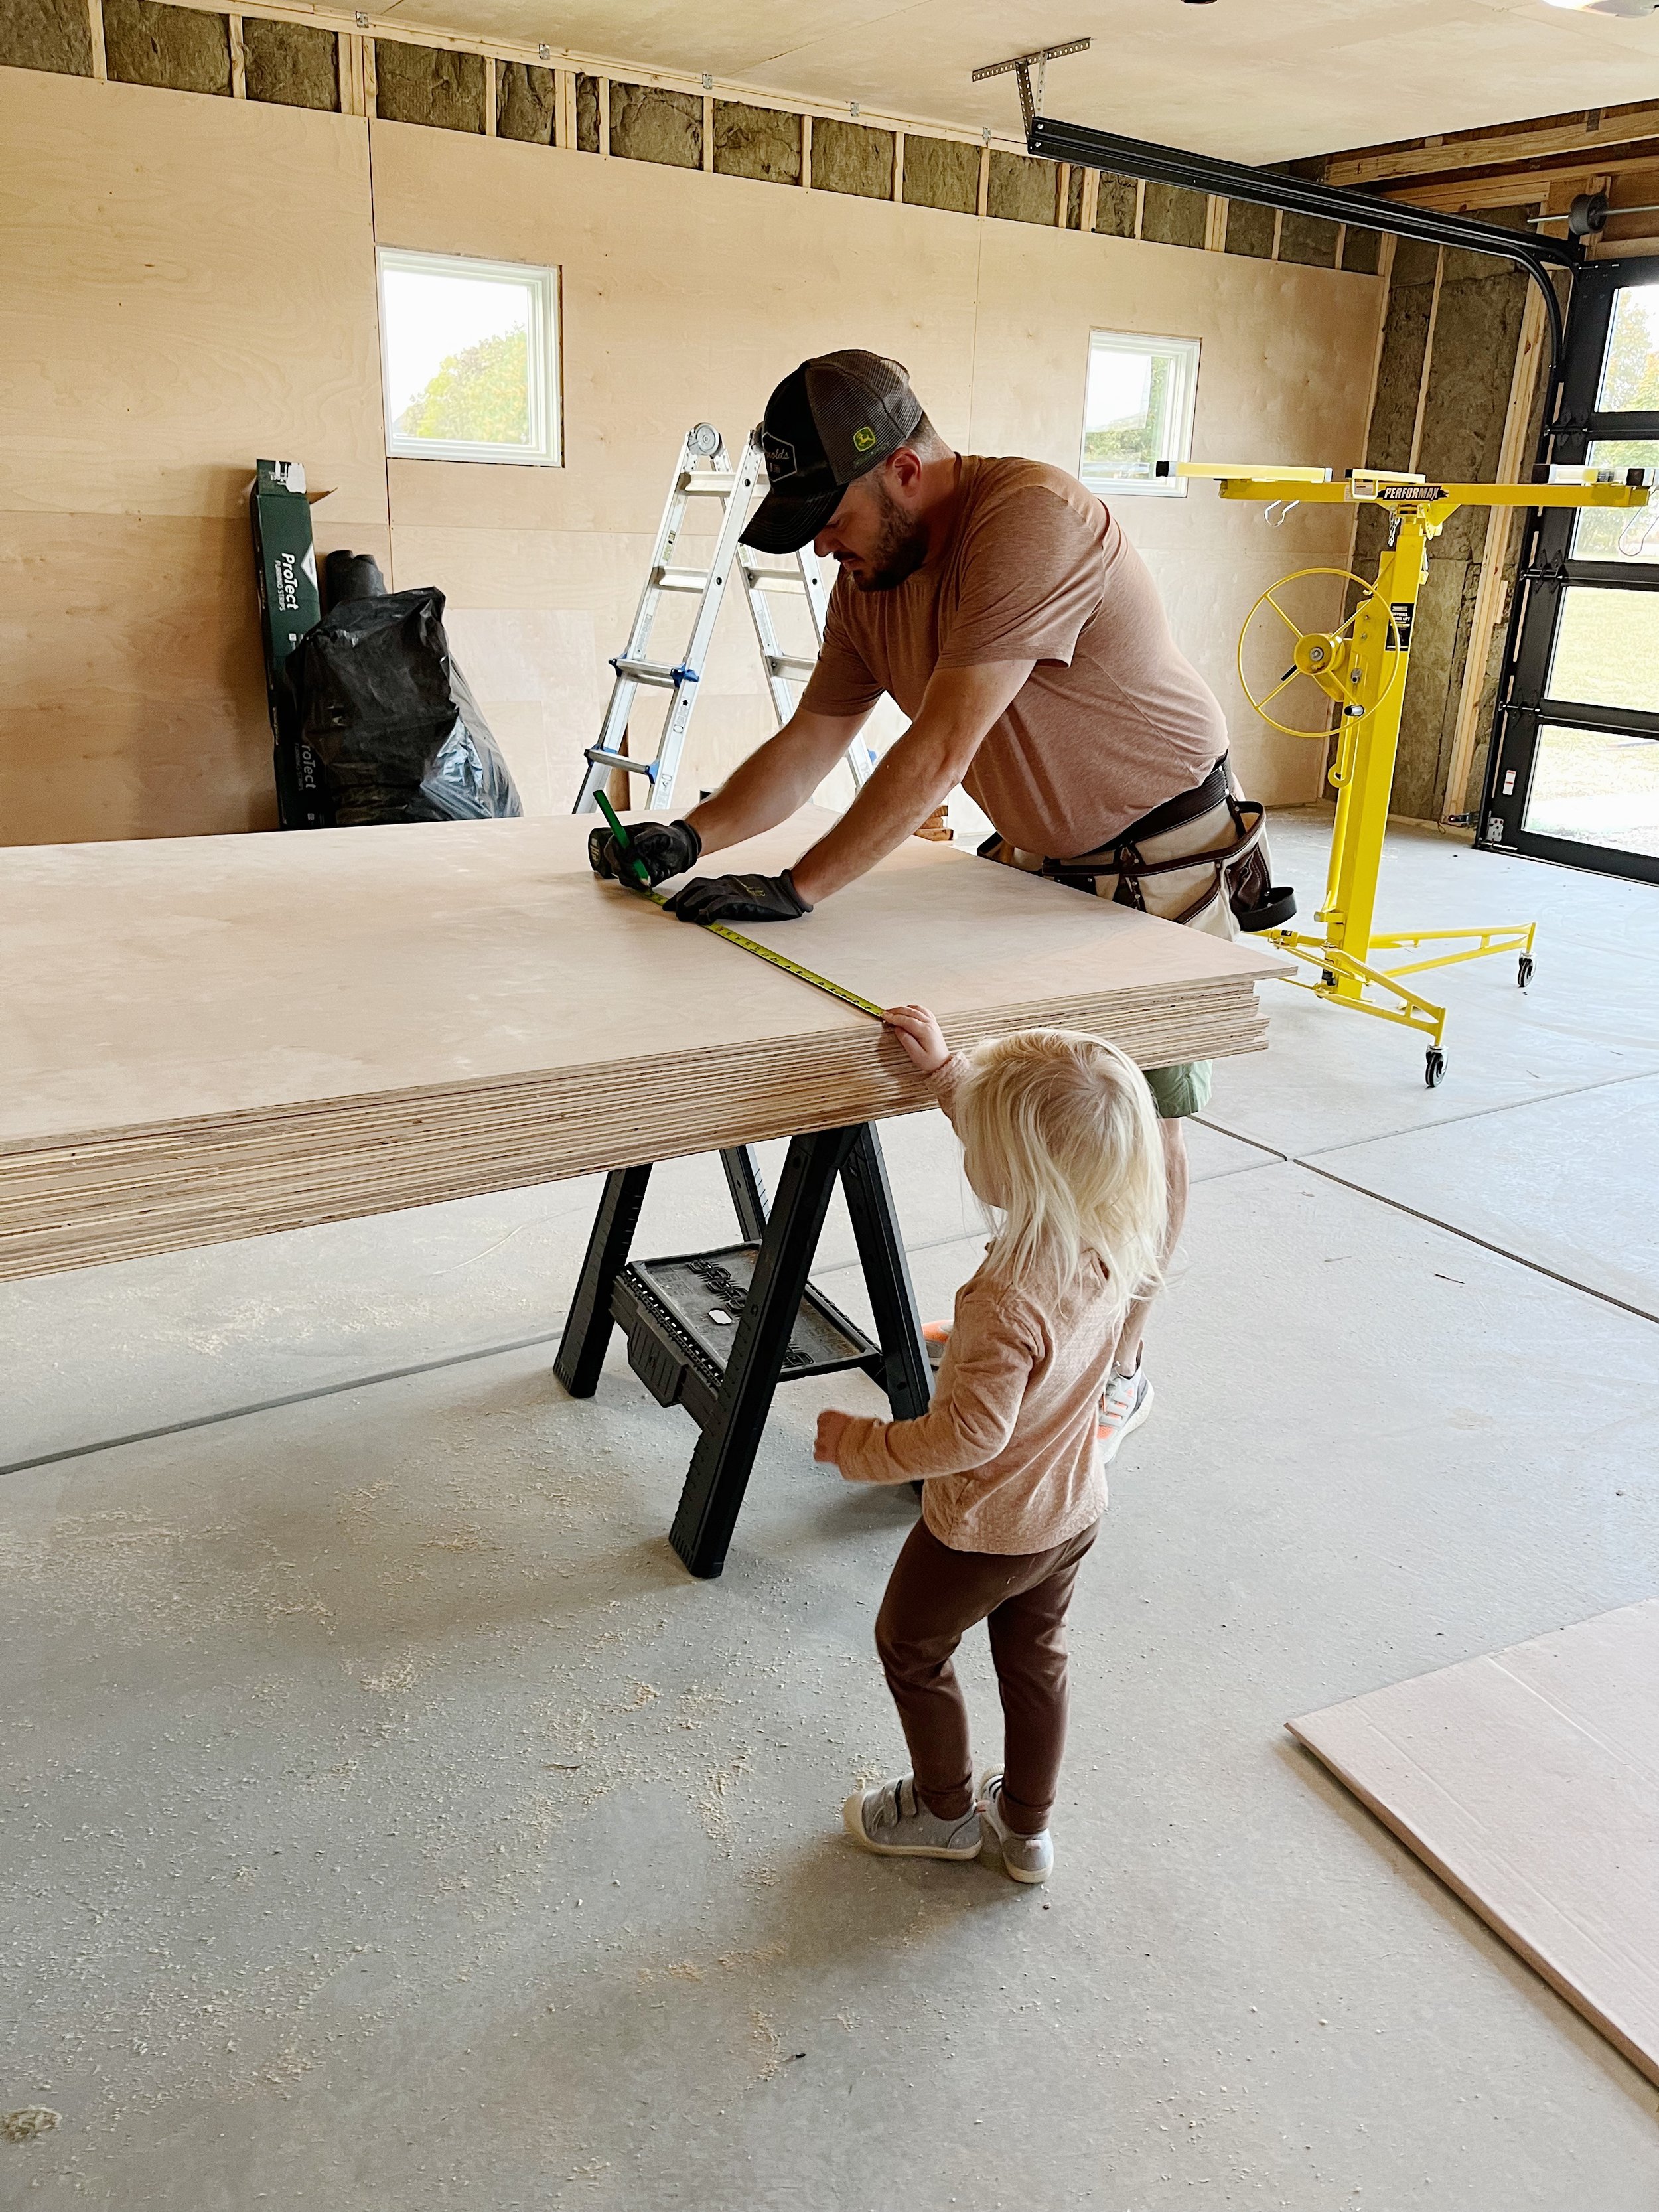
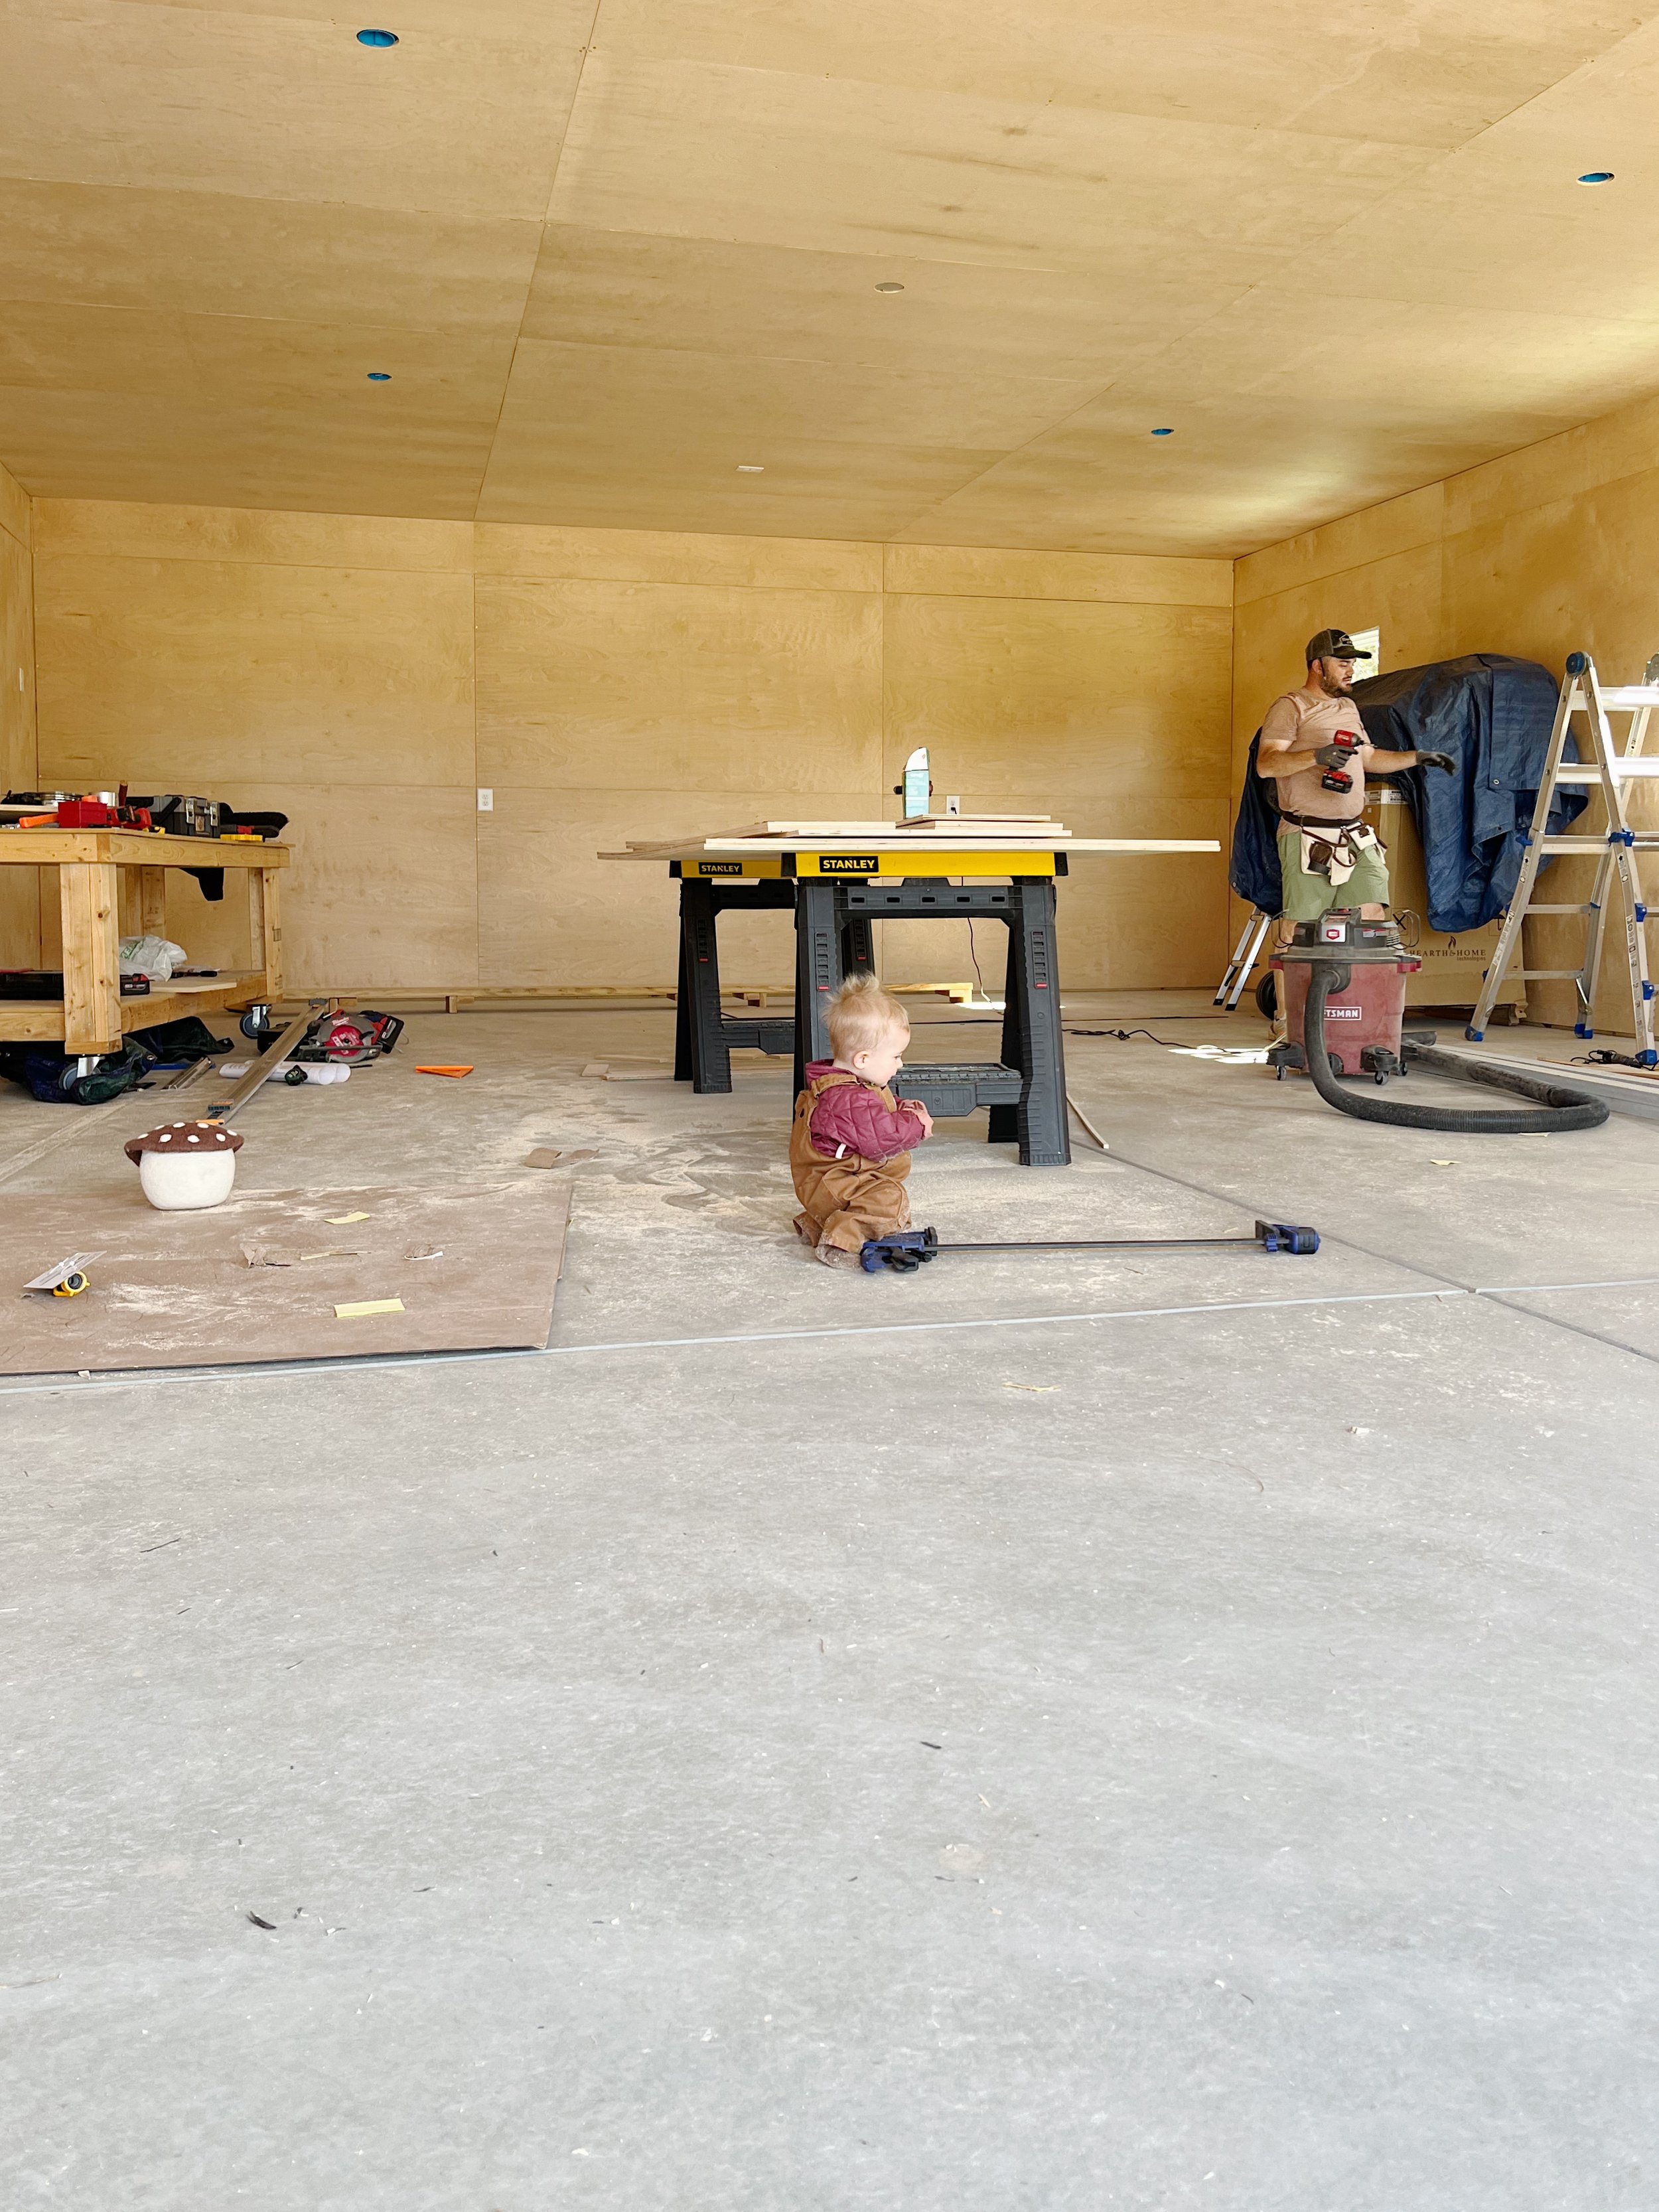
Linear Lights - Tyler plans to utilize the back of the barn for a woodworking shop, so we wanted to ensure he had plenty of great light back there. He stumbled upon these linear lights online, and we knew they would be perfect. The bulb color is adjustable (3000K up to 5000K). We bought the flat mount kits to go along with them for a super streamlined look, but you can also suspend them from the provided wire, if you prefer.
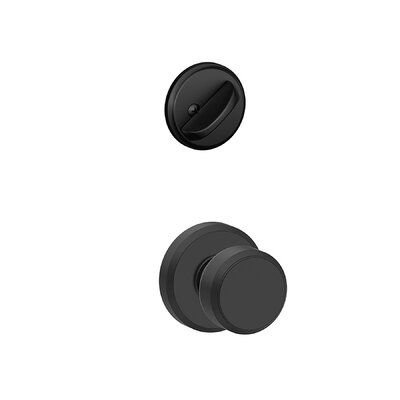
Door Knob - We used the same Schlage Bowery Collection hardware as we did on the house. We’ve been really happy with how it has held up over time.
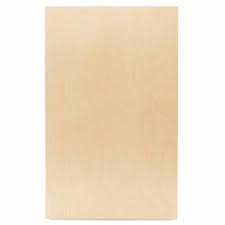
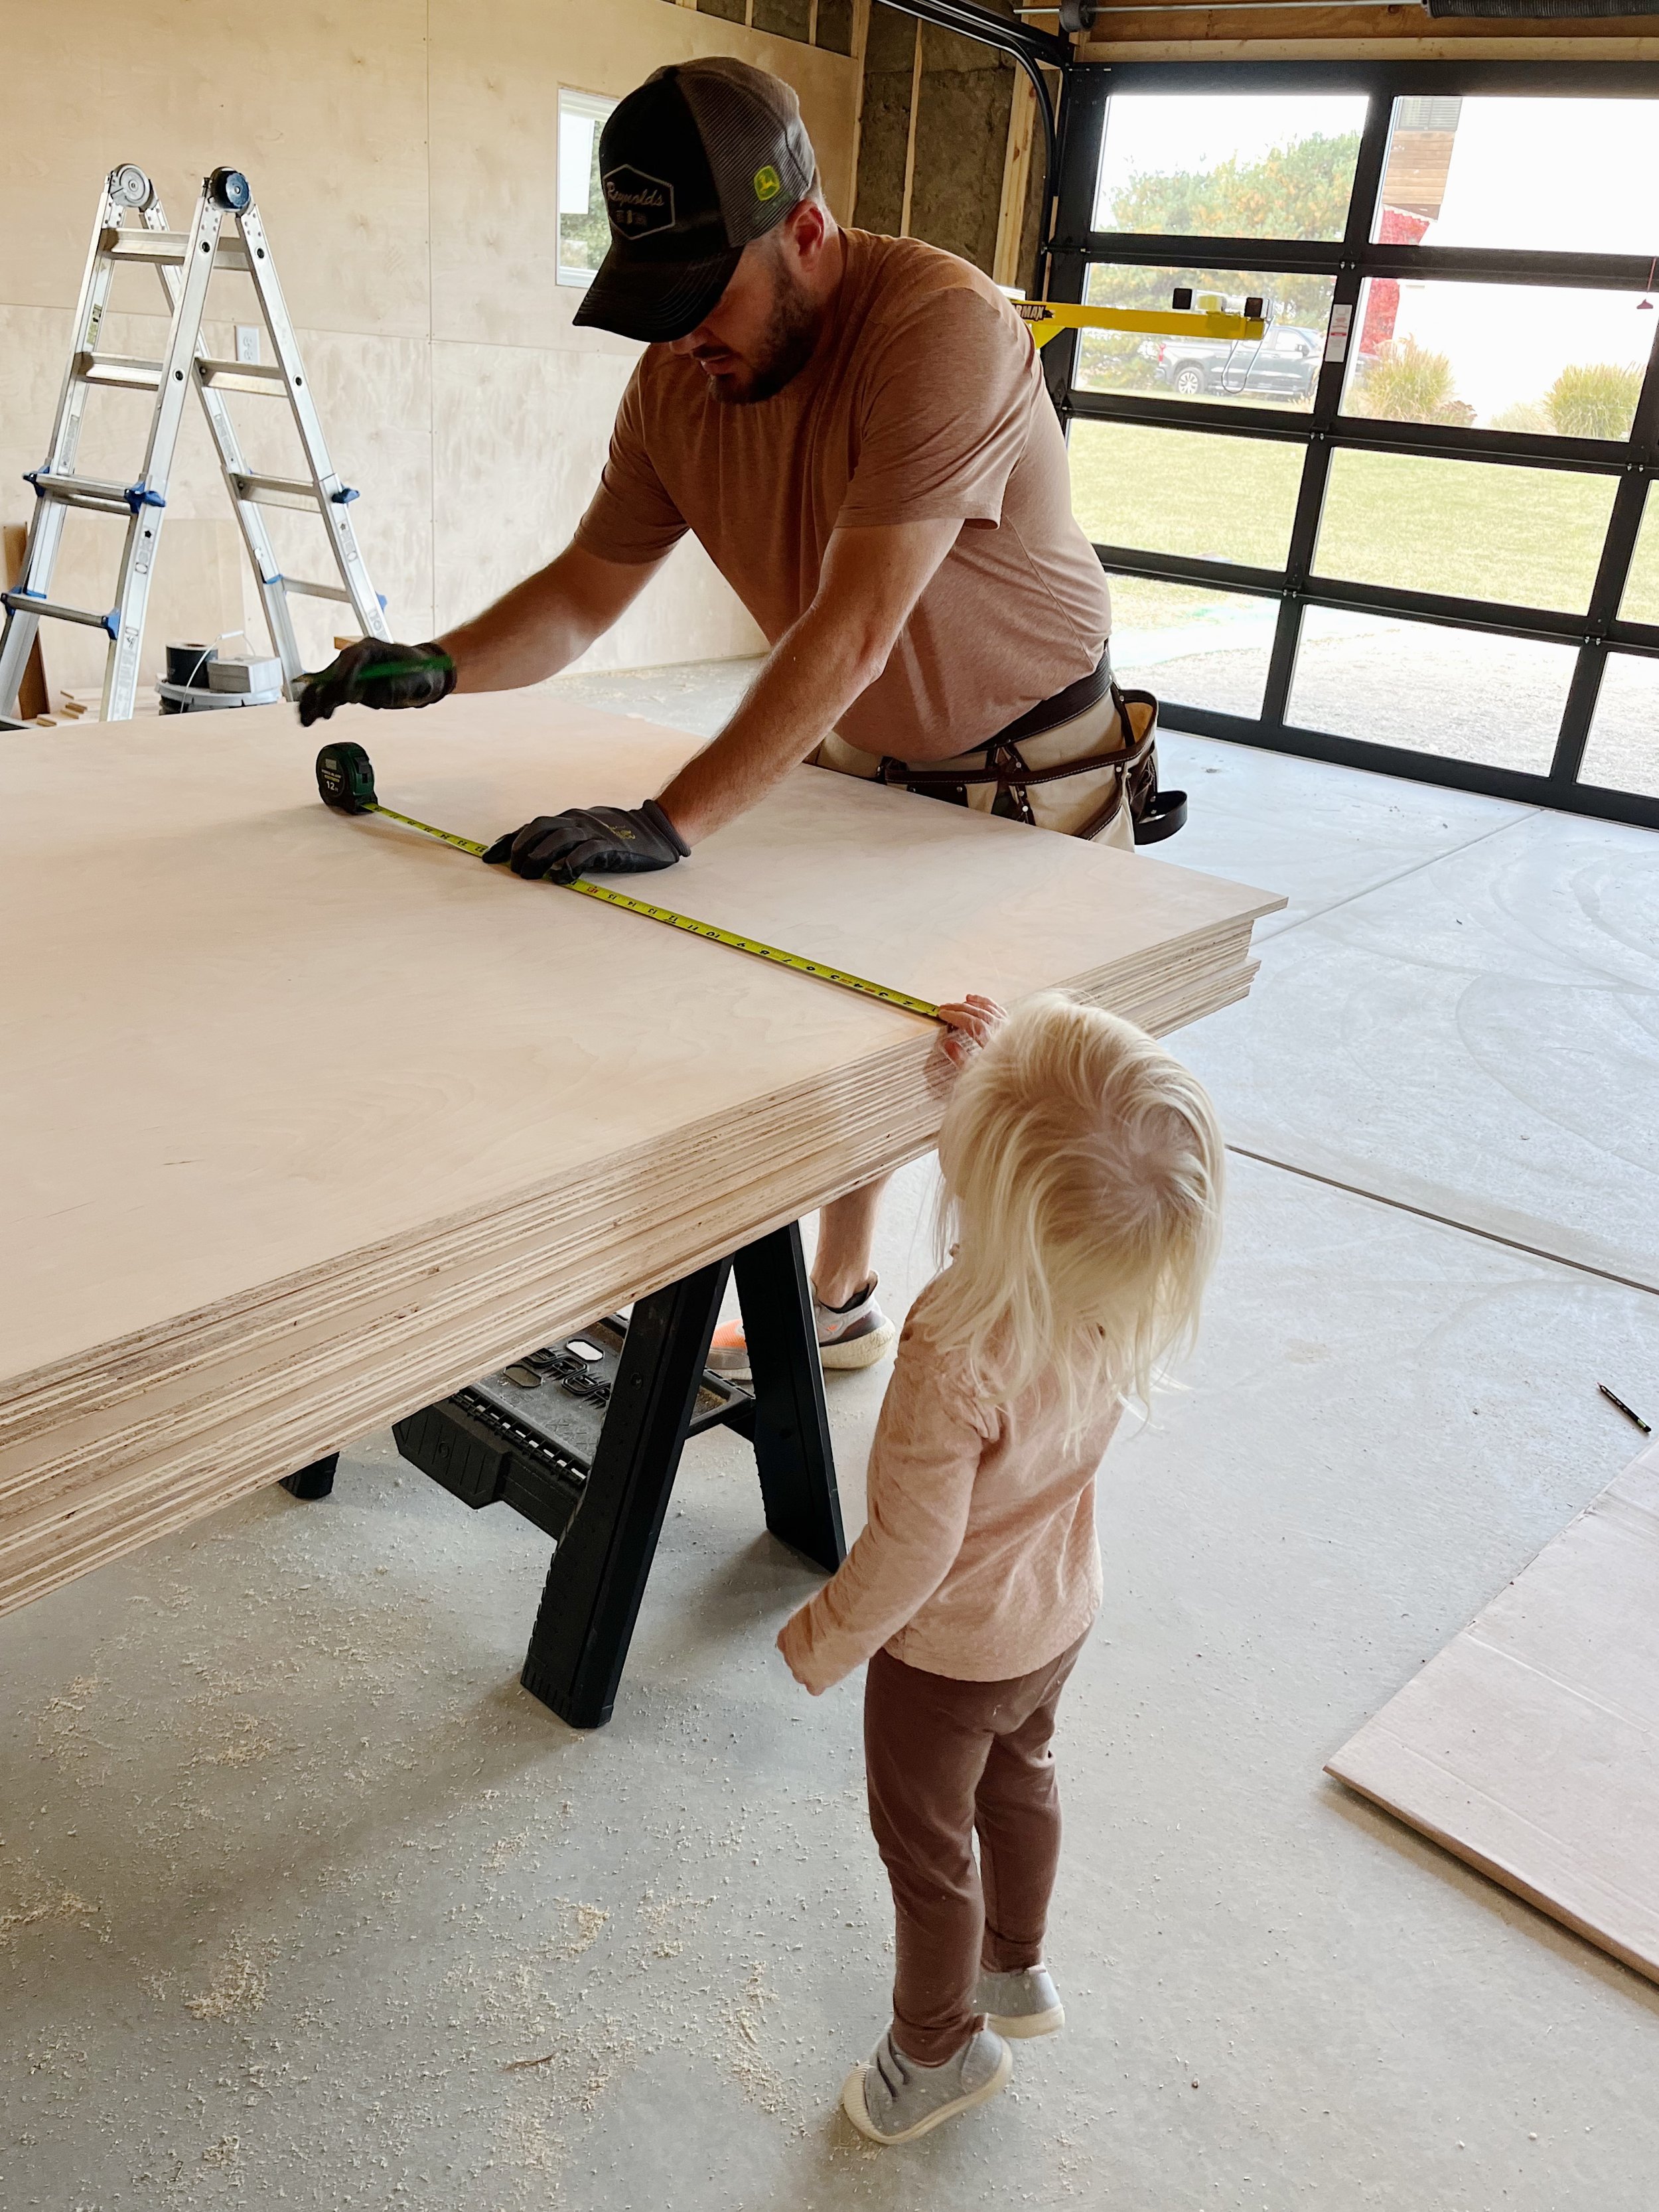
1/2” Birch Plywood - We sourced the interior cladding from a local sawmill. It actually isn’t super high grade plywood but it does have a clean look and feel. We used plywood instead of drywall because we didn’t want the space to feel too finished or perfect. Plywood is also MUCH easier to DIY. Drywall takes a serious skill! Plywood is great because should we ever need to take a panel down for any reason, we just have to take out the screws and we’re good to go. It’s perfect for a space like this. I love that the exterior of the barn is dark and moody while the inside is warm and inviting - yet ready to get dusty and dirty! It is a barn, after all.
Wood Windows - We used the same aluminum clad wood windows and doors from Pella as we did on the house.
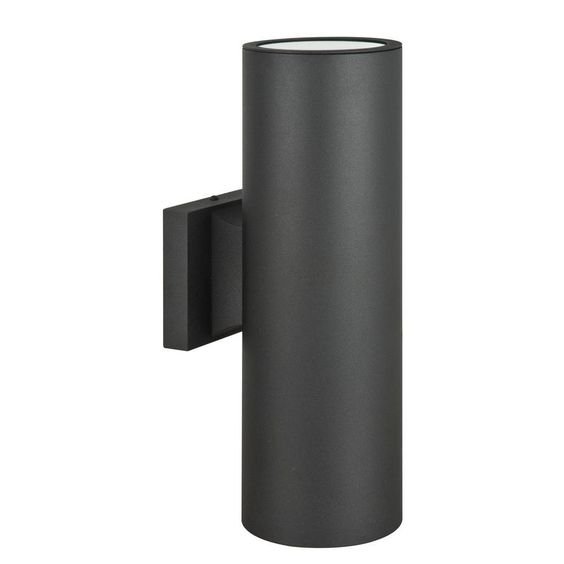
Exterior Lights - We originally intended to match the same exterior lights we used on the house and garage, but they’re no longer sold. These are nearly identical, though. I’d say they are slightly bigger (circumference) and maybe a little shinier, but I’m probably the only person that can tell the difference. Ha! I love two-directional lights outside because they provide such great light, and the price of these is spot on.
Matte Black Standing Seam Metal Roof - We were adamant about using a standing seam metal roof when we originally built our home, and I knew we would do the same with the barn. They hold up forever and look great. We used matte black this time with black gutters to match. We worked with a company in a super small town near where we grew up (the same that did our house/garage) which proved to be WAY cheaper than anybody in the city. They do great work, too. If you’re in the area, feel free to reach out and I can send over their contact information.
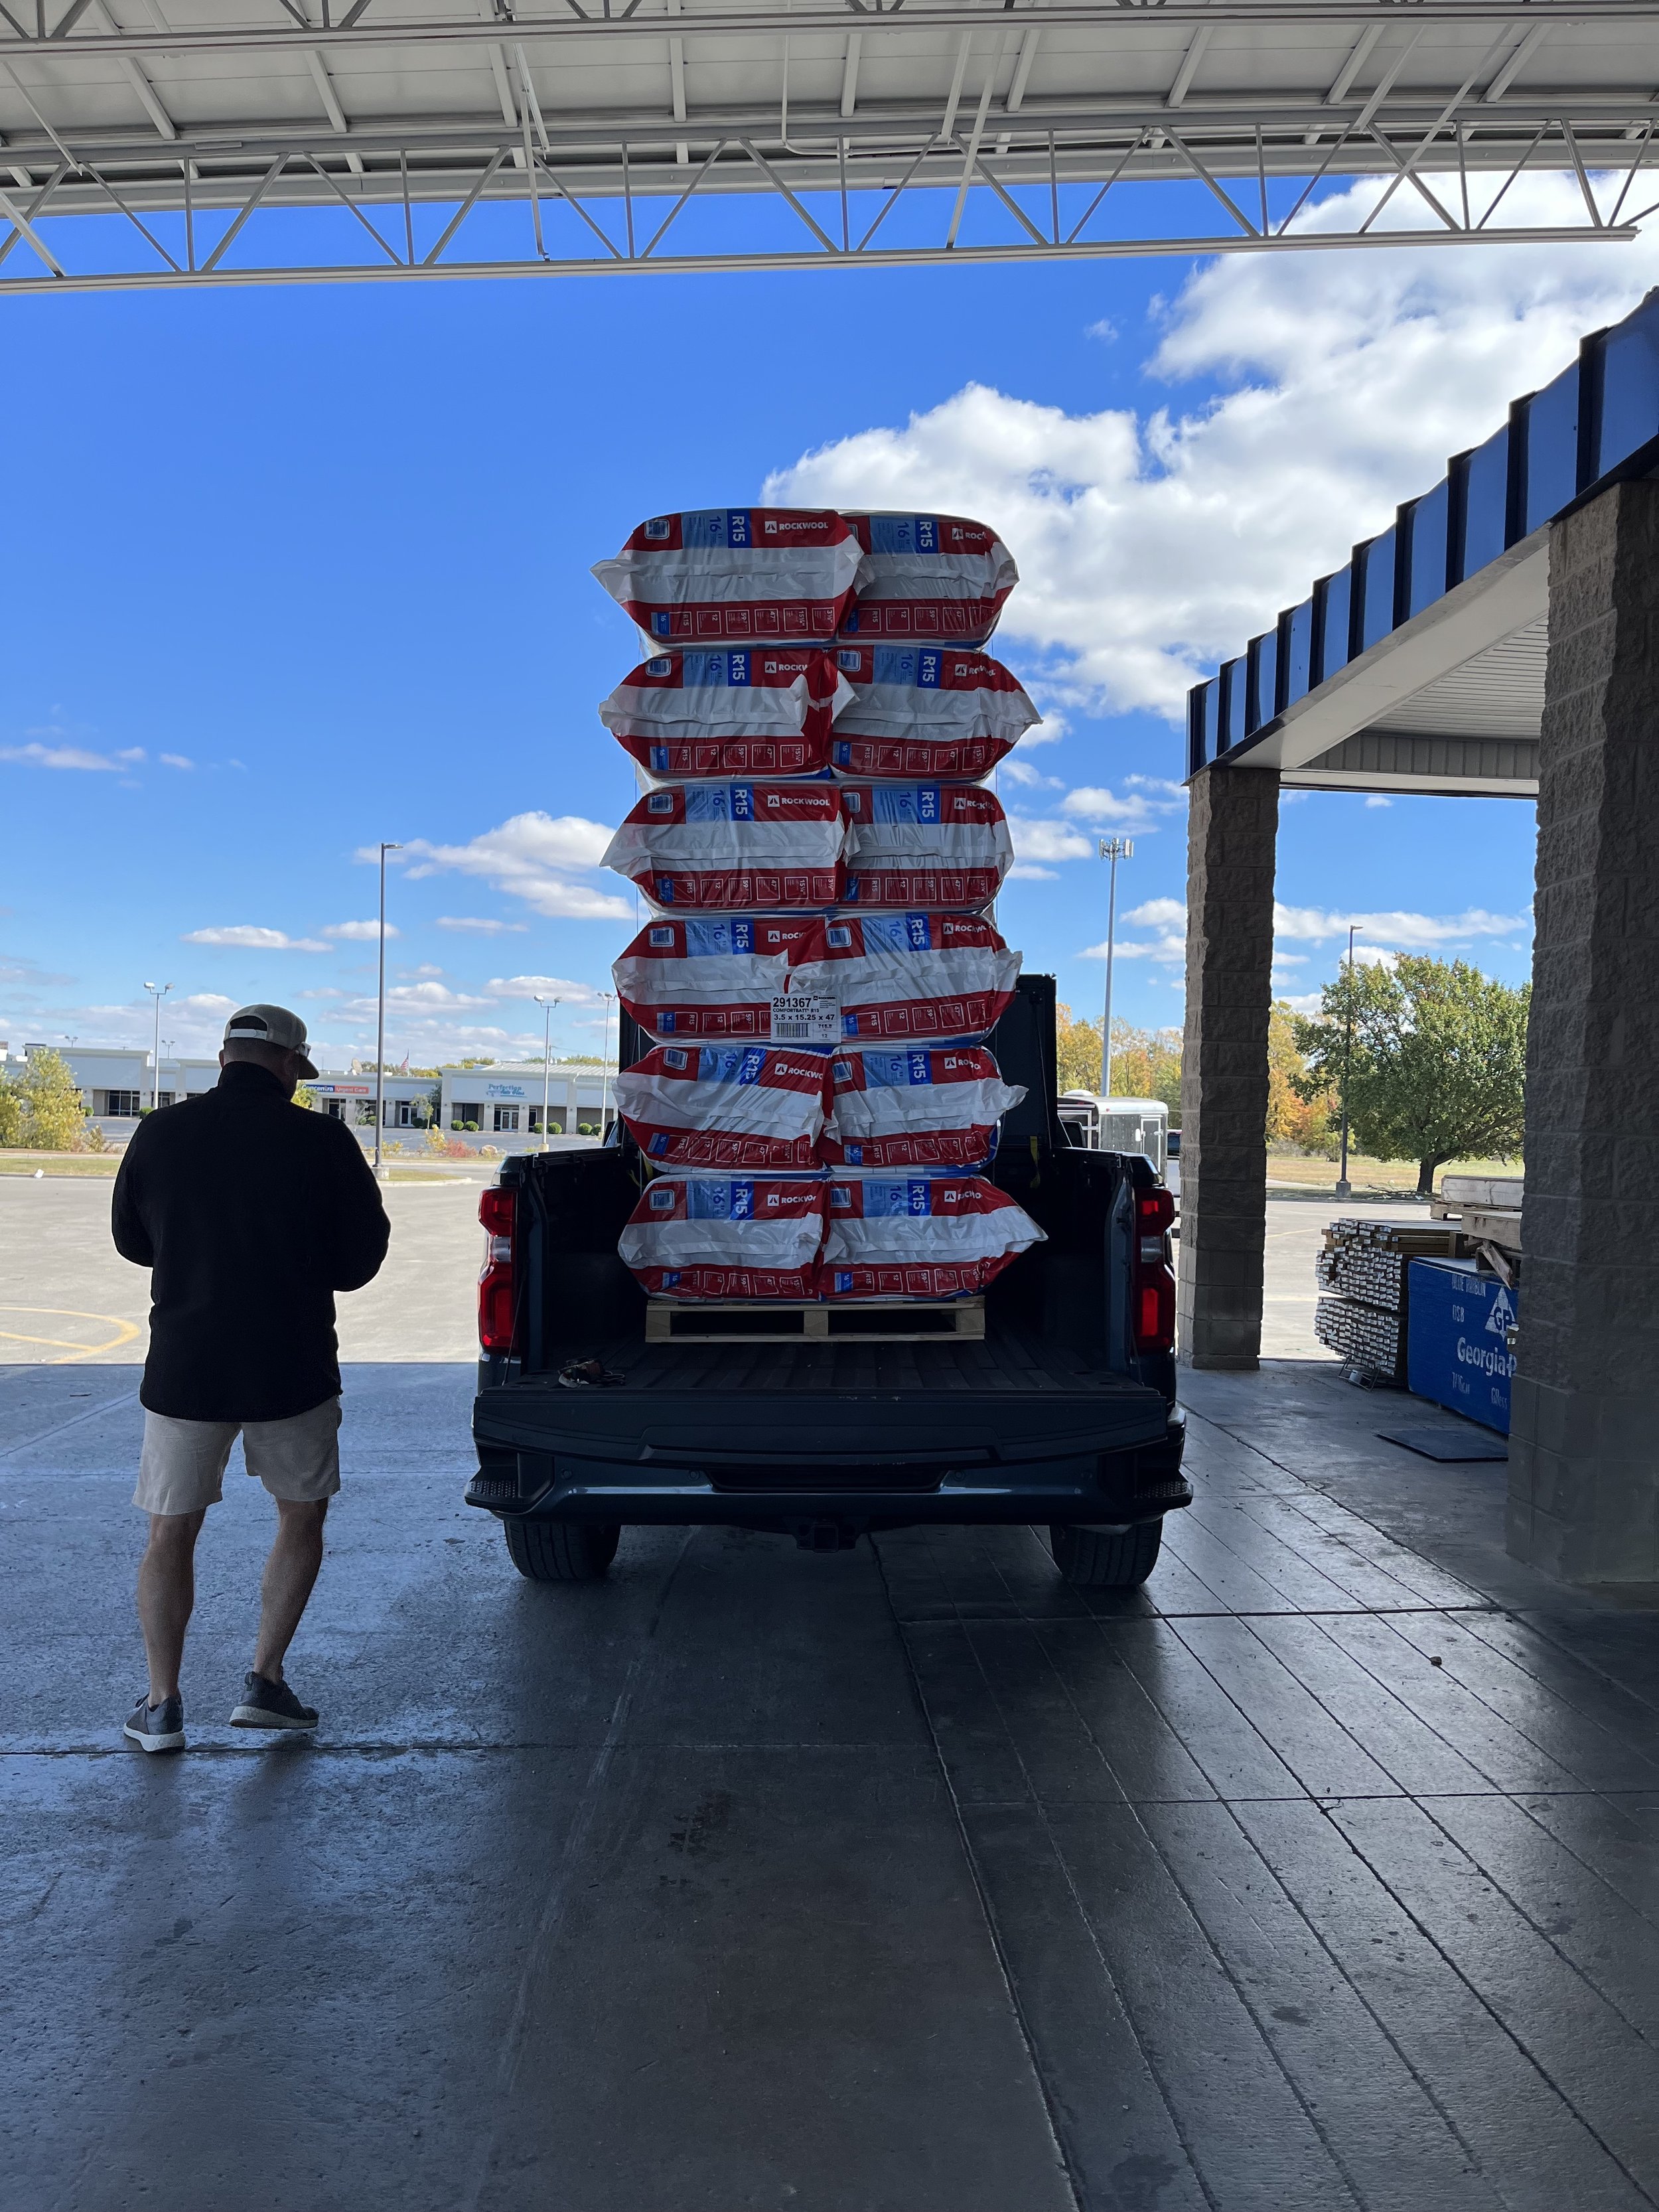
Wall Insulation - Tyler and I installed batt insulation in the walls, and it’s such an easy DIY. You simply stuff it between the joists, cutting out any sections as needed for things like outlets, lights, doors, etc. Wool insulation isn’t nearly as itchy or messy as fiberglass.
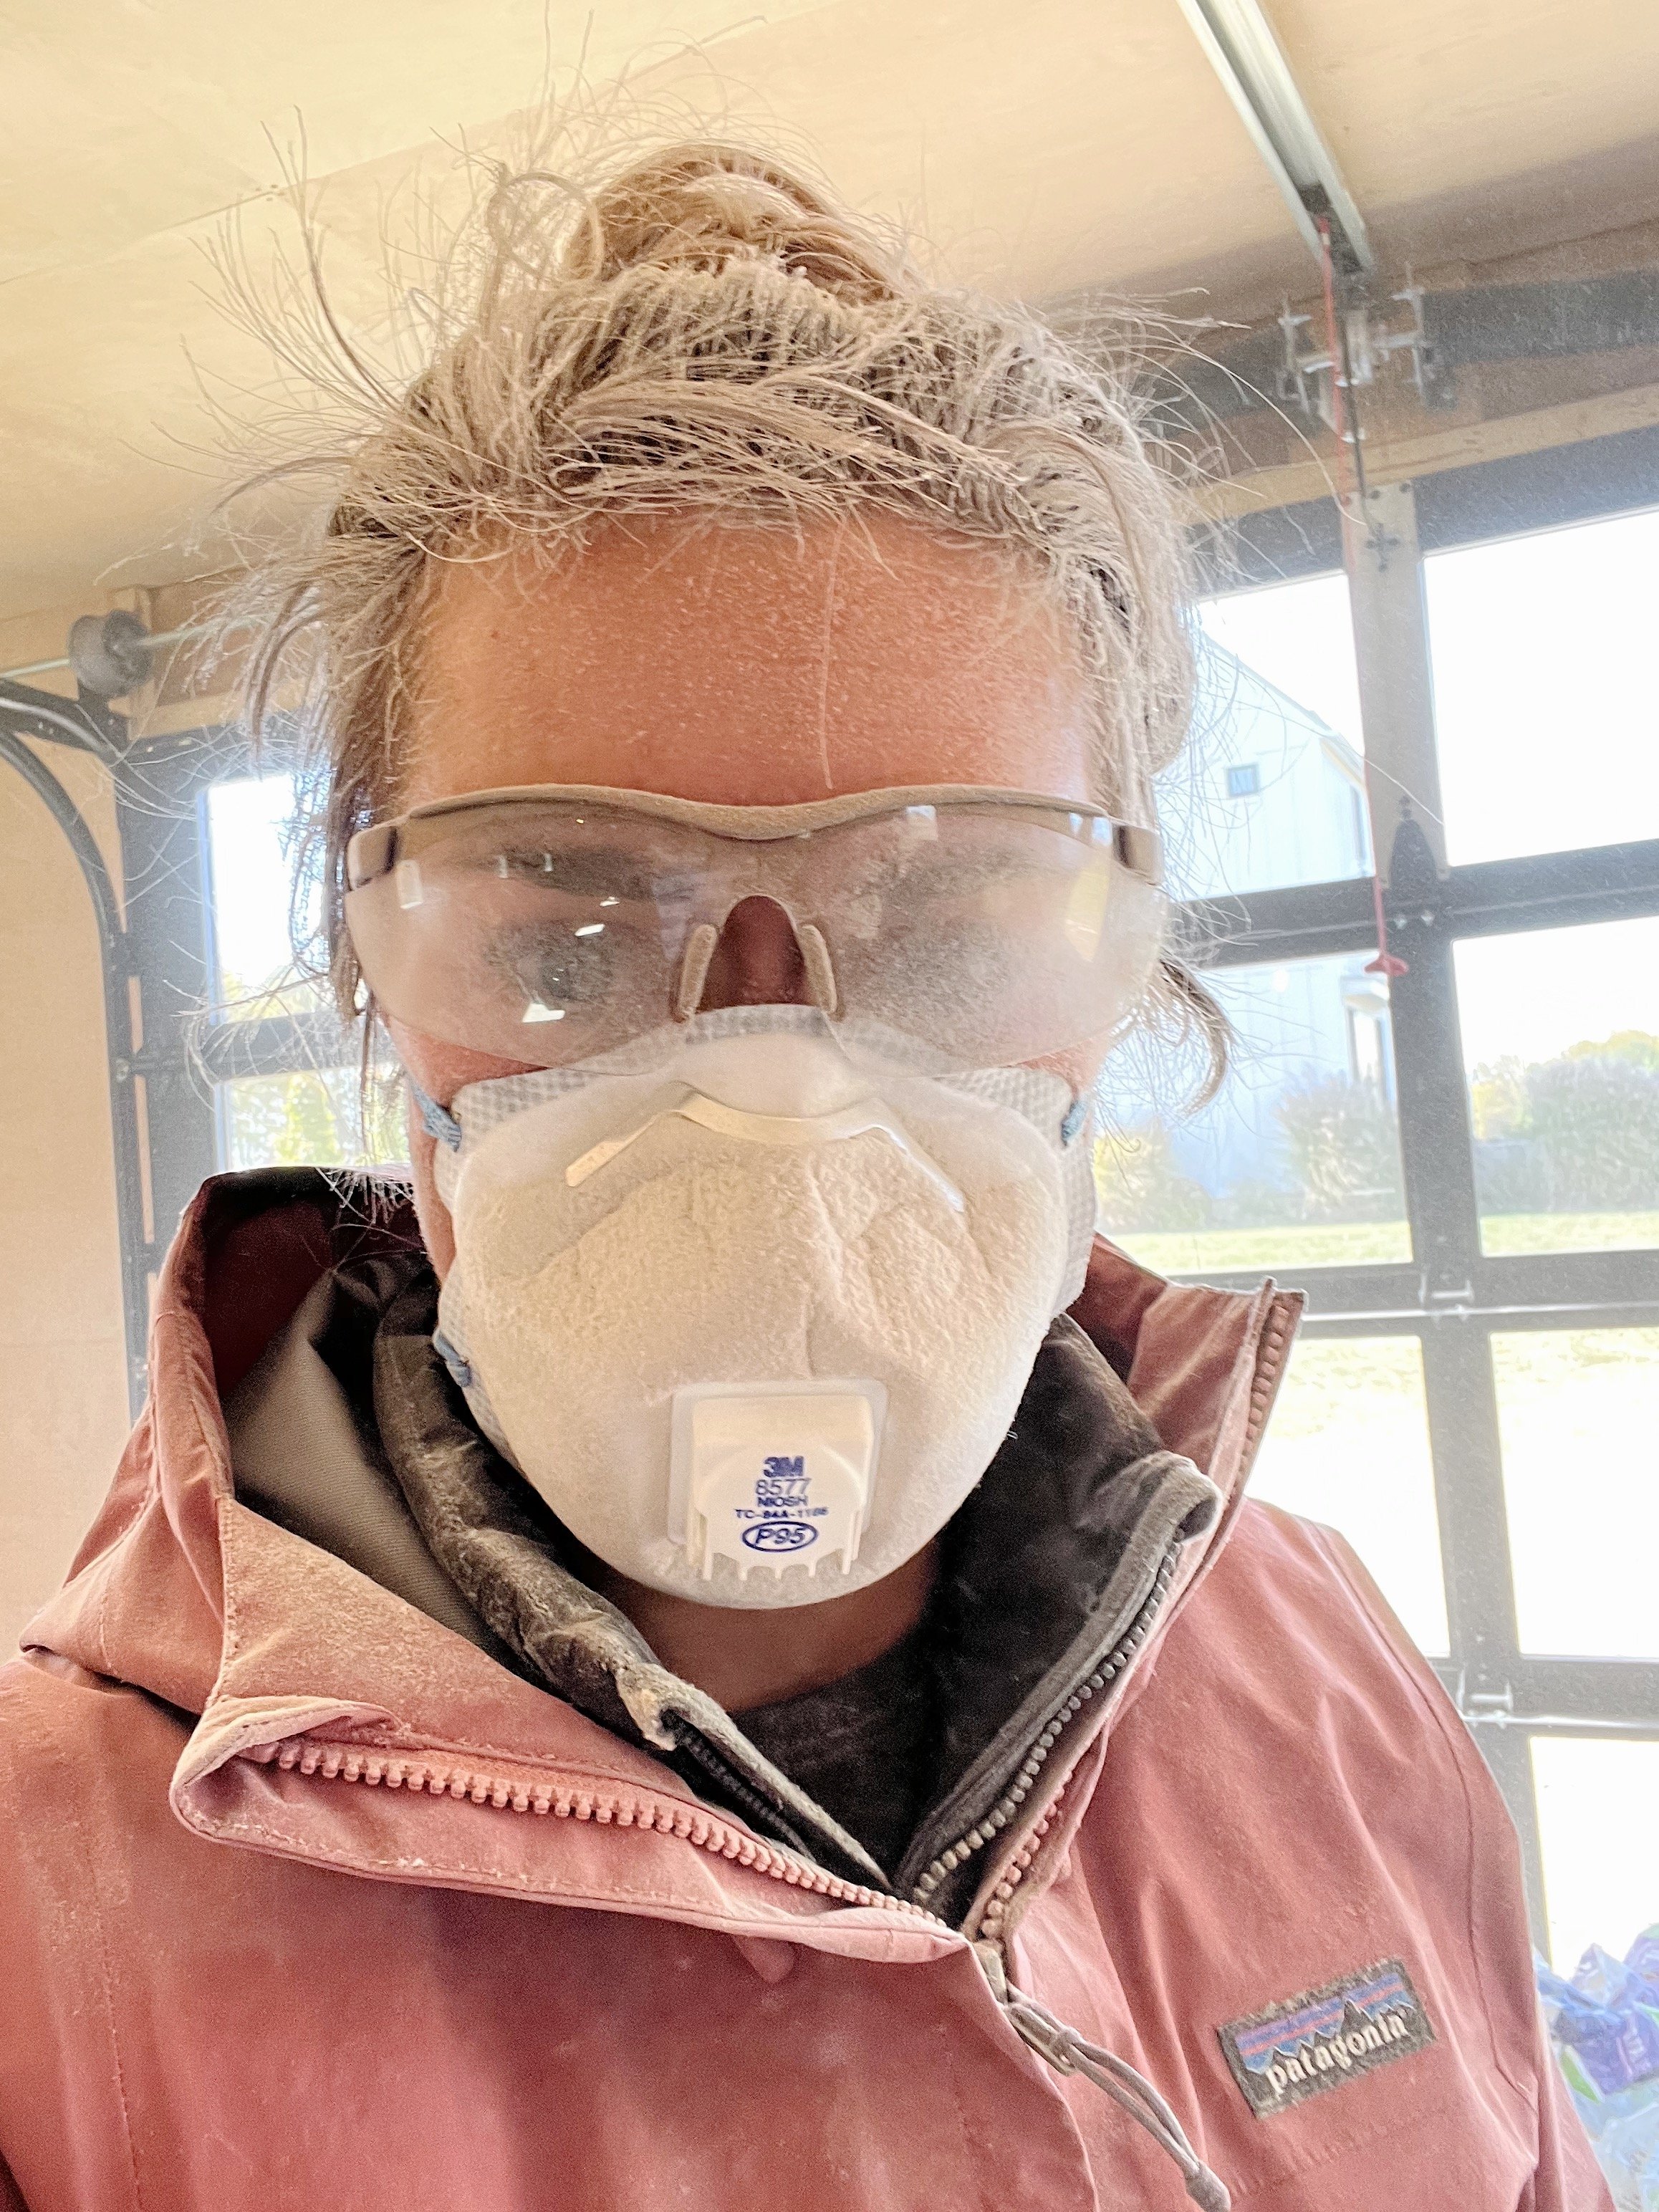
Attic Insulation - Tyler and I also DIY’d the attic insulation, but IT WAS TERRIBLE. Honestly. It’s not hard, but YUCK. We rented a machine to blow it into the attic, and it was the filthiest job I’ve ever done. It saved us money, sure, but I would totally pay to have it done in hindsight.
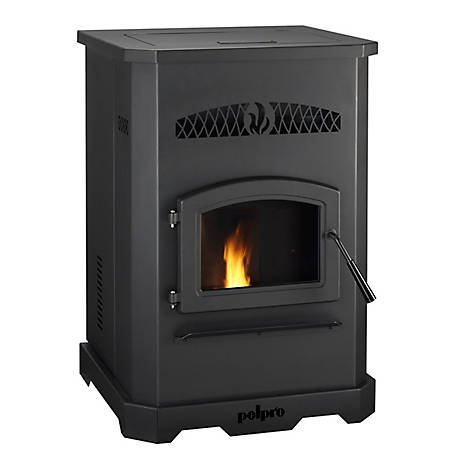
Pellet Stove - Although this space isn’t for “living” purposes, we do intend to use it year round for all sorts of things. We wanted it to be comfortable, regardless of season. That means we needed a heat source but we didn’t want to run gas or 220 electricity. A pellet stove was a great compromise. They’re incredibly efficient and simple. Tyler chose this particular model because it had a really big hopper; meaning we don’t have to refill it constantly. For reference, a 40-lb bag of pellets costs $5 in our area.


F A Q
How much did it cost and/or cost per sqft?
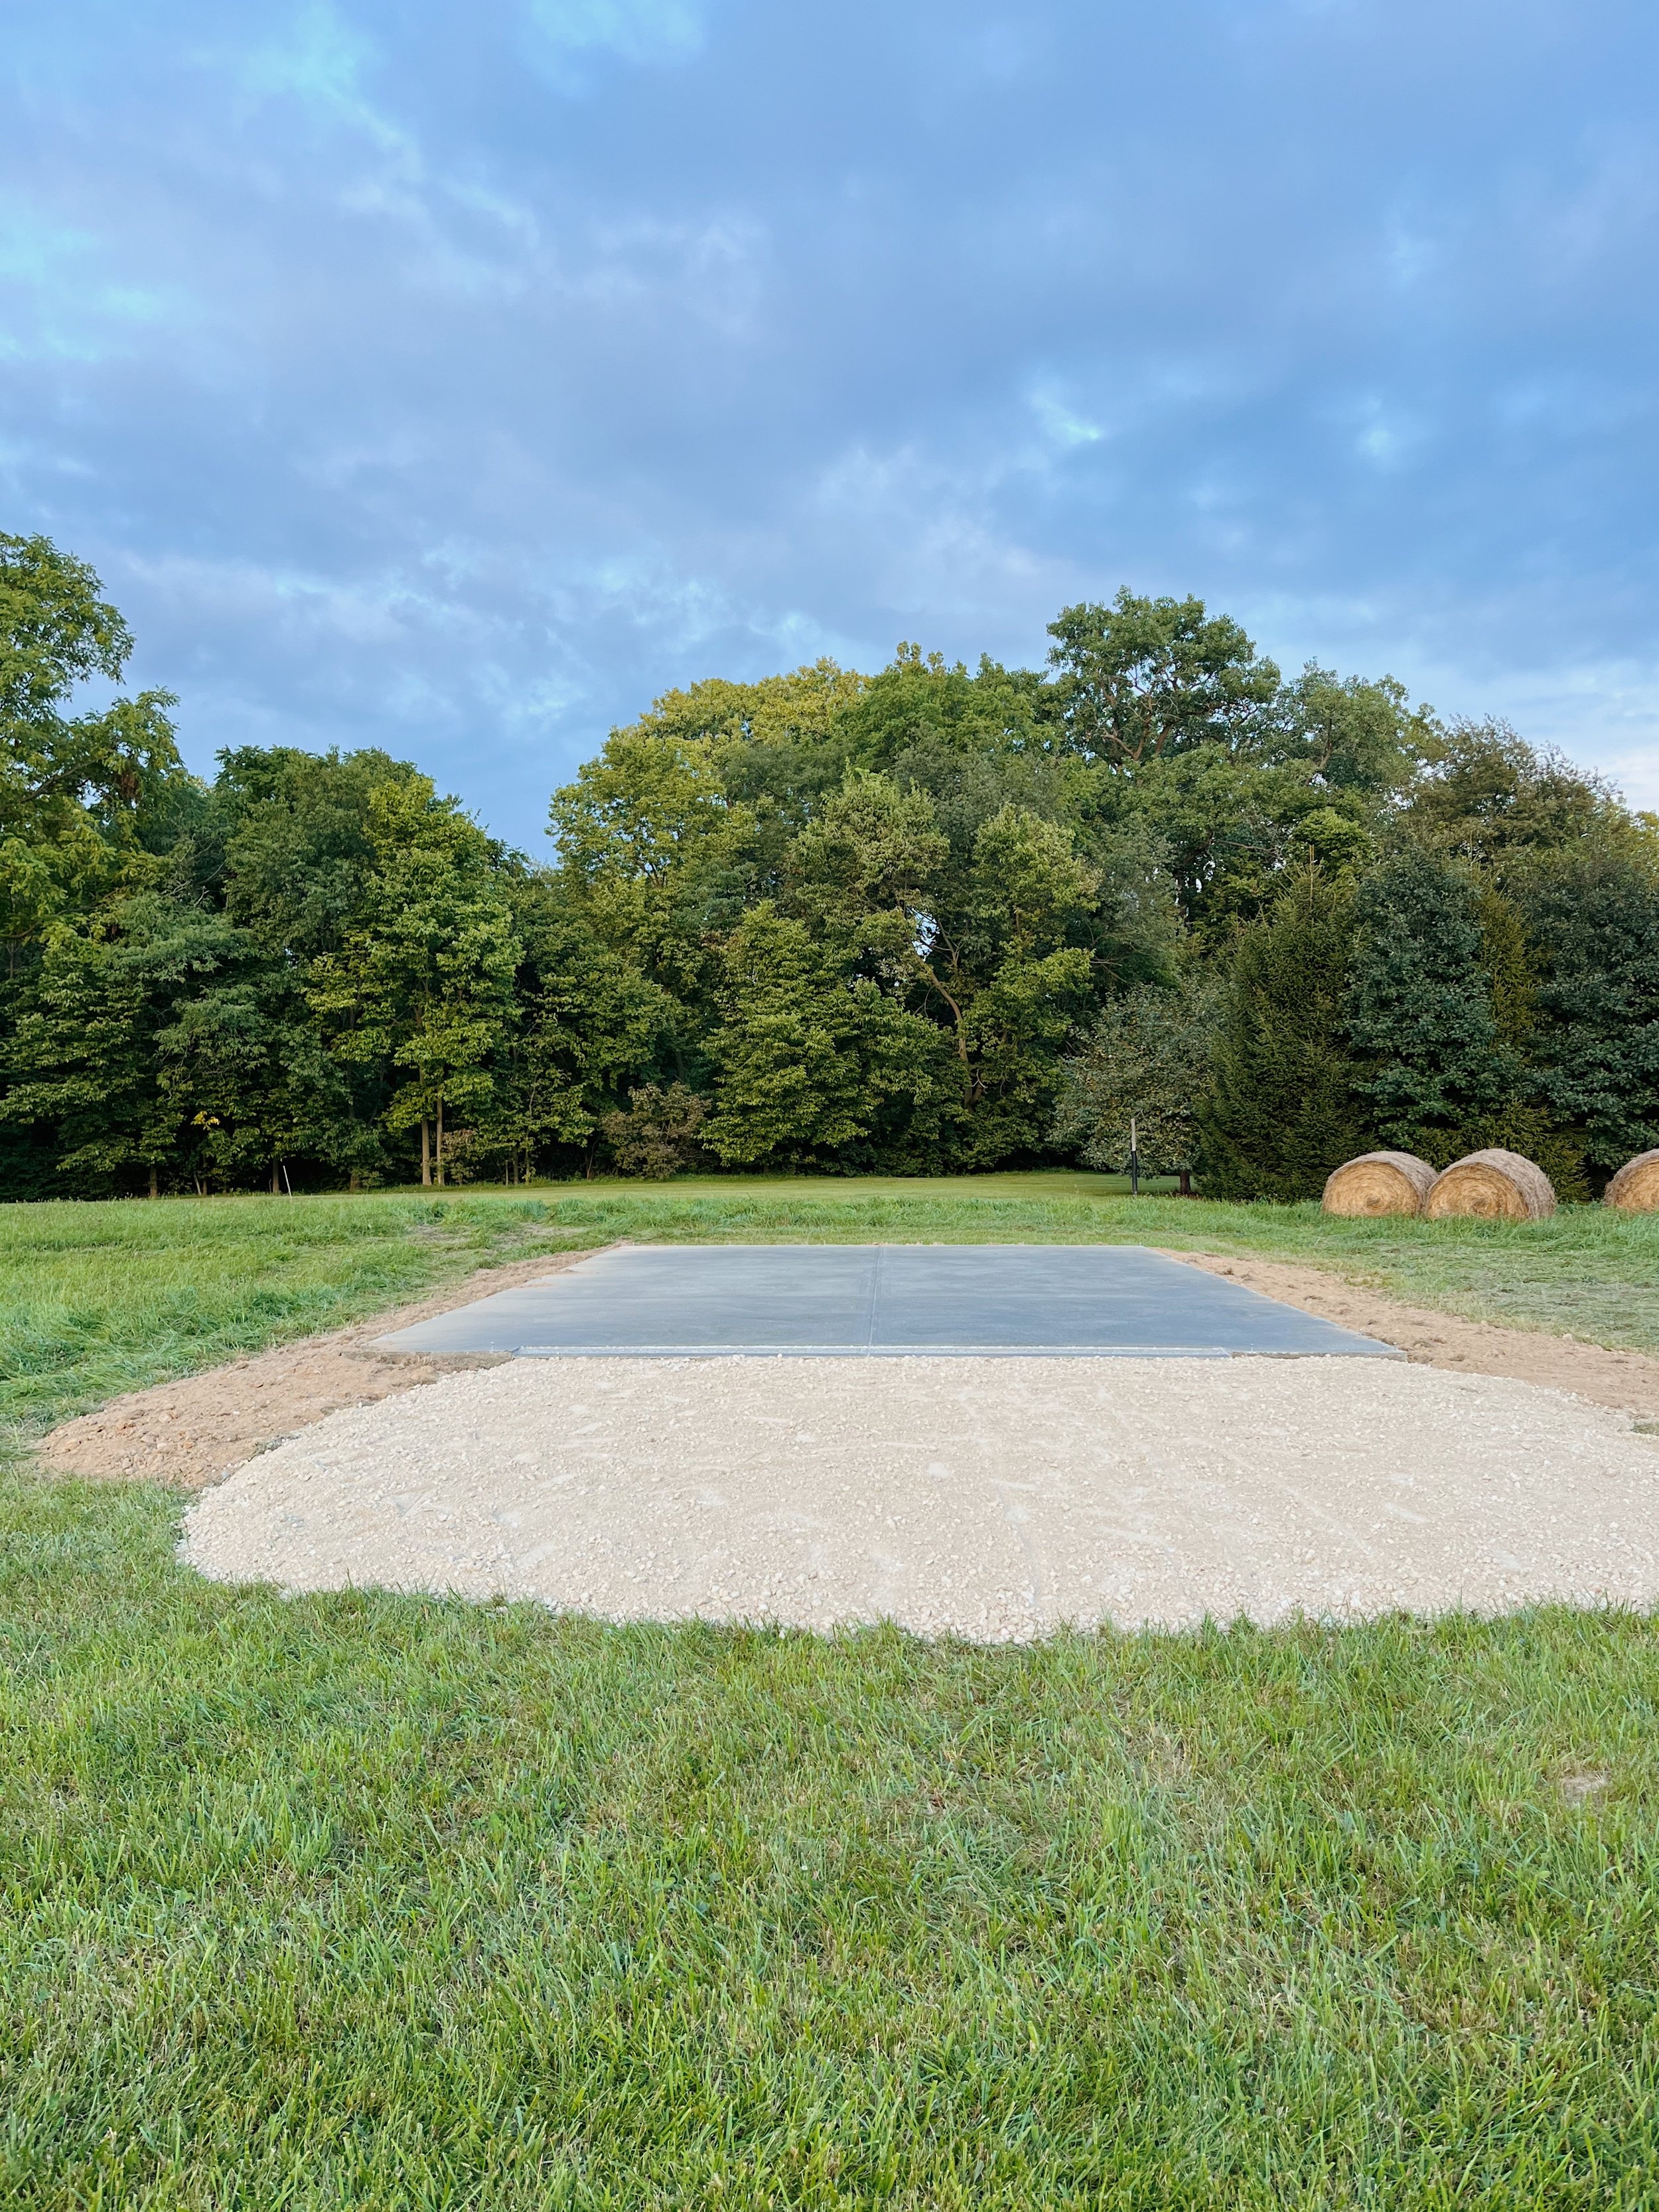
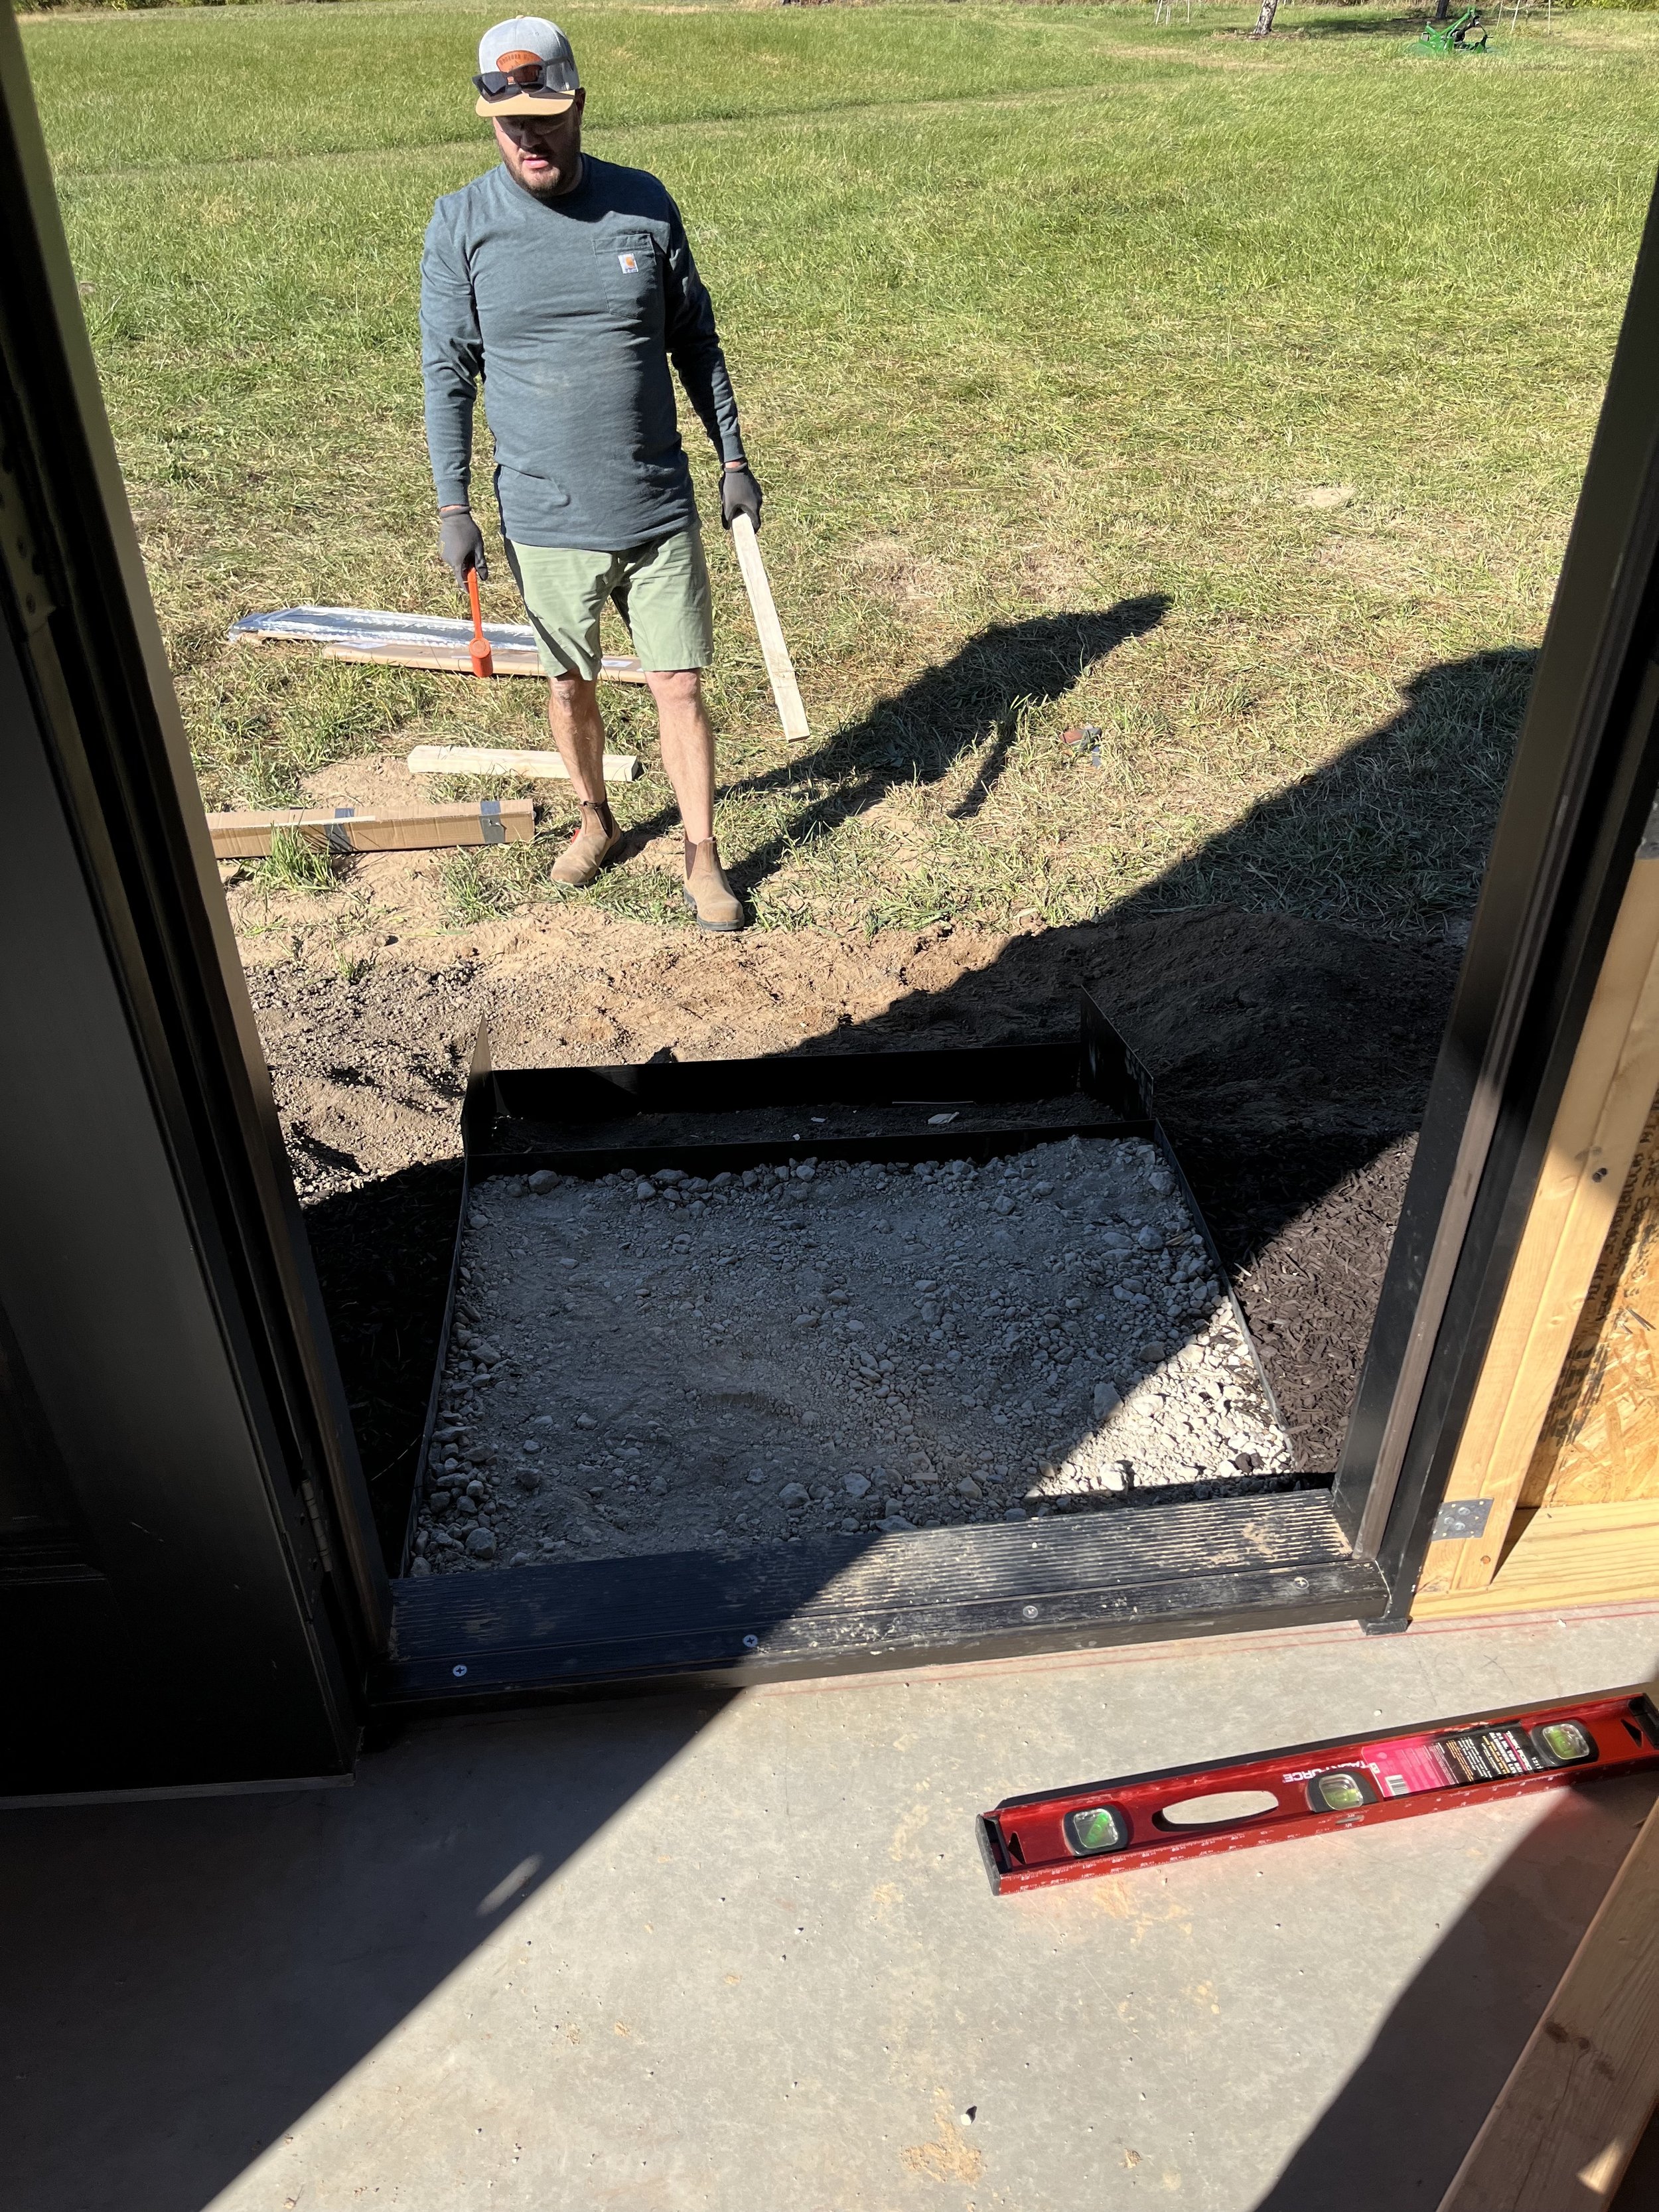
The age old question. The cost to build the barn was right around $120K. This does NOT include any of the inside finishings or landscaping, but it is the total cost to build the structure, concrete, stone, windows, doors, siding, gutters, roof, run electricity, etc. It also includes the fee we paid our builder to manage the entire project.
Cost was one of our biggest setbacks, time and time again. We considered a ton of cheaper alternatives, but nothing felt right or provided all of our must-haves. It was shocking to see how much building prices have increased from the time we built our home in 2016/2017 to the build of the barn in 2022. Just over five years later, and our house would cost us a fortune to build again. But with all of that said, we ultimately decided this was where we wanted to spend our money. It was really important to us that if we were going to do it, that we would do it right. It was worth every single penny.
What will the barn be used for?
Primarily storage for equipment to take care of our property (tractor, chainsaws, pressure washer, etc.) and Tyler’s Dad’s vintage car, but Tyler will also have a woodworking shop in the back.
Do you have any plans to utilize the attic/rafter space?
No, we don’t plan to utilize the rafter space for anything other than insulation. The trusses we used wouldn’t allow for a “livable” space, but we also didn’t want one. On top of that, I never want to own enough stuff to NEED to use it for storage. Ha! The high pitch roof was a nonnegotiable from the start. It’s a huge reason we didn’t go with a pole barn. It’s a 12:12 and matches our existing home and garage. It’s a very traditional high pitch for a barn, but we never had intentions of utilizing the space - we don’t in our garage or home, either.
Why did you decide to go black instead of white like the house?
There’s an old barn near my parents house that I’ve always loved. It’s wood and I just love the patina of it. We went back and forth on options for a while (rusted metal was even a top contender), but the Thermory spruce cladding felt like the best of so many worlds - wood grain, nice dark contrast to the house, and a product that is rot resistant and durable.
It’s very uncommon around here to see an old barn that matches the home. They’re almost always wood, often painted red. We never wanted the barn to match our house. We wanted it to be obvious that it is a separate structure while complimenting the entire property.

Barn near my childhood home that I’ve always loved and used as inspiration for our build.
Why wood siding versus LP (engineered wood)?
We actually originally planned to use Hardie Board siding and paint it, just like we did on the garage and house, because we assumed it would be our cheapest option, but our builder recommended we look into Thermory cladding. He priced it out for us and it was only $4K-$5K more expensive, so we went for it. Because it is thermally modified using heat and steam, it is much more rot resistant and durable than the average piece of wood siding. We also installed it using a rain screen which allows air to continuously flow around the entire structure - aka, water is never sitting on the wood.
Exterior paint color and sheen?
We didn’t paint the barn (except the trim). We used thermally modified spruce cladding by Thermory.
What paint color did you use on the trim?
Sherwin Williams 6258 Tricorn Black
Why did you use a garage door you can see through?
We loved the look and the ability to get as much natural light in the space as possible. We originally discussed doing an entire wall of windows/glass on the opposite wall, but it was super expensive. This was a perfect compromise.
Our house and barn are a significant distance from the road (not heavily traveled) and the door faces our home (can’t be seen from the road or by neighbors), so we have no security concerns. We actually WANTED to be able to see inside at all times as the building has a lot of sentimental value to us, inside and out. We are planting a big oak tree in remembrance of Tyler’s Dad right outside the barn, so we want to be able to see it at all times.
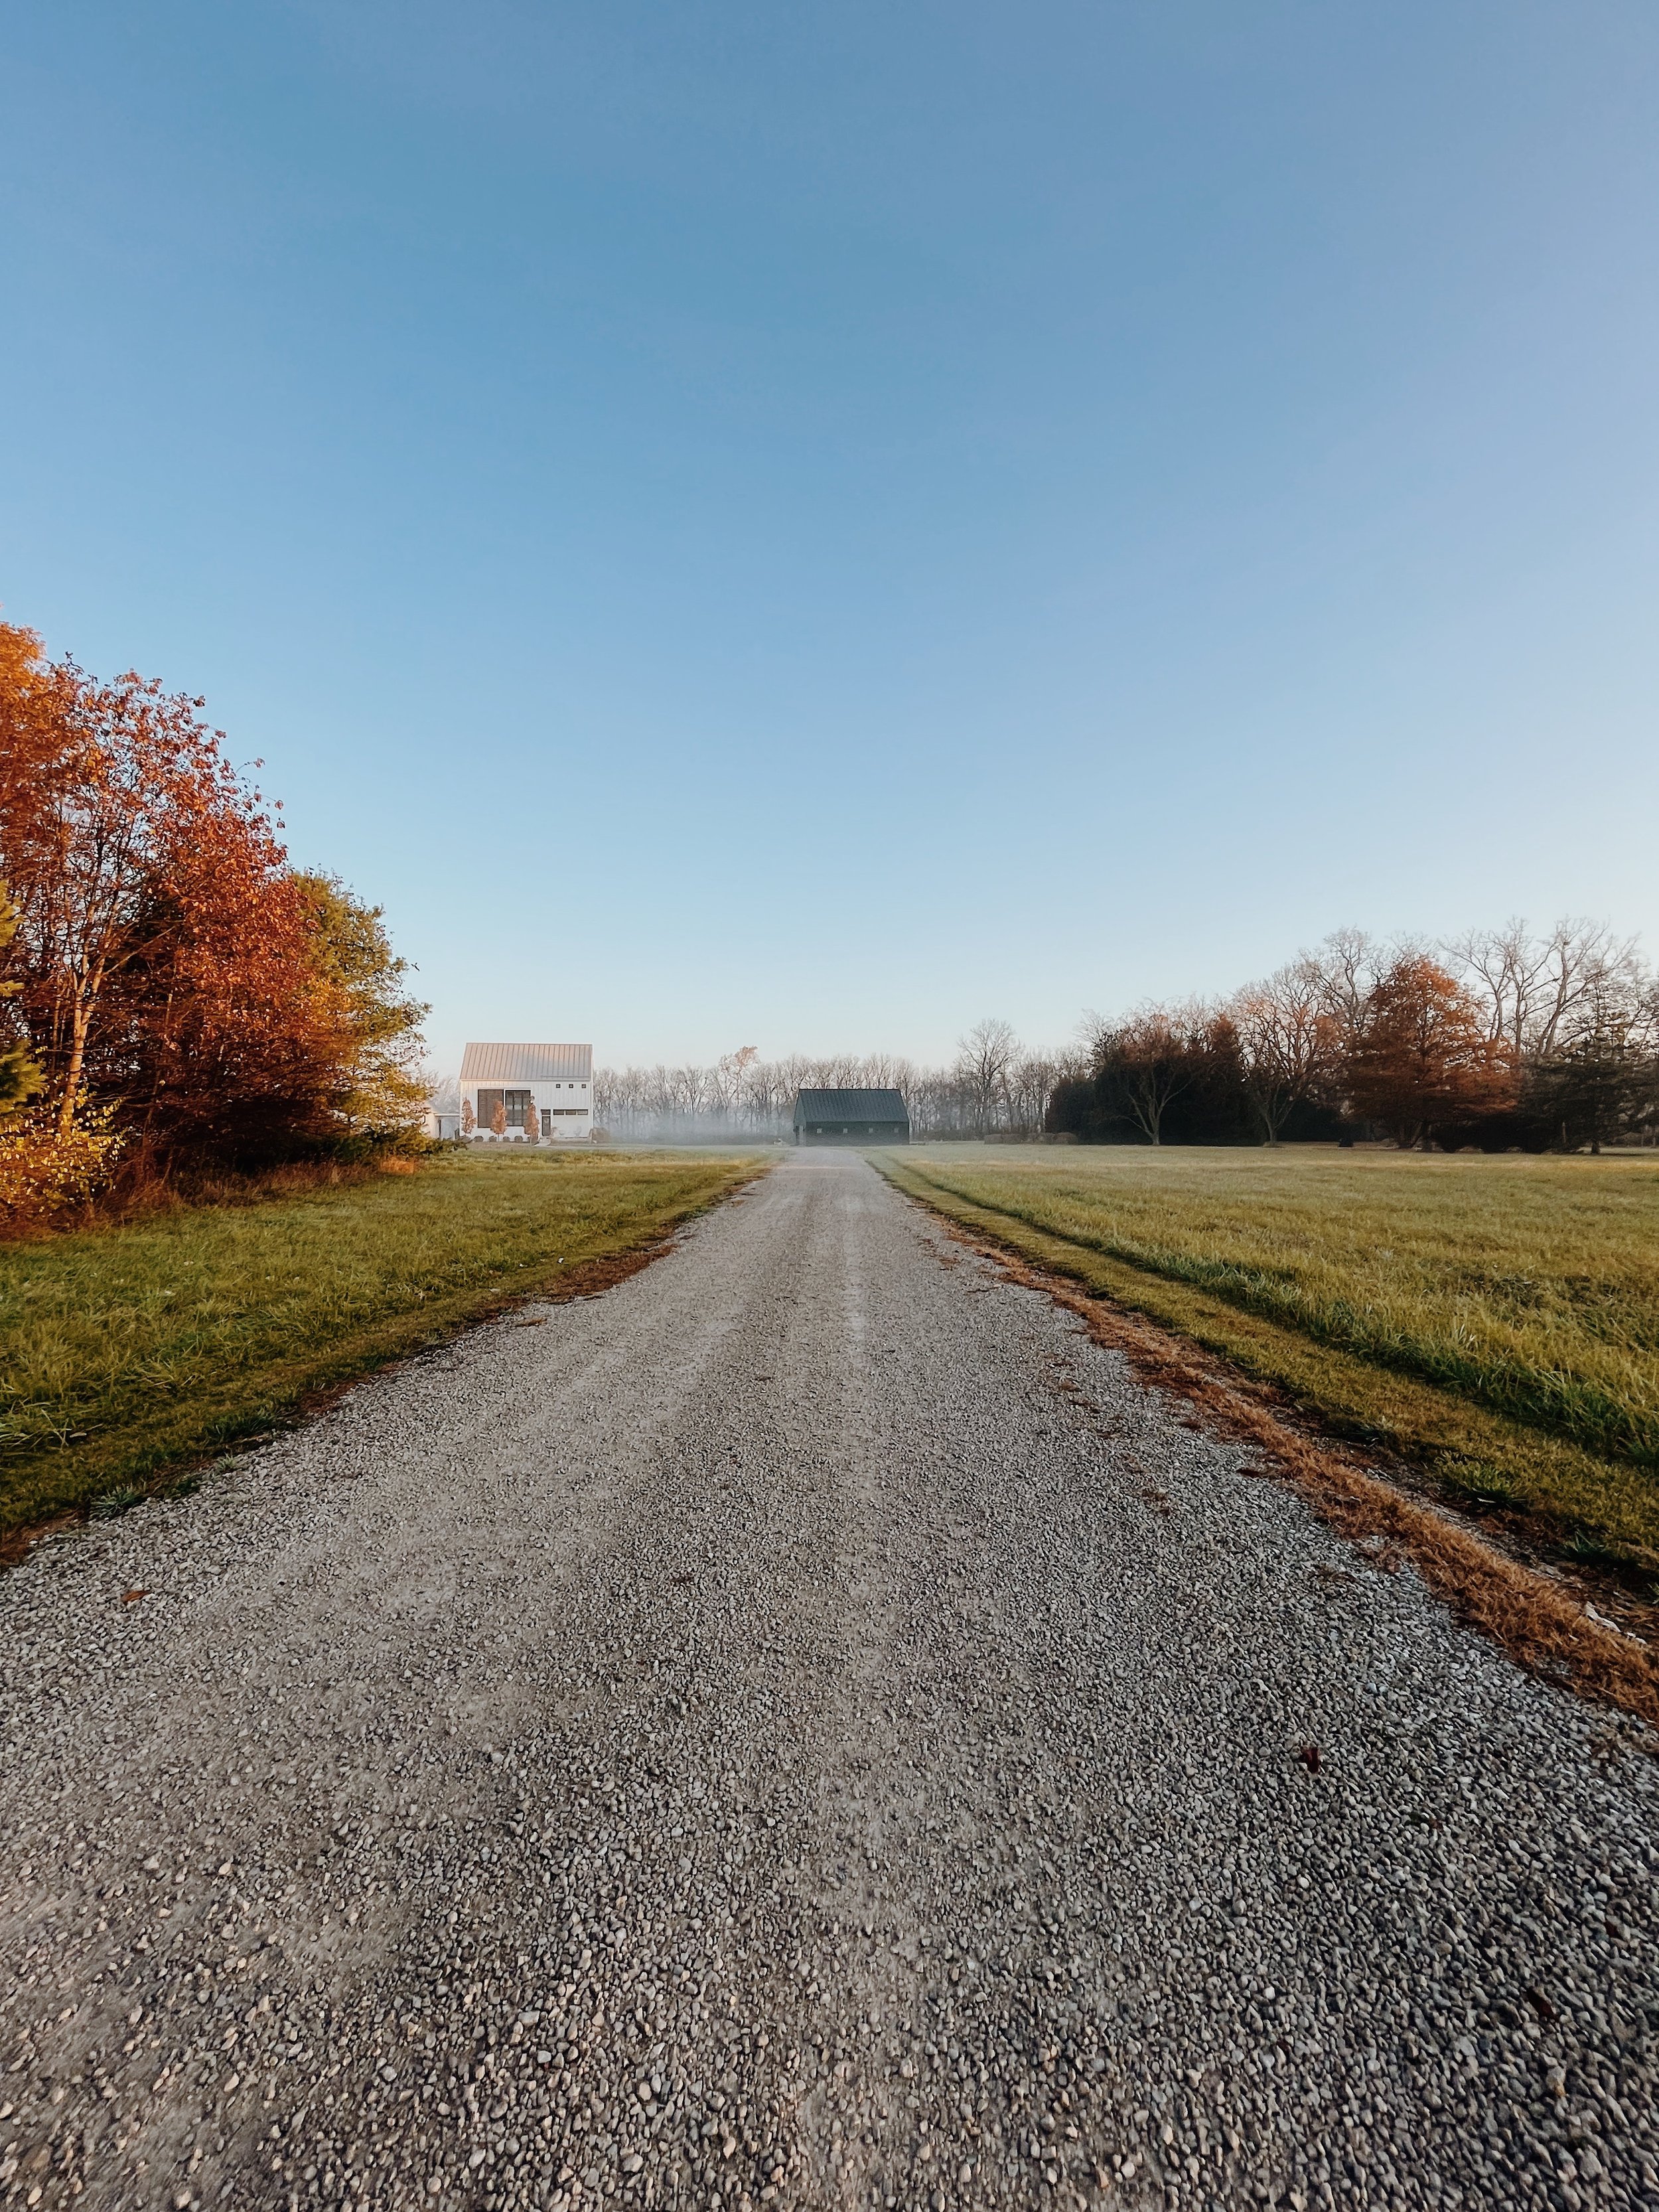
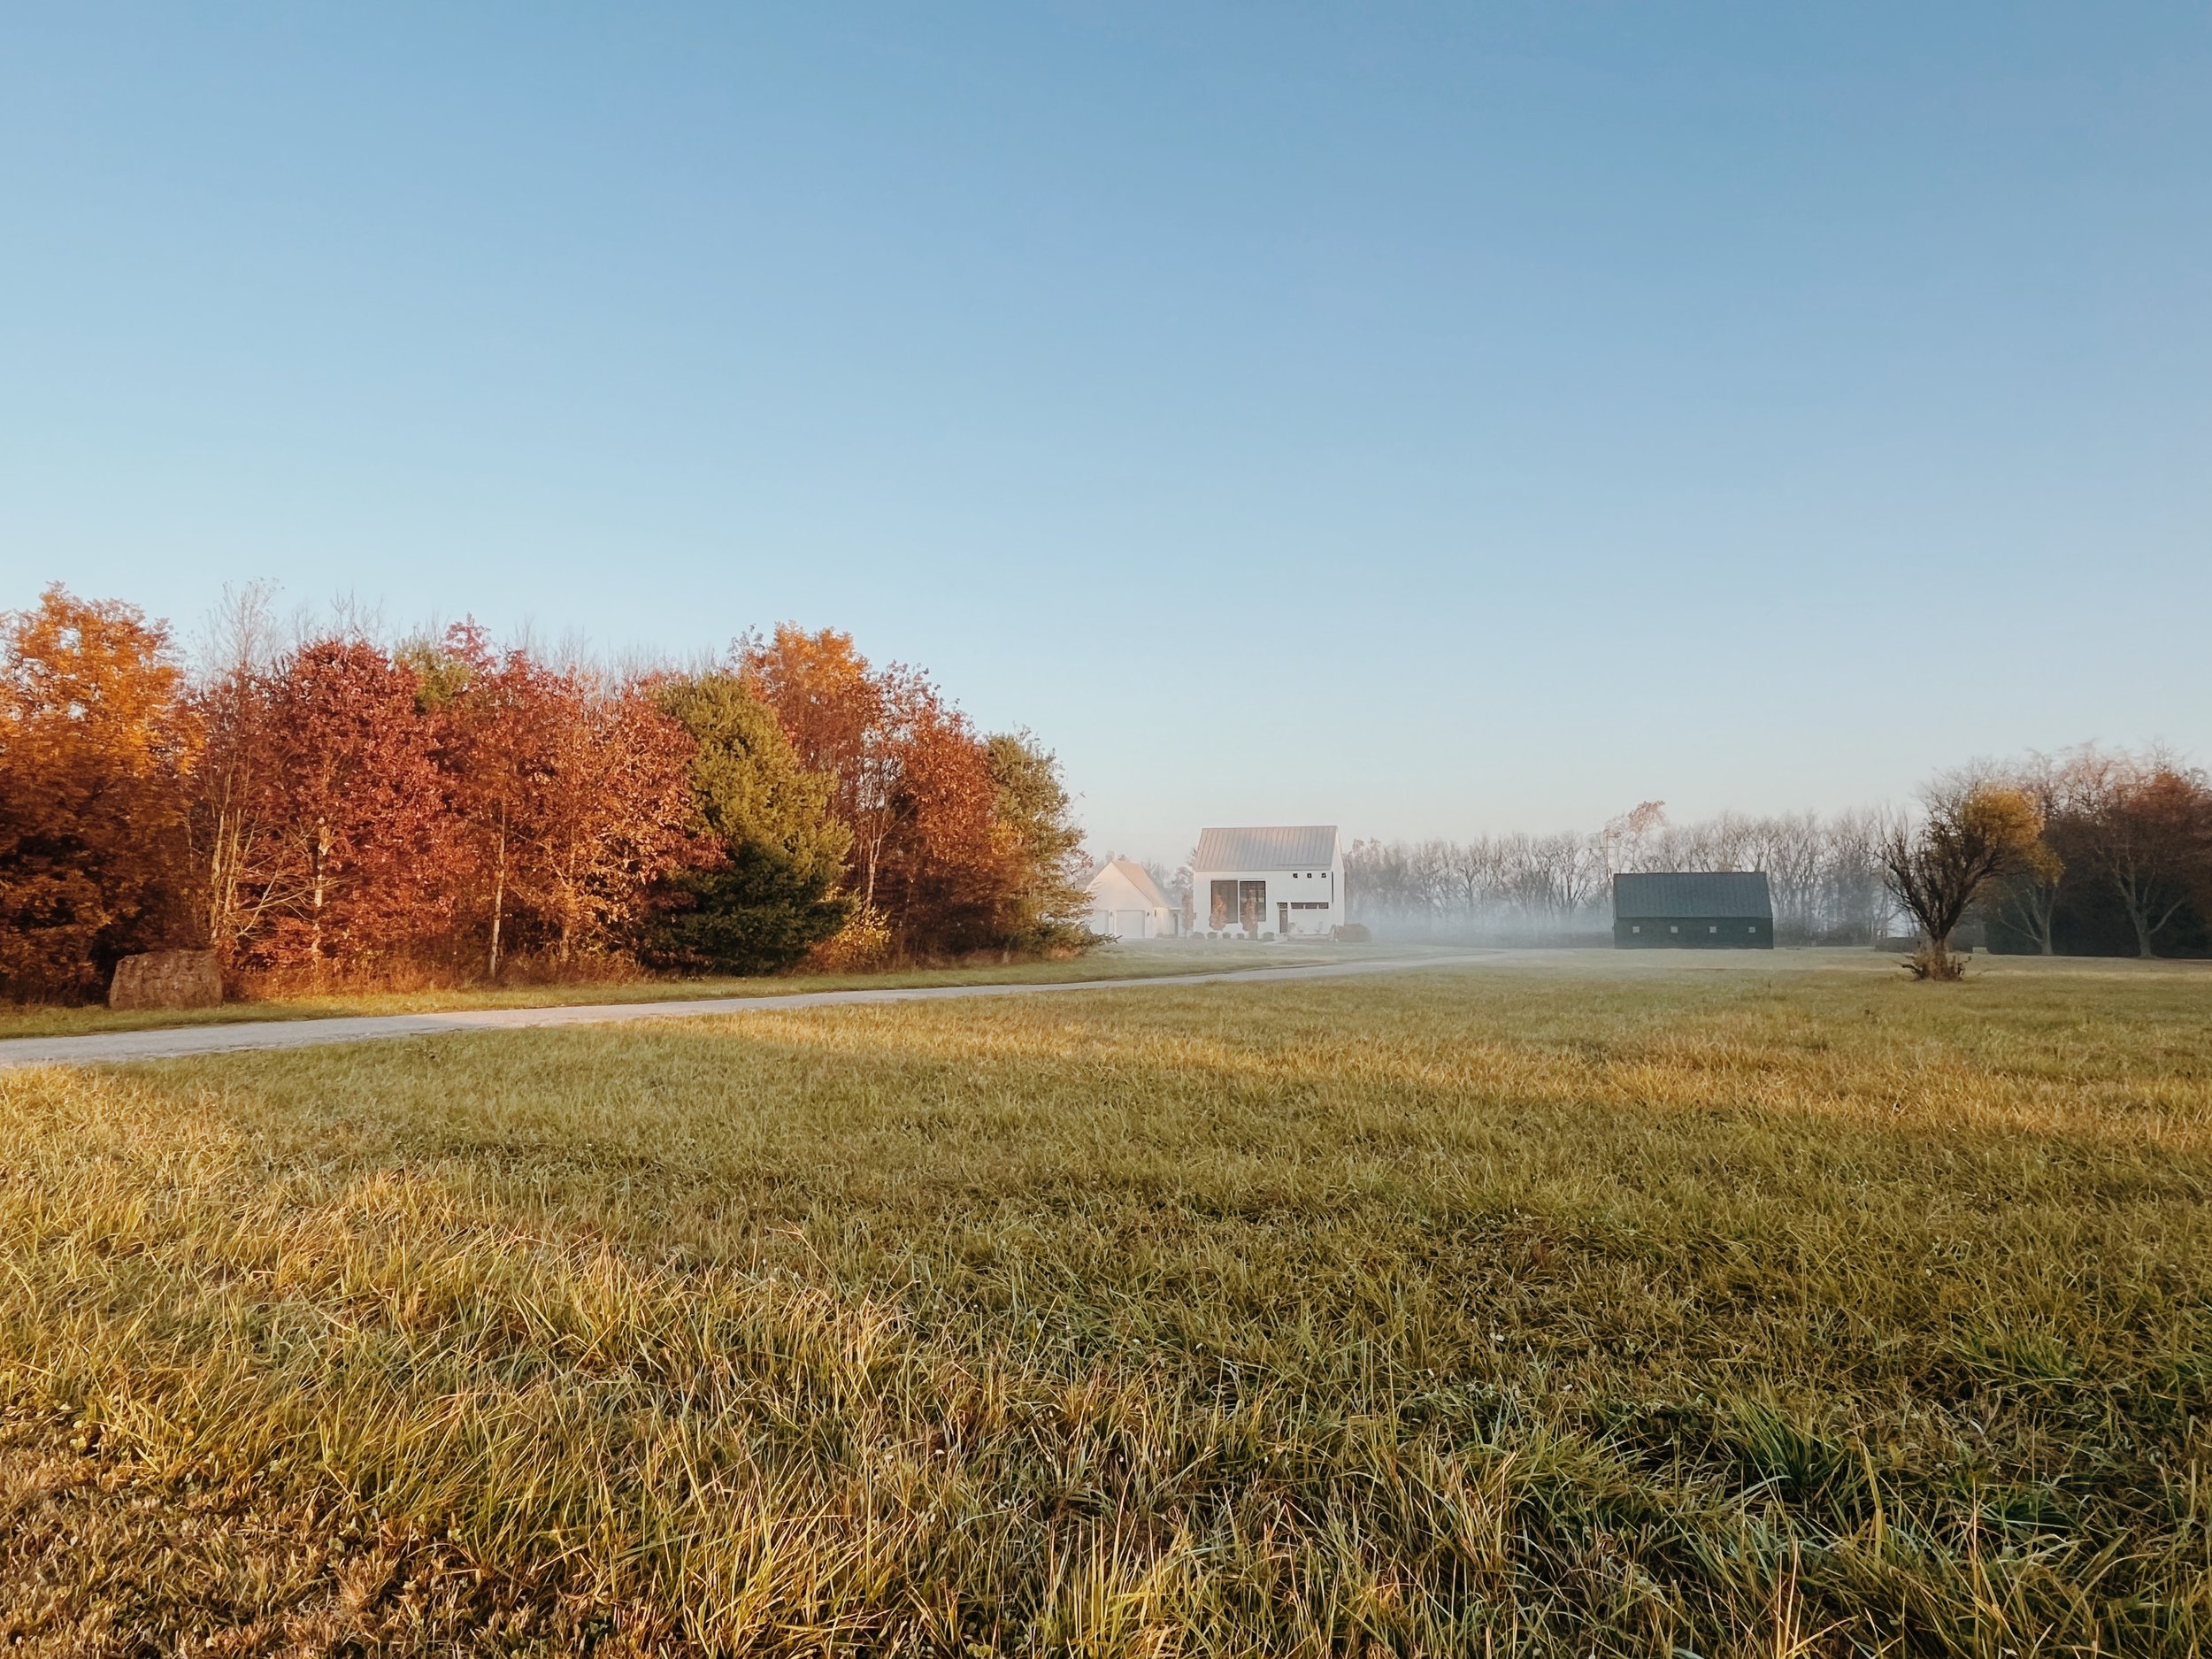
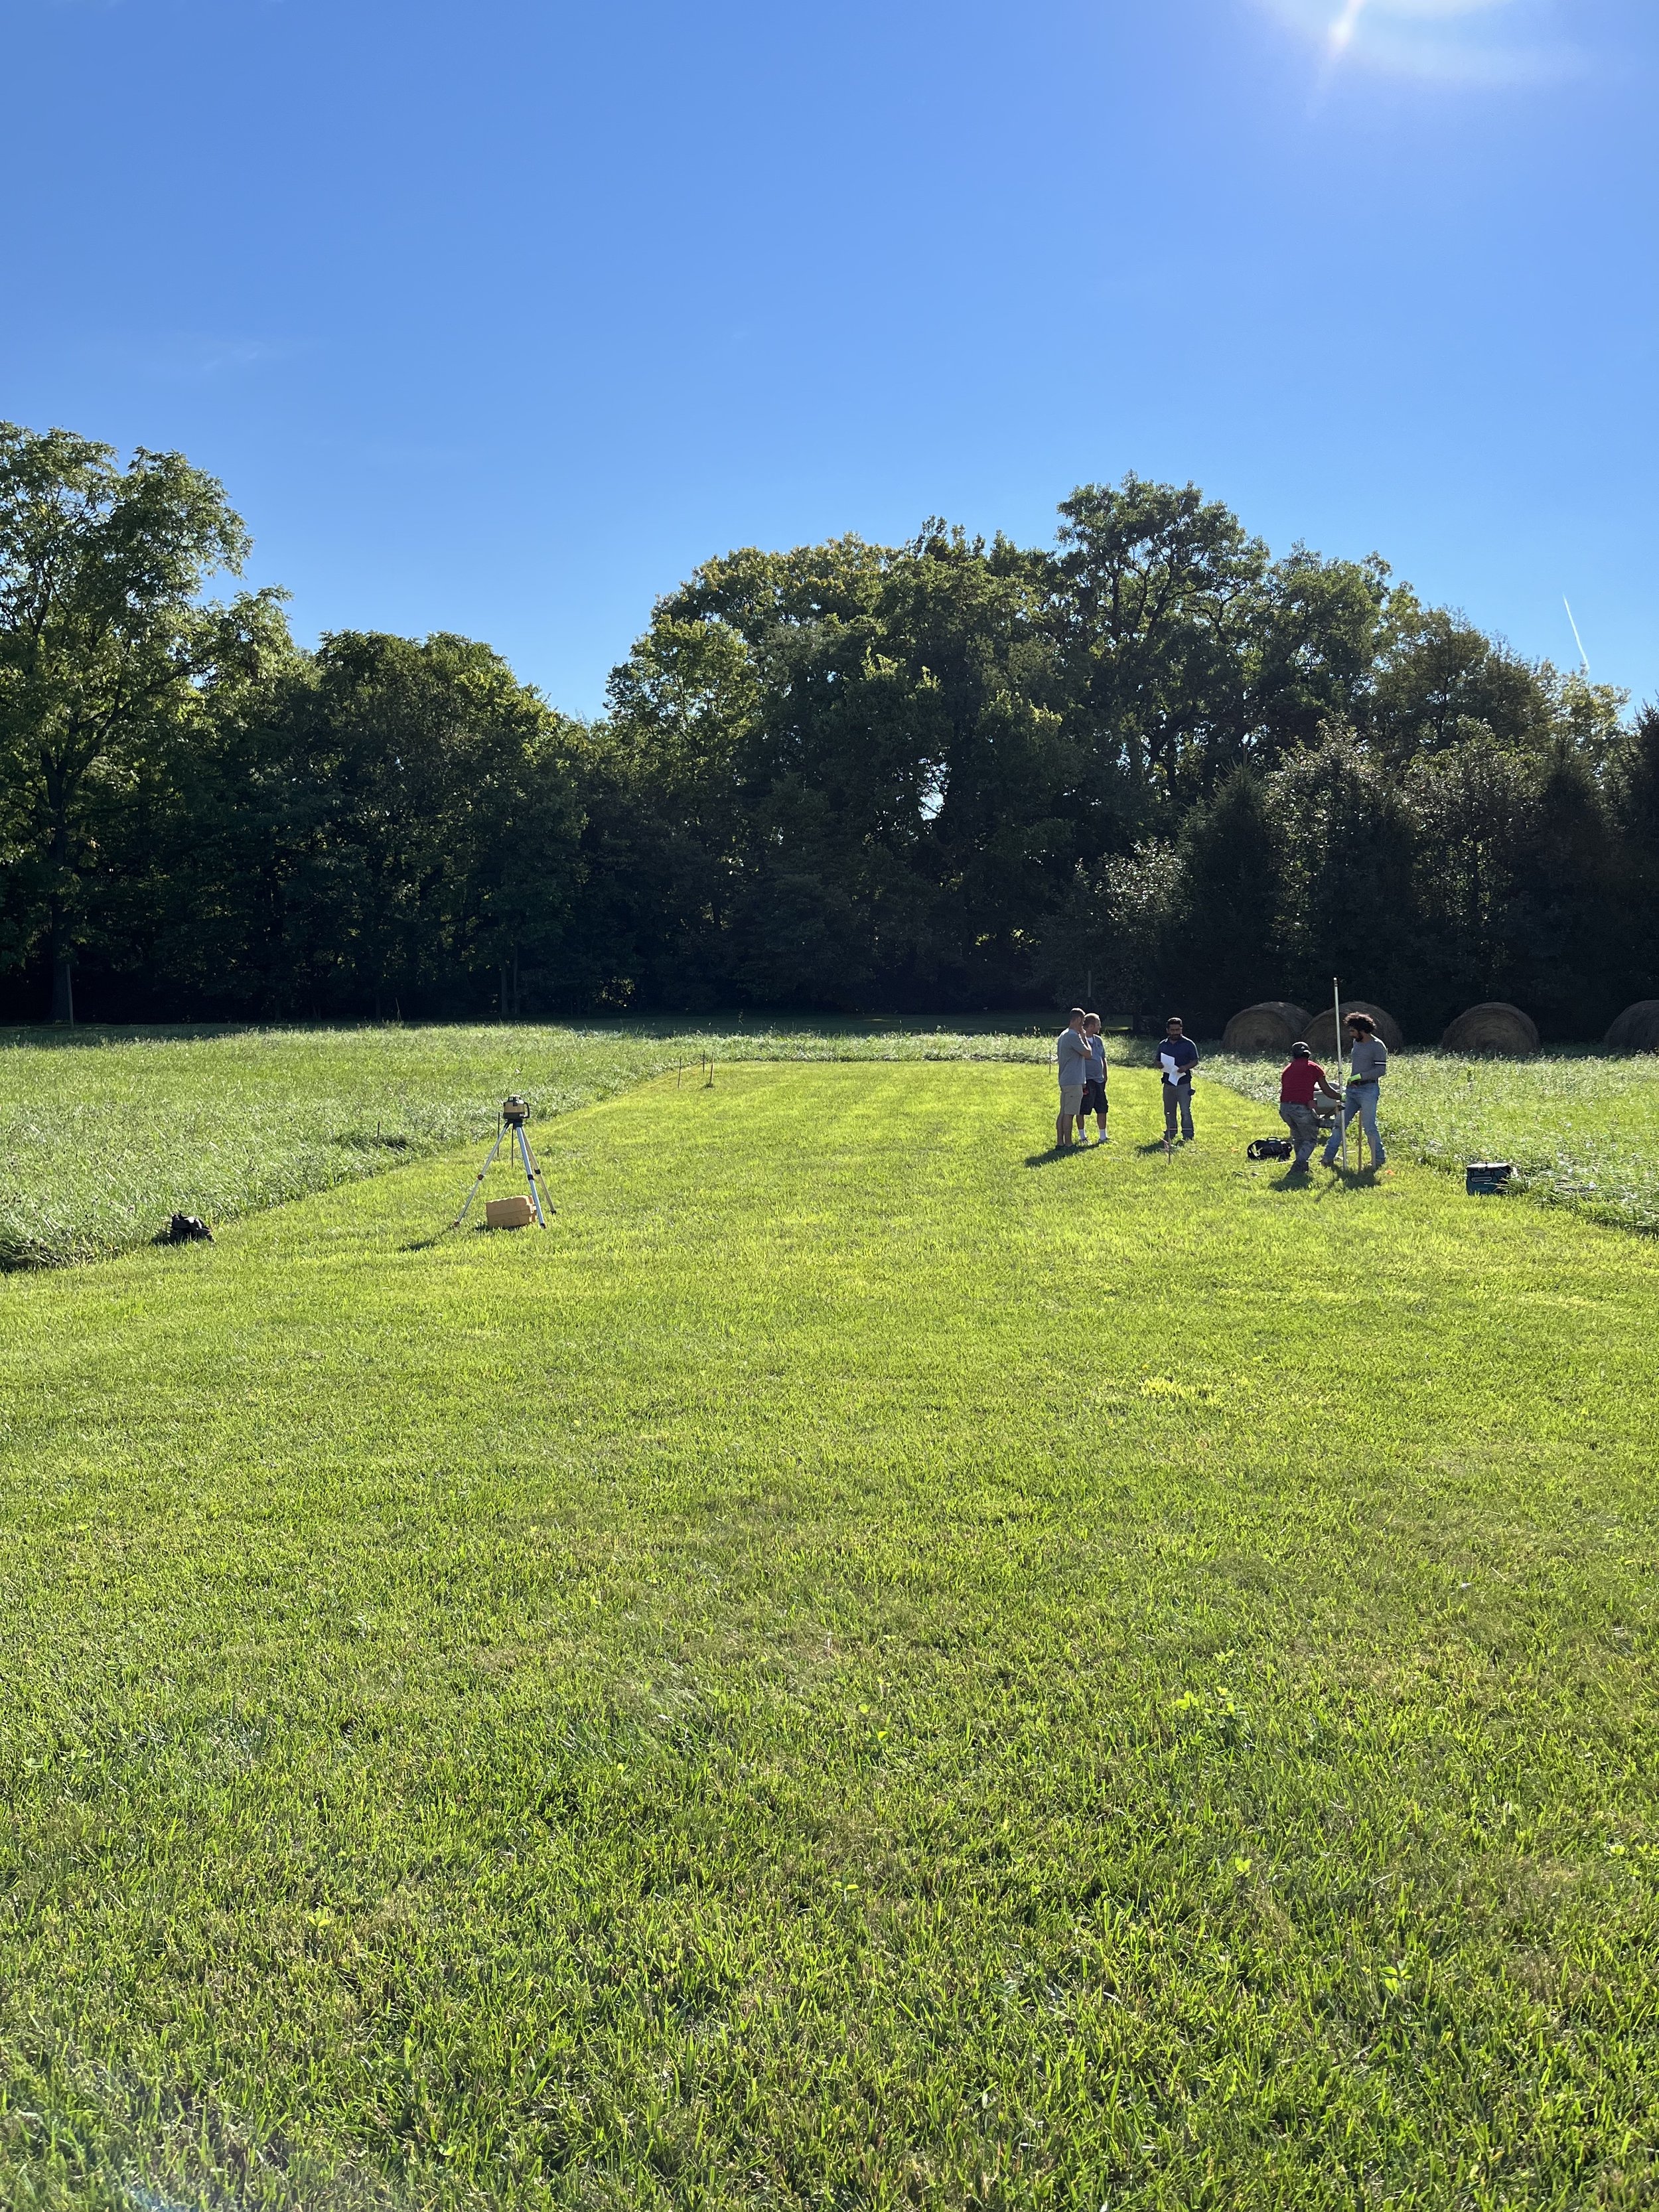
How did you decide where to place the barn?
We had several conversations with our original architect, and he recommended this placement to compliment the existing home.
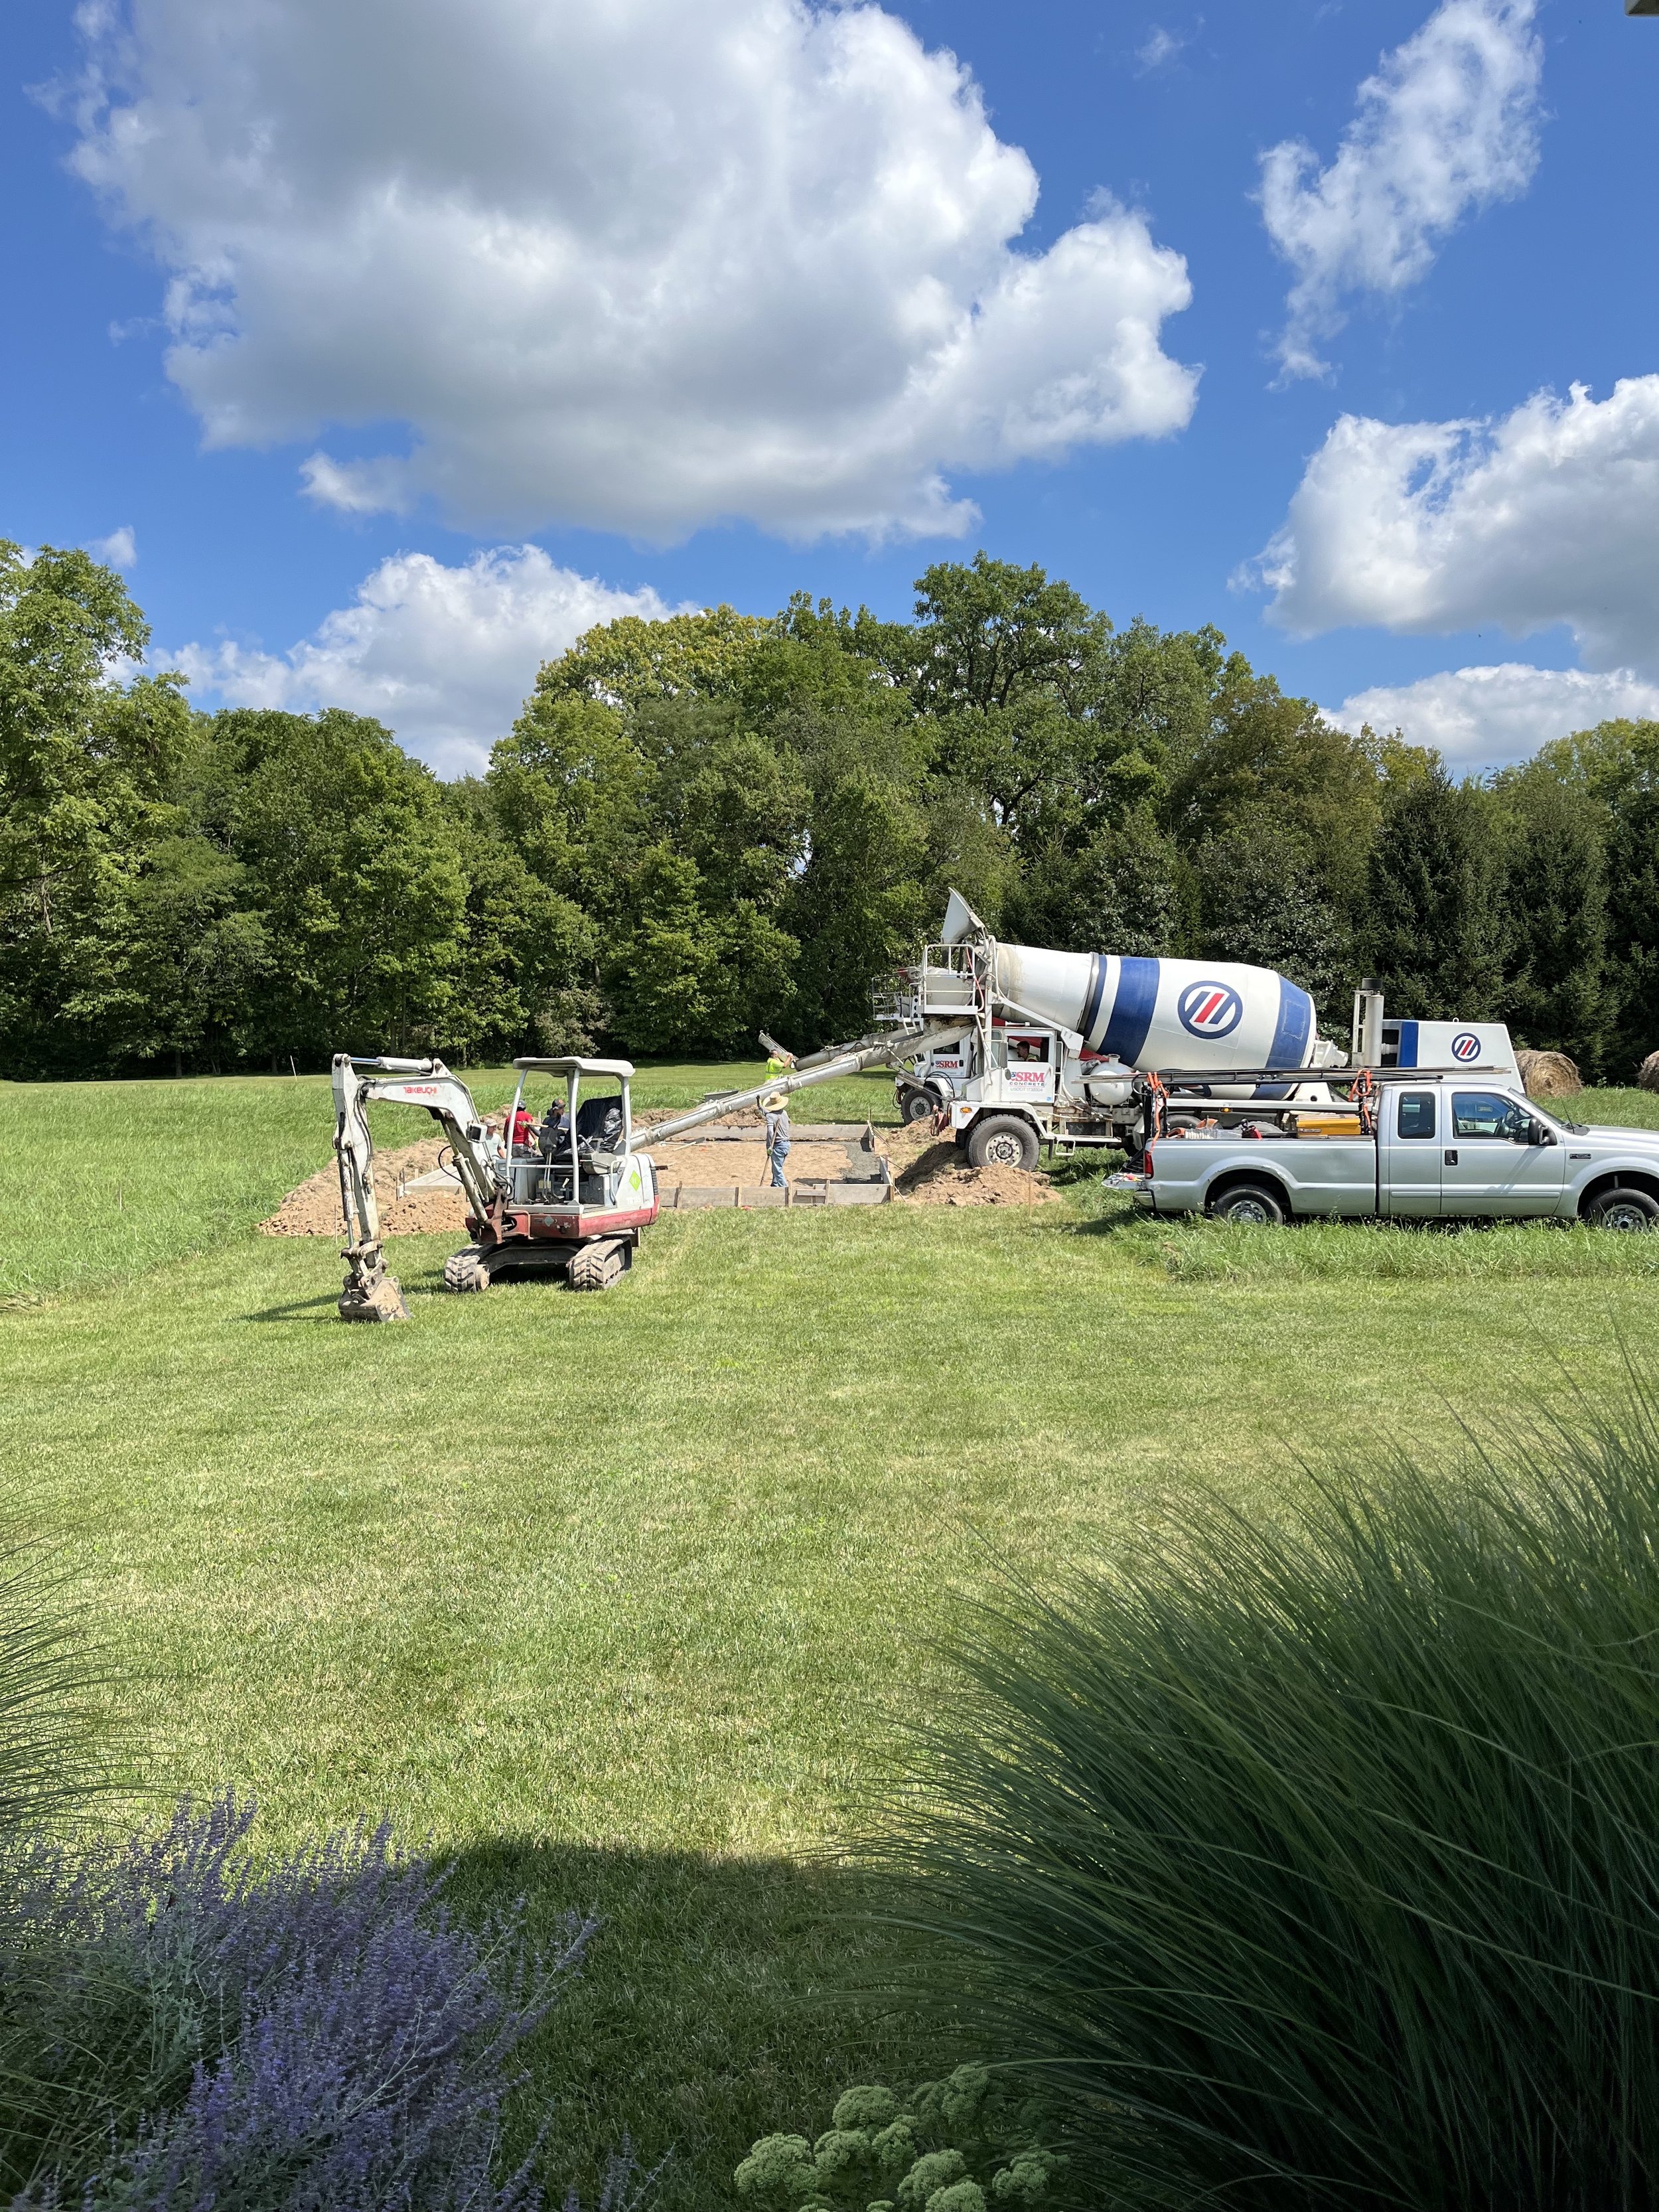
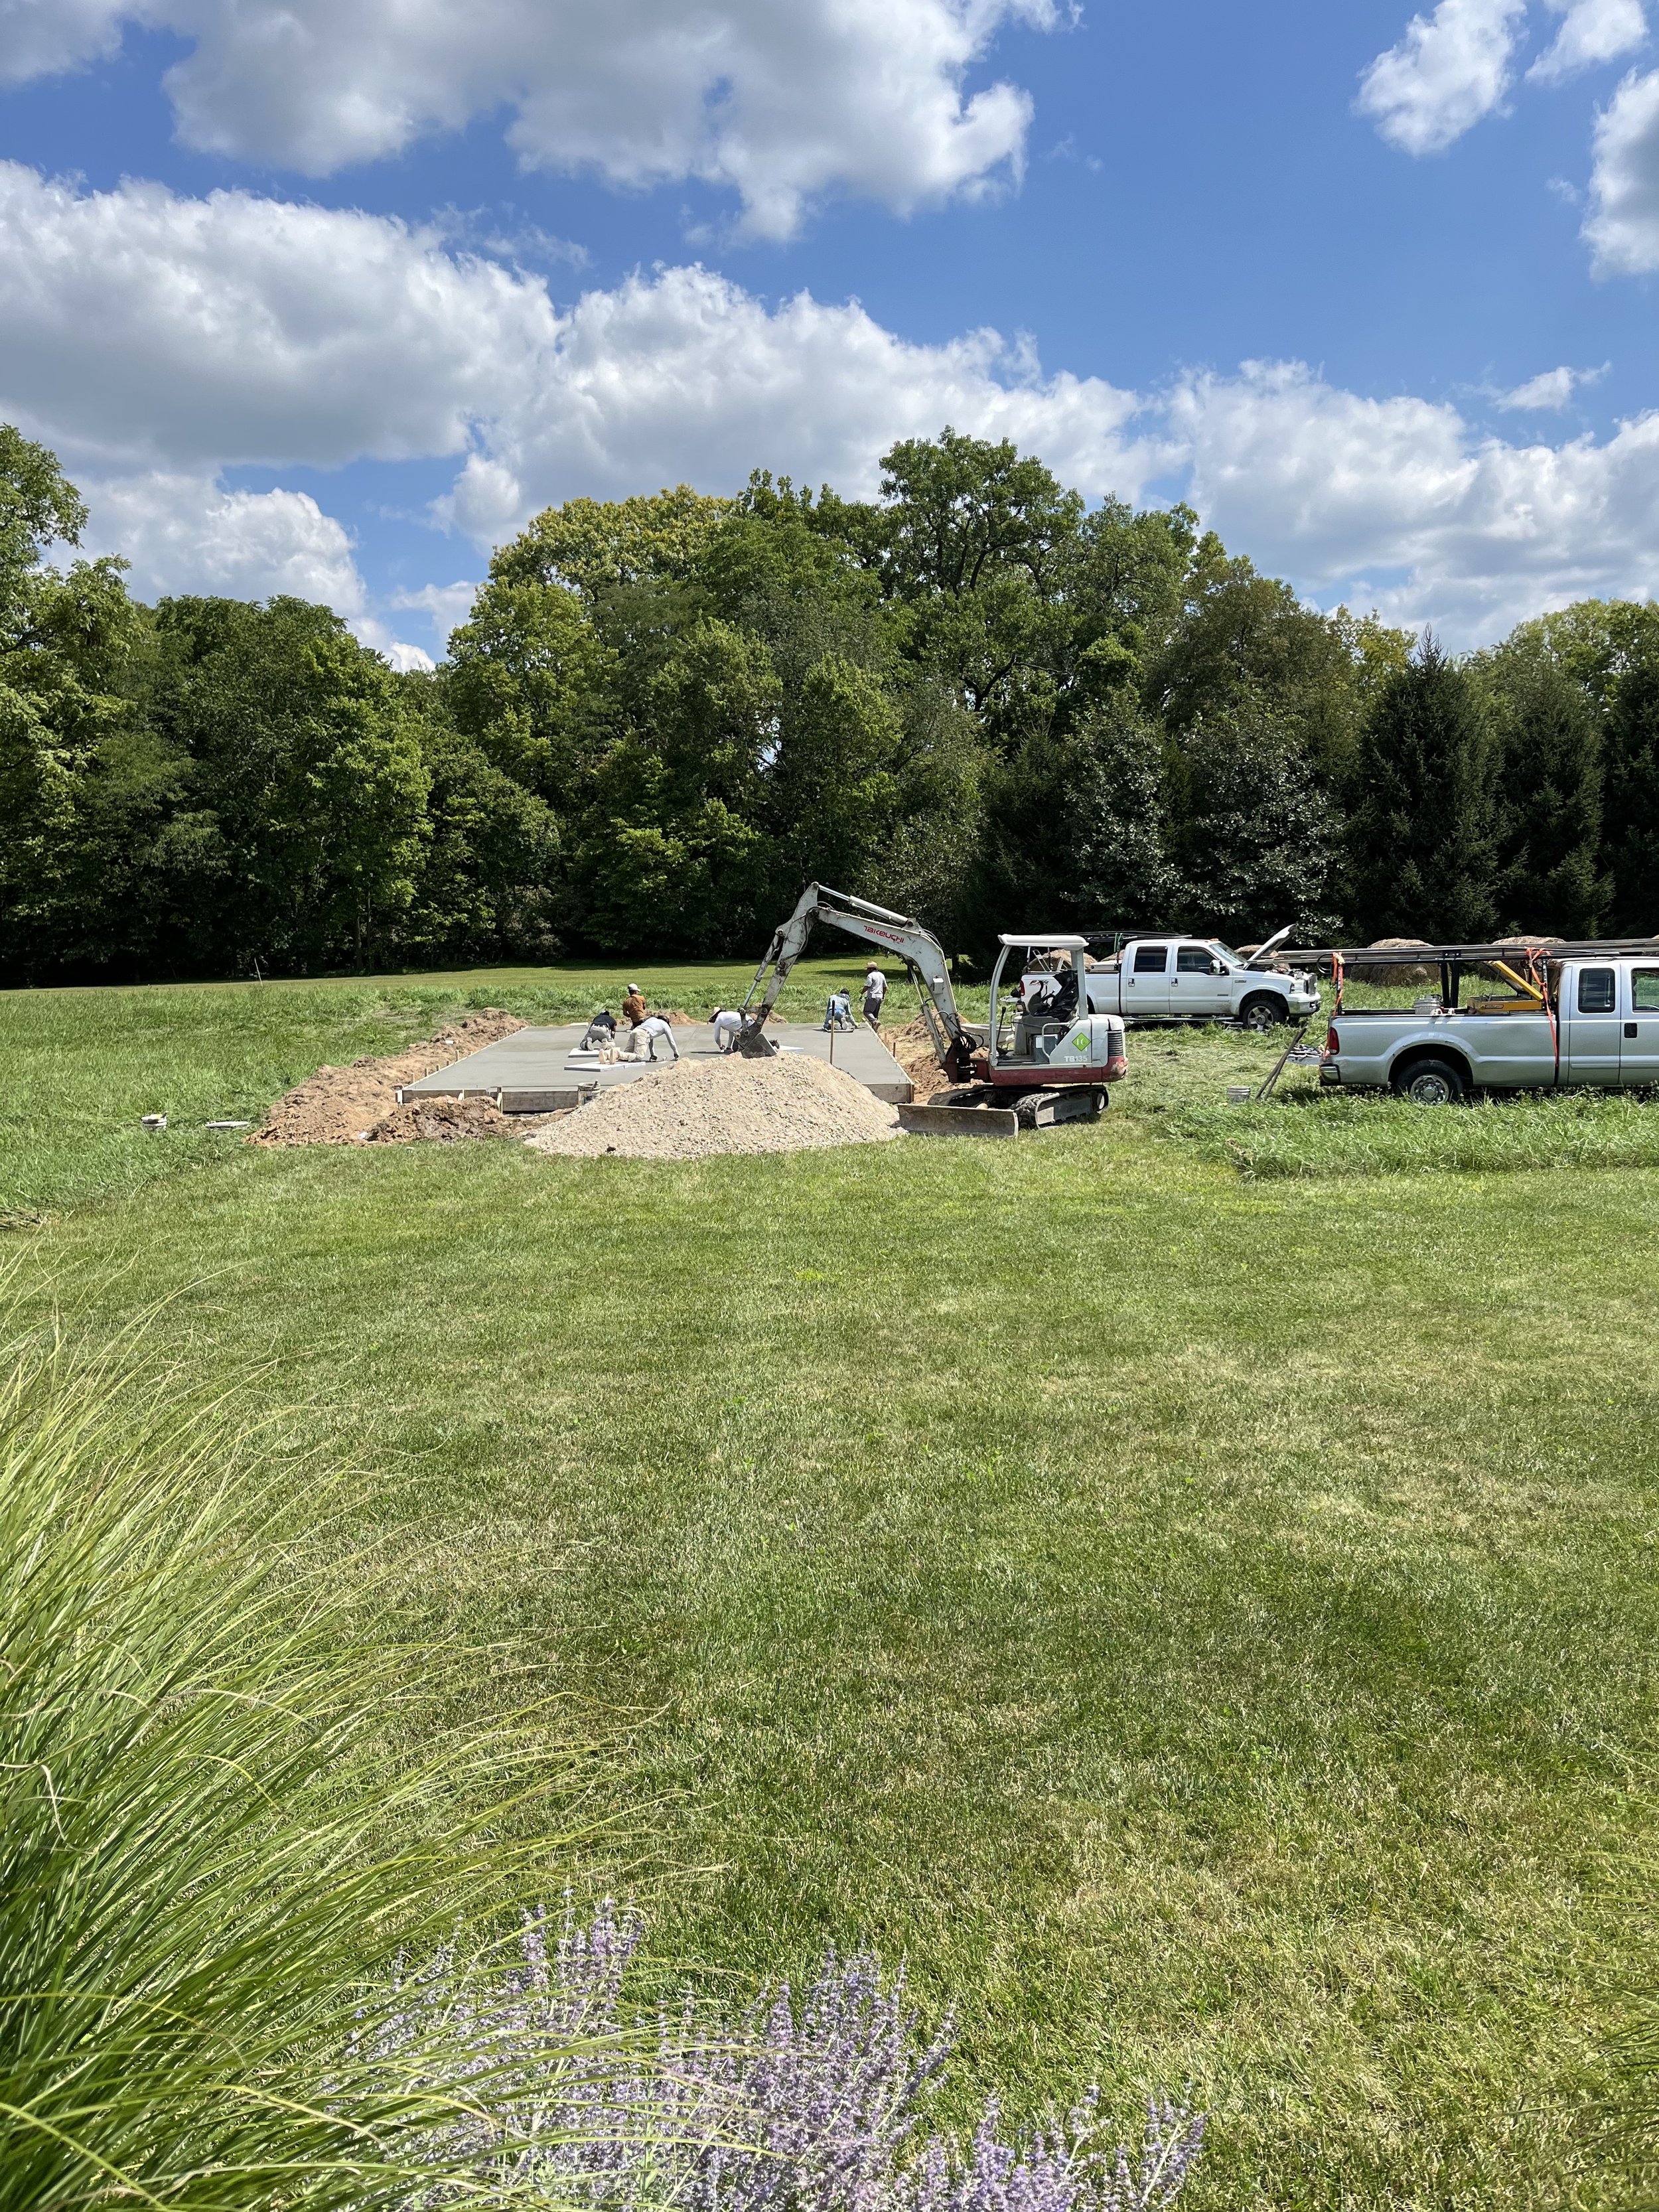
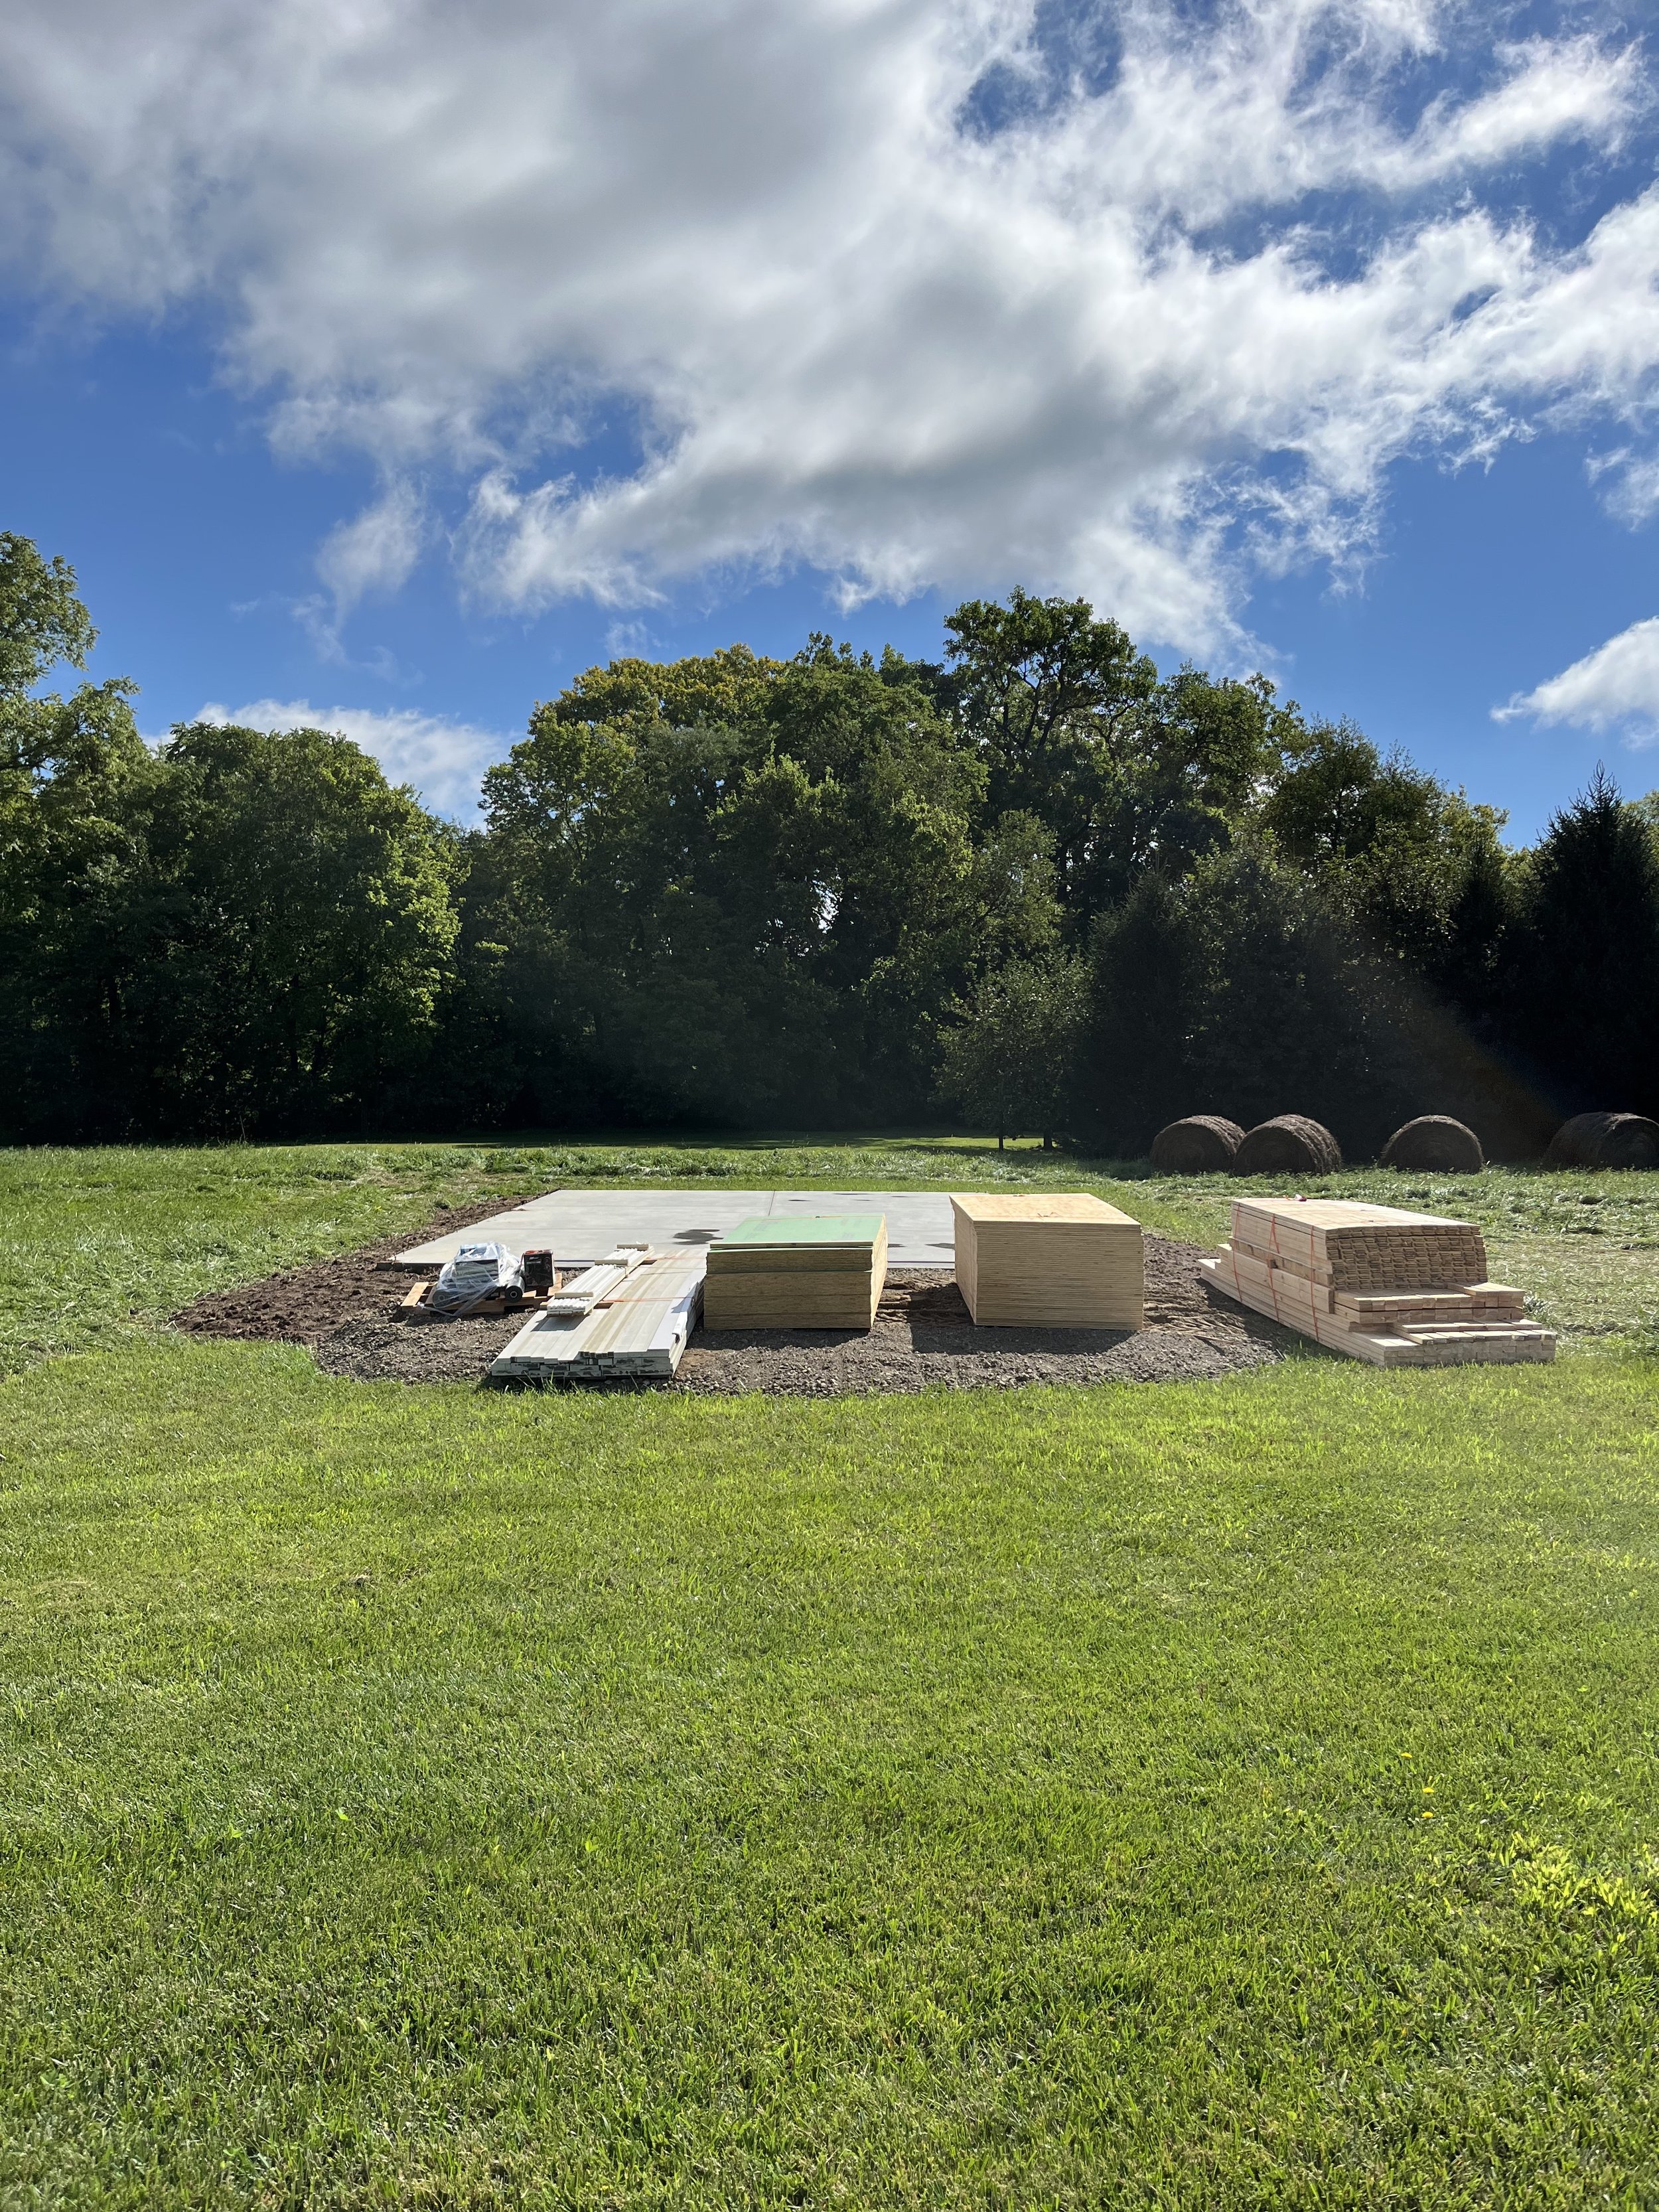
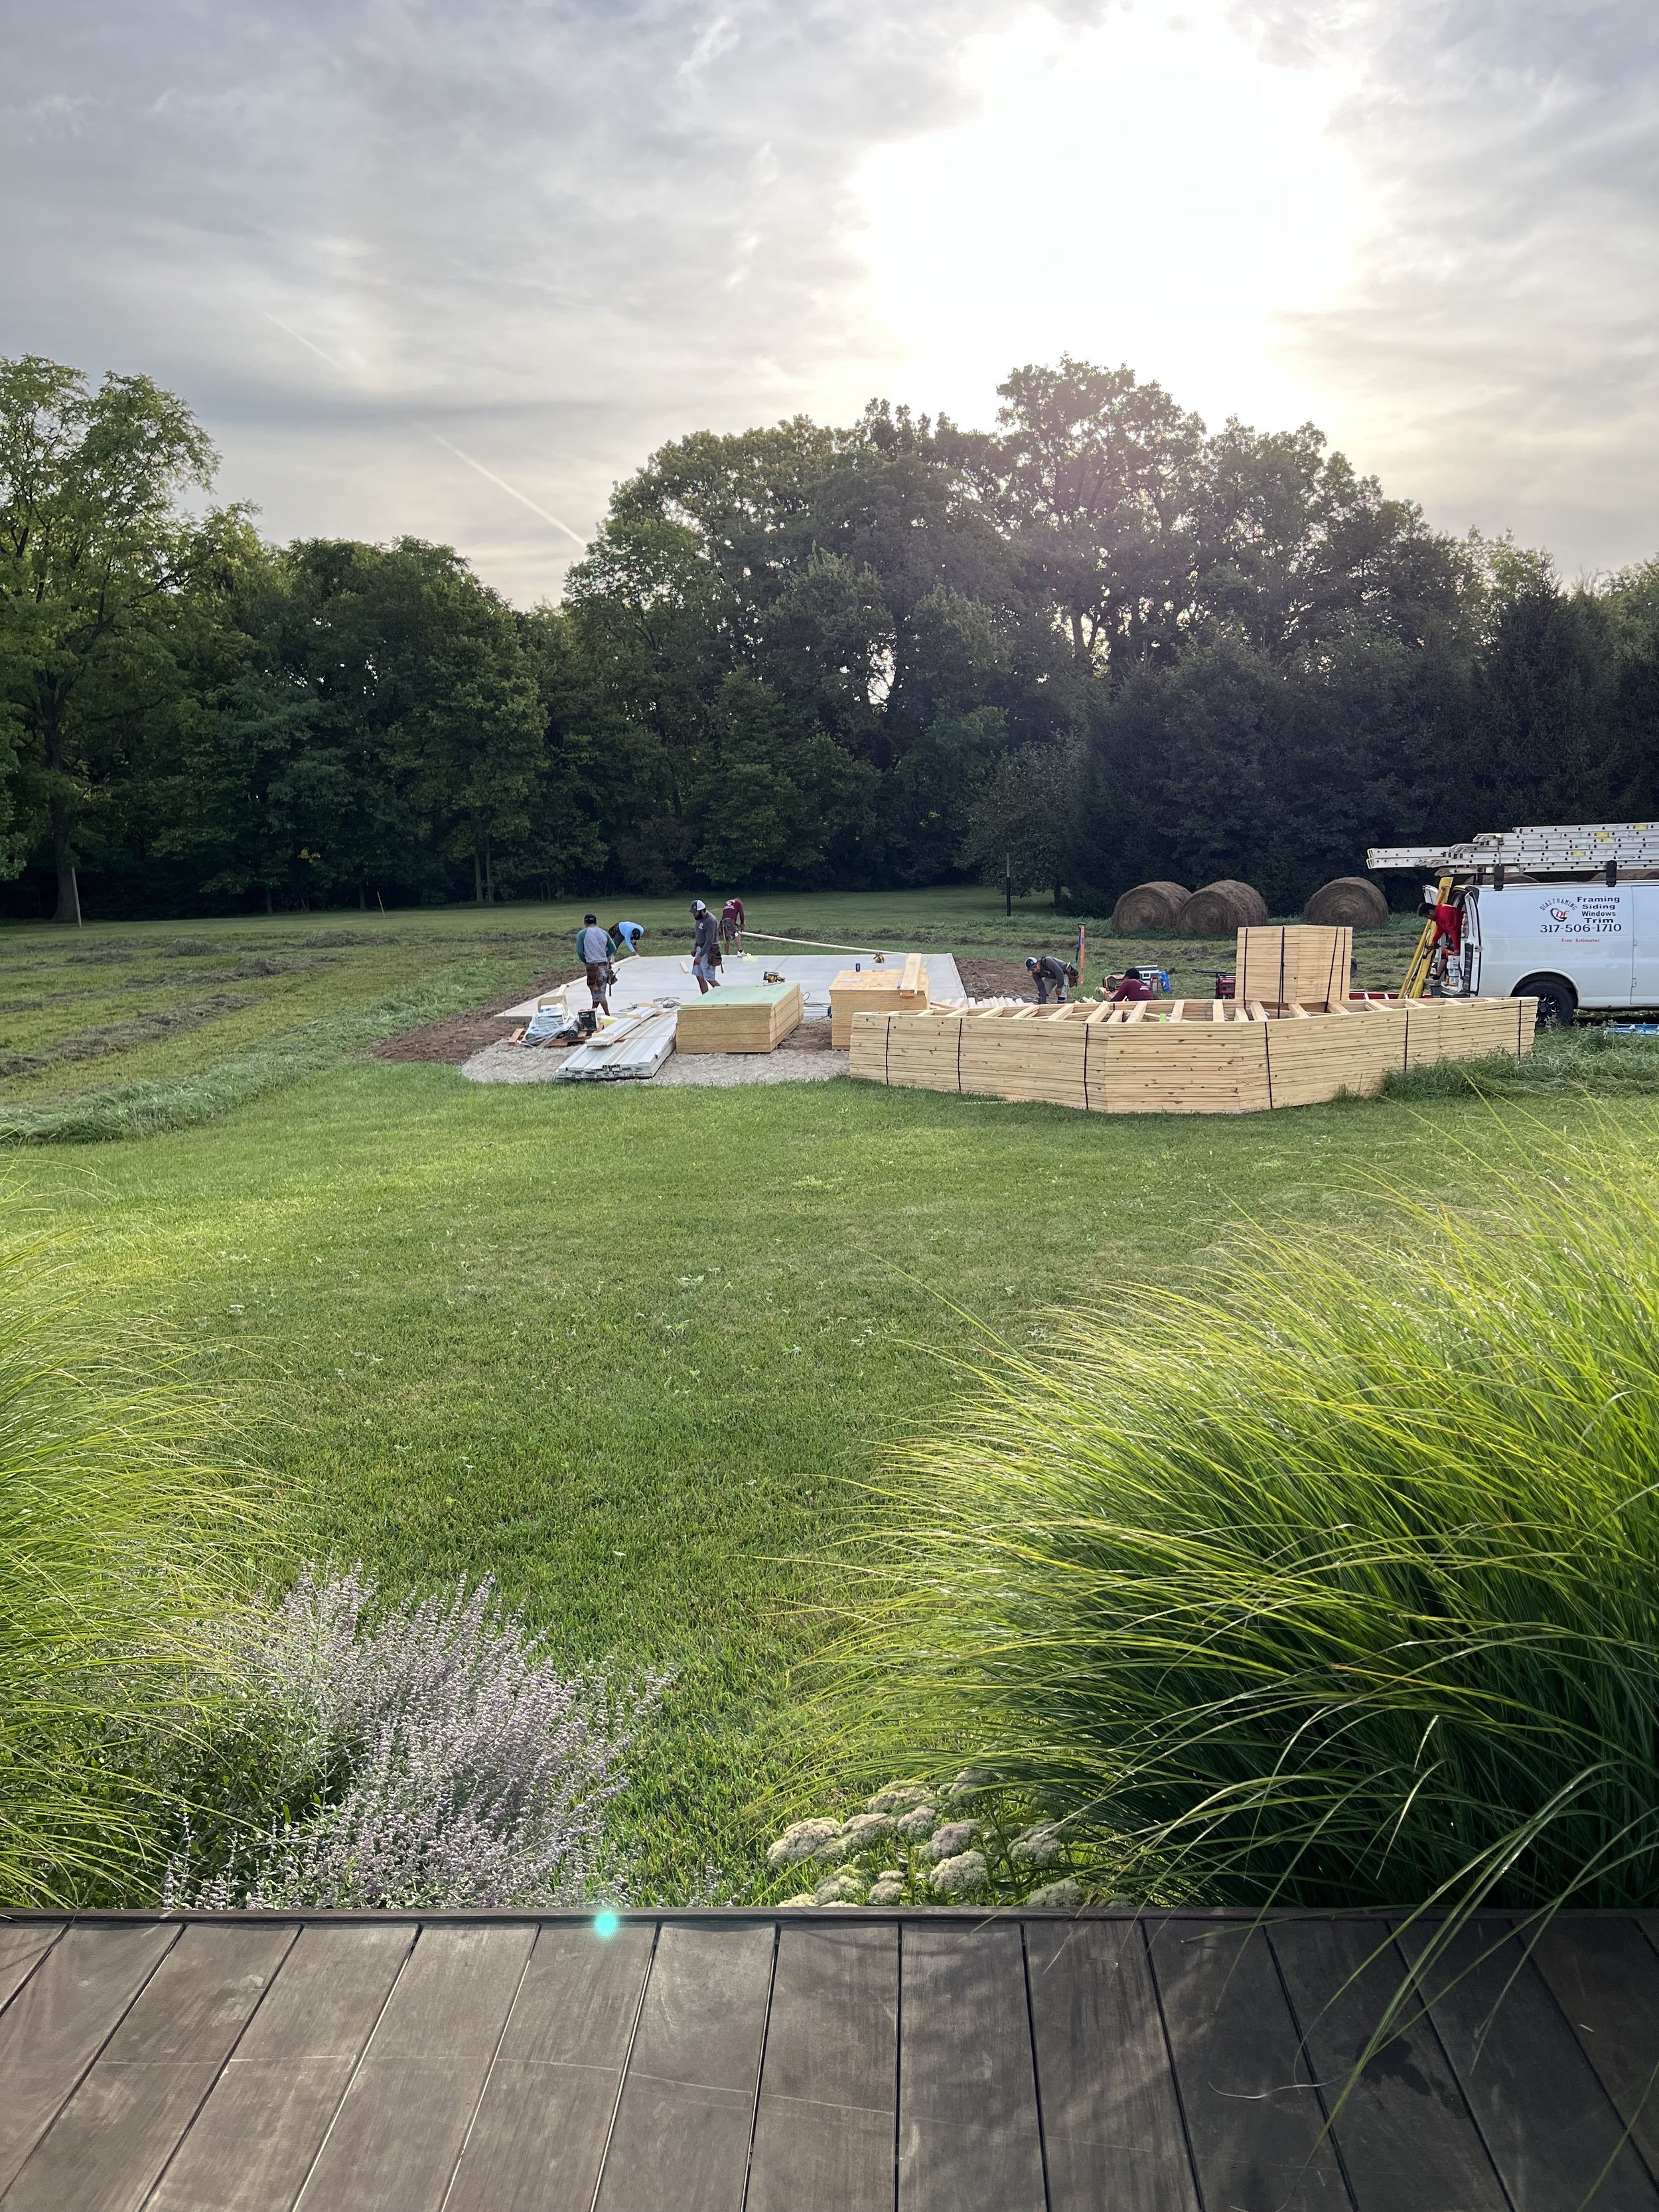
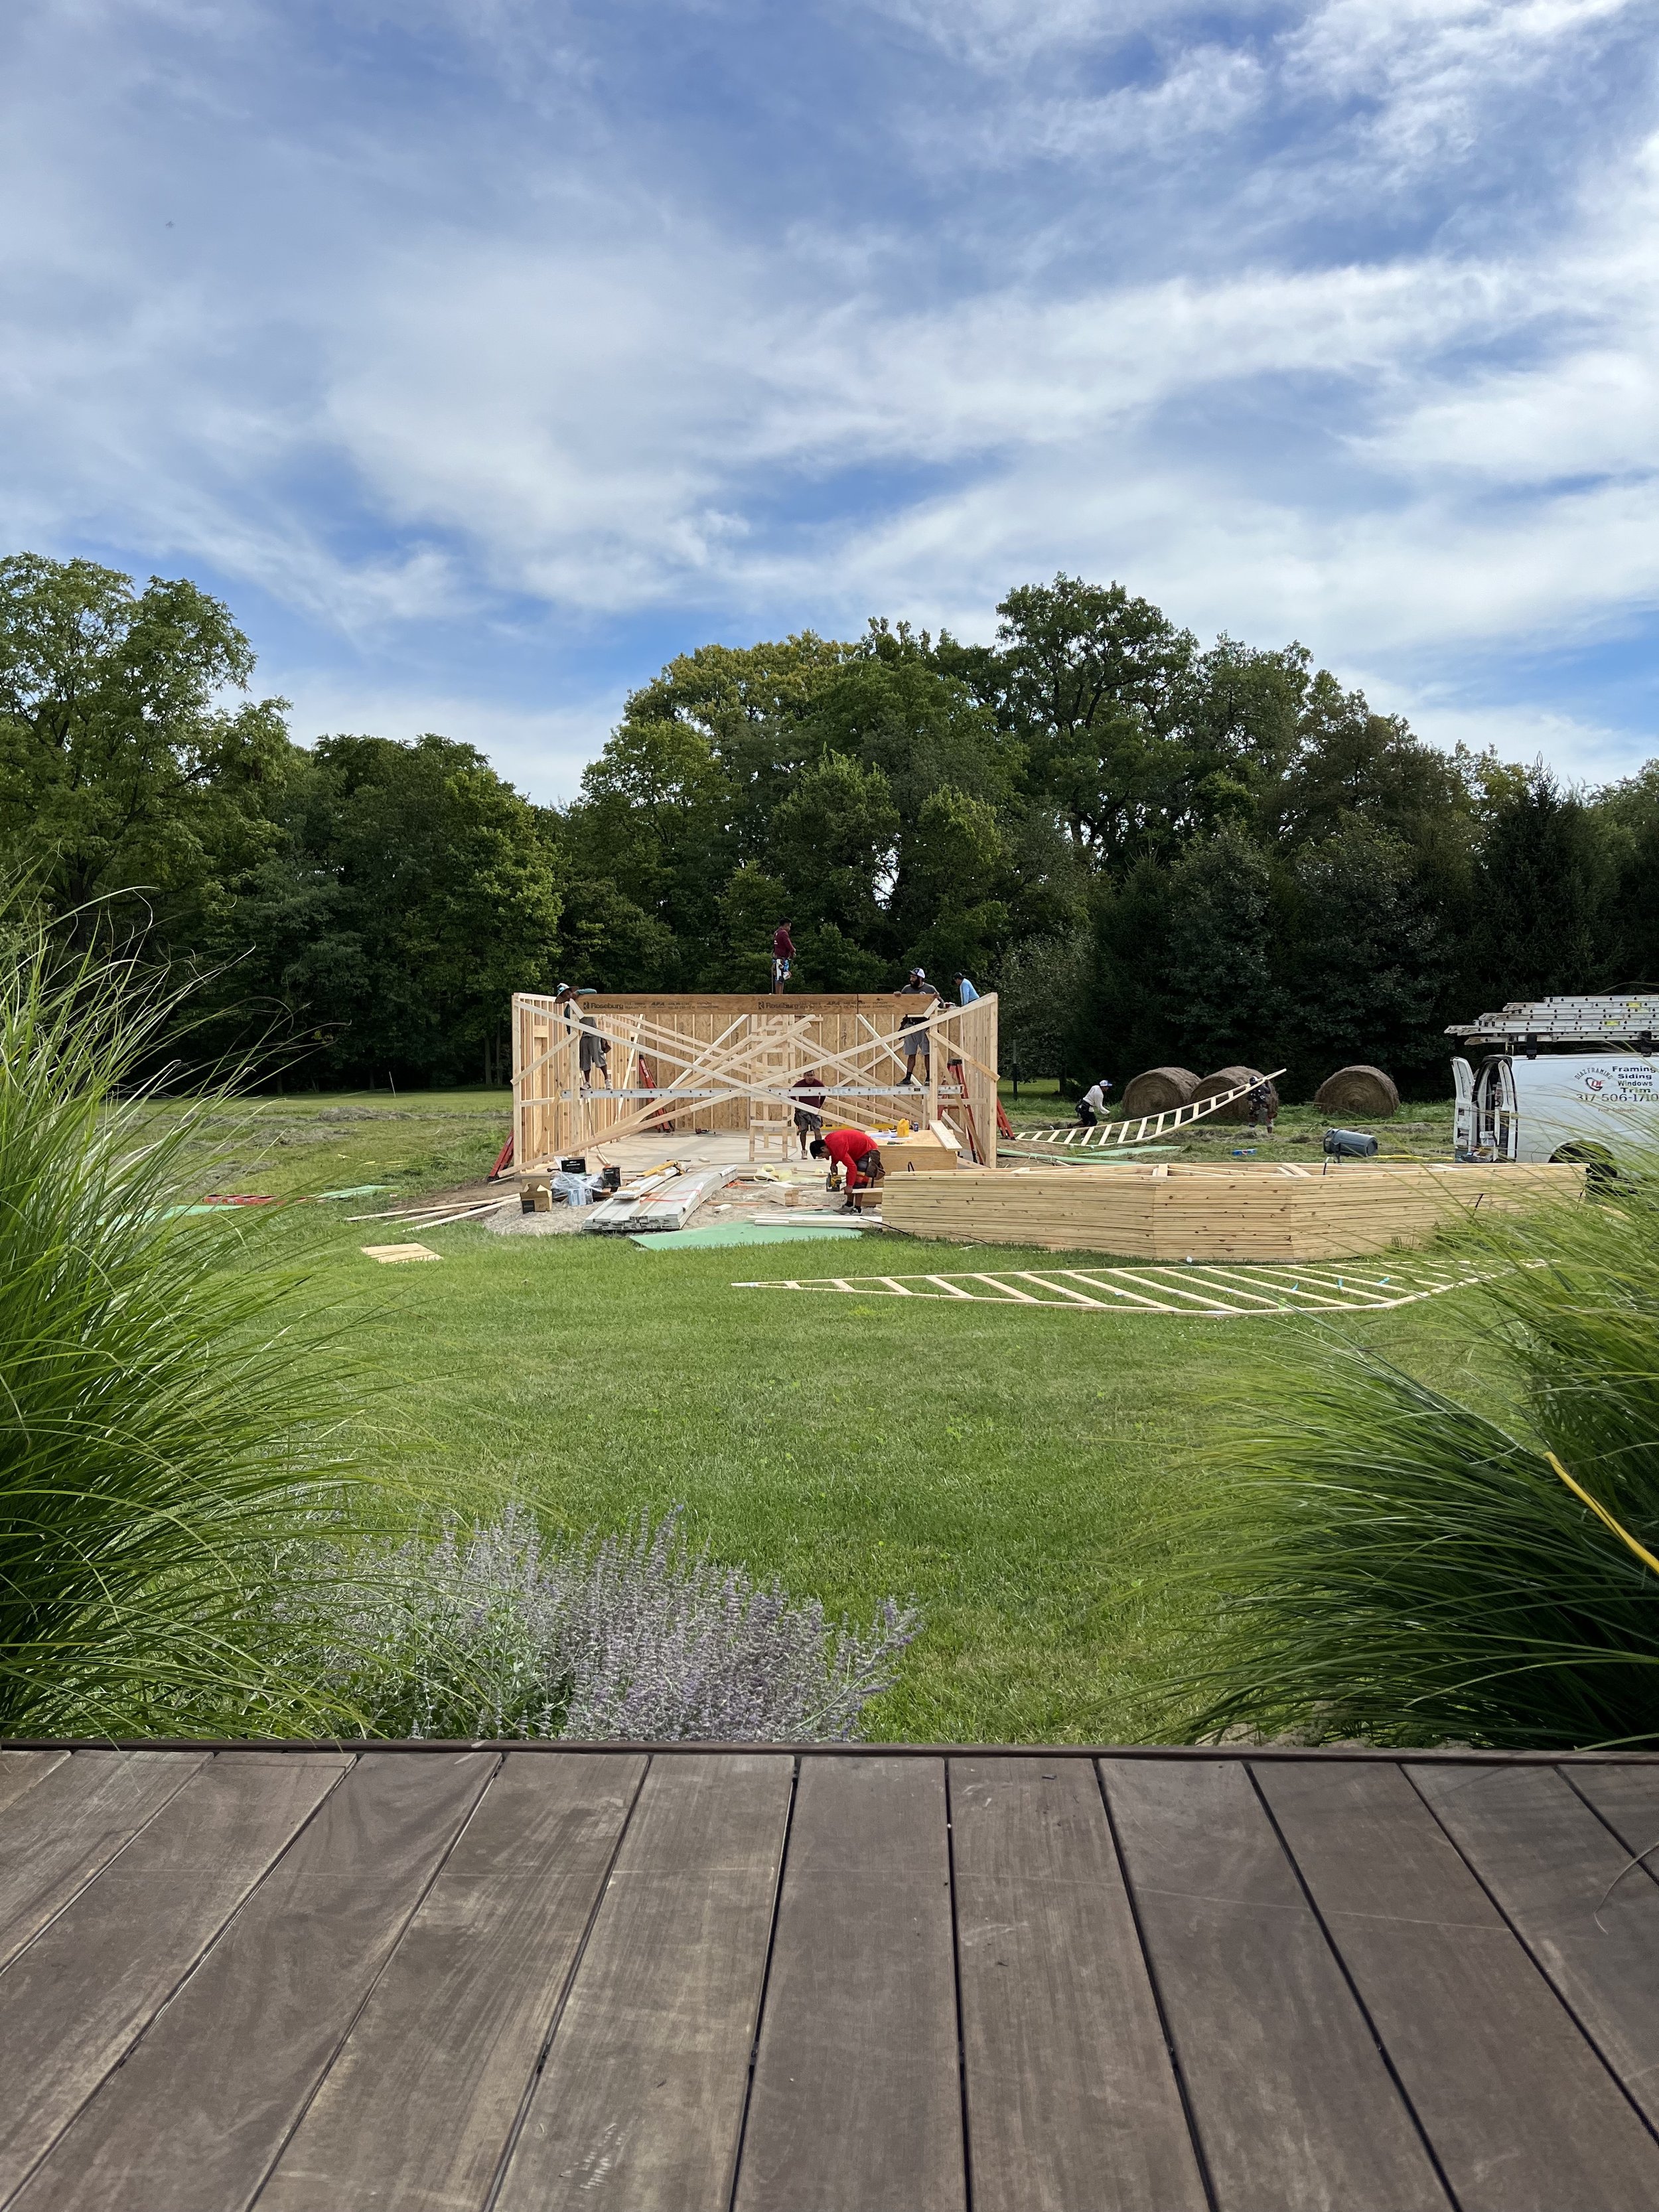
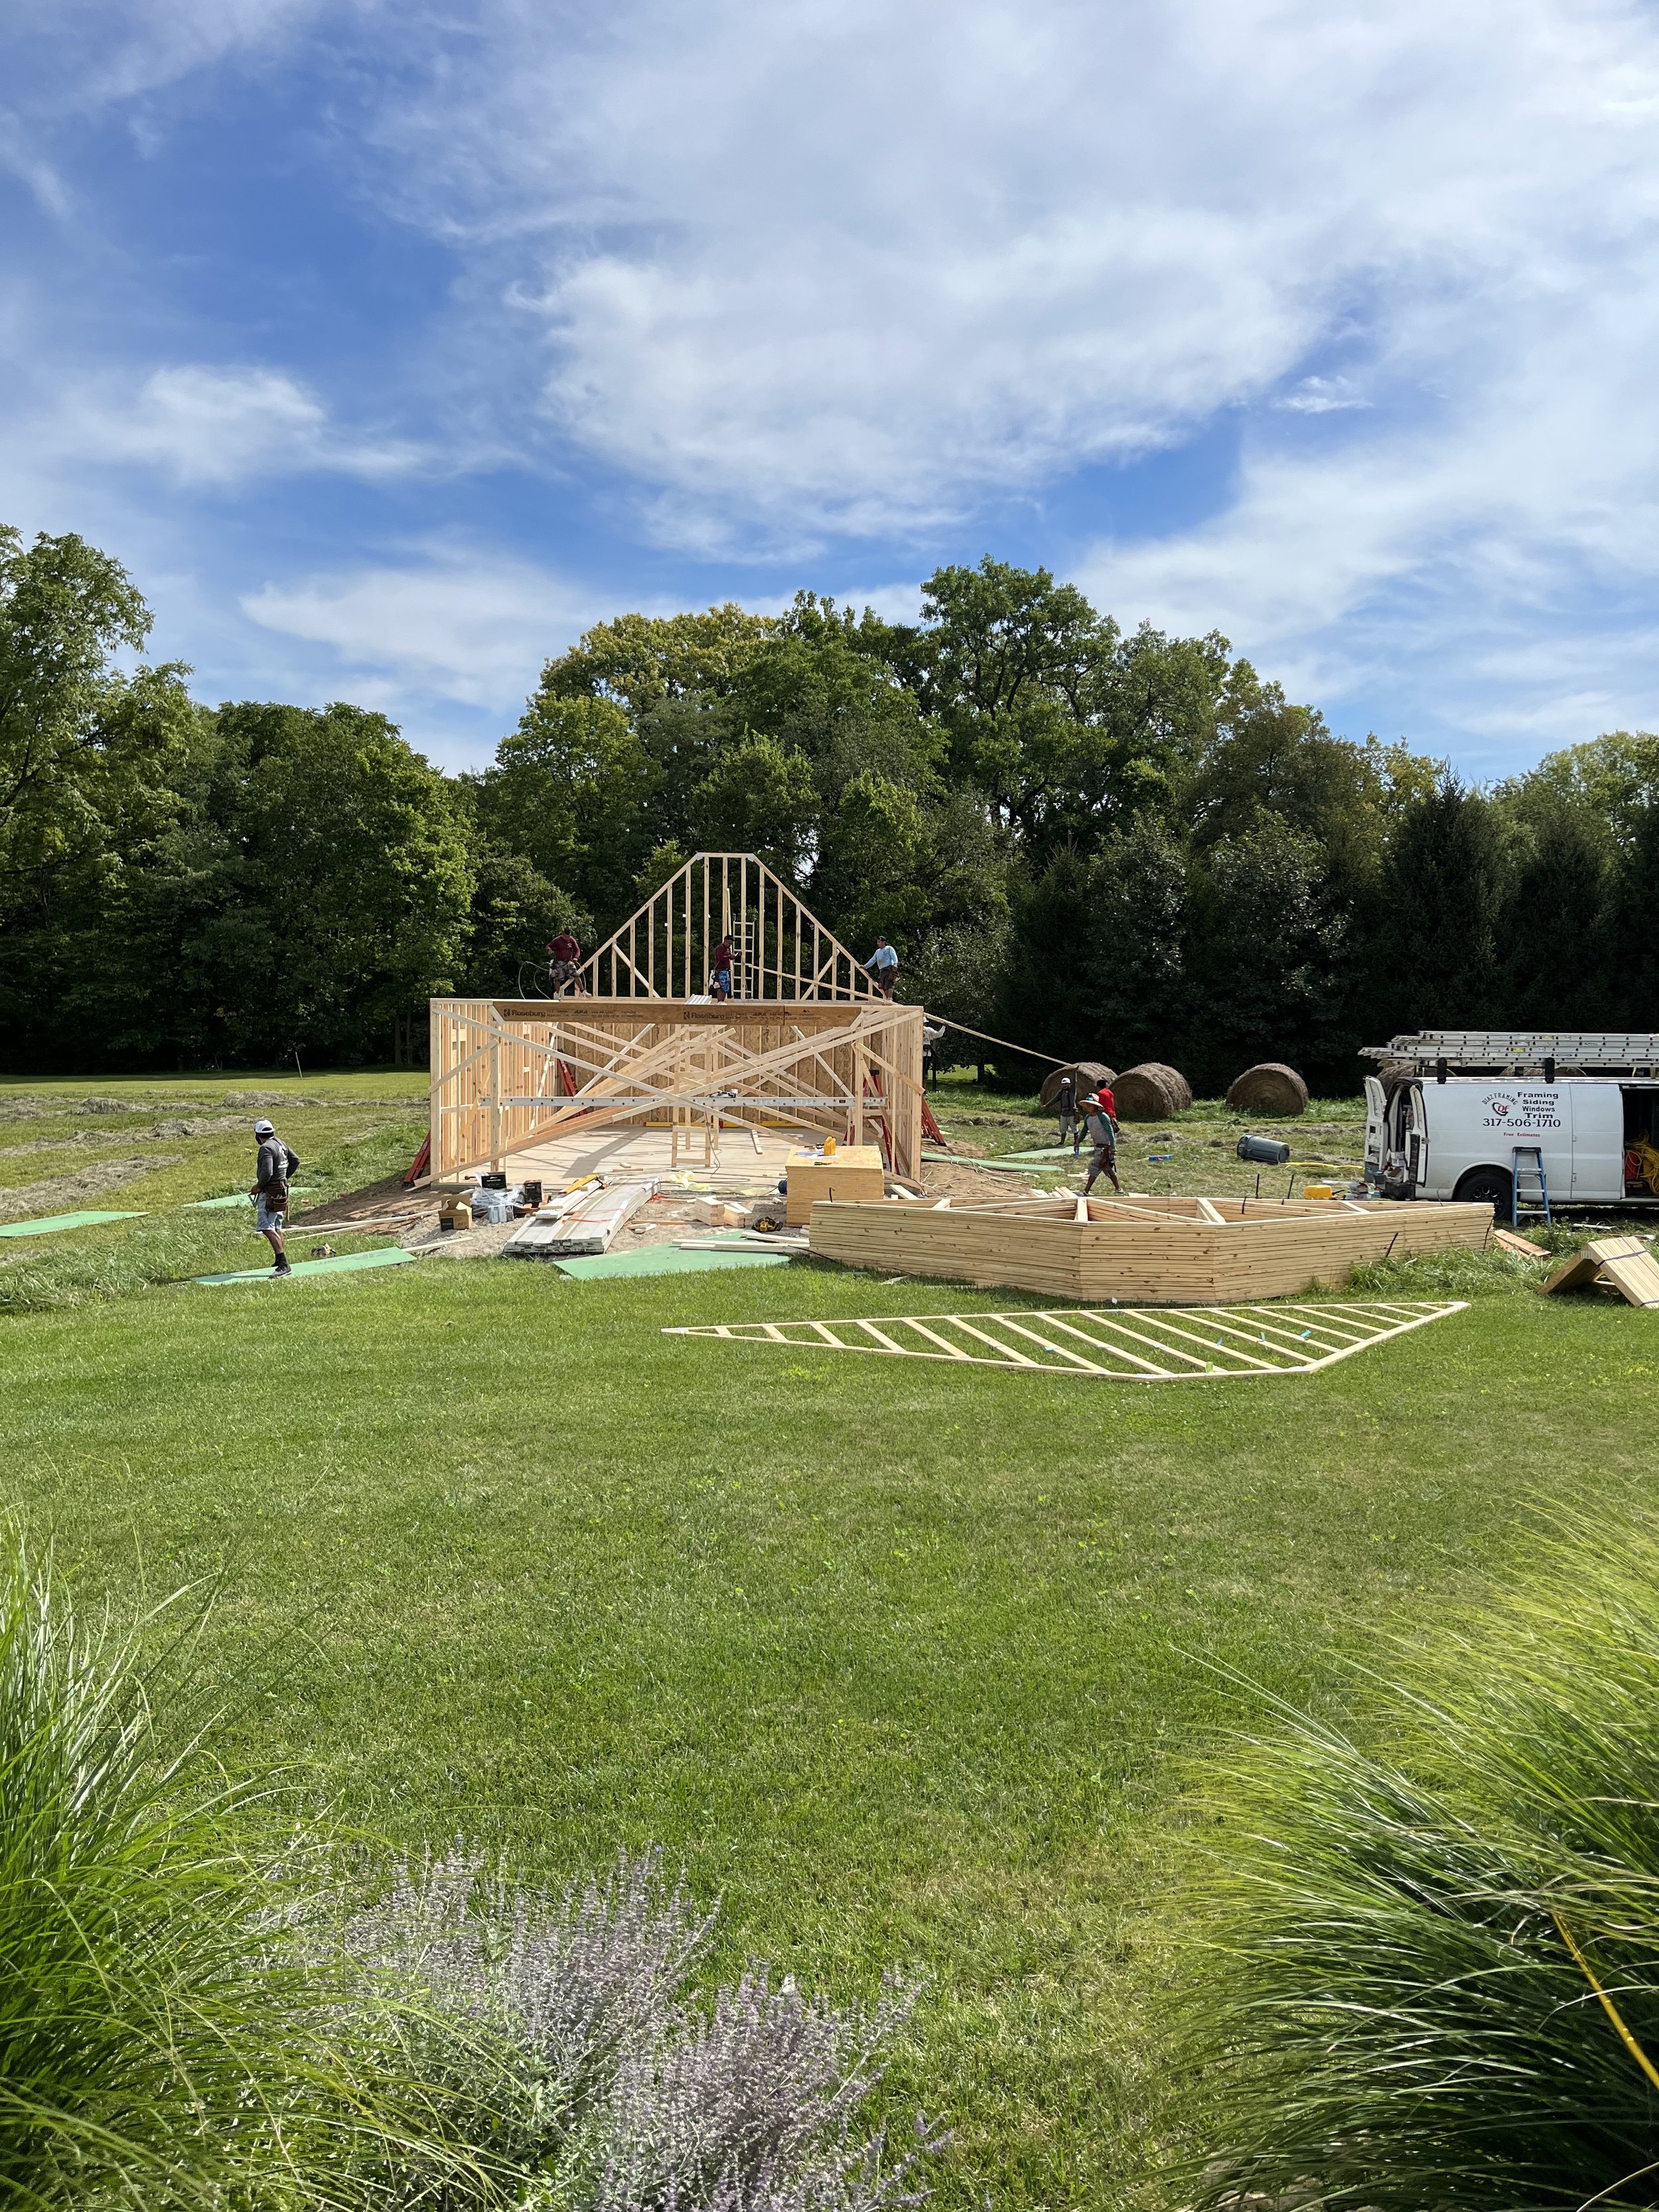
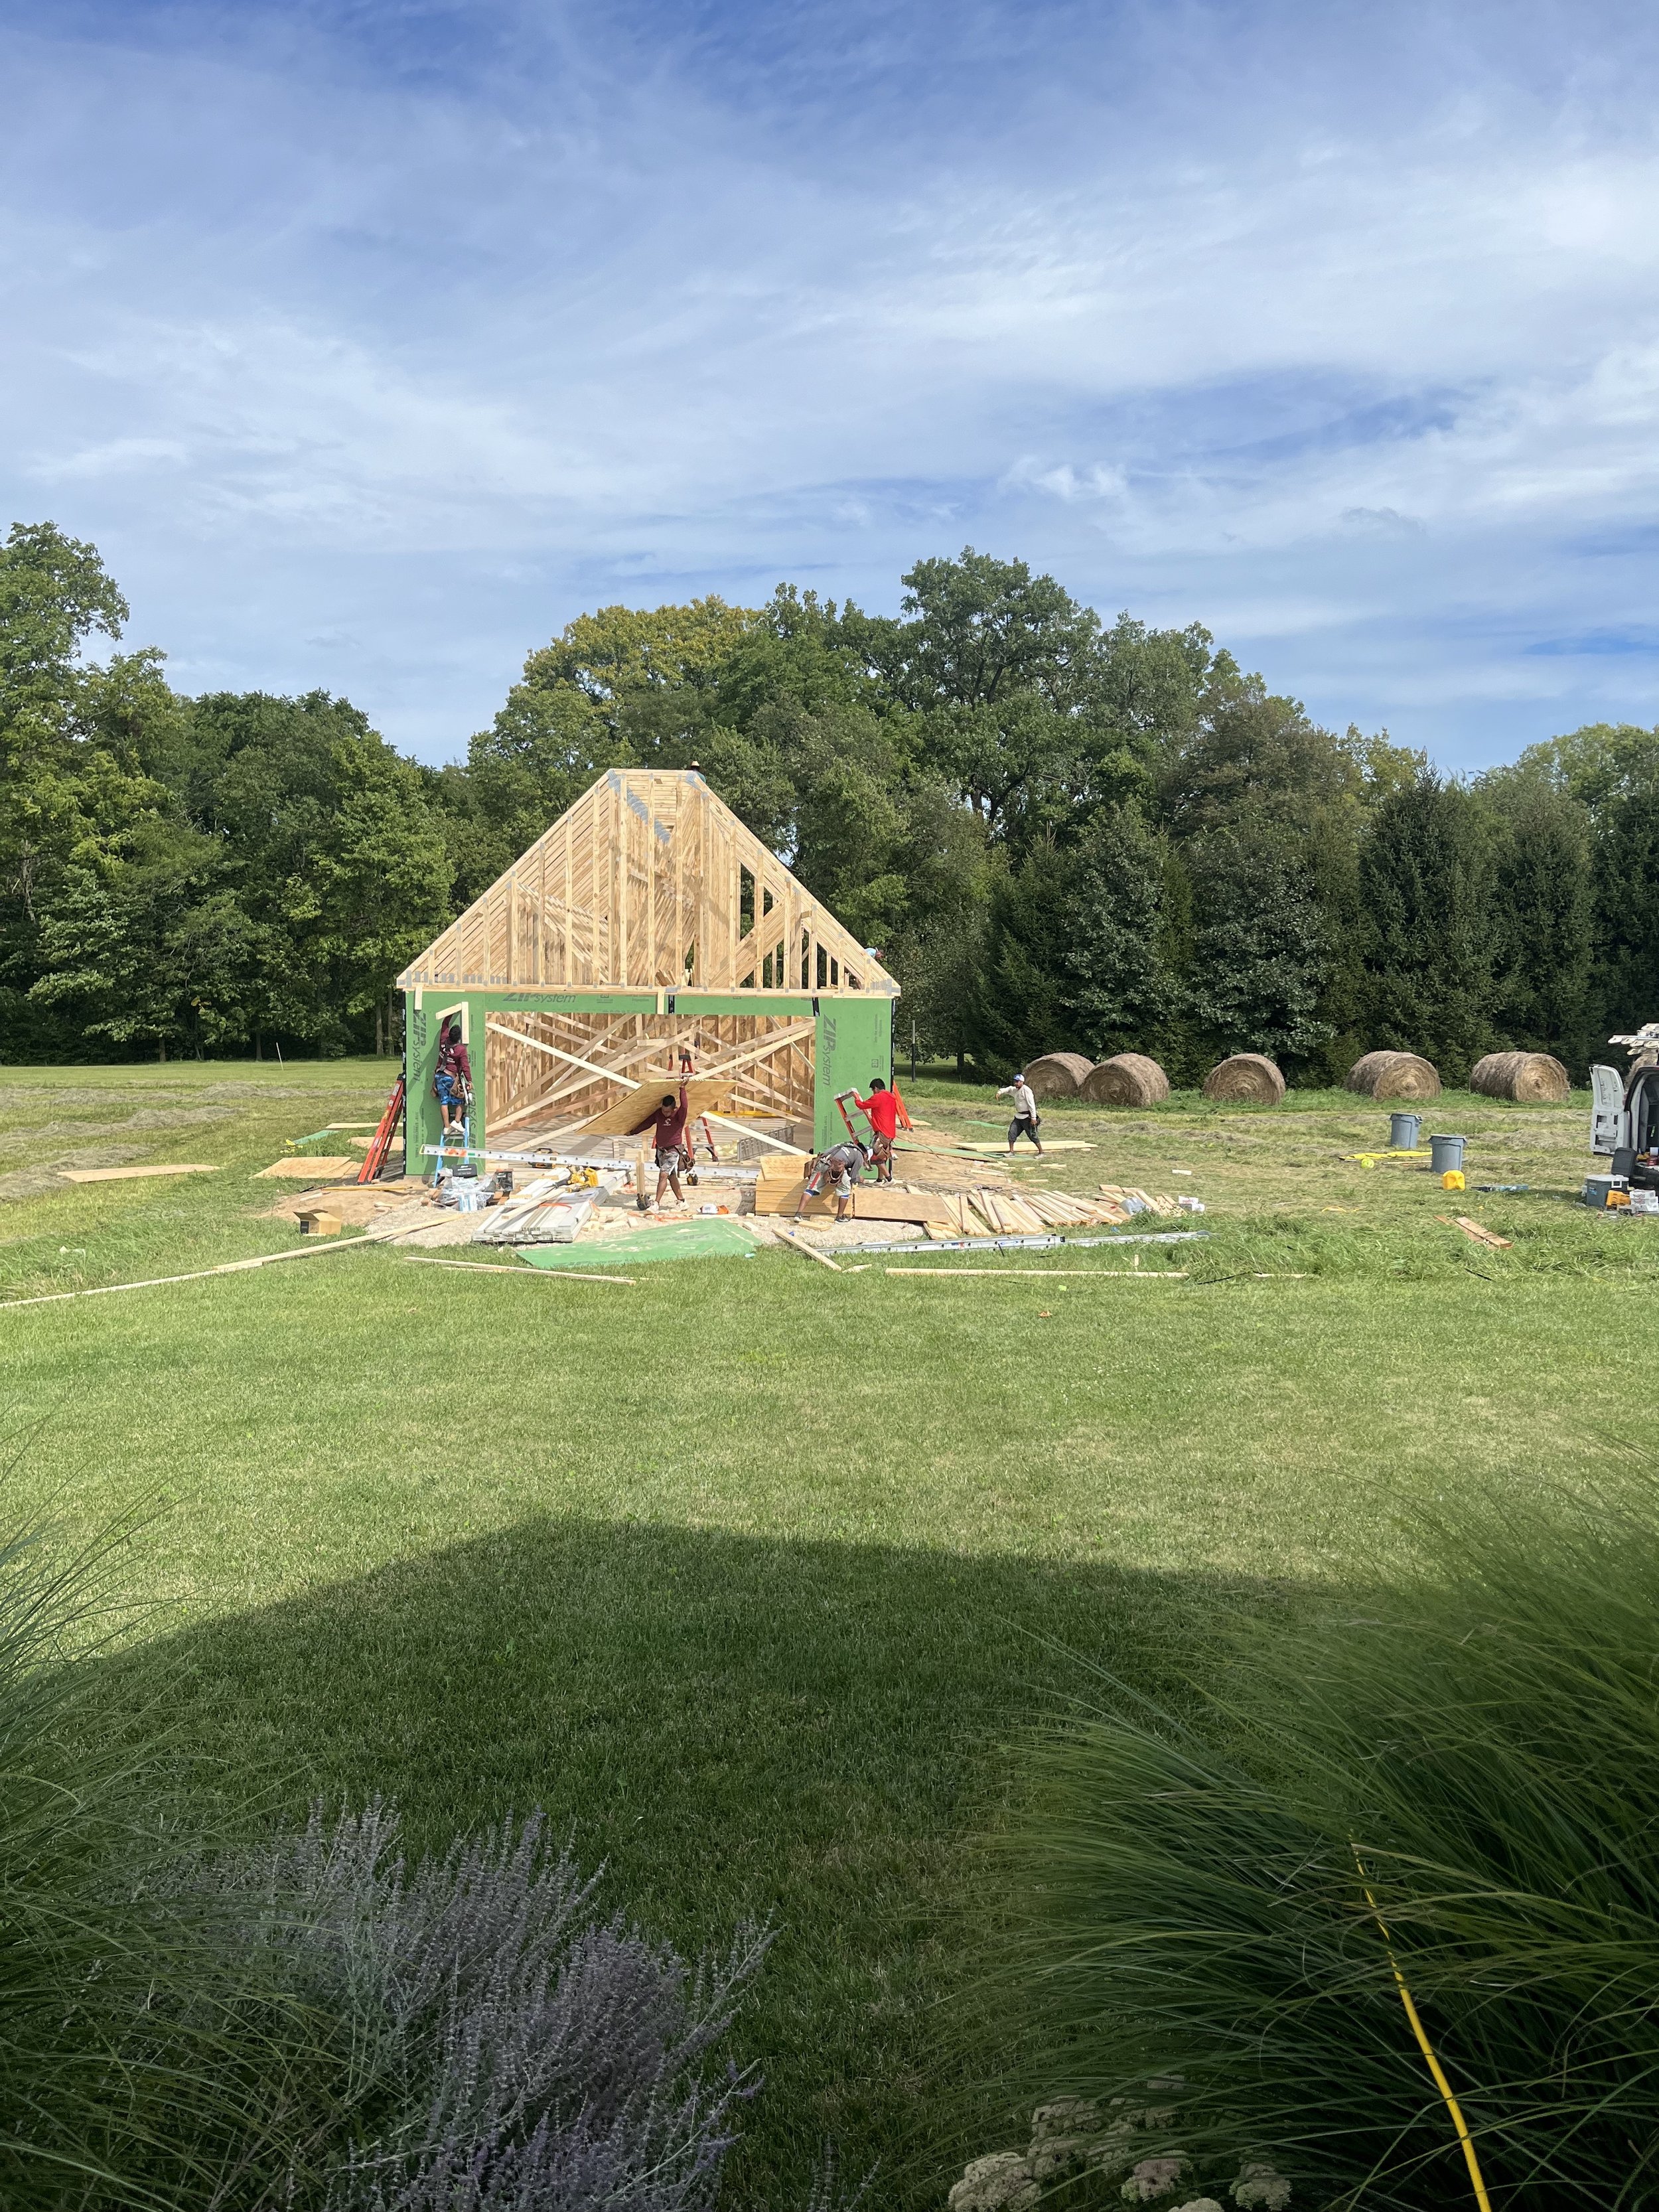
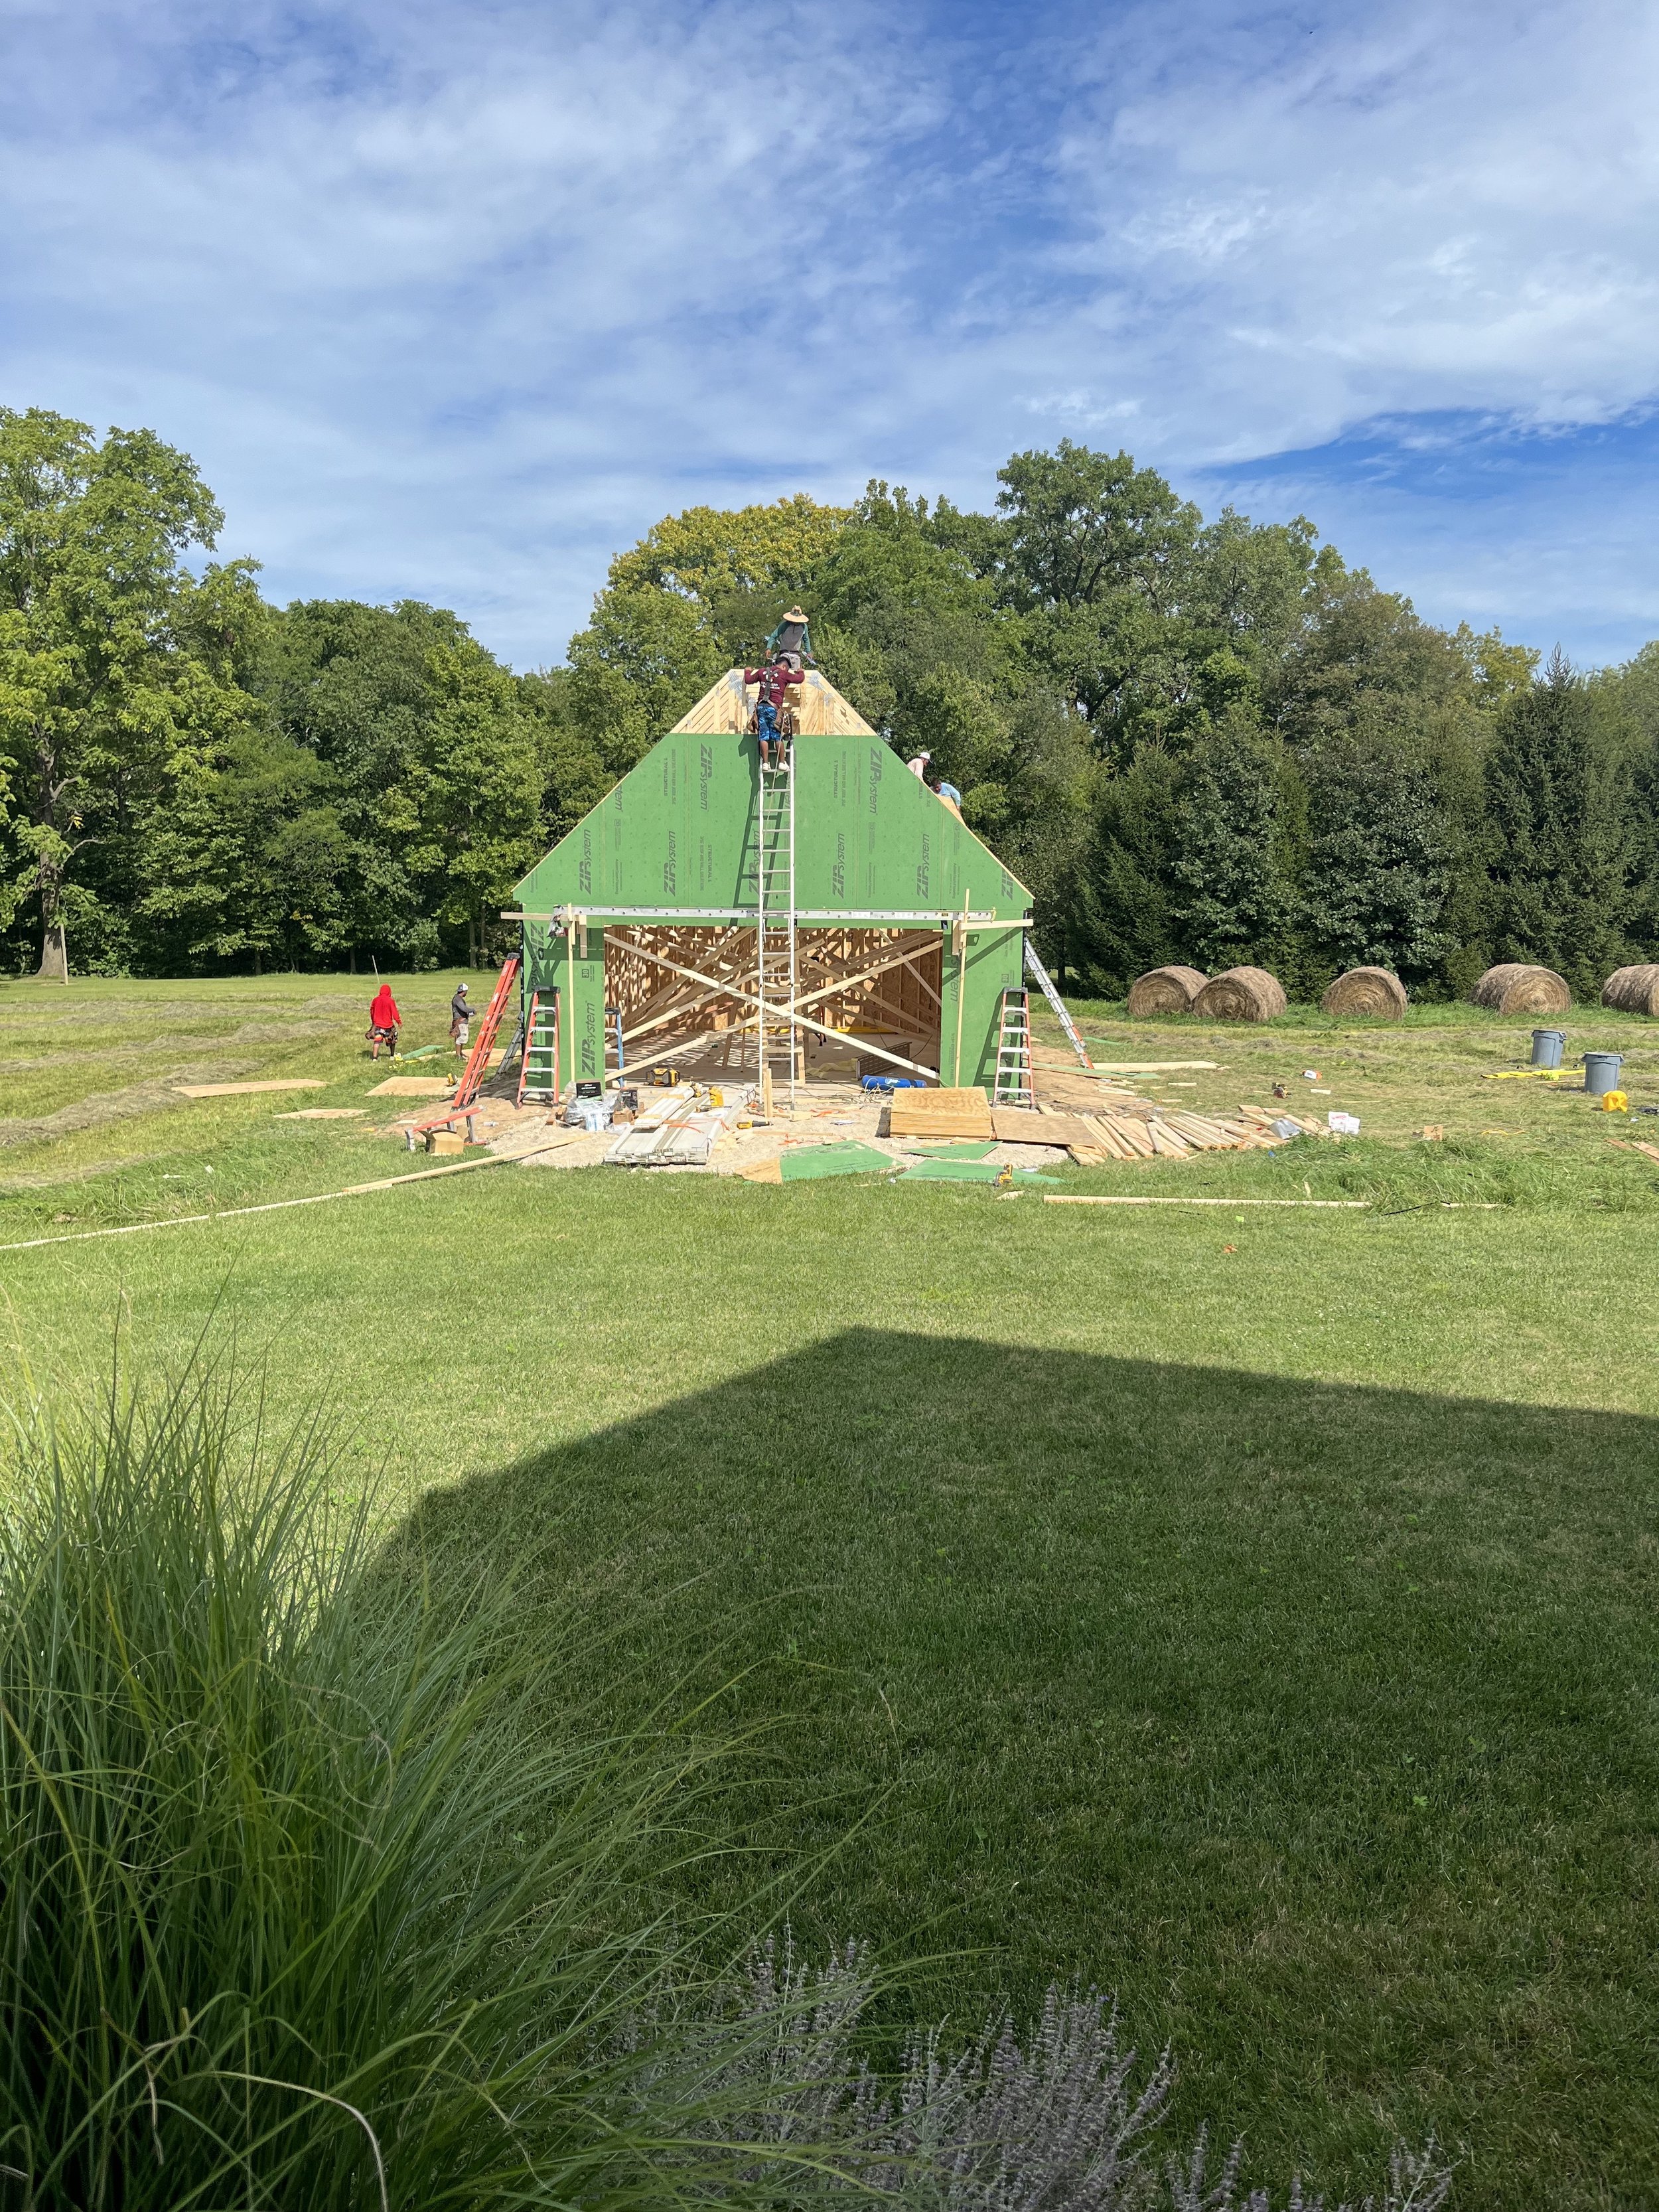
How long did the build take from beginning to end?
We officially broke ground on August 23, 2022 and the build was complete on October 17, 2022 - so just under two months on construction! This doesn’t include any of the interior or landscaping work that we’re handling ourselves and will be a continual work in process for many years to come or all of the back and forth years prior to get a plan in place.


Will you connect your main driveway to the barn?
No plans to do so as we aren’t regularly driving in/out, but we always could in the future.
Will you paint the interior walls or leave them wood?
Leave them wood. We love the warmth it brings to the space.
How/why did you decide on a metal roof?
We used the same metal roof on our home/garage, and have been so pleased. Standing seam metal roofs last forever, and we have no plans to leave anytime soon, so it felt like a smart investment. We also love the look.
This post is not sponsored or in partnership with any of the aforementioned brands but the article contains affiliate links. When you shop via the links above I may make commission on a sale at no additional cost to you. All opinions are my own.