DIY Wall Lamp
Despite endless messages and pleads for a tutorial, I’ve hesitated to share how we make our lights for quite some time because I by no means want to discourage people from supporting great brands. I envy so many of the lights from Workstead, Allied Maker, and Cedar and Moss, just to name a few. With that said, we simply can’t swing spending thousands of dollars on lighting in our home. If you have the means to support these great businesses, PLEASE DO! If you find yourself longing for great lighting on a small budget, feel free to give this tutorial a try.
PLEASE NOTE: I will say it now and again several times throughout this post… If you are not experienced and/or comfortable with electrical work, please hire a professional.
Tyler and I have made a lot of our own lights over the years. In fact, we made nearly every light in our last house. I shared a lot of the details about those on the blog, so feel free to go WAY back in the archives (circa 2014-2016!) for more information. Just search “light” on the blog or click the following links:
Bathroom (These are nearly identical to the lights we later built for our bathroom in this house, we just used slightly different finish options.)

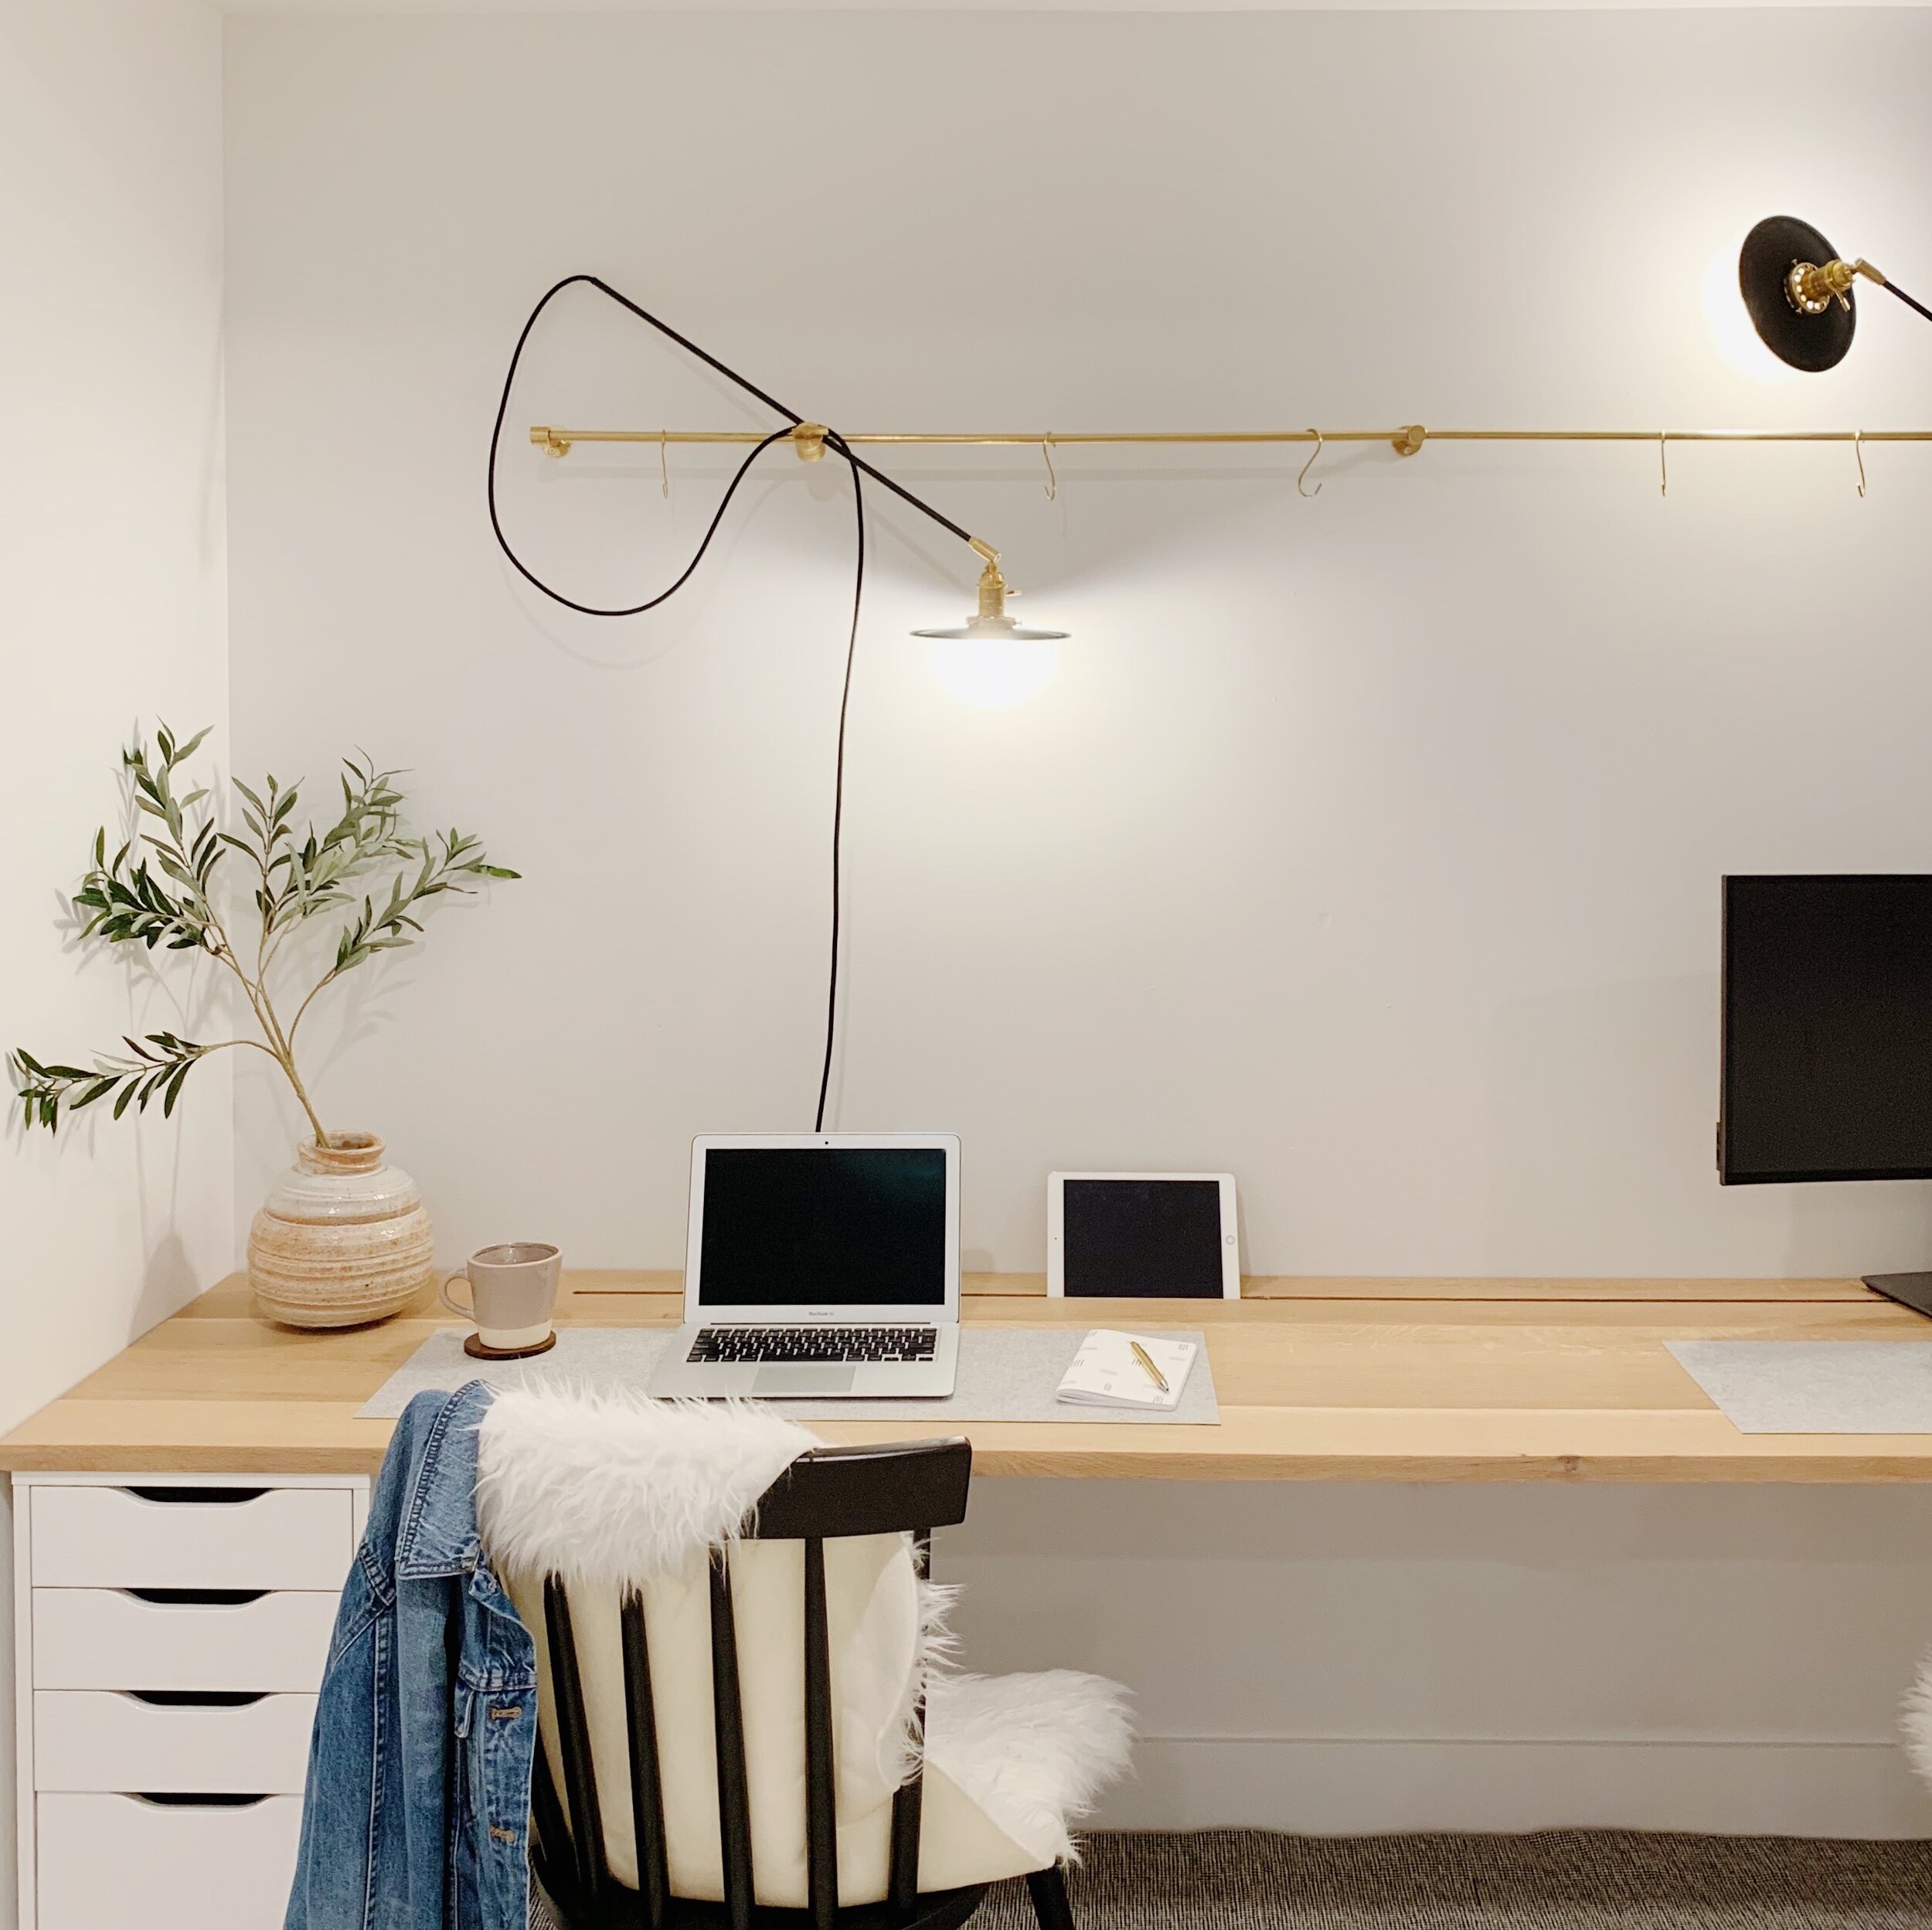
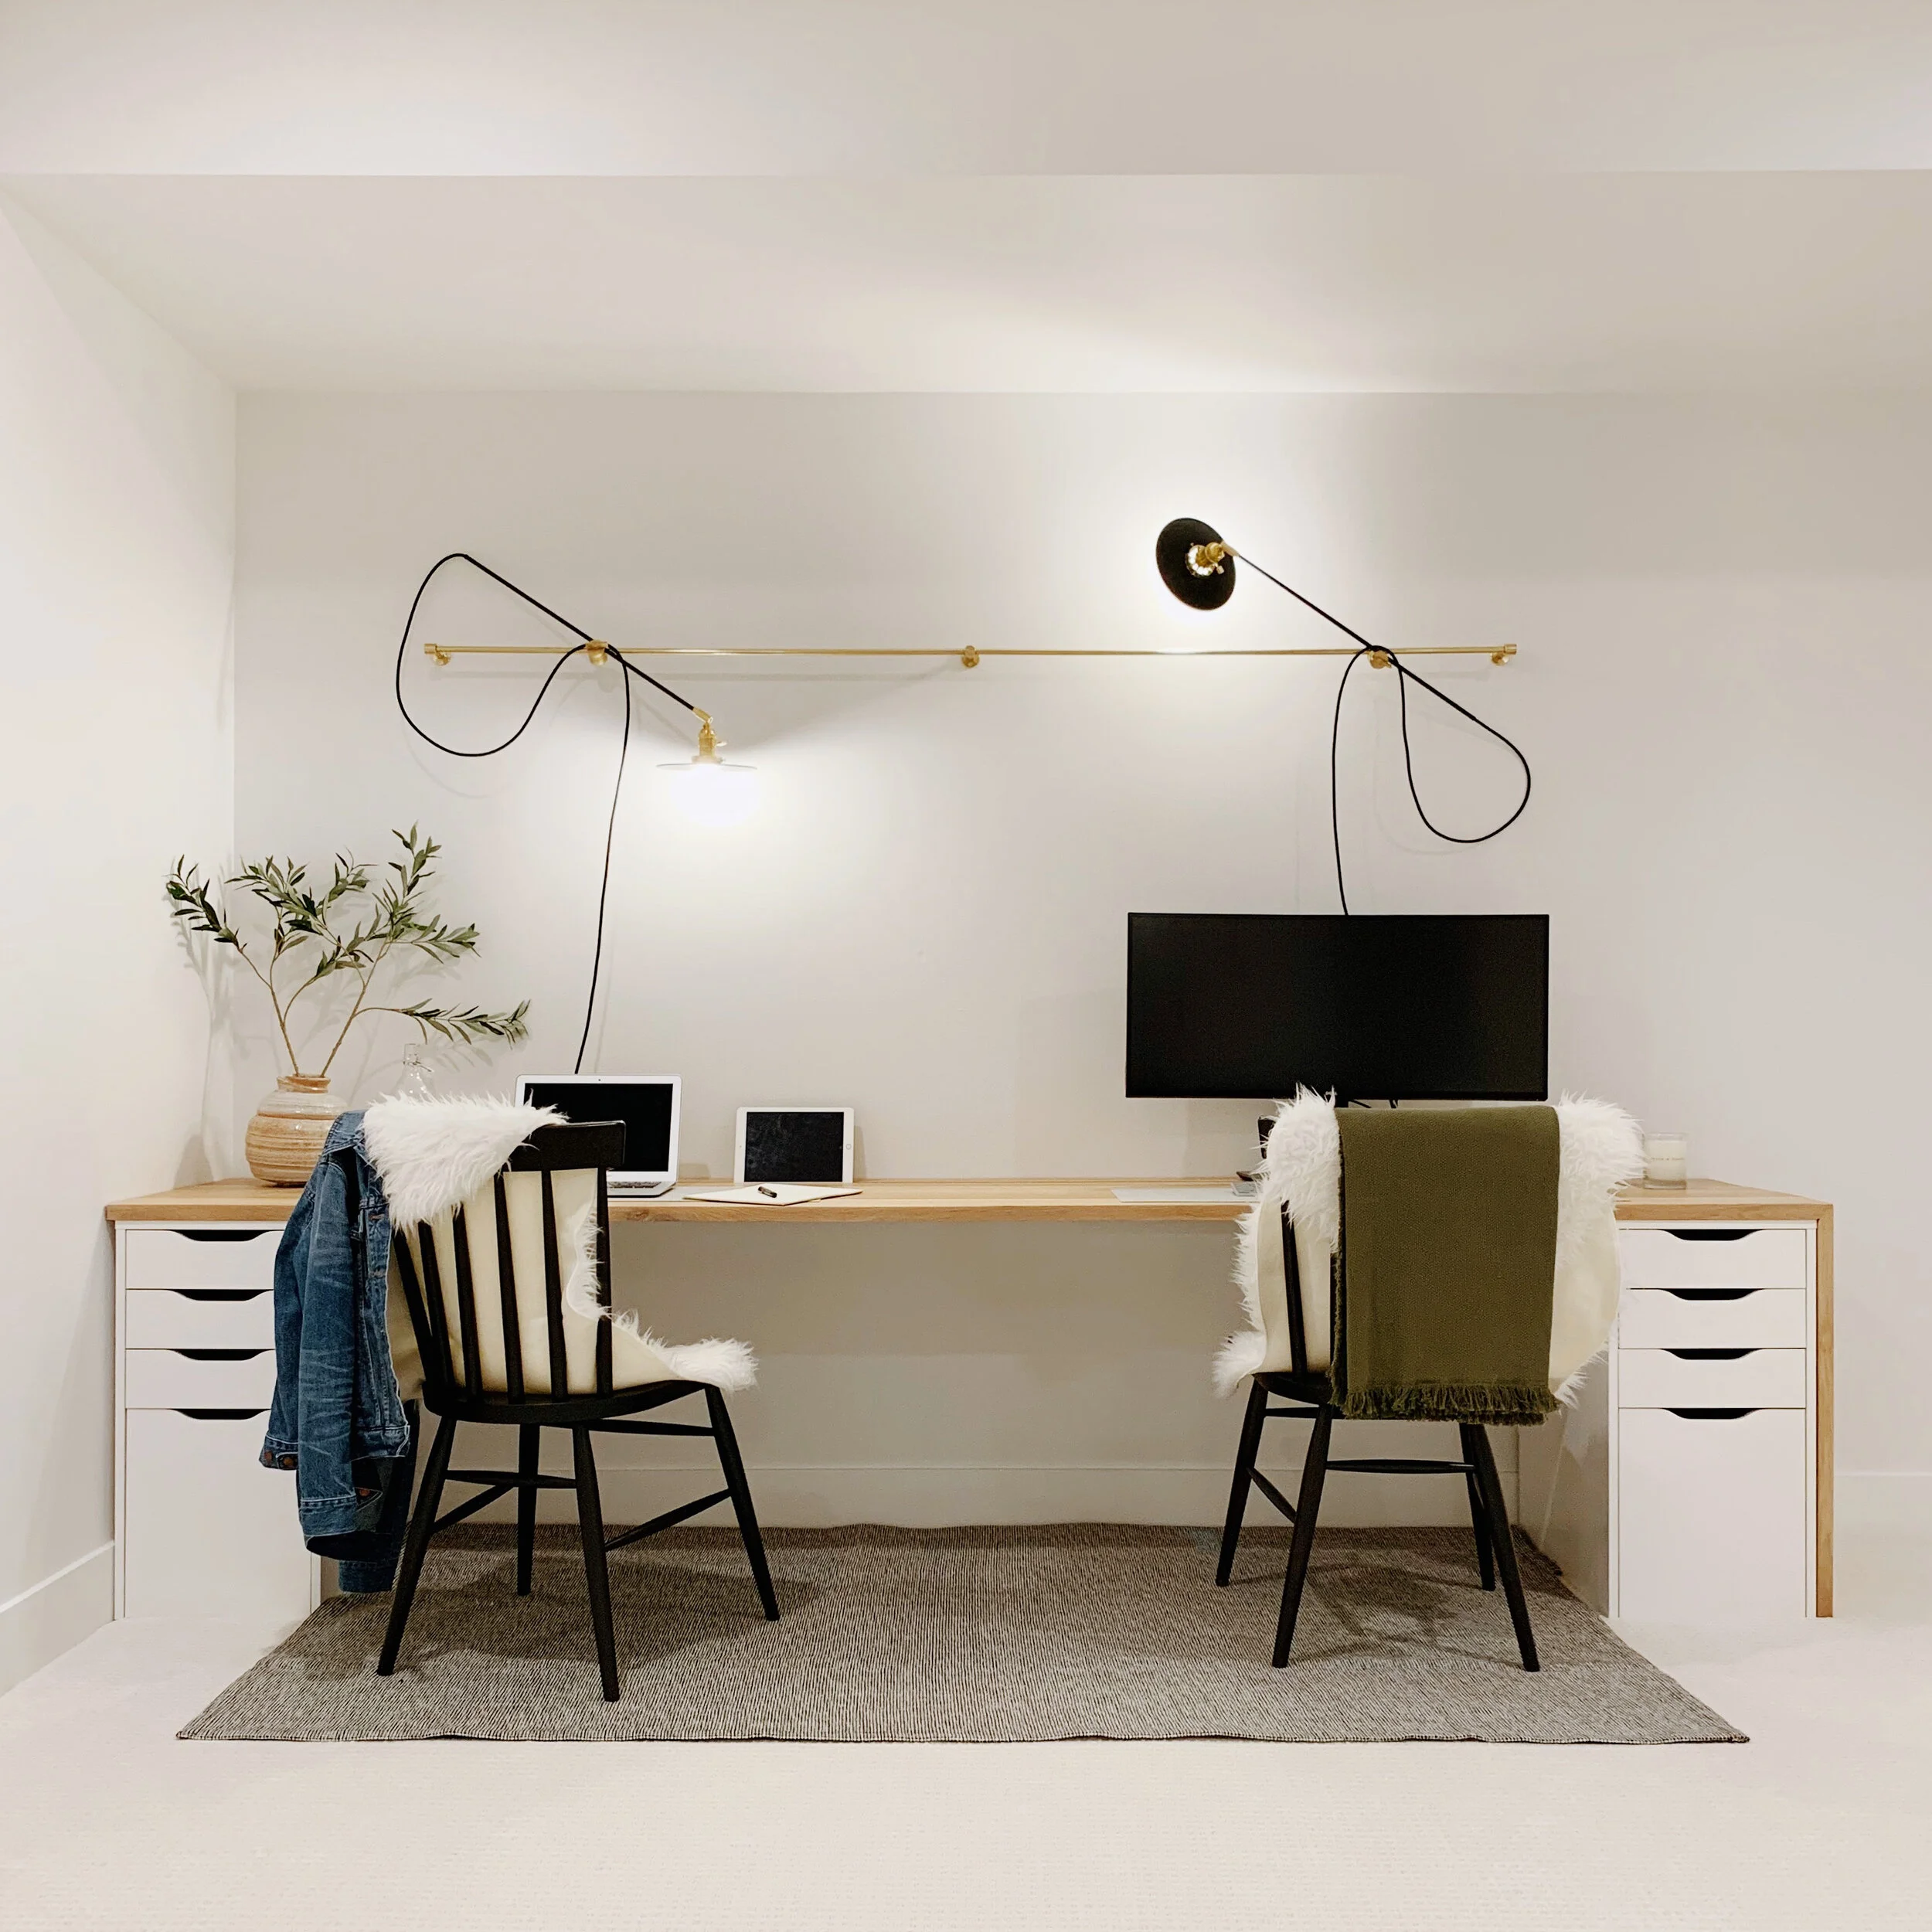
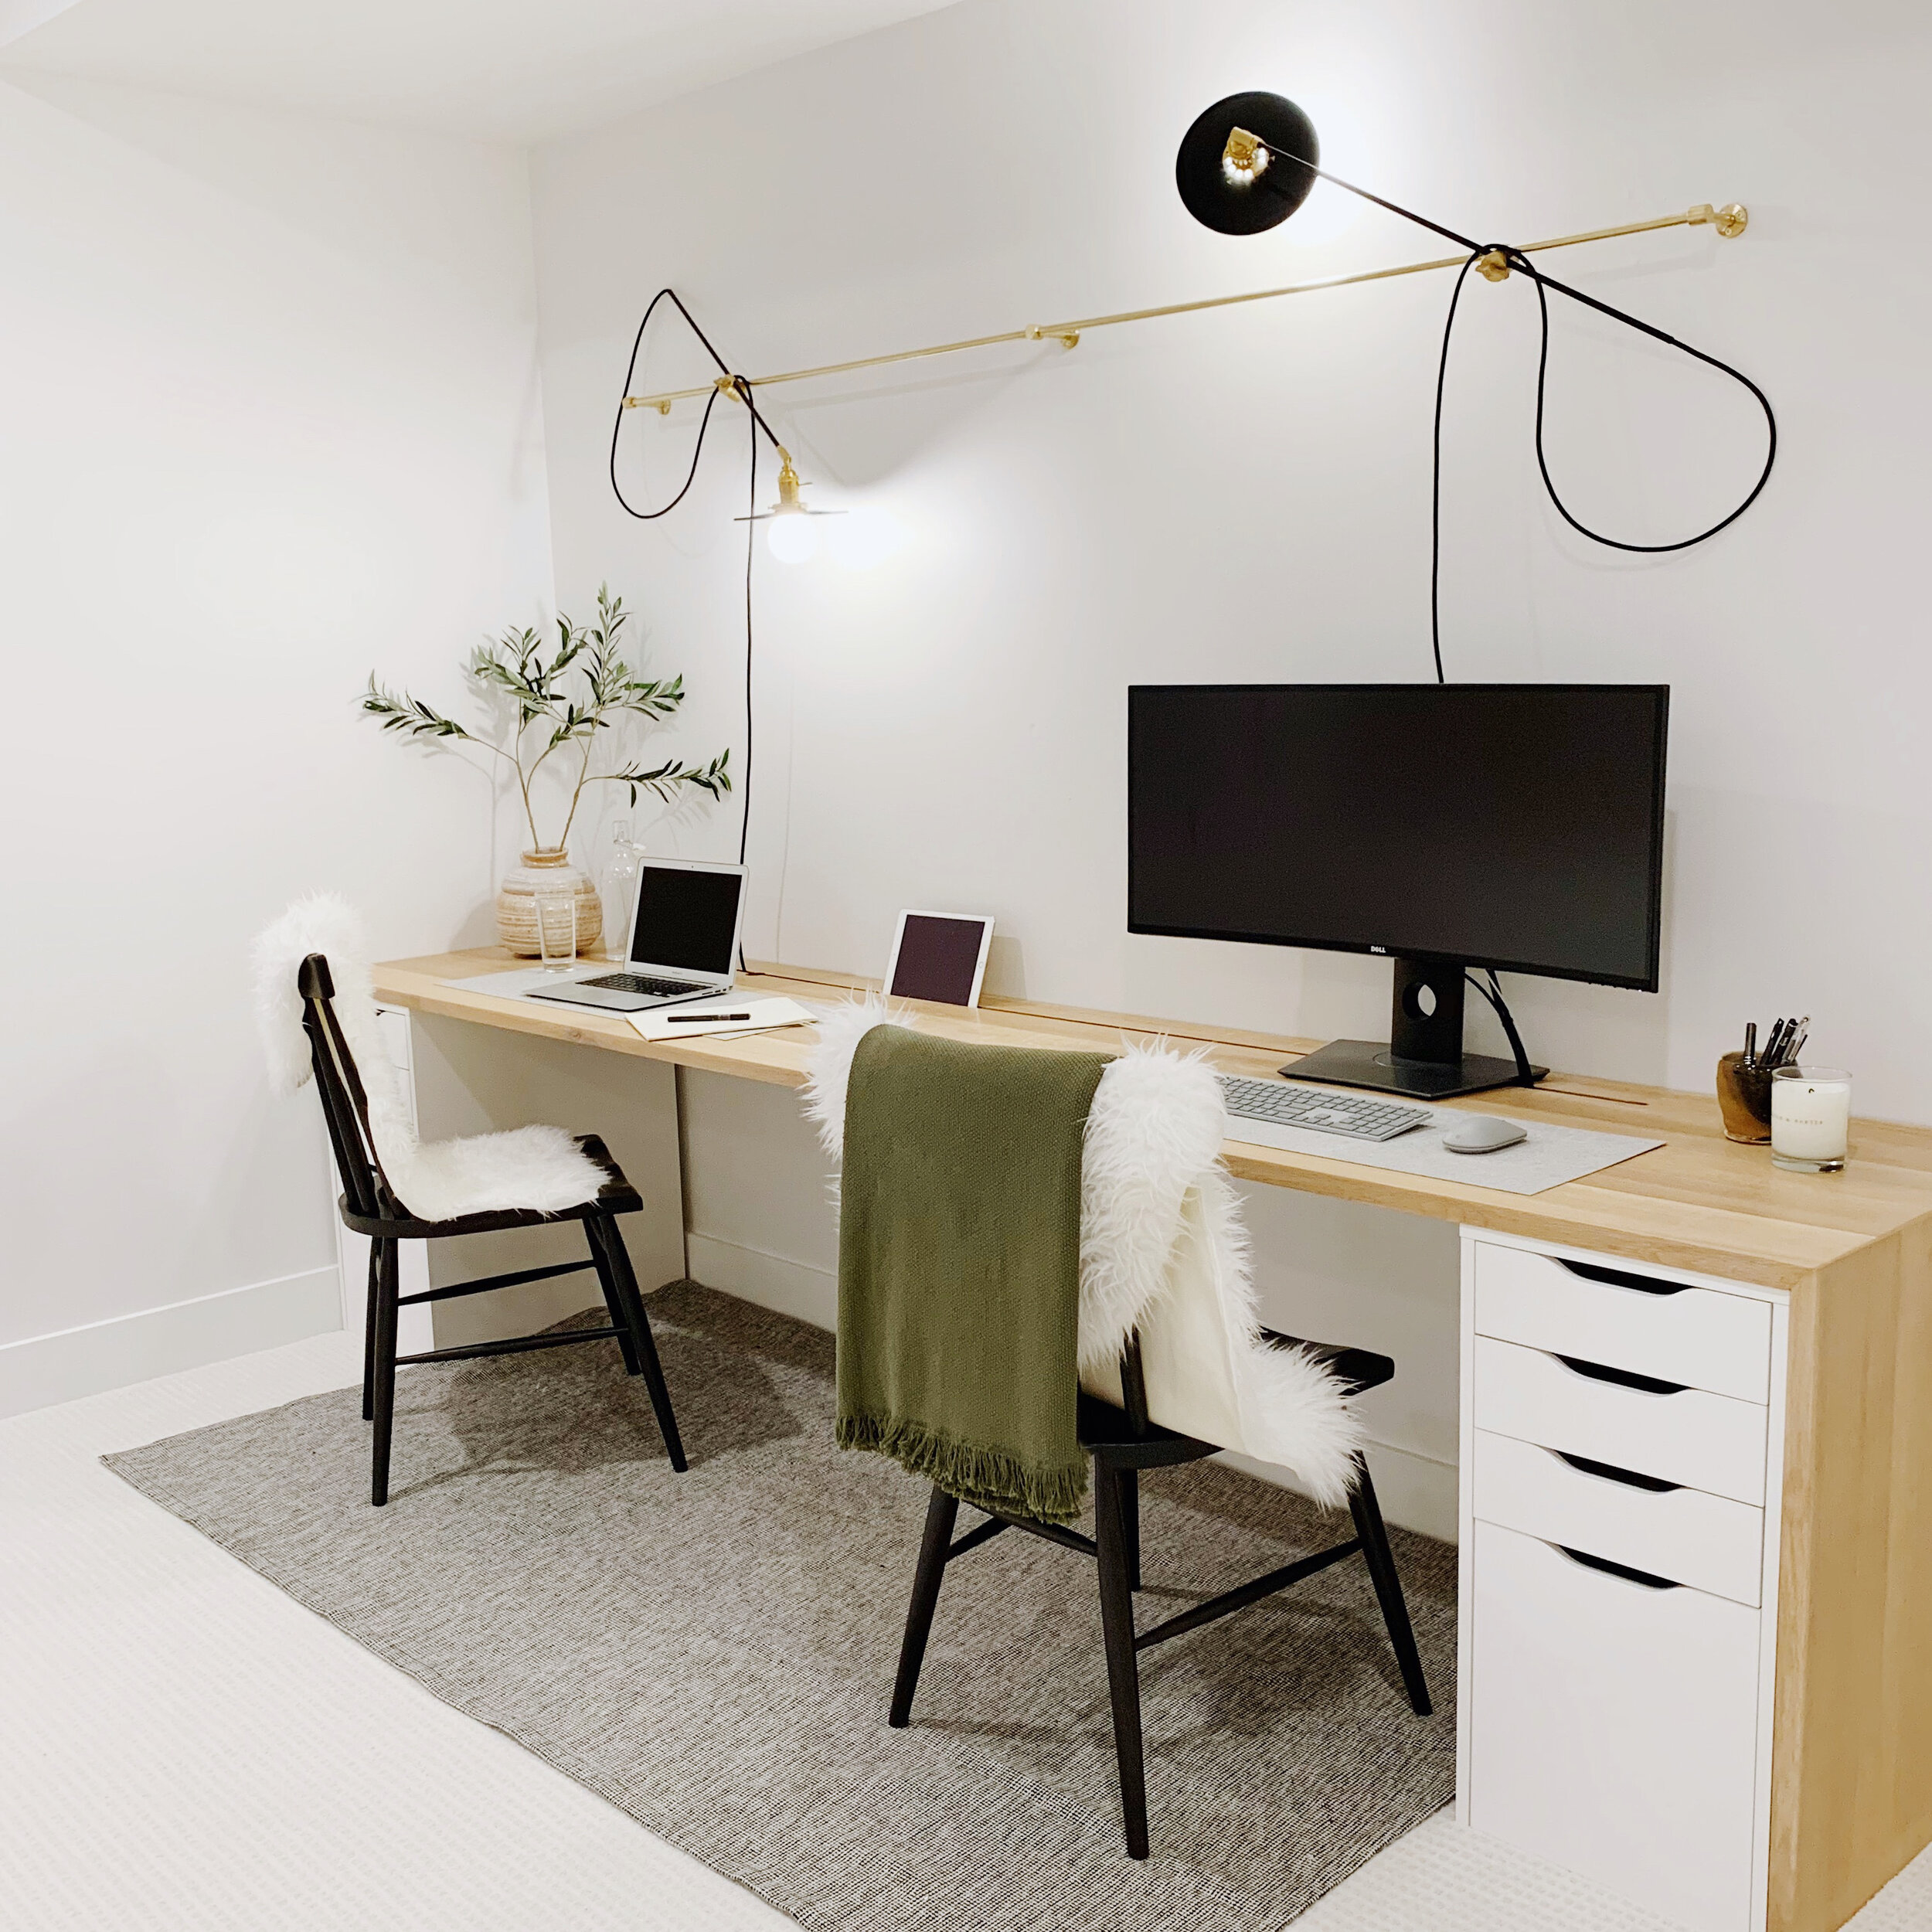
I searched high and low for a lighting solution to our basement office. We needed some visual interest and a nice task light, but I wanted to keep the desk as free of clutter as possible yet have lights accessible anywhere along our 10’ desk. I threw around some ideas and Tyler said, well, why don’t we just attach some lights to a bar on the wall and you can move them wherever you want? YES! The lights I had in mind were nearly identical to those we built in our guest bedroom - our version of the “Wall Lamp” by Workstead. Instead of all brass, however, I wanted to do black this time around.

Photo: Workstead
After several attempts at light DIYs, the hardest part, hands down, is figuring out what pieces and parts to order. We have always ordered all of our supplies from Grand Brass Lamp Parts, located in West Haven, CT. The quality is great and they have a vast range of parts. Figuring out which body, canopy, nipple, or hickey needed is a true learning experience, but hopefully detailing the exact parts we used below will help you get started.

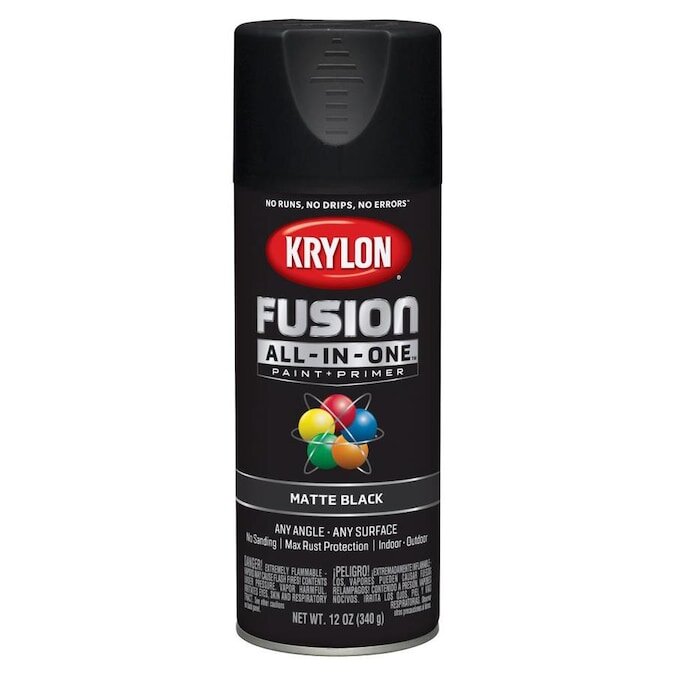
PLEASE NOTE: We’ve found Grand Brass to have a great selection of brass parts, but if you’re after other color options, don’t be afraid to use spray paint or even take the pieces somewhere local to have them powder coated. In this project, matte black lamp shades were not available online, so we bought unfinished steel and spray painted them matte black.

P A R T L I S T
W A L L L A M P


All of the items shown above are required to make ONLY the two wall lamps. I am assuming you are connecting it to the mounting bar (parts shown below). If you are not using the mounting bar and, instead, wish to connect the wall lamps directly to the wall (like we did in our guest bedroom), you will need to purchase additional pieces to make that work (threaded pipe, canopy, cross bar, screws, balls, rotary switch, etc.).
We made two lights, so the the number of parts indicated above assume you are doing the same. If you plan to make more or less lights, please adjust parts accordingly.
The total cost for two wall lamp parts (excluding shipping & tax) was $128.66.
P A R T L I S T
M O U N T I N G B A R


The parts shown above are to make the 7’ brass mounting bar ONLY. If you don’t plan to make the mounting bar, you can skip this part.
The total cost for the brass mounting bar (excluding shipping & tax) was $74.89.
That brings the total cost for the entire project to $203.55 + shipping & tax which for us totaled $225.89. Not bad at all!
P A R T L I S T
T O O L S + E X T R A S
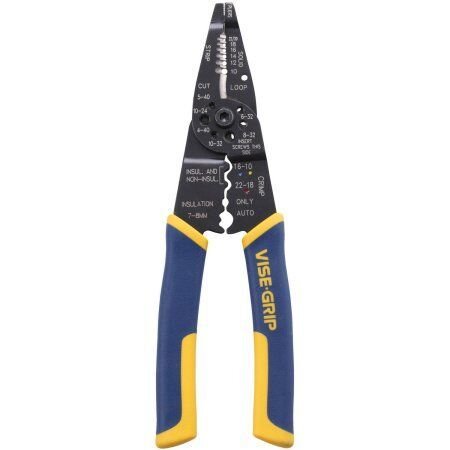
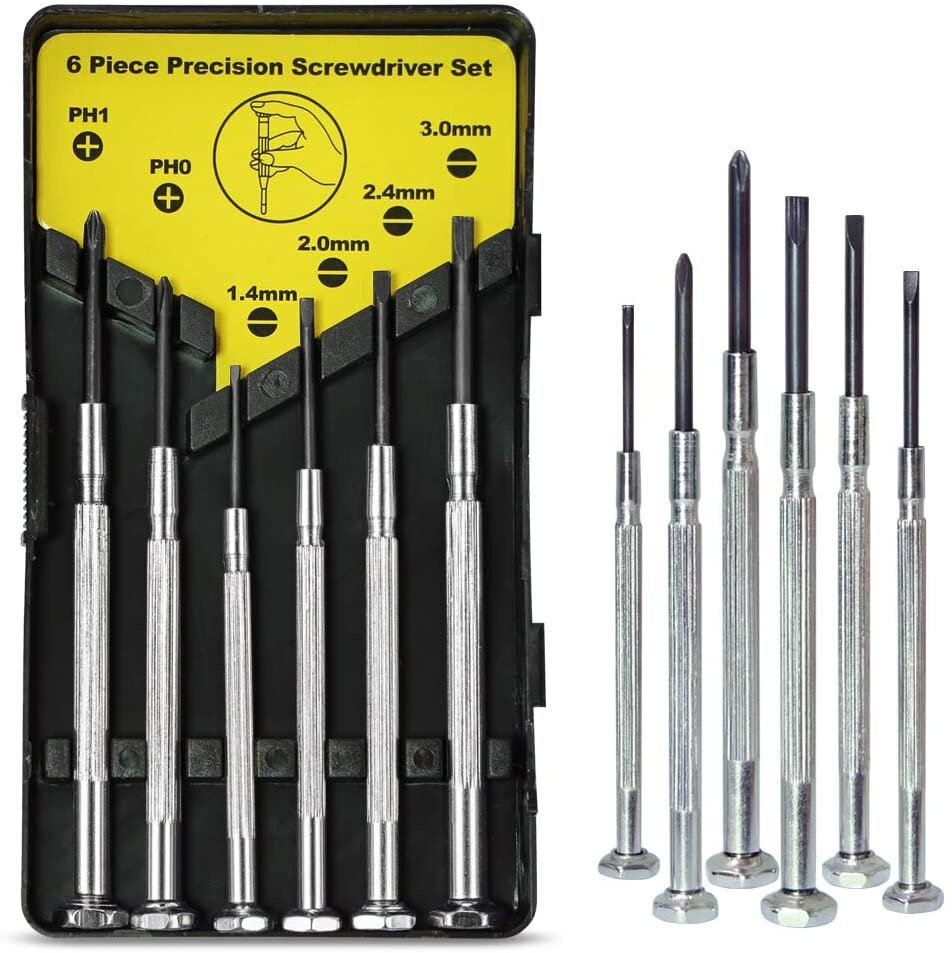
These are the tools and extra supplies we used for this particular project. Feel free to pick and choose whatever works well for you. At a minimum, I’d highly recommend some wire strippers and electrical tape.
A S S E M B L Y
PLEASE NOTE: If you are not experienced and/or comfortable with electrical work, please hire a professional.

1|
Assemble mounting bar.
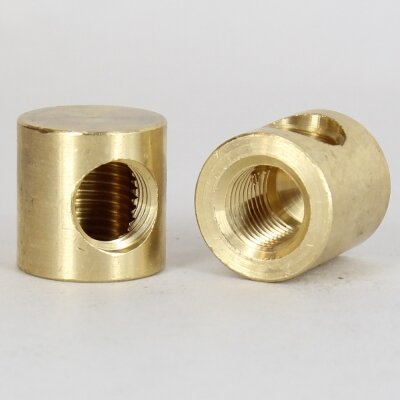
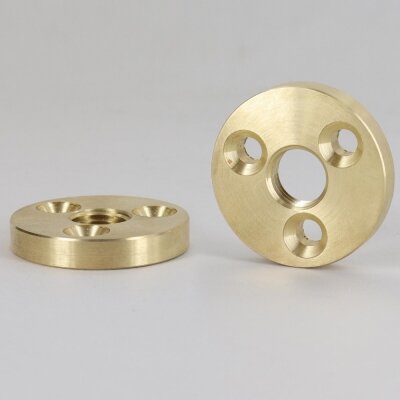
Screw one end of 3” brass bar into brass mounting plate and the other end into a 90 degree armback.
REPEAT.
Screw the remaining 3” brass bar into the remaining mounting plate and the other end into a tee straight armback.
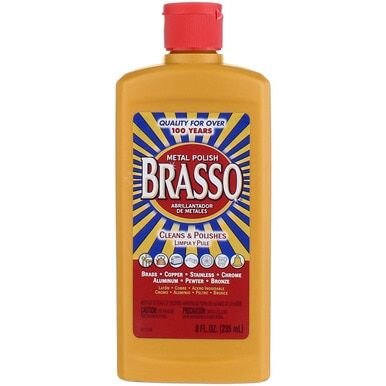
Note: I used Brasso at the end of the project once everything was installed, but feel free to do so from the start if that’s easier for you. You don’t have to use it at all, but I like starting with a really clean and bright brass finish that ages evenly over time.

2|
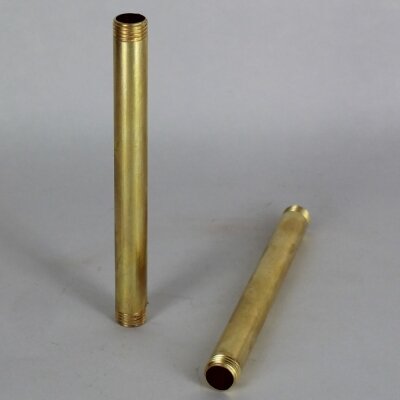
Screw 42” threaded brass pipes into the three pieces you just assembled with the tee armback in the middle.
Install on wall using brass screws and wall plugs, if needed.
Note: We had to wear gloves to get enough grip to get everything securely fastened.

3|
Spray paint lamp shades.

4|
Feed one end of black lamp wire through 24” black threaded pipe.
It’s going to be a tight squeeze and sometimes the nylon starts to peel back, so feel free to tape the end you’re feeding through. We used painters tape, but you could use anything.
Don’t worry about cutting the other end of your lamp wire just yet. I would recommend waiting until the very end to cut.

5|
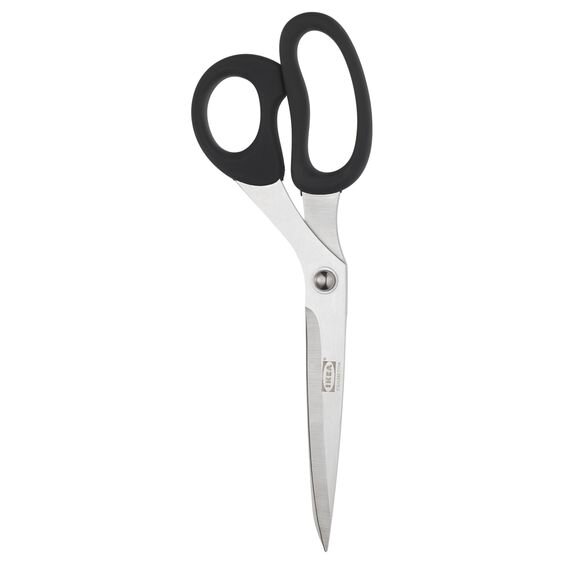
Next, peel back the nylon ~5”. We just pulled and tugged by hand and used scissors to cut it until we reached 5”. Secure the nylon with black electrical tape to ensure it doesn’t keep fraying.
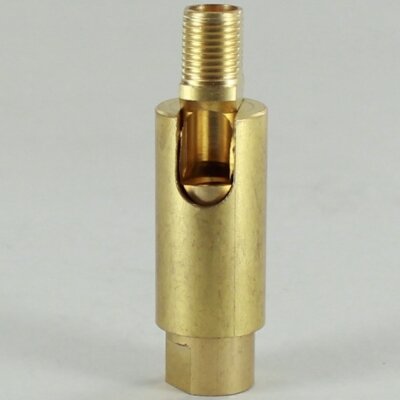
You want your friction swivel to easily slide on (it’s nearly impossible if the nylon is still attached), and to have enough wire sticking out of the top of the swivel that you can strip it and attach to the next piece.
6|
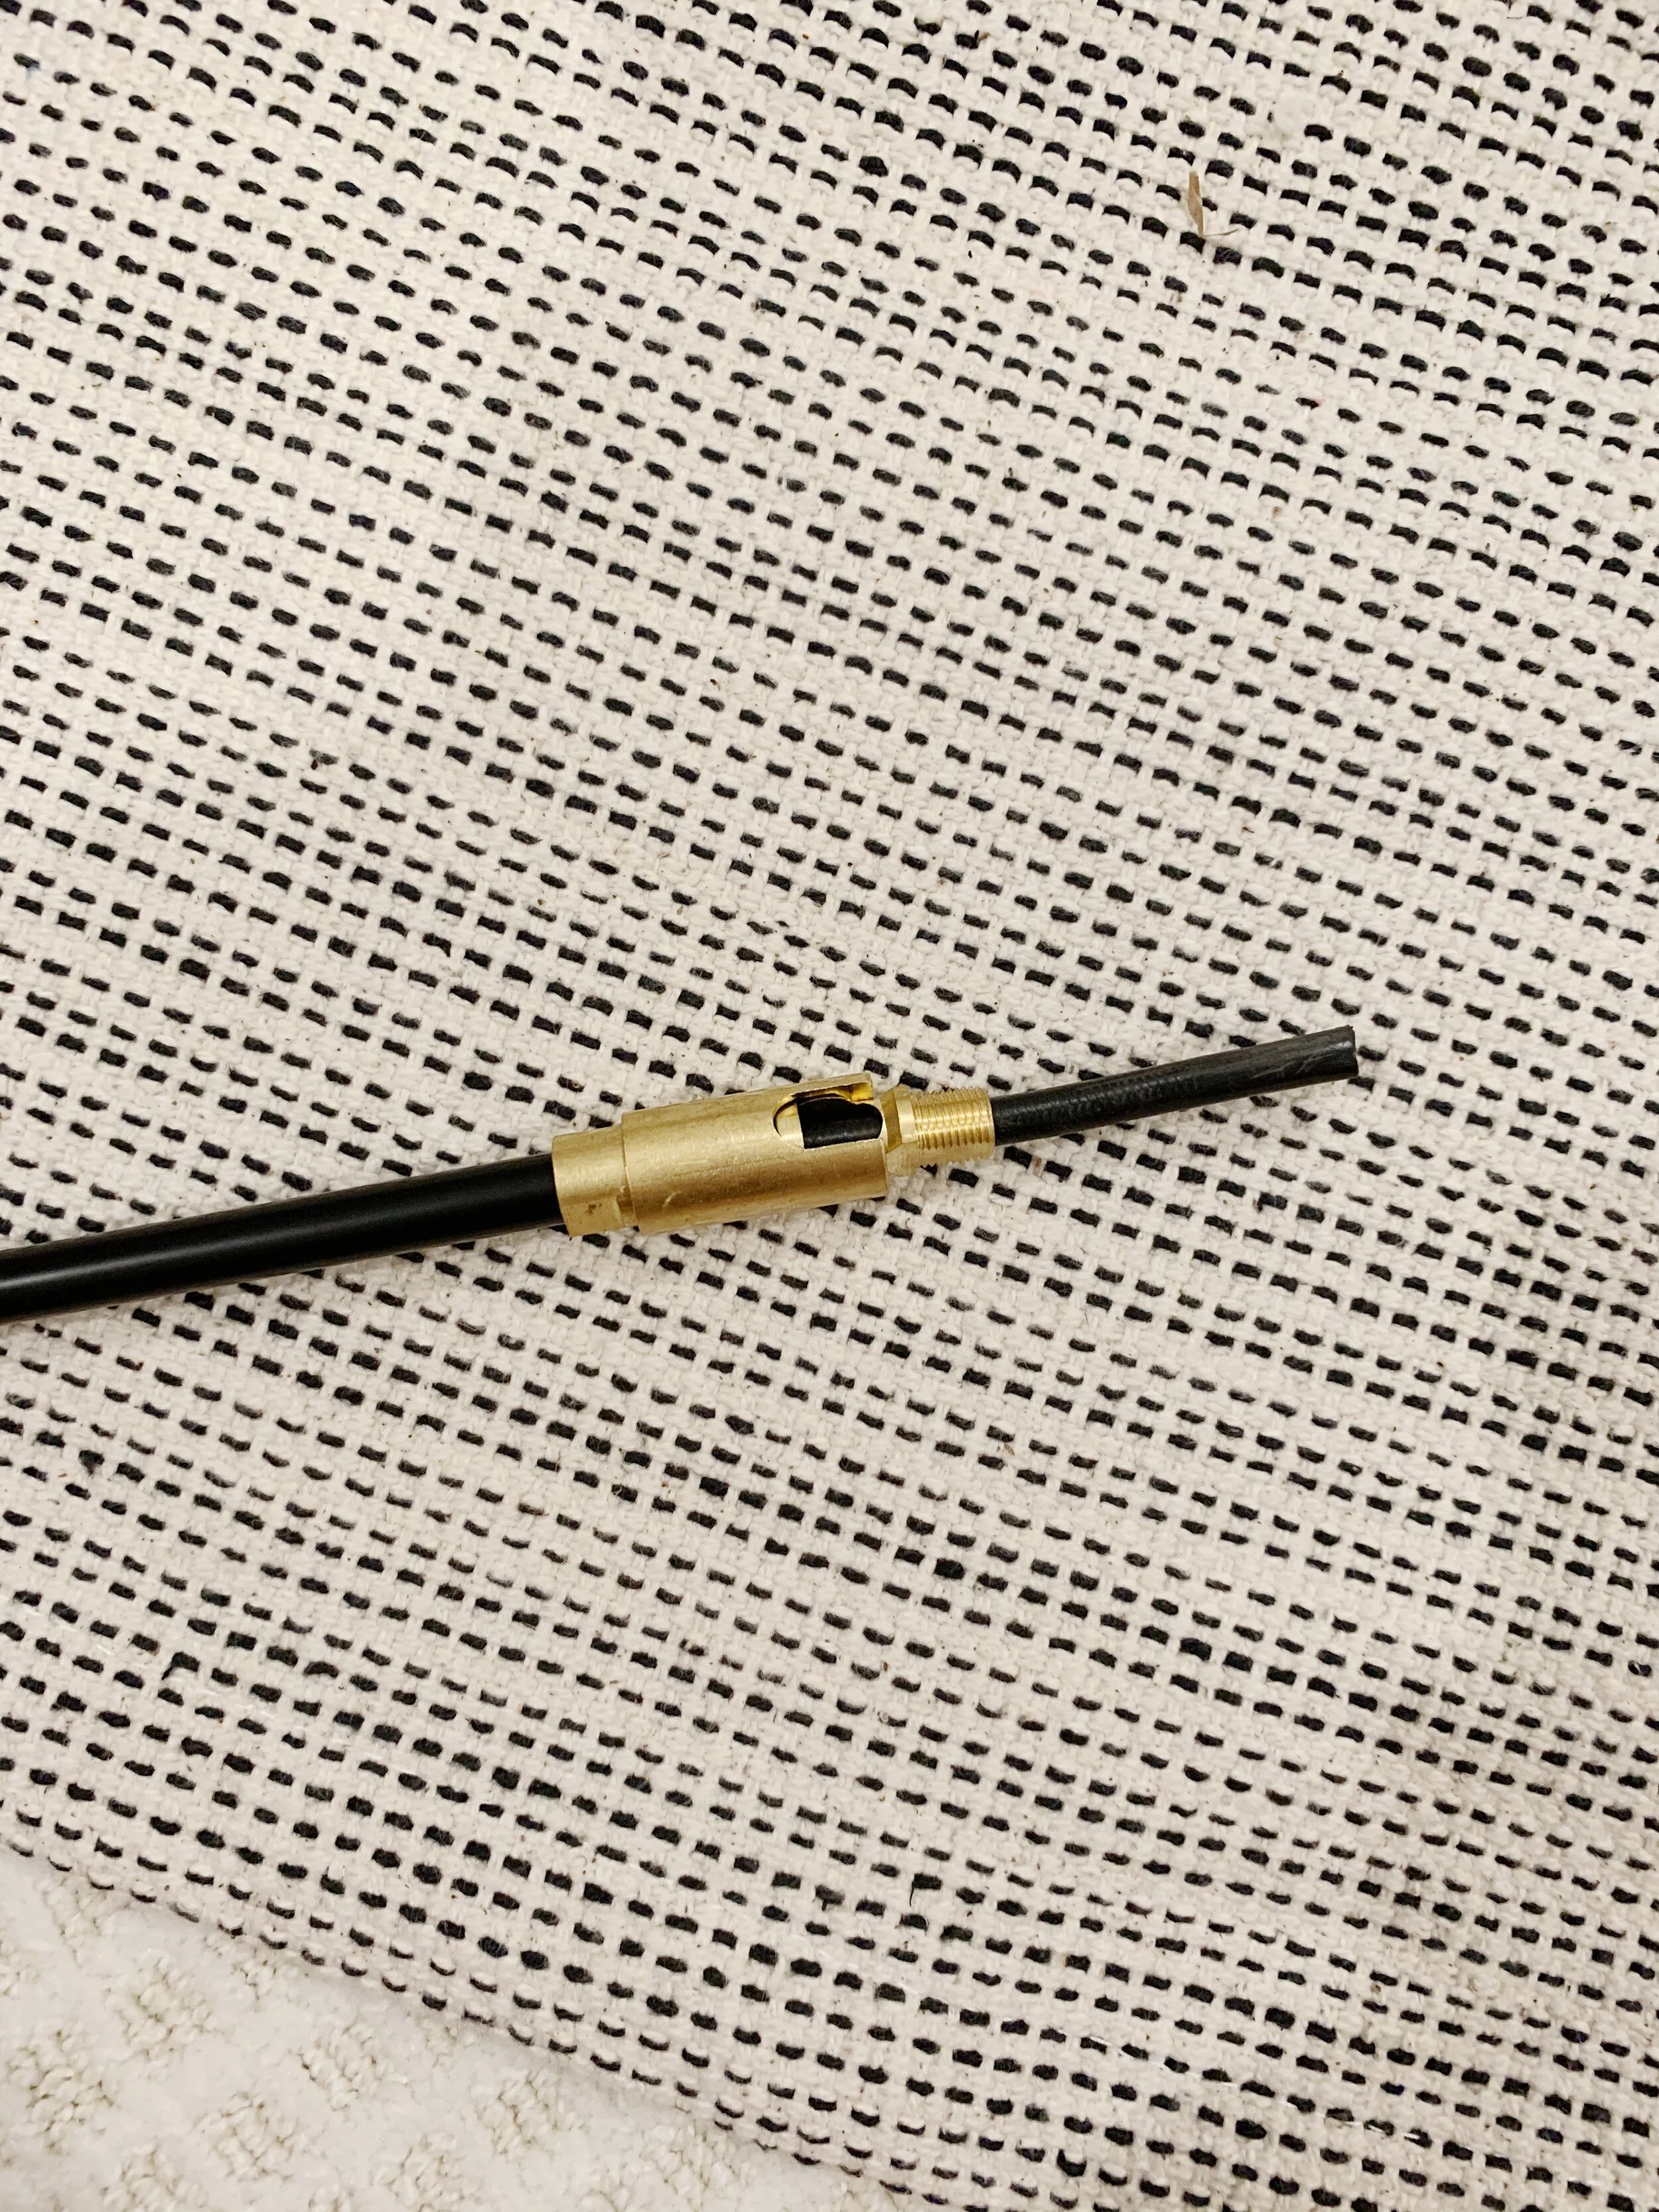
Slide friction swivel onto lamp wire and screw into 24” black threaded pipe.

7|
Use wire strippers to strip 1-2” off the end of the lamp wire. You will see two wires, white and black, as well as wire insulation.

8|
Trim the white insulation away with scissors. Be sure you don’t cut your white and black wires, though!

9|
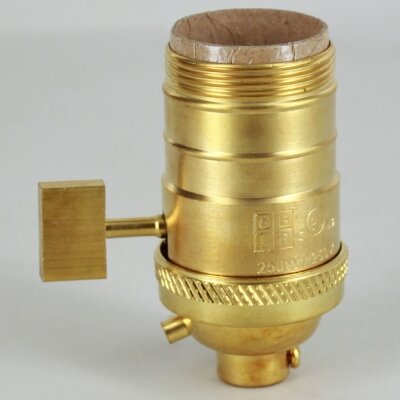
Disassemble lamp socket. Feed brass ring onto lamp wire followed by the middle section shown here.

10|
Screw the middle section noted above into friction swivel and tighten screw to secure into place.
Note: The brass ring you slid on before this will be attached soon! We haven’t forgotten about it.

11|
Strip 0.5-1” of wire coating off of white and black wires using wire strippers.

12|
Disassemble the remaining part of the lamp socket.

13|
Attach wires to black piece of lamp socket. You’ll likely need to loosen the screws slightly to feed the wires around.
The BLACK wire attaches to the GOLD screw.
The WHITE wire attaches to the SILVER screw.
Tighten screws.
Slide cardboard piece on top and the brass lamp socket cover over that.

14|
Screw brass ring on to the bottom of lamp socket to secure entire piece into place.
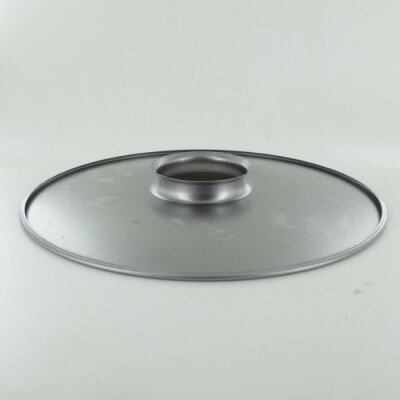
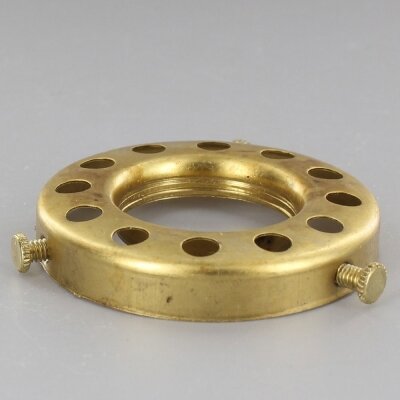
Next, grab the lamp shade holder.

15|
Screw lamp shade holder onto brass socket.
Grab lamp shade (I didn’t paint mine yet in this photo) and attach to lamp shade holder by tightening screws.

16|
Attach lamp plug.
At this point, you’re going to need to determine the final length of your lamp cord. We always wait until the end because cutting a cord too short and having to start all over is a big pain in the butt. I would recommend holding your light up to determine how much cord you will need to reach your intended outlet. Once determined, cut the lamp wire using your wire strippers/cutter.
Just like before, pull and cut the nylon back ~5”. Secure with electrical tape. Next, use wire strippers to strip 1-2” off the end of the wire and cut away the white insulation. Finally, strip 0.5-1” off both the white and black wires.
Open lamp plug.
Attach BLACK wire to GOLD screw.
Attach WHITE wire to SILVER screw.
Close lamp plug and secure with provided screw.
17|
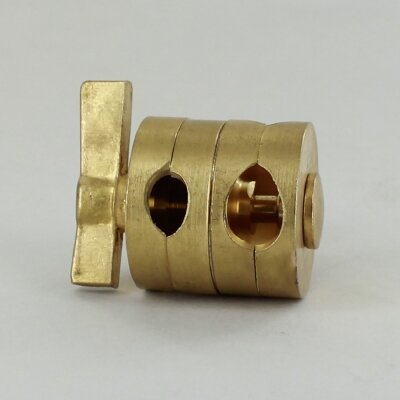
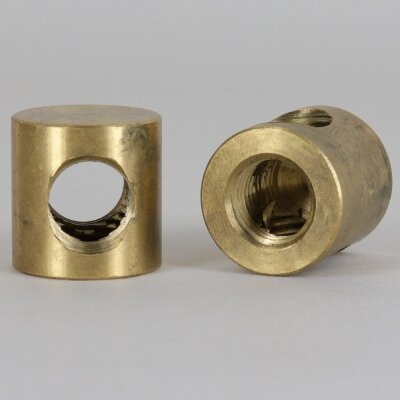
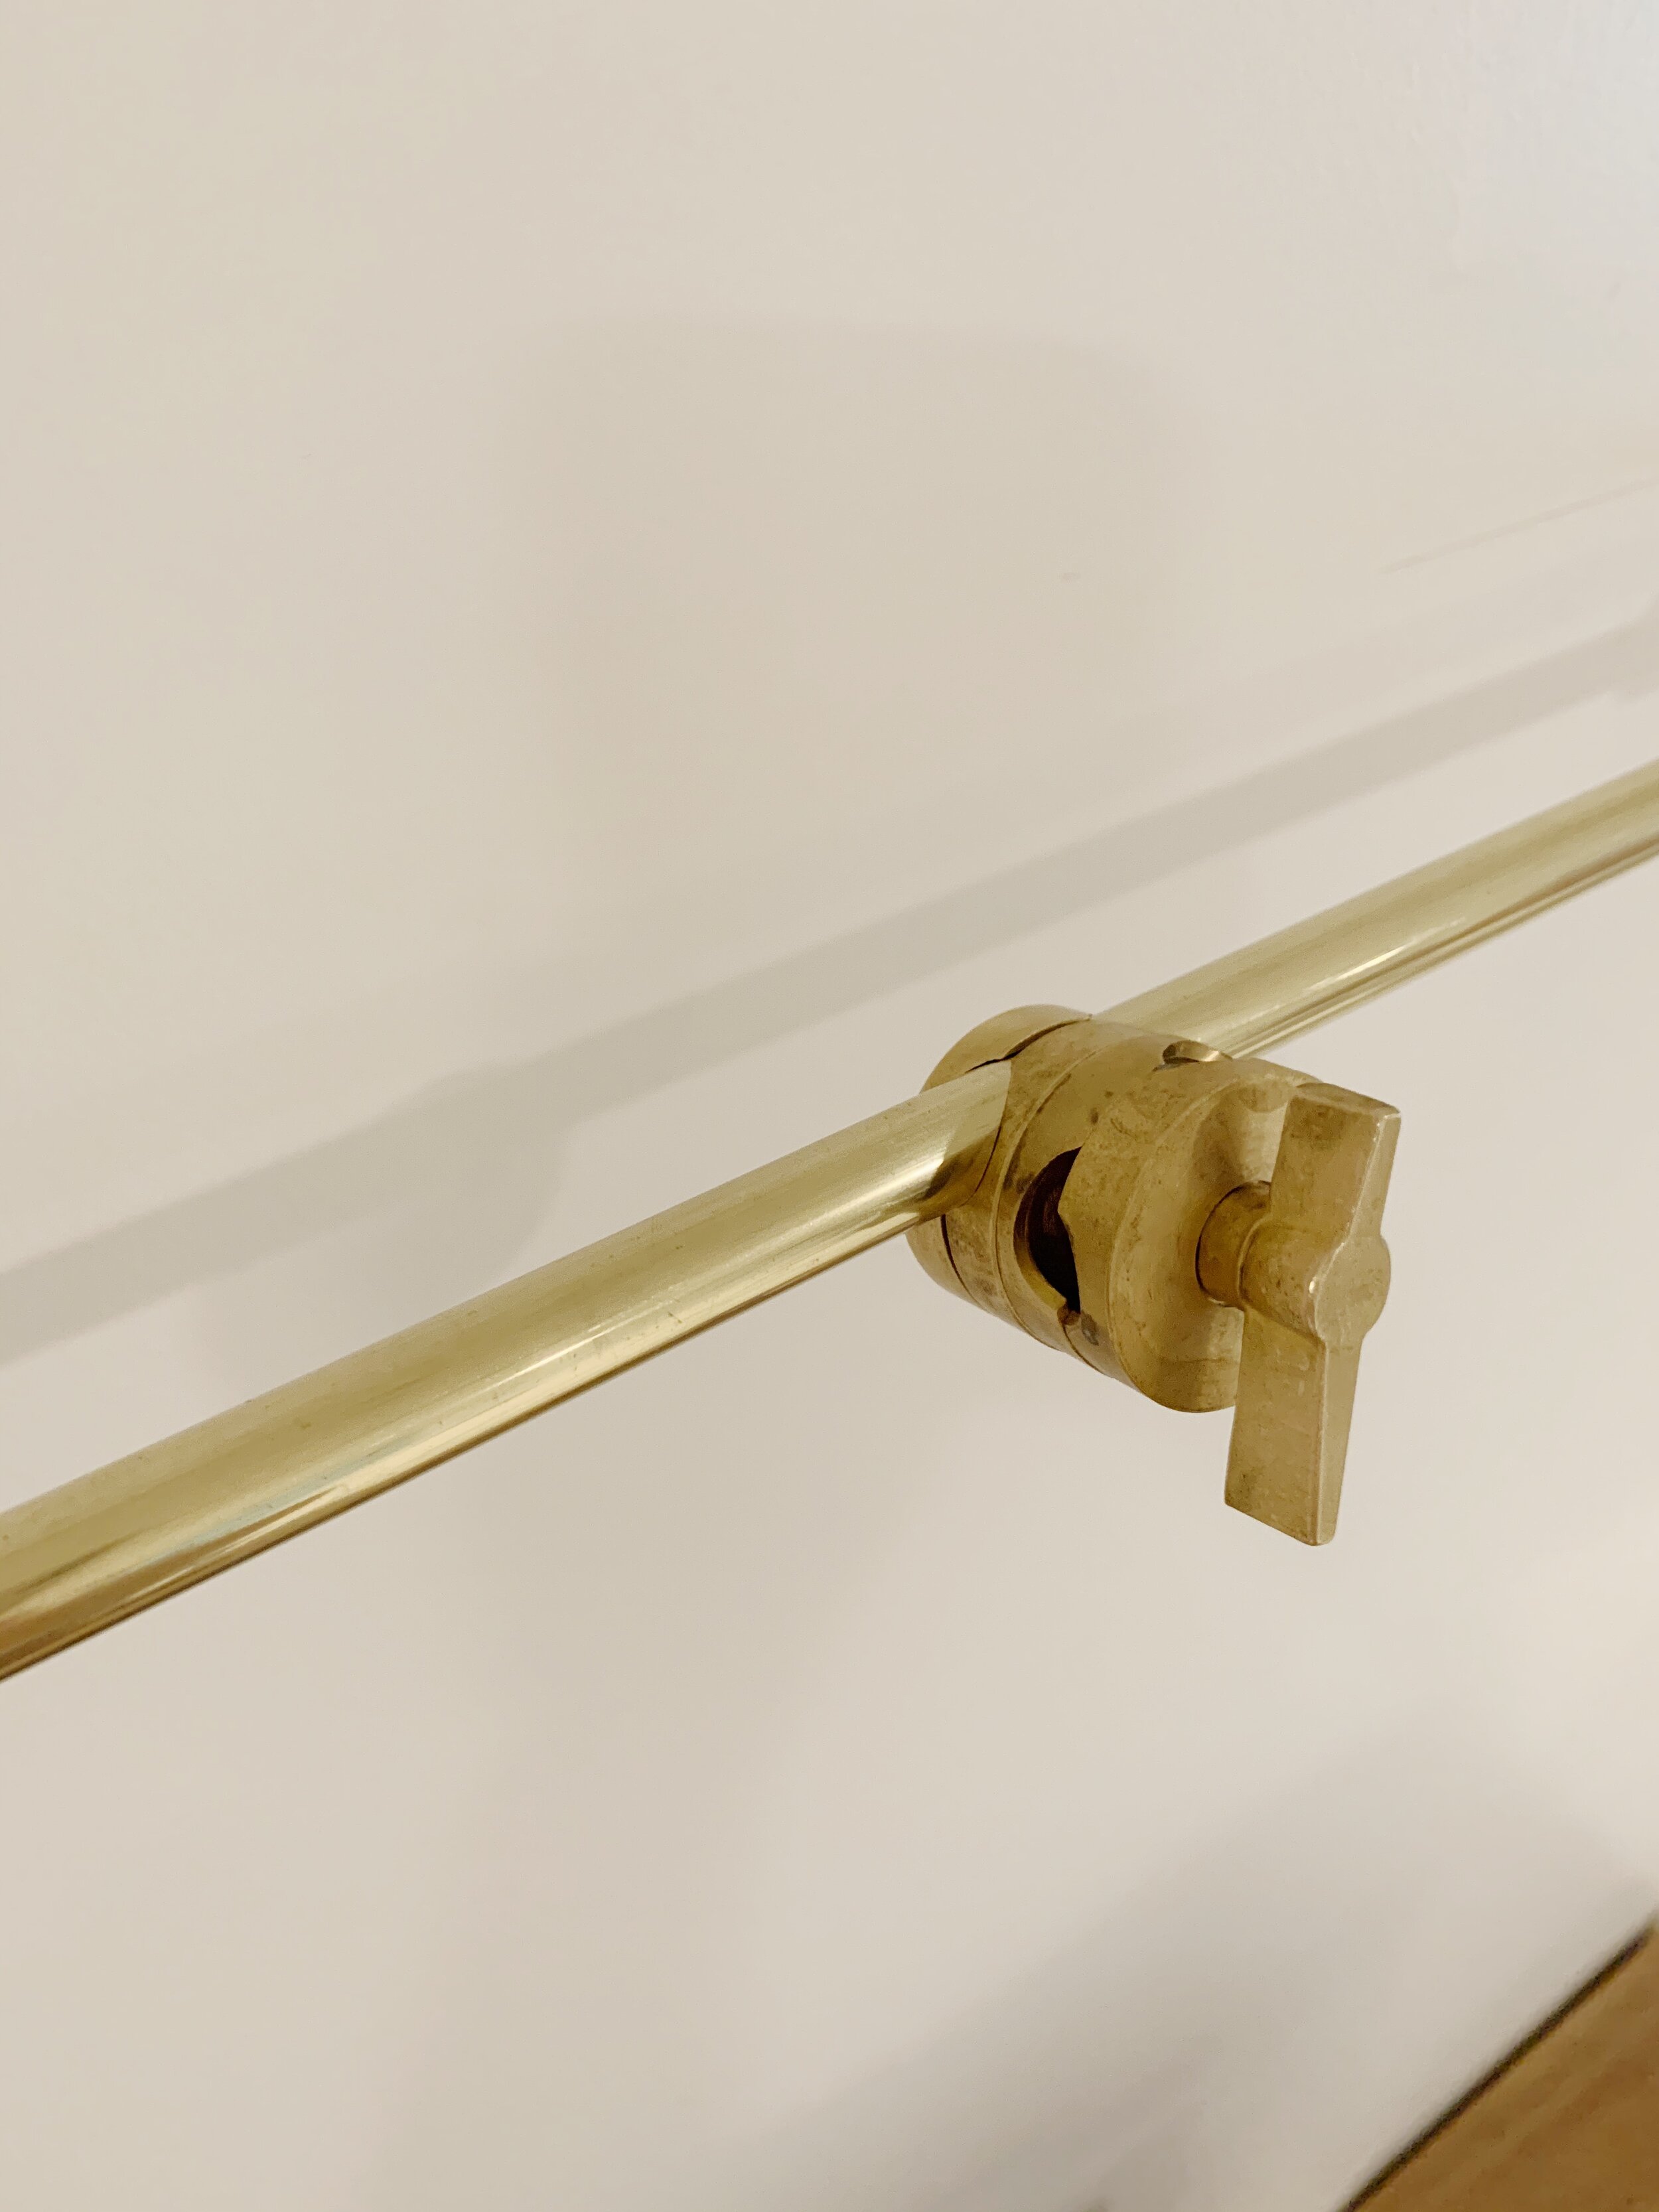
Attach clutch swivel to mounting bar. You will want to use the hole furthest from the screw, as shown.
The entire thing screws apart, so feel free to take it apart and clean with Brasso first, if using.

18|
Finally, slide 24” black threaded pipe through the front hole of clutch swivel and tighten.
Drape cord as desired.
Install light bulb.
Plug in, turn switch, and enjoy!
If making two lights, repeat steps 4-18.

PLEASE NOTE: If you are not experienced and/or comfortable with electrical work, please hire a professional.


PLEASE NOTE: If you are not experienced and/or comfortable with electrical work, please hire a professional.
S O U R C E S
White Oak Desk Top | DIY/Custom
ALEX Drawer Units | IKEA
Black Windsor Chairs | Hedge House Furniture
RENS Sheepskin | IKEA
ODDRUN Olive Throw | IKEA
KOMPLEMENT Drawer Liners | IKEA (Used as desk pads)
SMYCKA Faux Stems | IKEA (Similar)
Candle | Truck & Barter
TIPHEDE Cotton Rug | IKEA
KOLON Floor Protectors | IKEA
This post is not sponsored or in partnership with any of the aforementioned brands but the article contains affiliate links. When you shop via the links above I may make commission on a sale at no additional cost to you. All opinions are my own.